


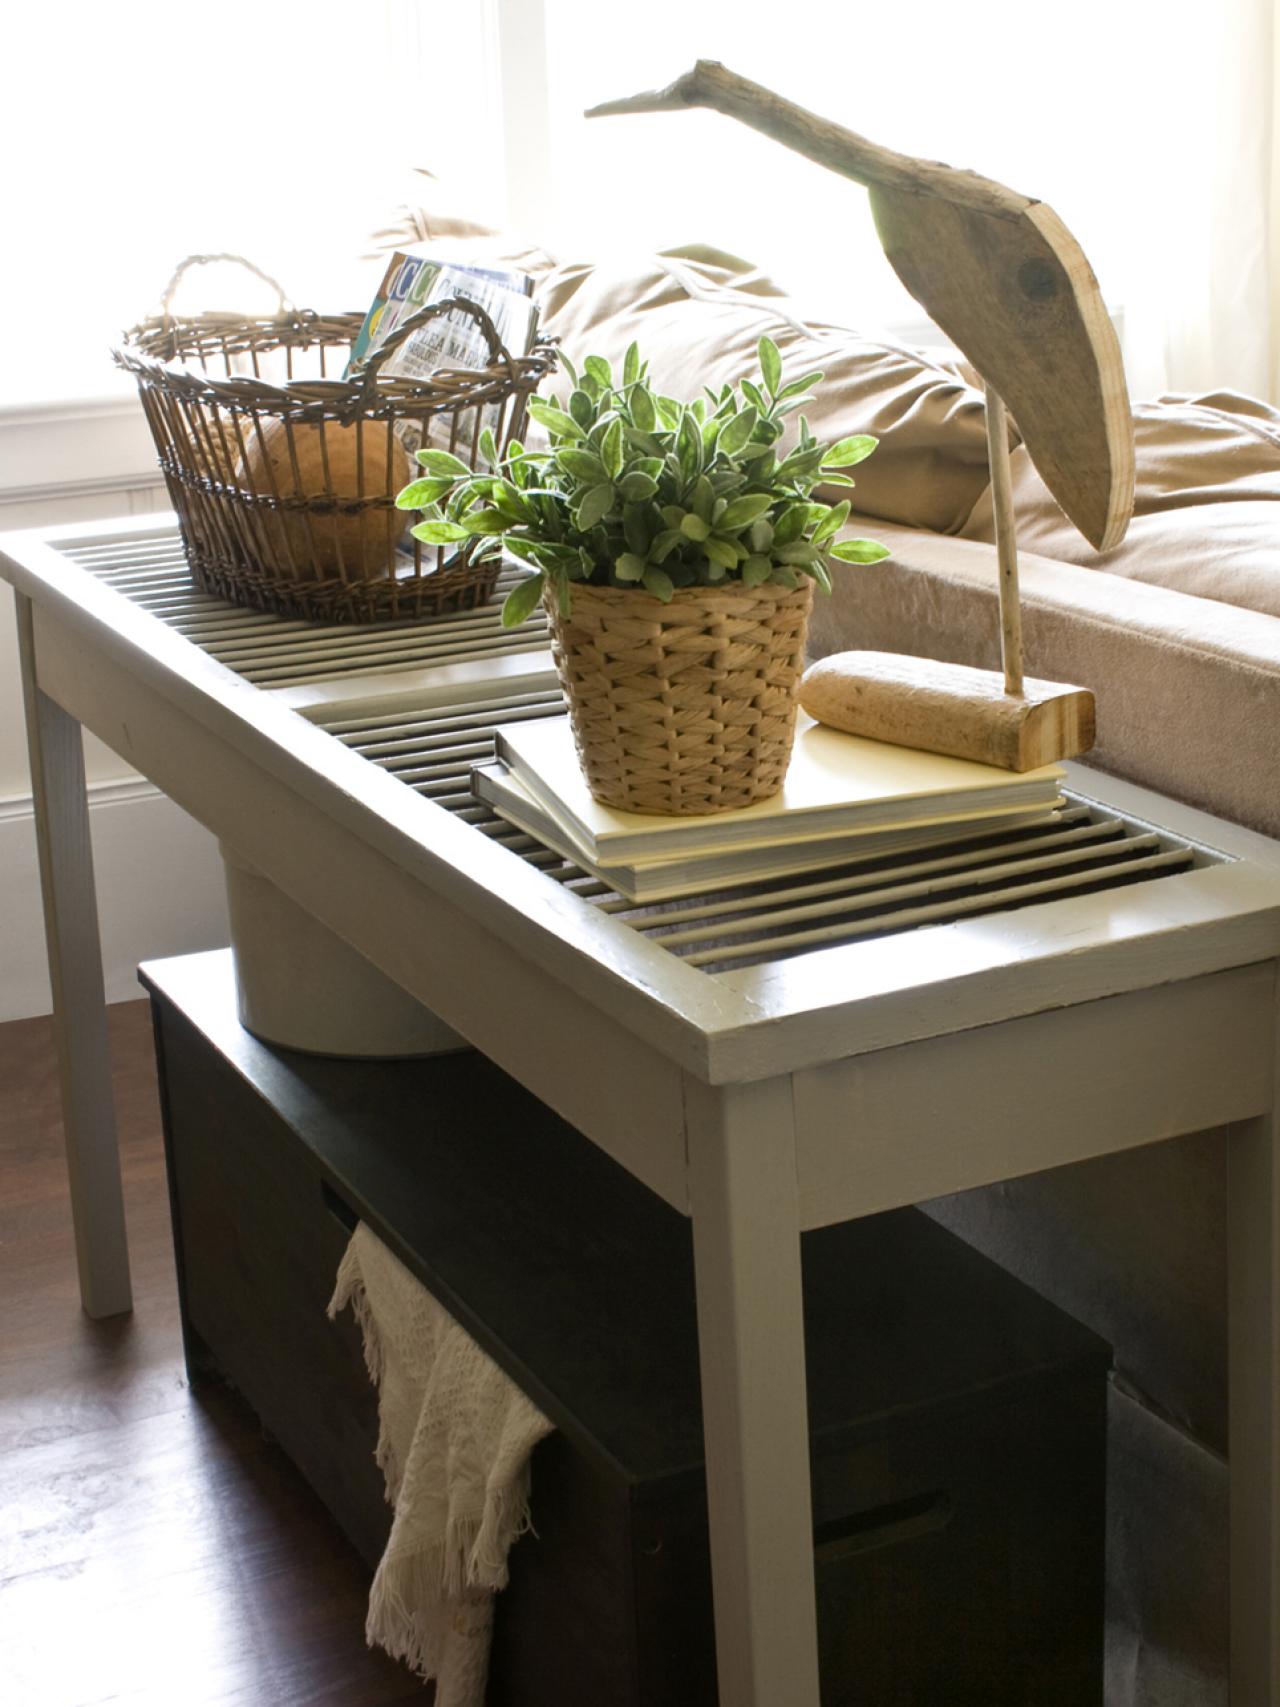
Build a Shutter Console Table

Materials Needed:
- shutter (approximately 55" long)
- 3 - 1x4 boards (8' in length)
- 4 square, wood table legs (approximately 29" high)
- 4 straight top plates
- 8 - 2" narrow hinges
- measuring tape
- electric or hand saw
- electric drill
- electric screwdriver
- rubber mallet
- latex paint
- paintbrush
- protective eyewear
- pencil
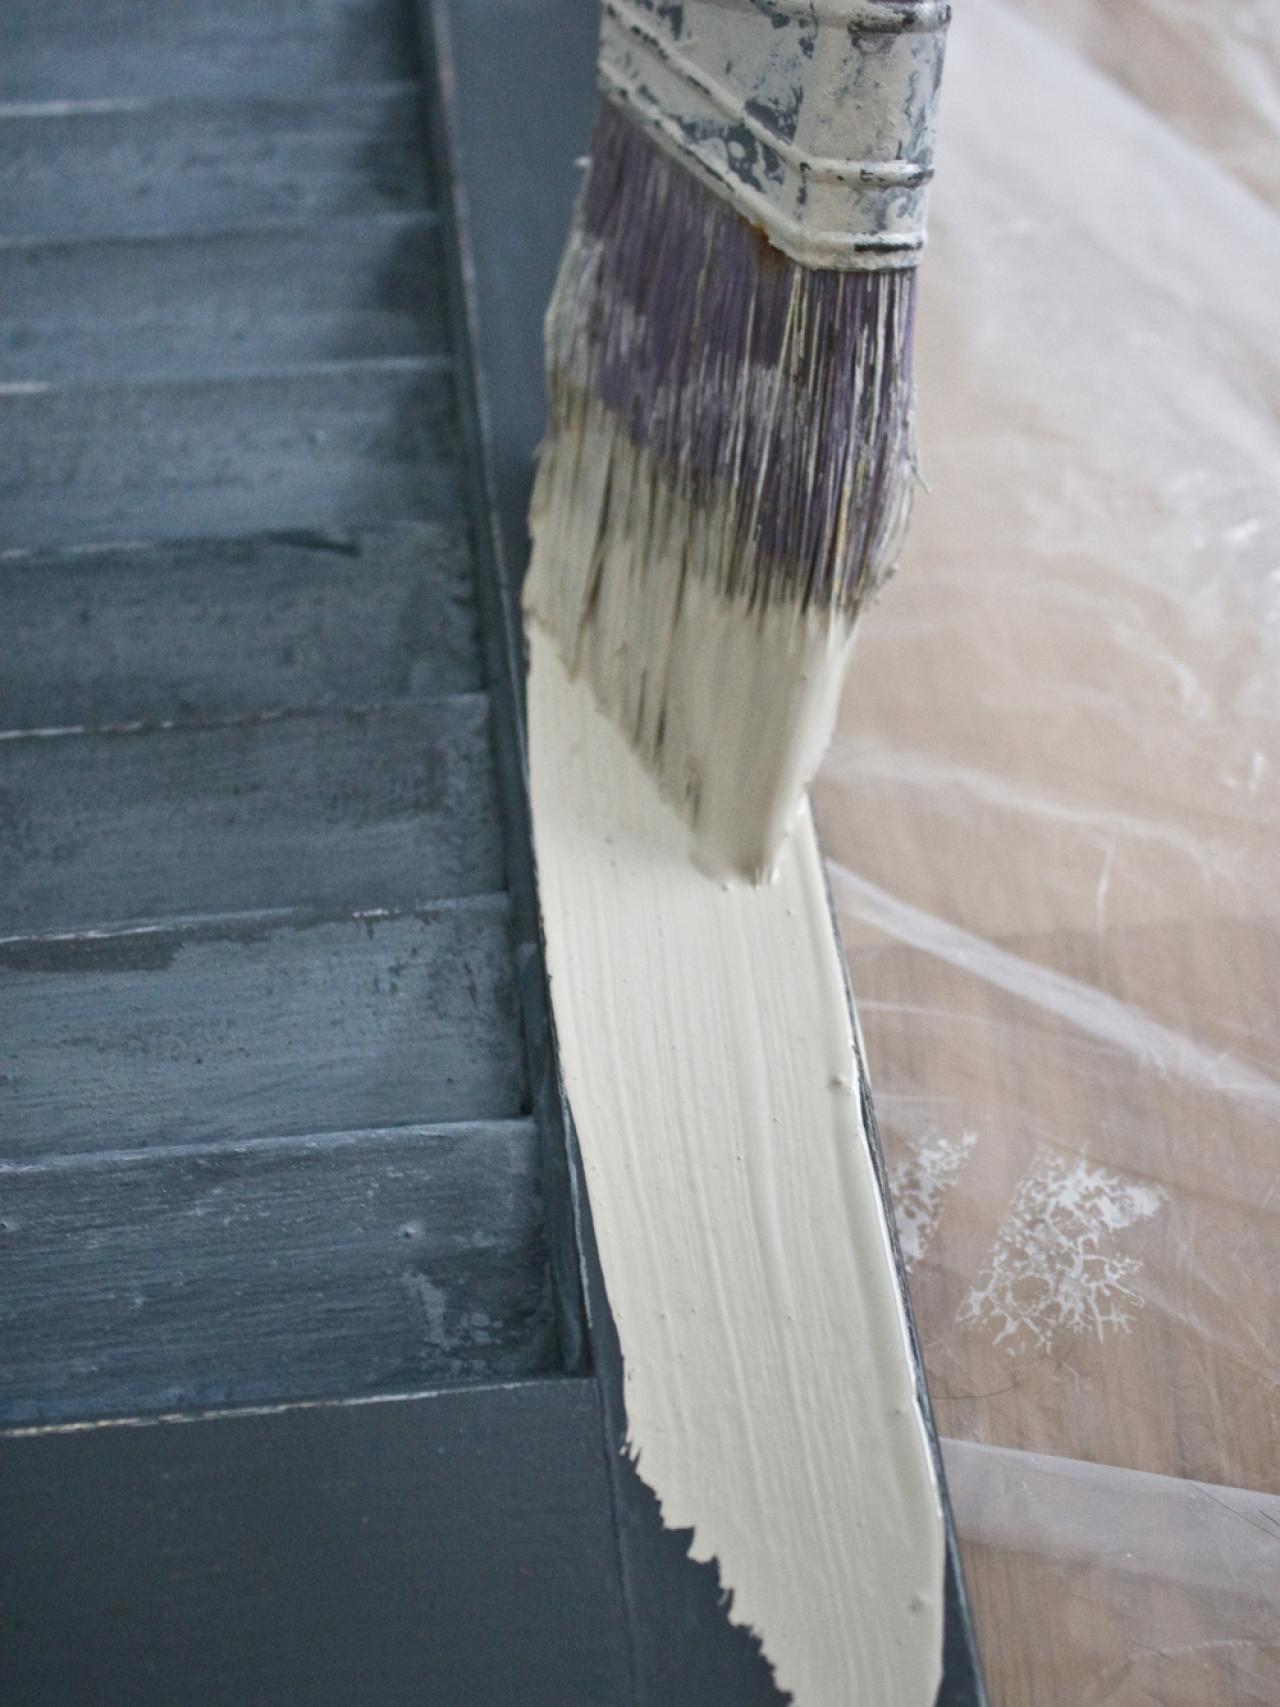
Paint the Legs
Brush on two coats of latex paint to each of the table legs and allow to dry.

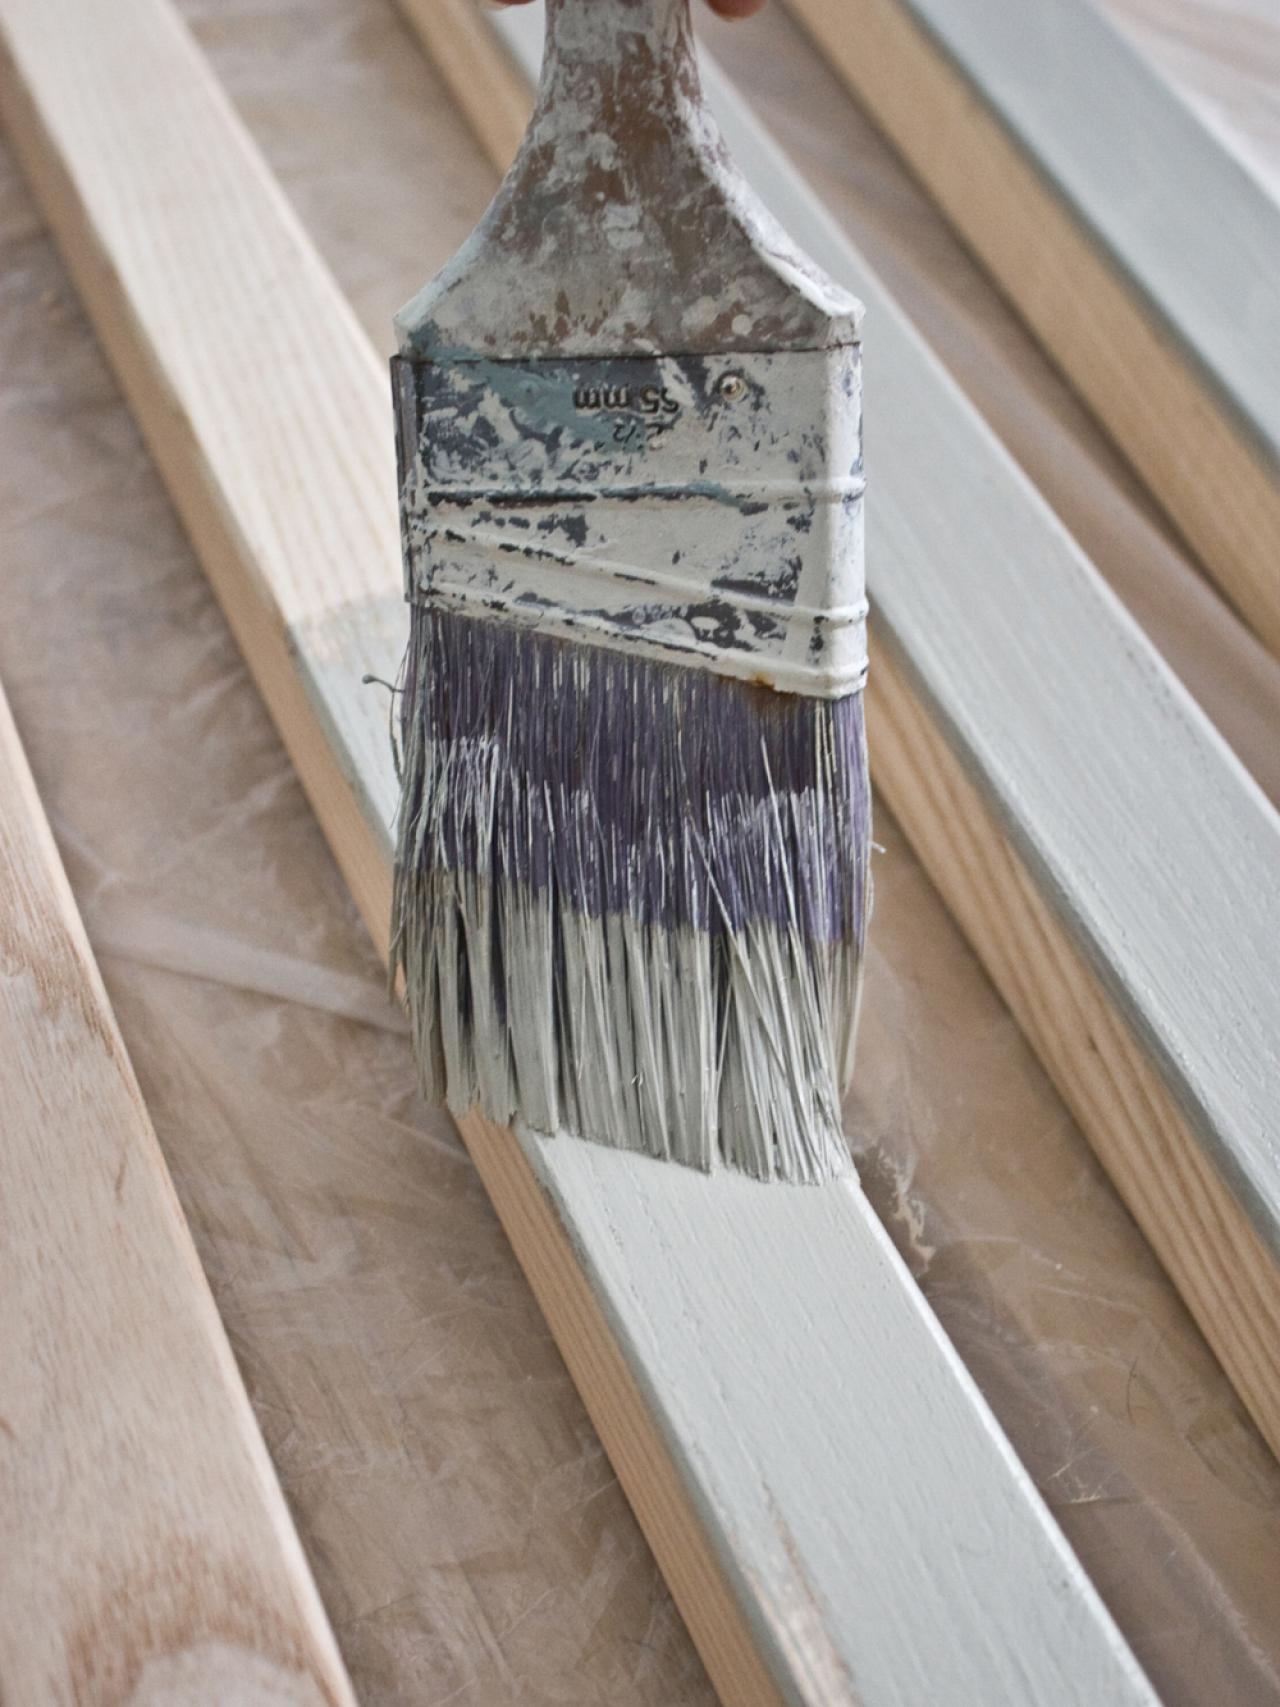
Paint the Shutter
Brush on two coats of latex paint to the front side of the shutter. The bottom side won't be seen, so it's not necessary to paint it.

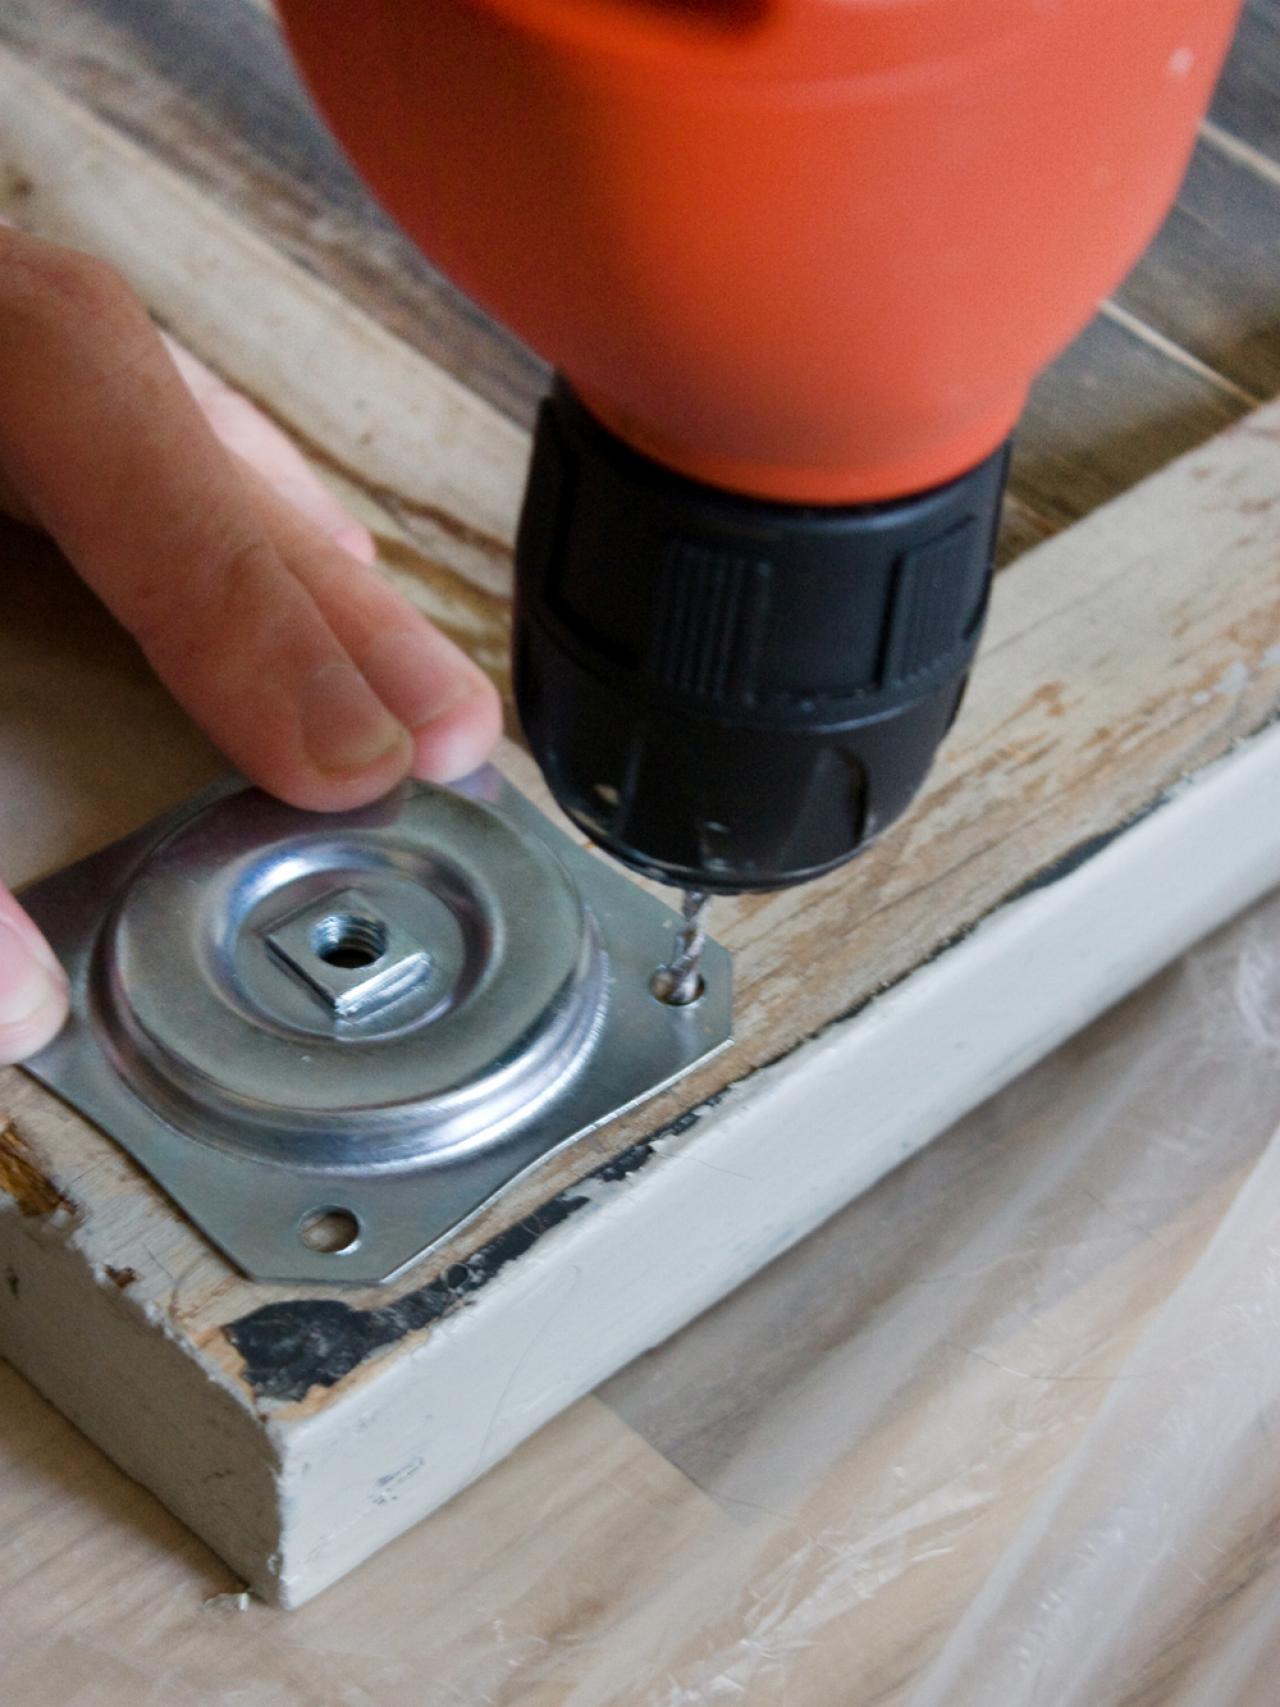
Attach Top Plates
Position a straight top plate in each corner of the bottom side of the shutter. Tip: Make sure each top plate is the exact same distance from the edges of the shutter all the way around.

Attach the Legs
Screw each table leg into each top plate.

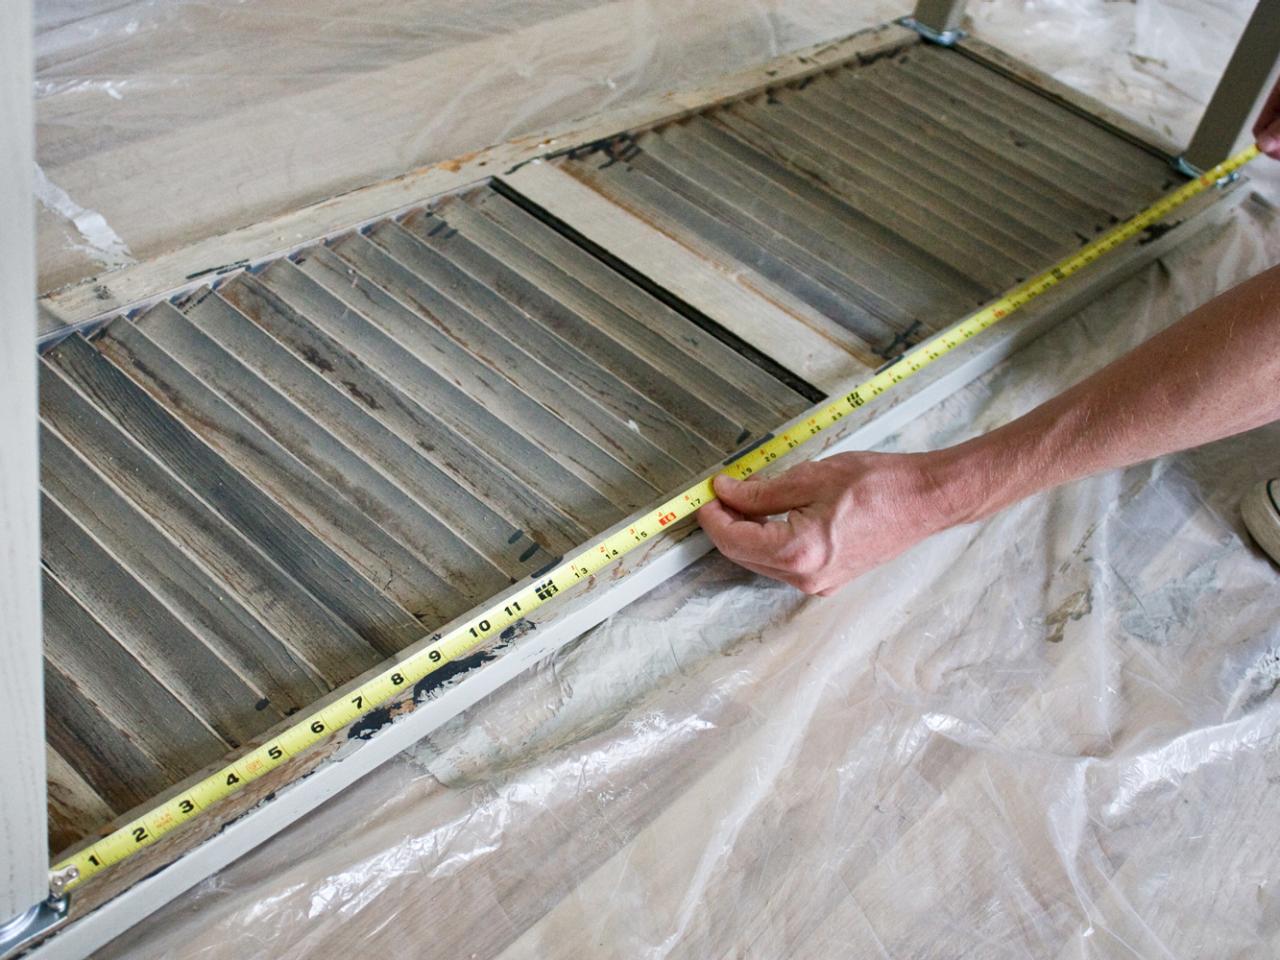
Measure
Measure the distance between the two legs on the long side of the table and write the measurement down.

Measure
Measure the distance between the two legs on the short side of the table and write the measurement down.

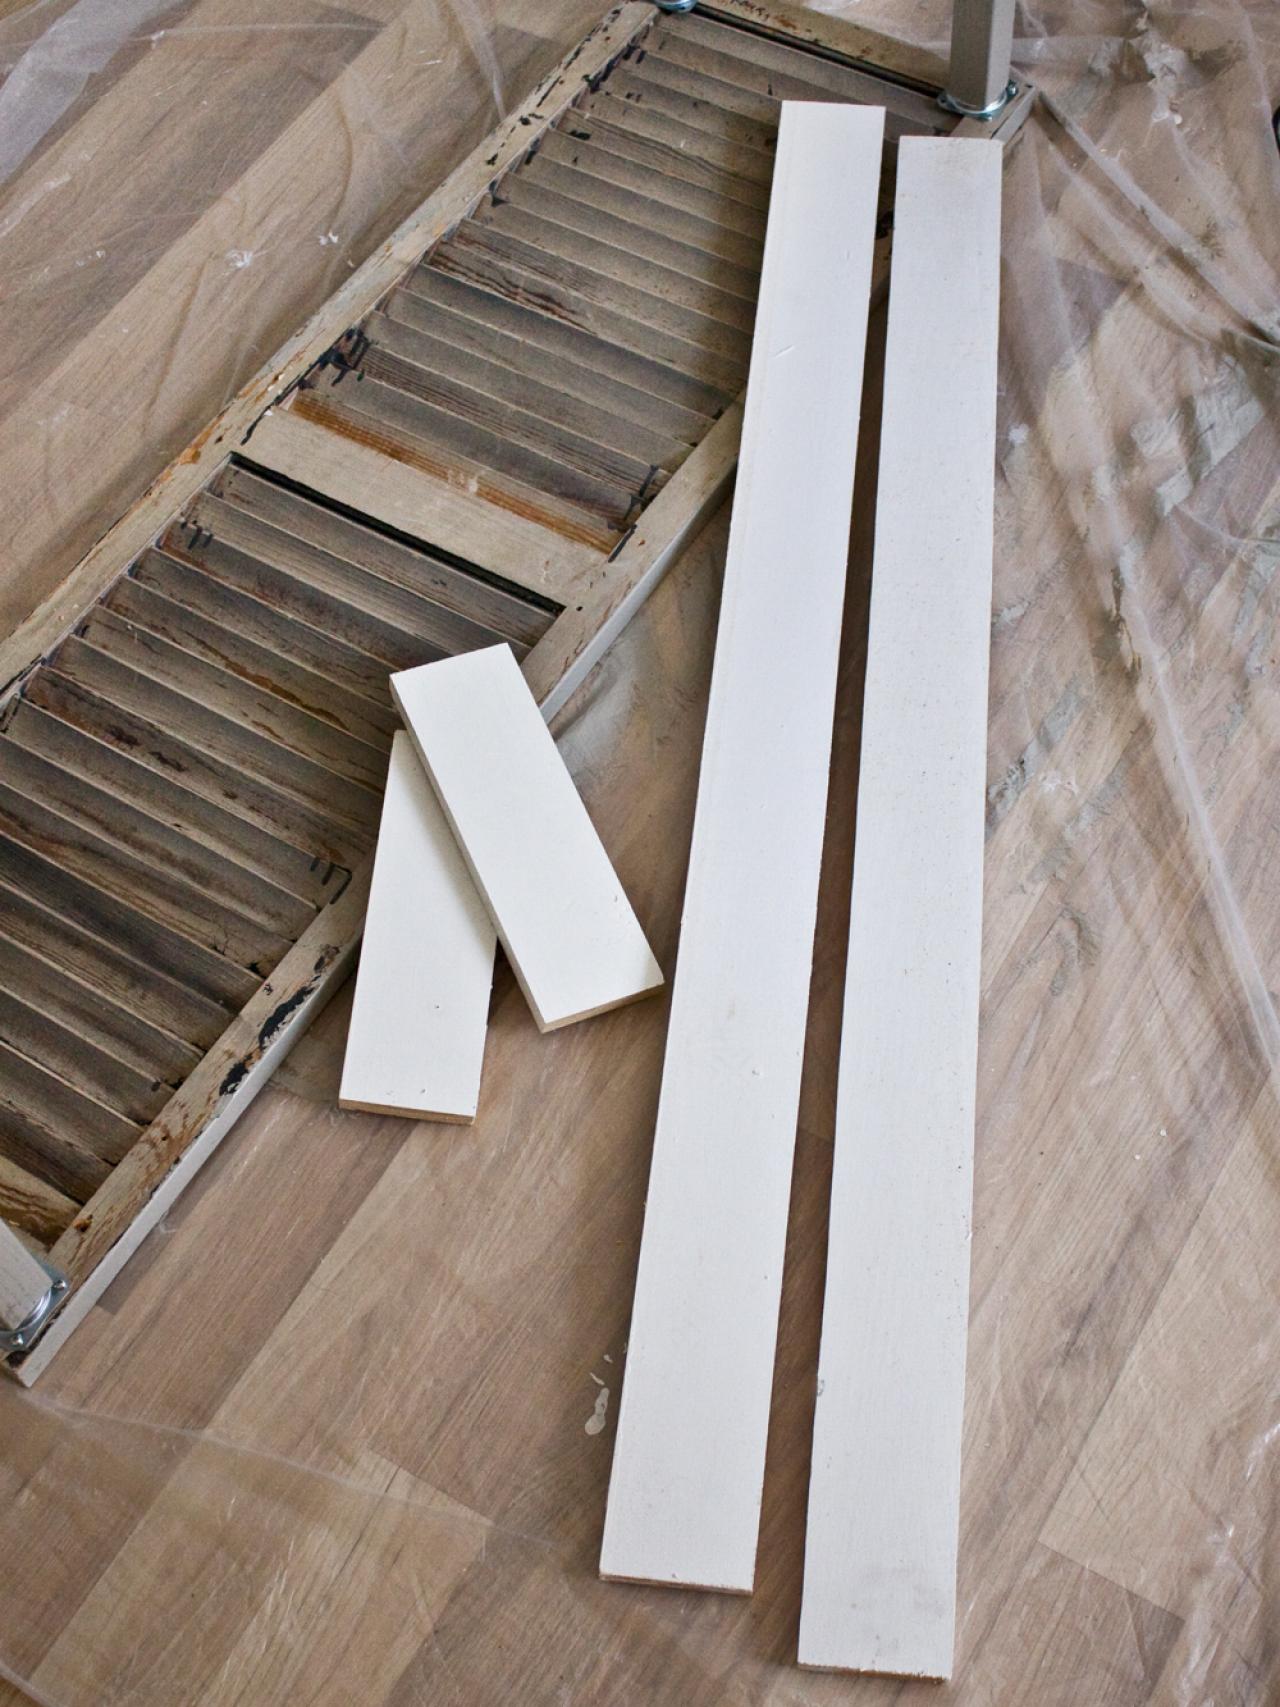
Cut the Lumber
Using the measurements from step five and six as a guide, cut four 1x4 boards to create an apron between each leg. Tip: Always wear protective eyewear when sawing wood.

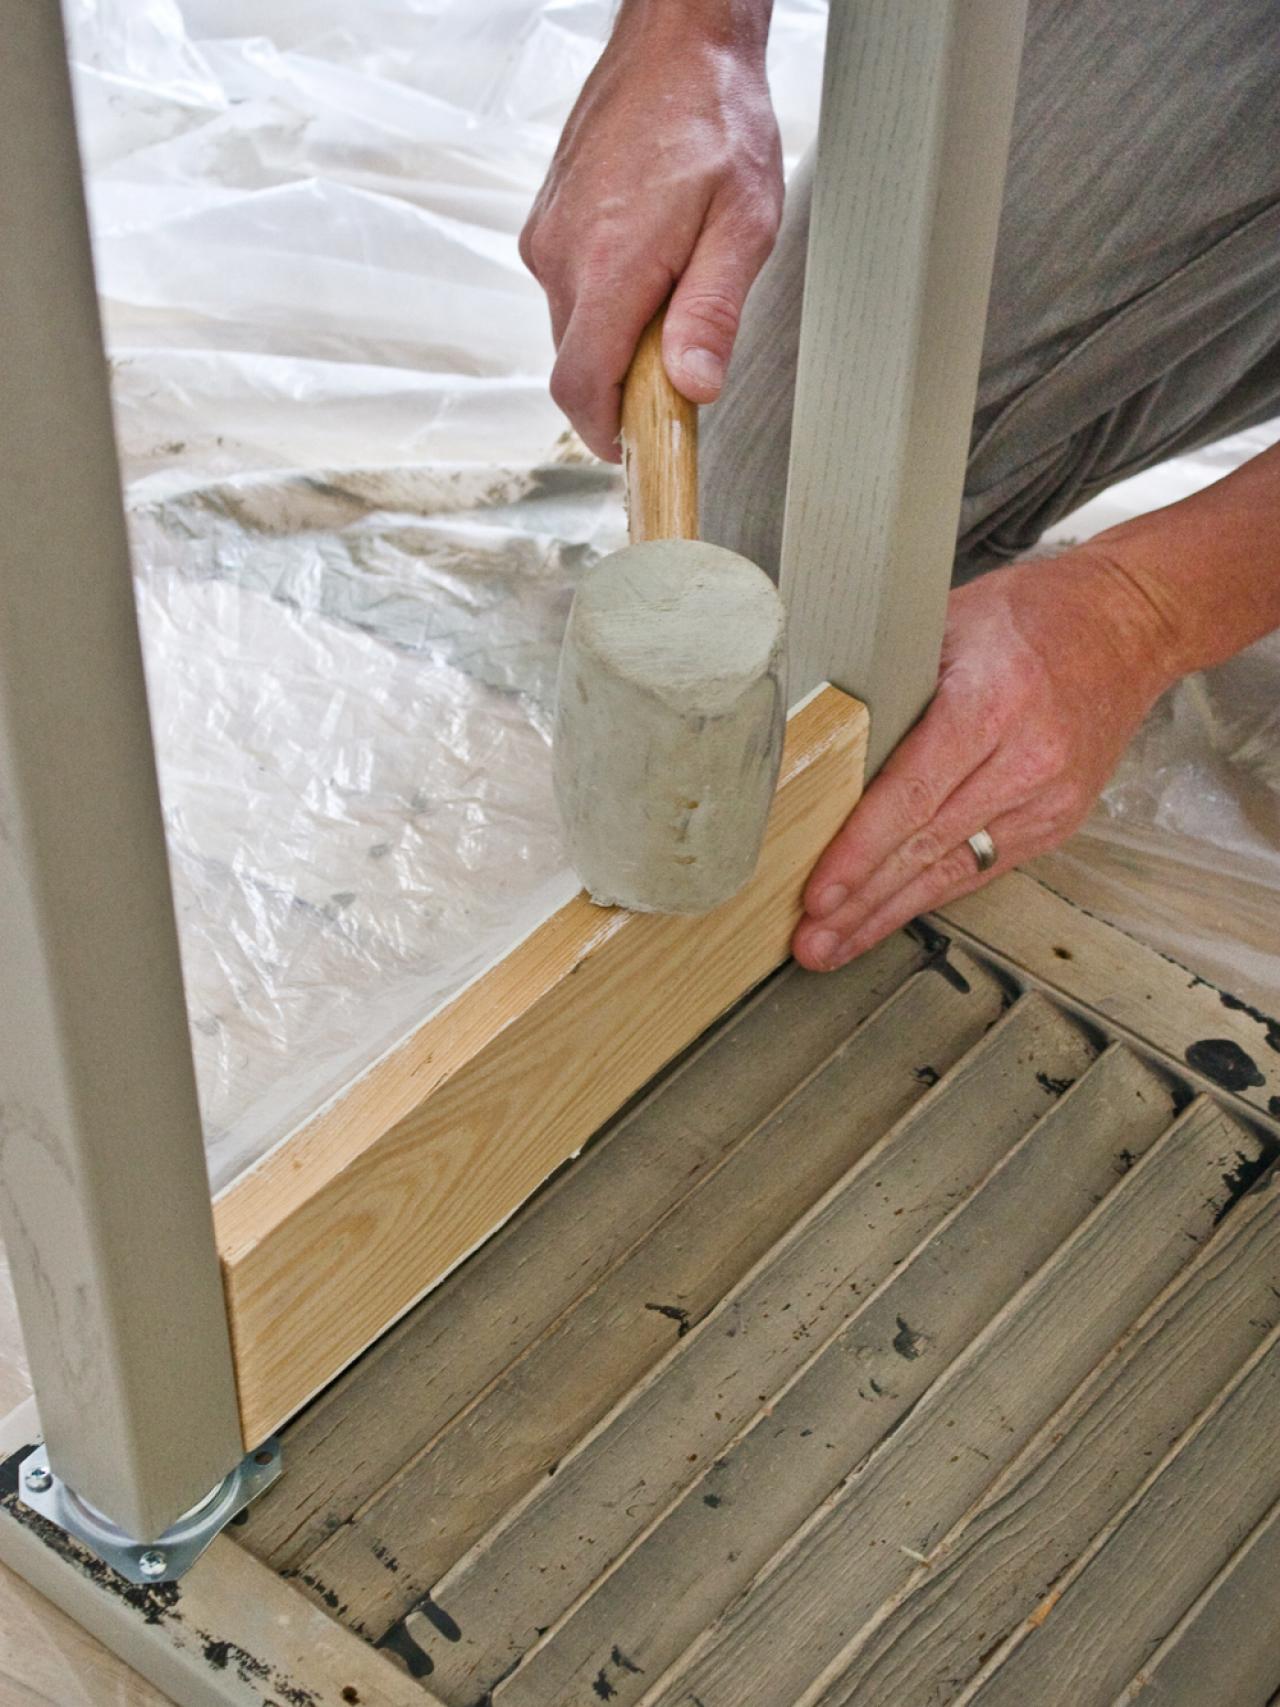
Insert Lumber
Place the first 1x4 between two of the table legs. Tip: If the board doesn't quite fit, use a rubber mallet to gently force it into place.

Attach Hinges
Attach a two-inch narrow hinge between each 1x4 board and table leg. Tip: It's always best to pre-drill holes before driving a screw into the wood. Repeat steps until all four 1x4 boards are secured into place.


