


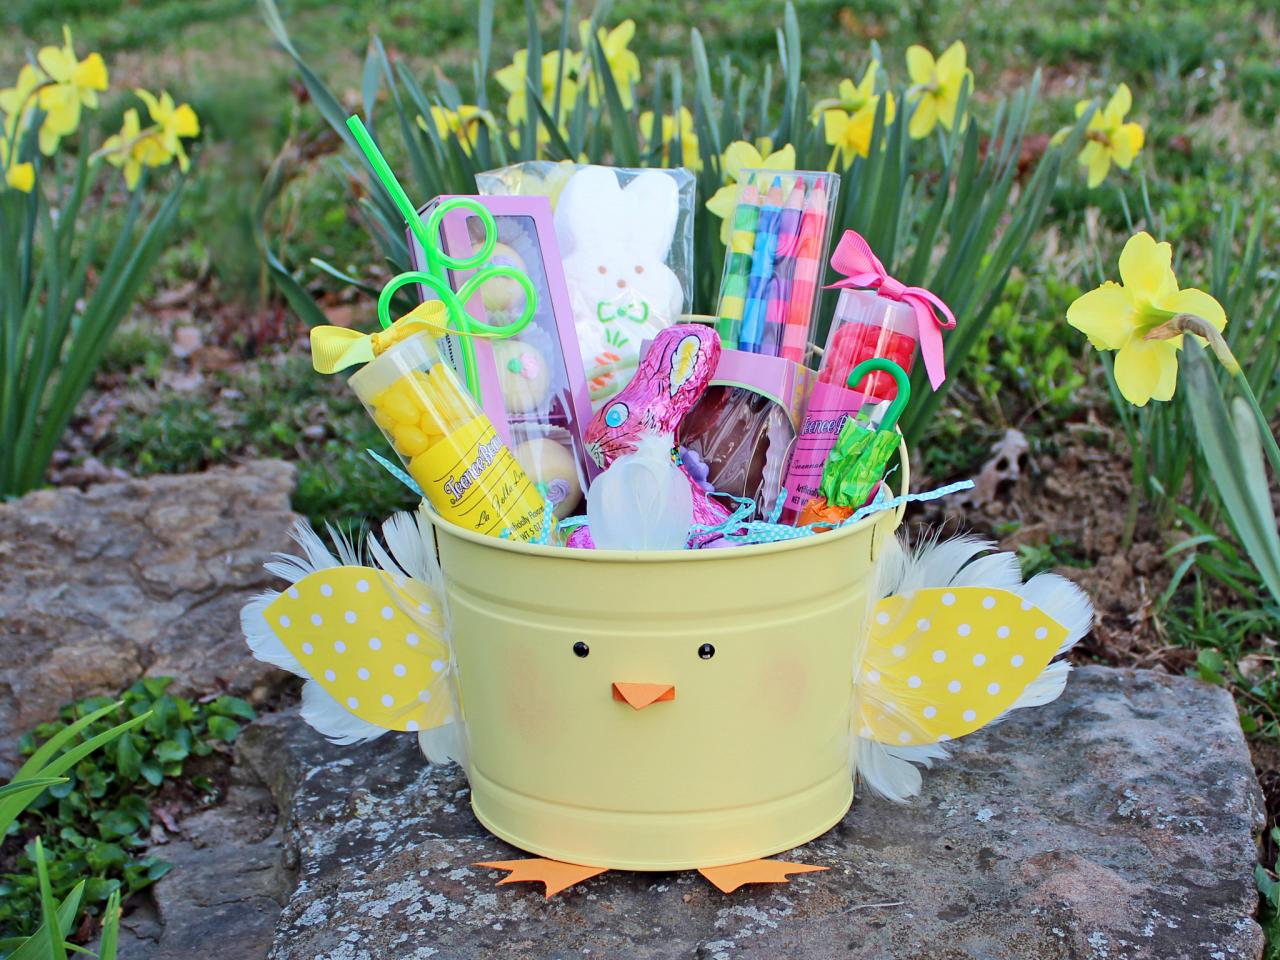
How to Make a (Cute!) Feathered Chick Easter Bucket


Materials:
metal bucket (available at hardware and craft stores)
light yellow spray paint with built-in primer
darker yellow and orange card stock (patterned or solid)
fine-grit sandpaper or steel wool (00 or 000)
paper and pencil
small chip brush
multipurpose glue
white or yellow feathers (available at craft store)
small black sequins, beads or rhinestones
powder blush (optional)
excelsior or Easter grass to fill bucket
assorted candy, craft supplies and small toys
Instructions:
1. Remove any labels from metal bucket. If necessary, use fine-grit sandpaper or steel wool to smooth any remaining label residue.
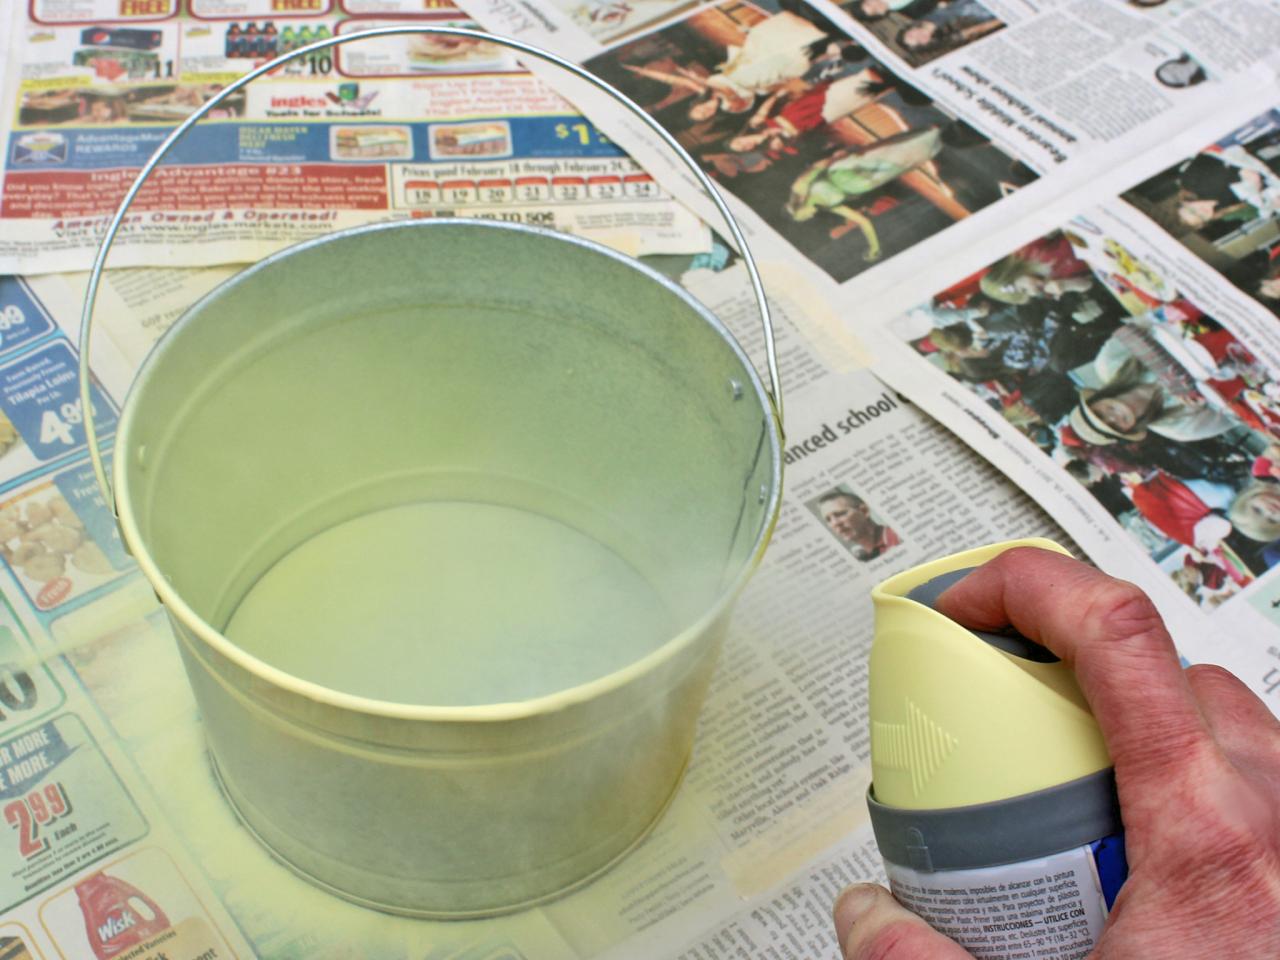
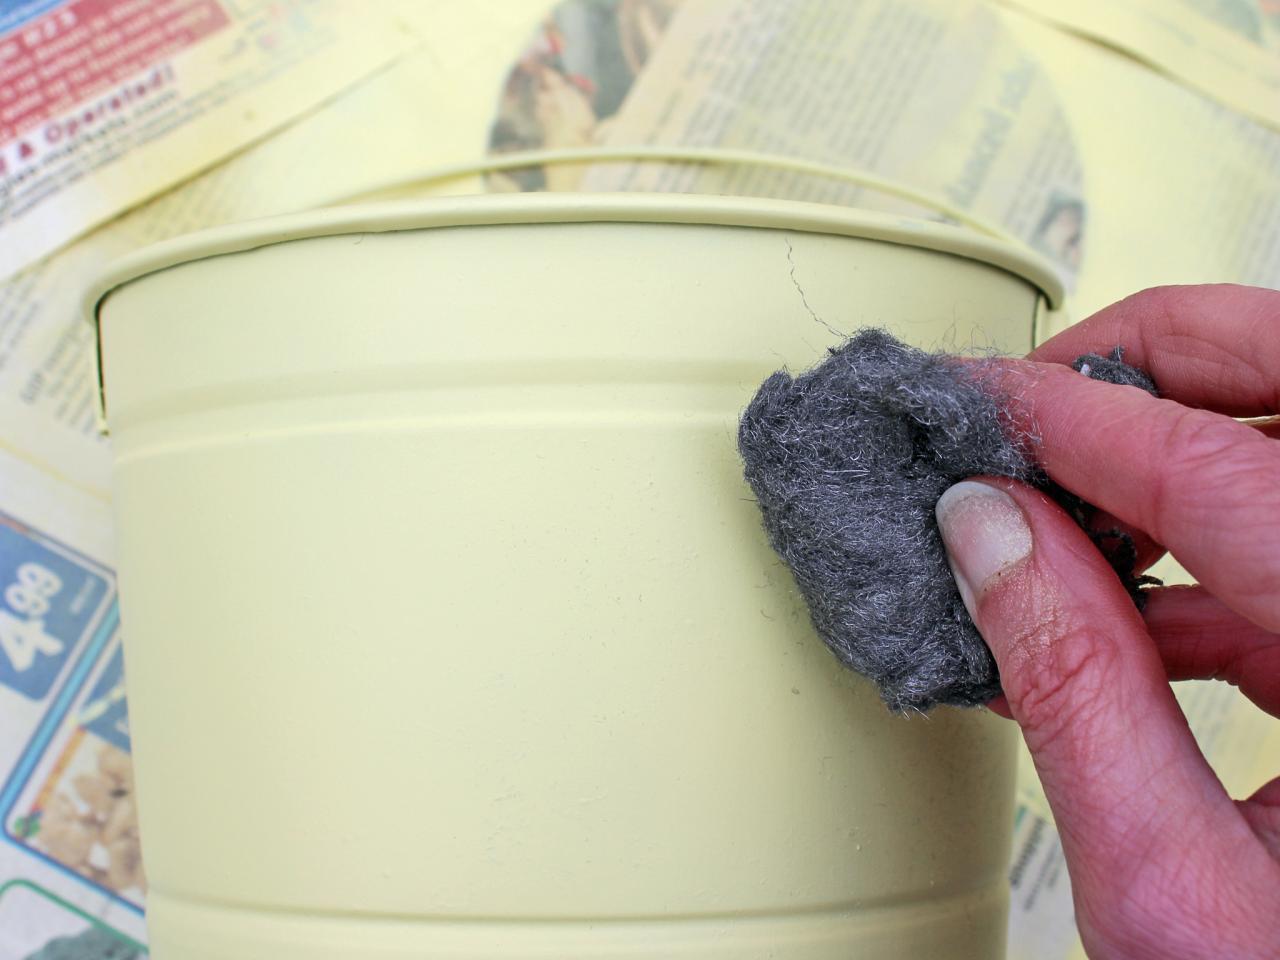
2. Spray-paint interior and exterior of bucket, covering all areas including the handle (Image 1). Allow to dry, then apply a second and, if necessary, third coat. Tip: Use fine-grit sandpaper or steel wool to remove any drips or flaws in the paint before applying the final coat to create a smooth surface (Image 2).


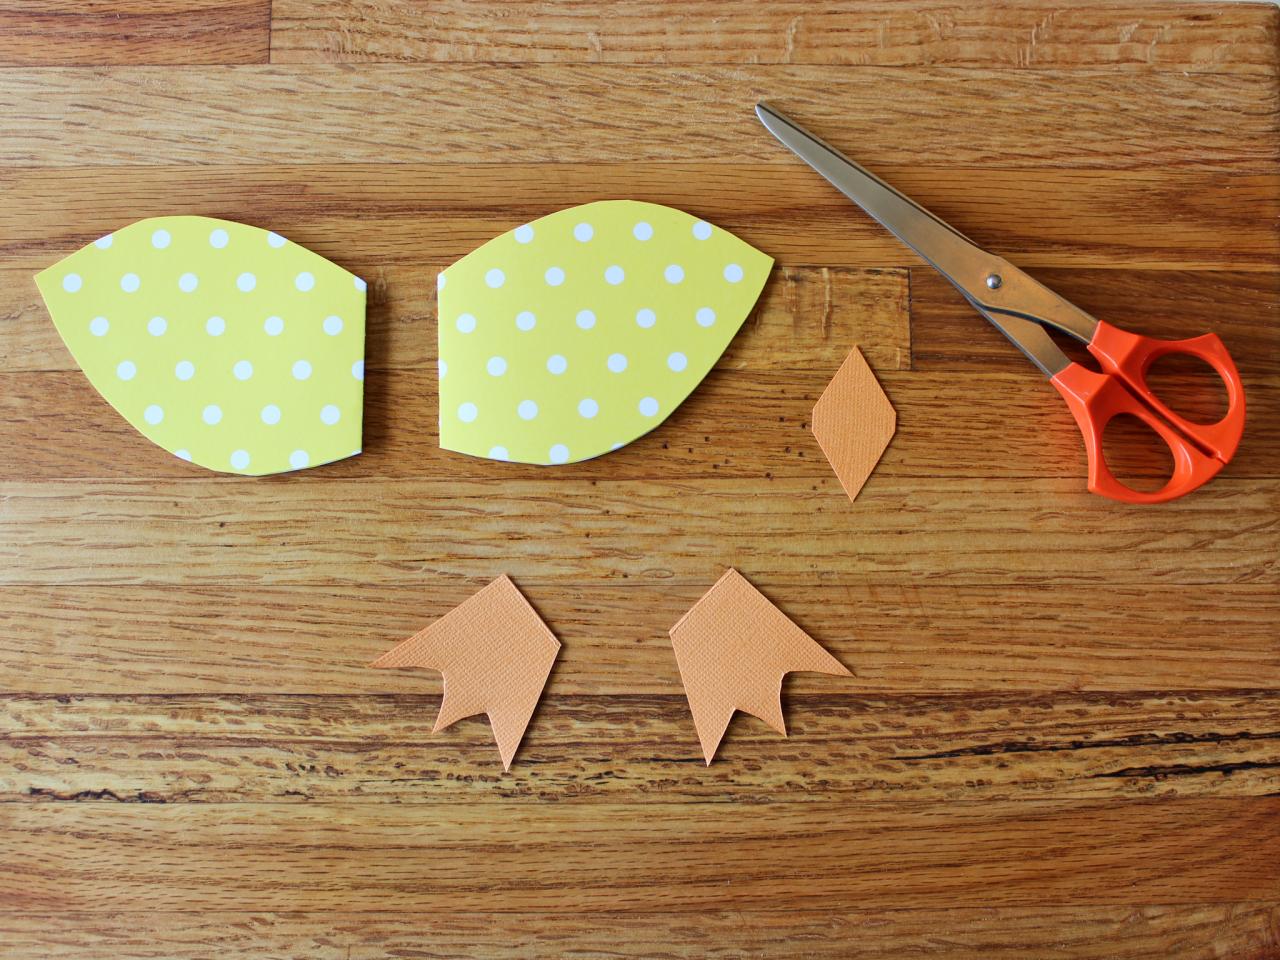
3. Sketch templates for the chick’s beak, foot and wing onto a scrap piece of paper. Tip: to create the chick’s beak, draw 2 small triangles joined by a rectangle.

4. Cut out templates. Trace around the beak and feet onto the back of the orange card stock and cut out. For sturdier/double-sided wings, fold yellow card stock in half before tracing template and cutting out.

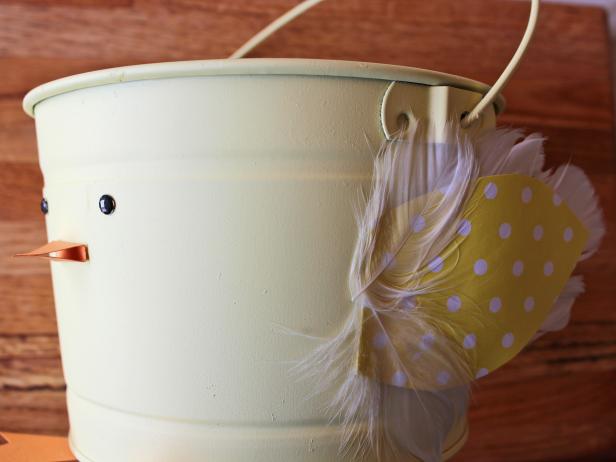
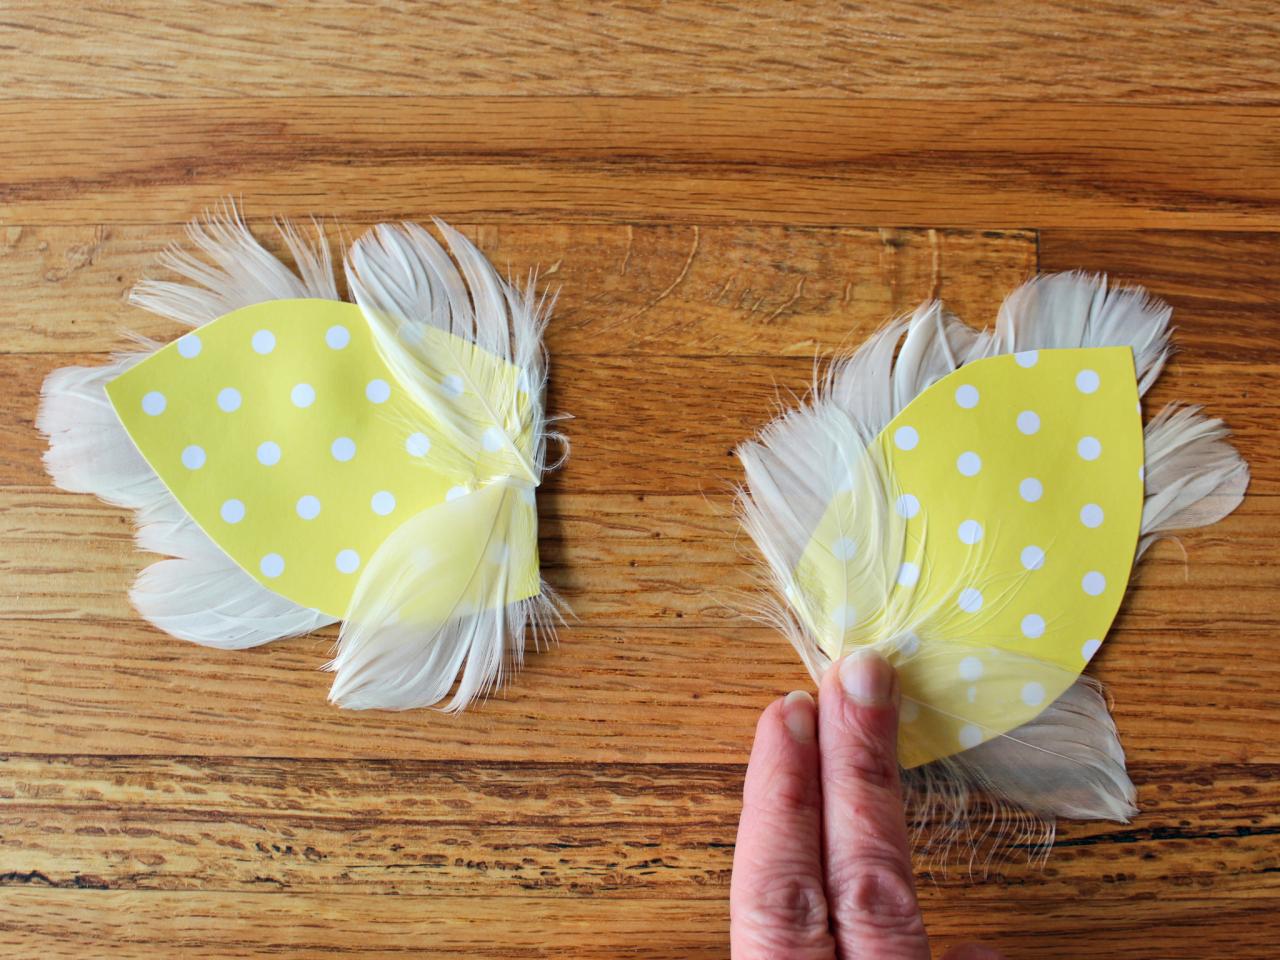
5. Trim quills of feathers, leaving only 2-3 inches at the tip. Brush a thin layer of glue onto the inside of the folded wing, press feather tips into glue, sandwiching them between the two layers of card stock. Next, brush a thin line of glue along the bottom edge of the front of each card stock wing and attach 2 more trimmed feathers.

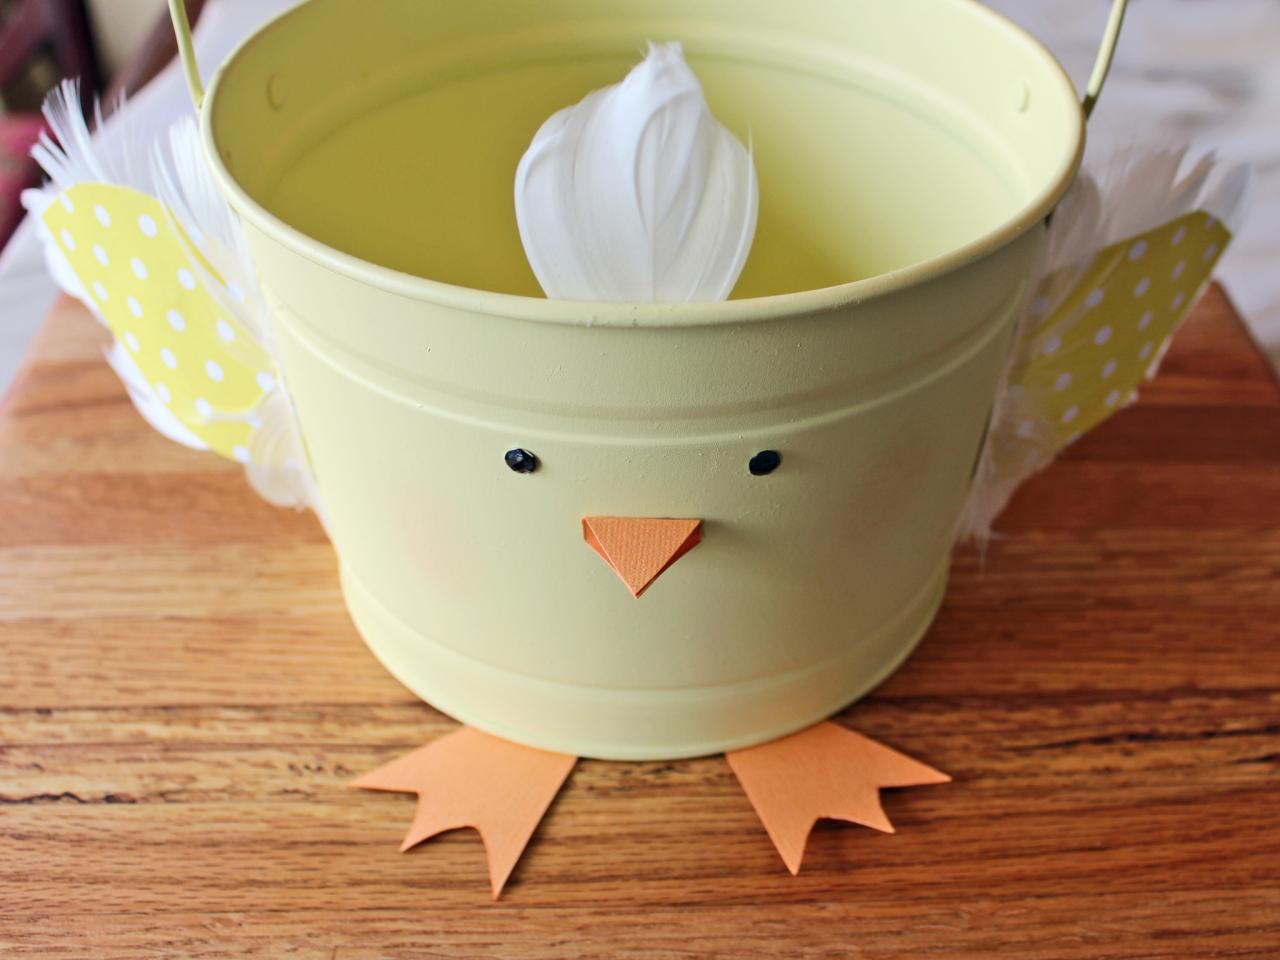
6. Fold orange card stock cut-out into a beak shape by folding both the bottom and top triangle into the center, leaving the central rectangle unfolded and flat (this will give the chick’s mouth a more realistic, 3-D look).

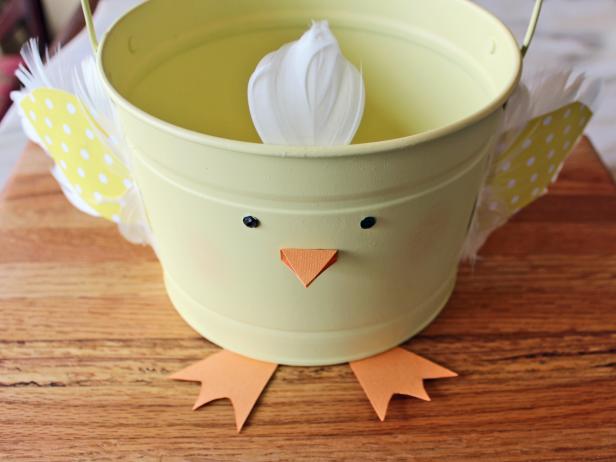
7. Decide placement of chick’s beak and attach to bucket. Tip: It may be helpful to first find the bucket's center front and note it with a very light pencil mark. Next, attach the eyes. Flip the bucket over and glue on the chick’s feet.

8. Decide placement of the chick’s wings on each side of the bucket; make a light pencil mark as a guide. Brush a thin line of glue along each wing’s straight edge then attach. Wait a few minutes for glue to dry, then bend wings out so they’re more visible.
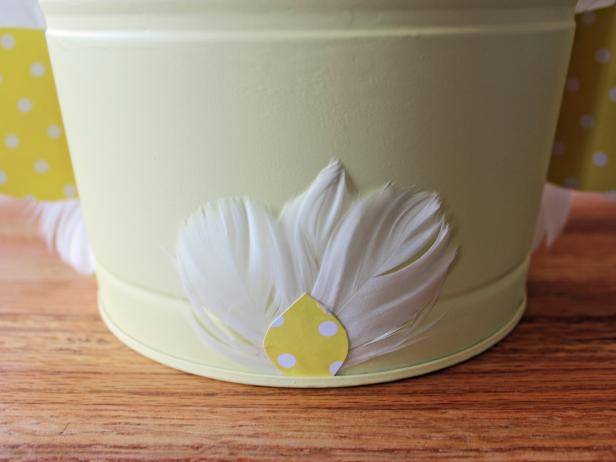
9. Create a feathery tail but cutting a small flame shape out of leftover card stock, glue just the tips of 2-3 feathers to the backside of the card stock, then attach to the back of the bucket.
10. Attach just the tips of 2-3 feathers to the inside front of the bucket to give the chick a bit more personality with a feathery head tuft. Optional: Add subtle rosy cheeks with a small amount of powder blush applied with your fingertip.
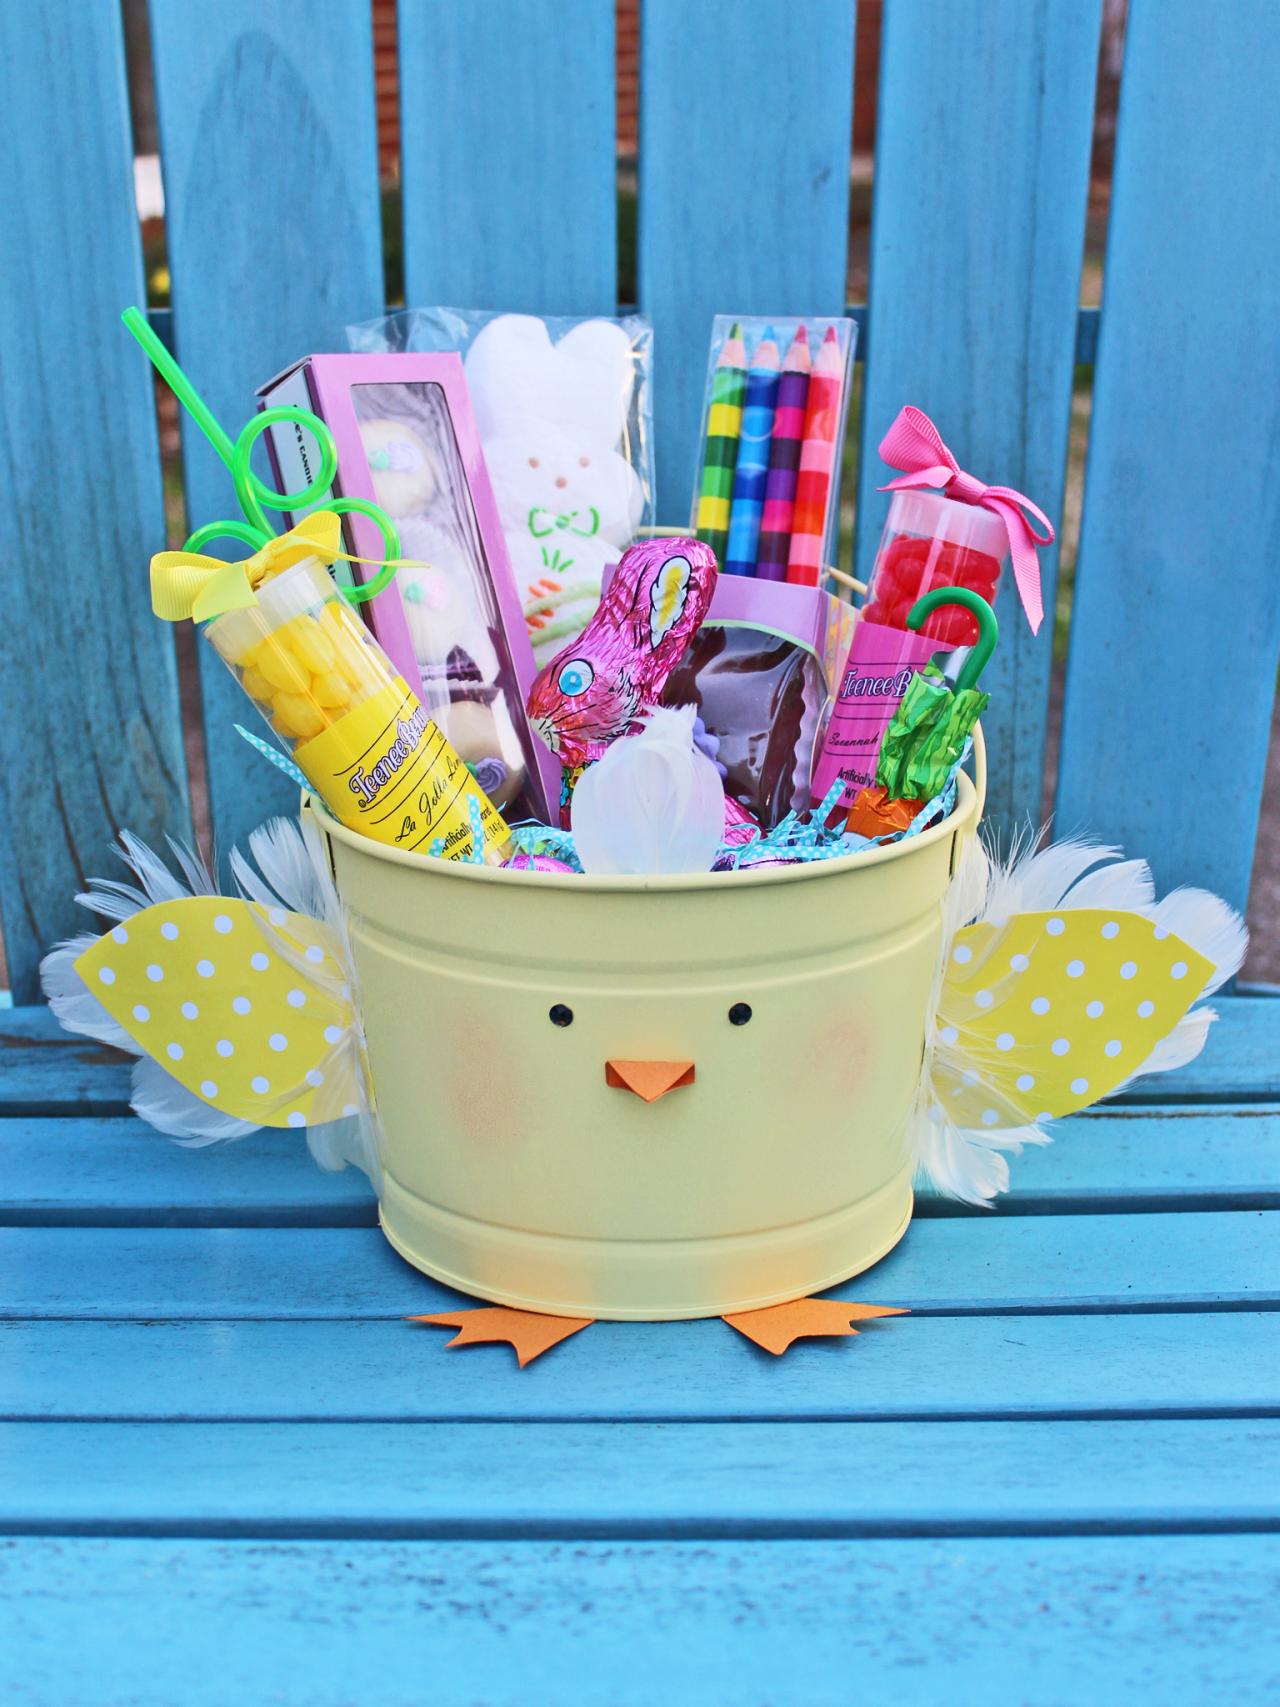
11. Finally, fill bucket with excelsior or Easter grass and an assortment of treats, like candy, small toys and art supplies.


