


How to Make an Easy Floral Foam Arrangement
Create a gorgeous centerpiece for your next party from grocery store flowers and easy-to-use floral foam.

DIY Floral Foam Arrangement
Floral foam provides a sturdy support for fresh blooms when you're creating low table centerpieces or larger displays that call for more structure. It allows for versatility and endless possibilities in flower arranging. Learn all the ins and outs of floral foam and how to create your own display in just a few simple steps.

Photo by: Morgan Faulkner
Morgan Faulkner
Floral foam provides a sturdy support for fresh blooms when you're creating low table centerpieces or larger displays that call for more structure, allowing for versatility and endless possibilities in flower arranging. Learn all the ins and outs of floral foam and how to create your own display in just a few simple steps.
What You'll Need
- 1/2 brick of fresh floral foam
- 6" shallow bowl or plate with lip
- waterproof floral tape
- floral shears
- flowers (see below for details)
- greenery (see below for details)

Morgan Faulkner
Soak Foam

Morgan Faulkner

Morgan Faulkner
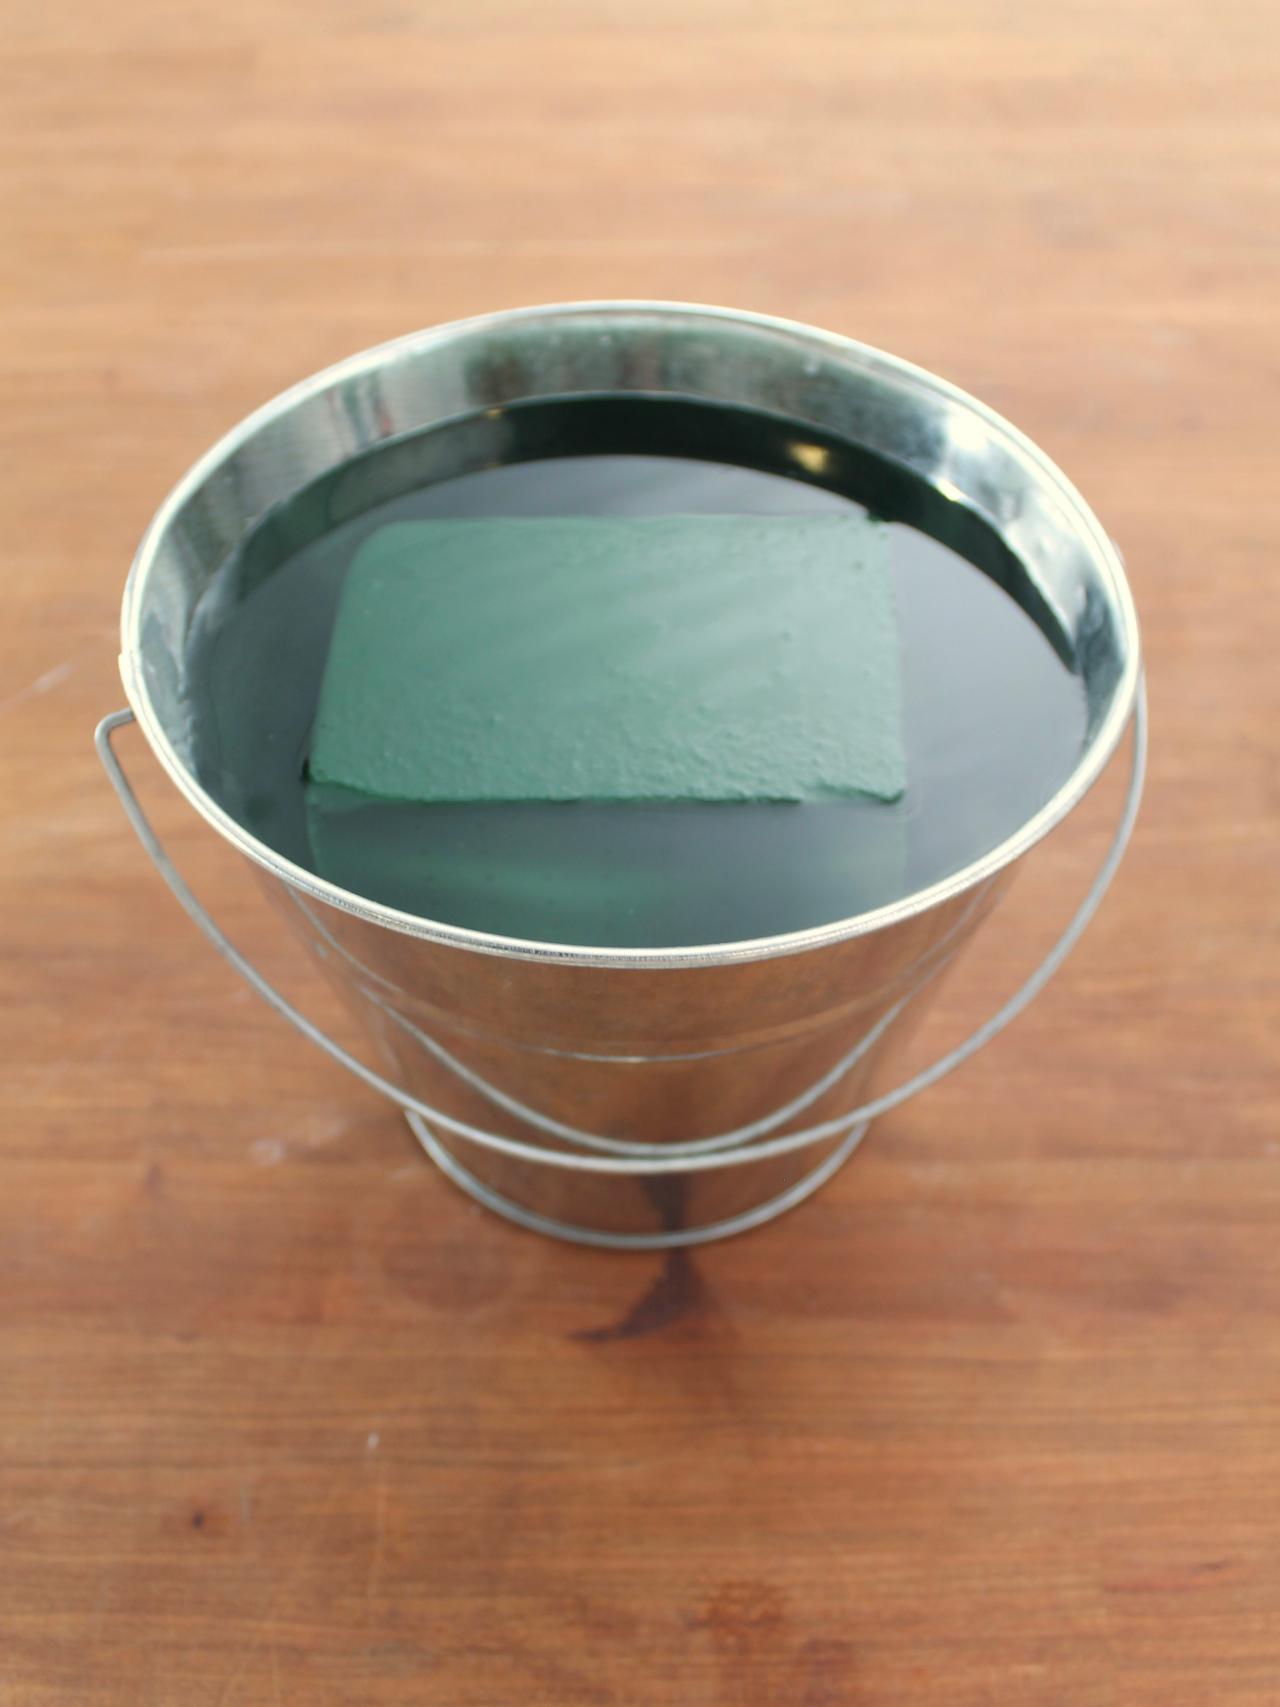
First things first, you'll need to soak your floral foam. This will give the fresh flowers a water source while also providing support for the blooms. Fill a clean container with enough water that the foam can become fully submerged. Set the brick on top of the water and let it slowly sink — do not force the brick into the water. It will hydrate as it sinks. Allow the foam to become fully submerged before using. This can take anywhere from 10-15 minutes depending on the brand. Set the container aside, and let the foam work its magic.
Prep Flowers

DIY Floral Foam Arrangement: Prep Your Blooms
Photo by: Morgan Faulkner
Morgan Faulkner
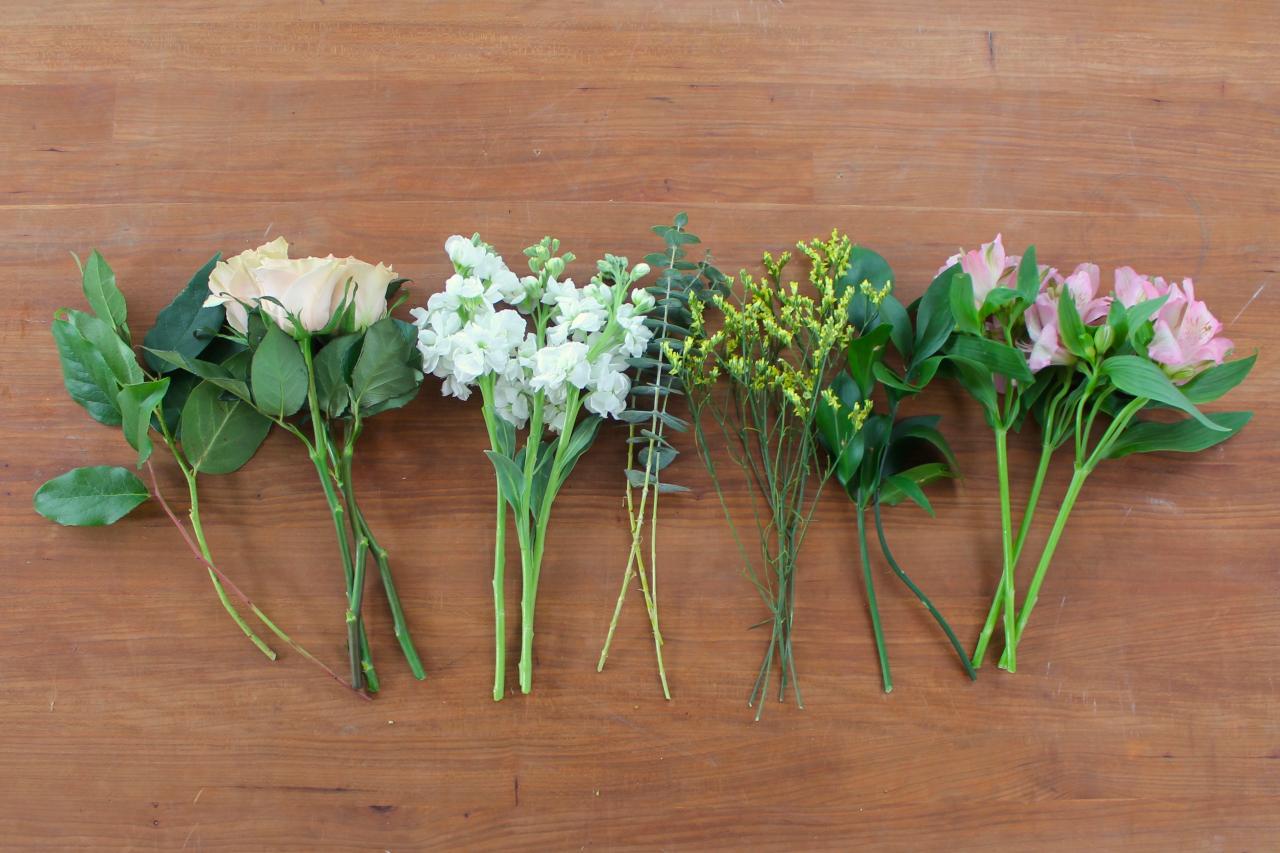
While the foam is hydrating, prep your flowers by removing any thorns or excess foliage on the stems. For this arrangement, we used seven stems of a focal flower, three to four stems of each accent flower and five stems of each greenery variety. The flowers and greenery we used in this arrangement are (from left) salal greenery, cream roses, white stock, baby eucalyptus, yellow limonium, Florida ruscus greenery and alstroemeria.
Prep Floral Foam

DIY Floral Foam Arrangement: Secure Foam
Photo by: Morgan Faulkner
Morgan Faulkner
After the foam has fully soaked (it will appear a darker shade of green now) place it in a shallow dish. Secure foam to the dish using waterproof floral tape.
Start With Greenery

Morgan Faulkner
Using a broad-leafed greenery like salal, create a framework for the shape of your display. Cut the greenery stems at an angle and place firmly into the foam, about one-inch deep. Angle a few leaves downward around the base to cover the dish, then work your way around the middle and top until a general shape (round for this arrangement) is formed. The broad-leafed greenery will also help to fill in any bare spaces in the arrangement.
Add Accent Greenery

DIY Floral Foam Arrangement: Adding Greenery
Cutting the stems at an angle, add accent greenery in between the previous foliage. Continue until the rounded shape is achieved. Using different varieties of greenery adds texture (and color!) while also providing a base for the flowers. Don’t worry if the foam is still visible at this step.
Photo by: Morgan Faulkner
Morgan Faulkner
Cutting the stems at an angle, add accent greeneries (we used baby eucalyptus and Florida ruscus) in between the base greenery. Continue until the rounded shape is achieved. Using different varieties of greenery adds texture (and color!) while also providing a base for the flowers. Don’t worry if the foam is still visible at this step.
Insert Focal Blooms
Morgan Faulkner
Morgan Faulkner
Floral Foam Arrangement: Add Focal Flowers
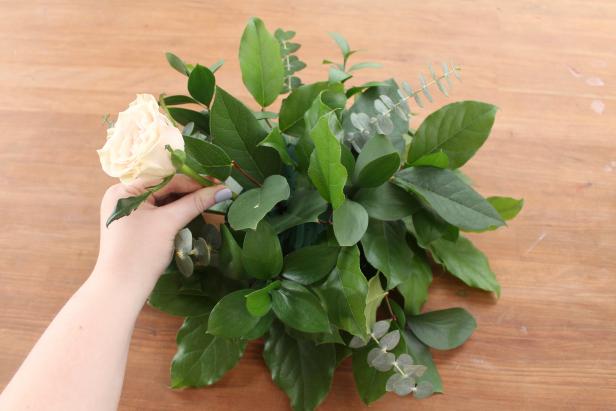
Starting with the focal flower first, cut the stems to approximately 5 inches. Remember to always trim the stems at an angle before inserting. This not only helps pierce the foam easily but also allows the blooms to “drink” the water from the foam.
Photo By: Morgan Faulkner
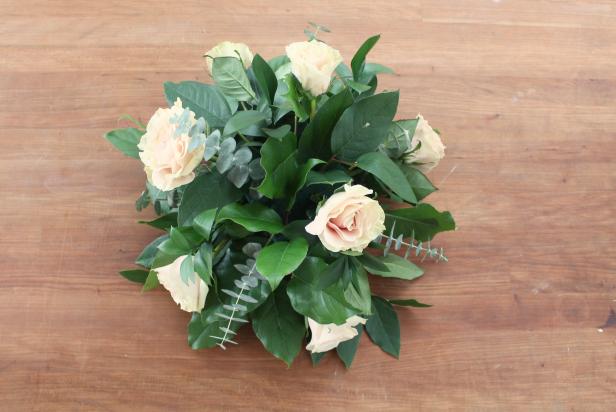
Cut the stems of your focal flower (we used cream roses) to approximately five inches. Remember to always trim the stems at an angle before inserting. This not only helps pierce the foam easily but also allows the blooms to “drink” the water from the foam. Insert the blooms at the top into the foam at an upward angle (image 1). The bottom blooms should face downward and the top upward. Position the remaining focal stems evenly around the arrangement. For this display, we placed four stems around the base and three stems around the top.
Pro tip: It’s okay to remove a stem from the foam and reinsert elsewhere, but avoid if possible. Once a stem is inserted it creates a hole in the foam — too many holes can lead to crumbling foam that dries out faster.
Add Accent Flowers

Morgan Faulkner
Morgan Faulkner
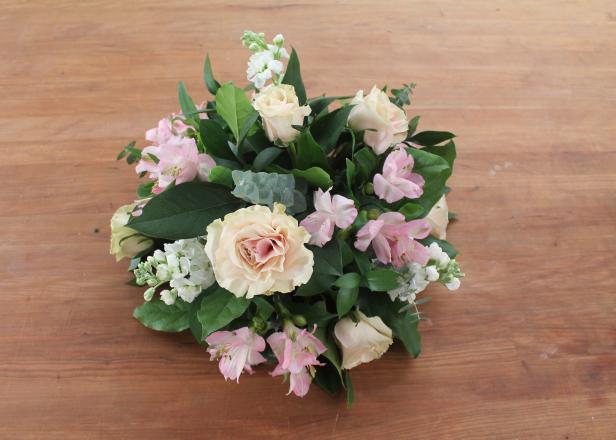
Next, trim the first variety of accent flowers (we used pink alstroemeria) to around four inches and insert between the focal blooms. This flower type should be inserted half an inch deeper than the first to create depth and dimension in the arrangement.
For the second accent flower (we used white stock), leave the stems one inch longer so the bloom stands out farther than the first two. Elongated, upright varieties work best for achieving this look.
Finish With Filler

Morgan Faulkner
For the final arranging step, fill in any holes or bare spaces and add a pop of color with a “filler” flower, like limonium. A few stems of this variety can go a long way. Use leftover greenery to fill larger holes, making sure to conceal any of the original mechanics (foam, dish, tape, etc.).
Enjoy!

Morgan Faulkner
After the arrangement is complete, tilt over the kitchen sink to drain excess water collected in the dish. This will prevent any water from sloshing onto linens, table displays, etc. Place the fresh floral arrangement in the center of a dining spread or use as accent decor. Feeling inspired? Brighten a friend’s day by creating one for them as well! There are limitless possibilities for your floral foam creation.
Pro tip: To prolong the life of the arrangement, make sure to keep the foam moist. This can be achieved by spritzing lightly with water or by carefully pouring water directly into the middle of the arrangement (slightly parting the flowers to do so).


