


How to Sharpen a Knife
Learning to sharpen your knives at home will keep them razor-sharp, making them safer and easier to use.

Marian Parsons
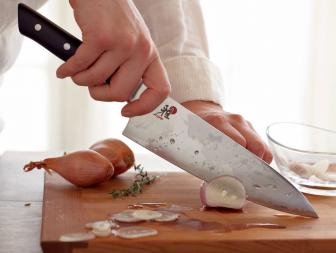
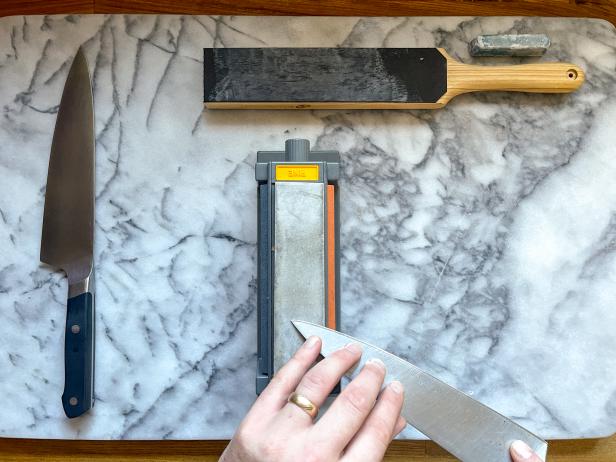
A sharp knife is easier and safer to use.

Even the finest knives will eventually need to be sharpened. Sure, higher-quality steel can improve a knife’s ability to “keep an edge,” but that edge will eventually dull with regular use. Improperly storing and caring for your knife can expedite the dulling process, making sharpening an even more frequent necessity. Luckily, sharpening a knife yourself doesn’t require fancy tools or intricate devices, and with a little practice, you’ll be able to create a razor-sharp edge in no time.
Below, we’ve outlined some common methods for sharpening knives, provided step-by-step instructions for how to sharpen a knife without damaging it and explained how to properly store and maintain your knife to protect its sharp edge.
Watch: Sharpening a Knife is a Life Skill
Knife Sharpening Methods
There are several ways to sharpen a knife, some better and more time-tested than others. Determining the best way to sharpen a knife comes down to what you're most comfortable with. Here are some of the most popular ways to sharpen a knife:
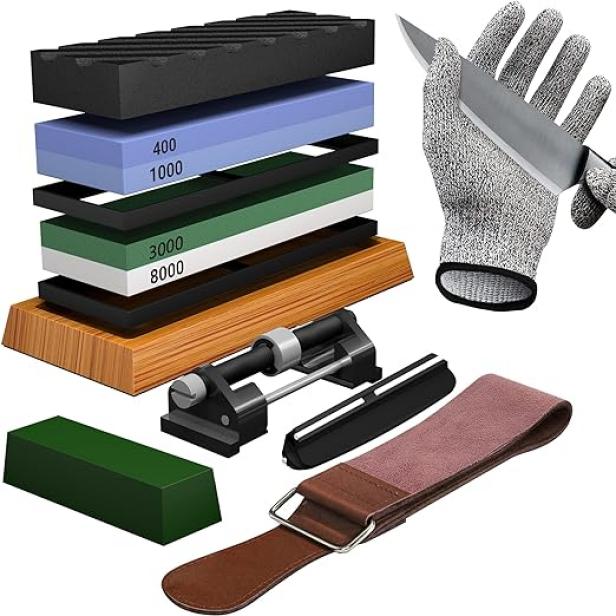
- Sharpening Stone and Strop. Using a sharpening stone, sometimes called a whetstone, is the simplest way to sharpen a knife, though it may take some practice to get good results from this method. (The word "whetstone" comes from the term "whetting," which is old terminology for sharpening a blade). Typically lubricated with either honing oil or plain water, a stone is kept wet to allow the knife’s edge to glide smoothly against it. With this method, multiple stones in varying grits are used to get the knife as sharp as possible. Once finished, a leather strop with a fine honing solution is used to remove any microscopic burrs and sharpen the knife even further.
- Pull-Through Knife Sharpeners. Pull-through knife sharpeners use opposed cutting edges positioned at an angle to cut each side of a knife’s blade. Available in both manual and electric iterations, pull-through knife sharpeners are quick and have little to no learning curve. The opposed angles make it easy to sharpen both sides of a knife evenly.
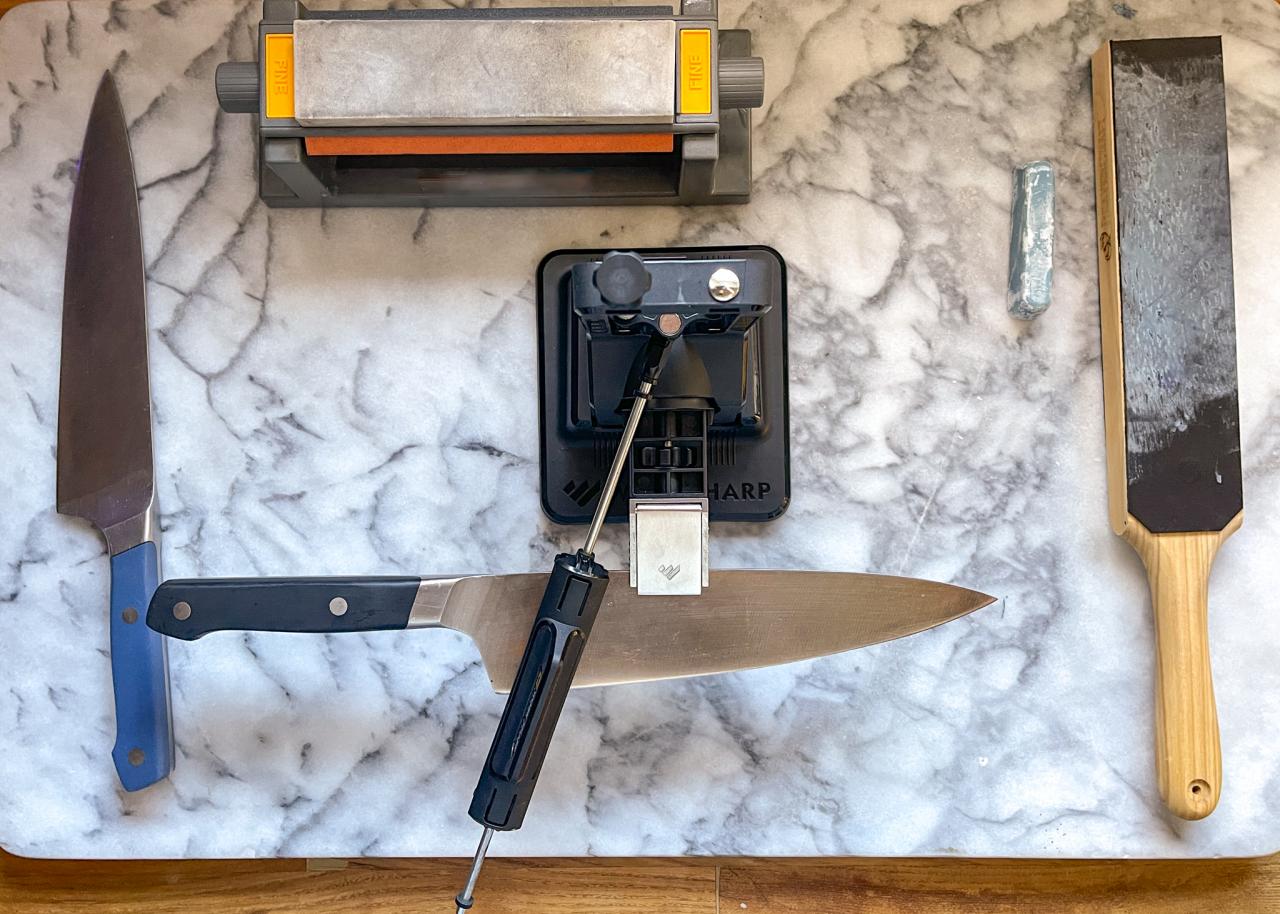
- Specialty Knife-Sharpening Devices. It seems like every day a new knife sharpening device hits the market, each claiming to be the quickest, easiest way to get a razor-like edge on your kitchen knife. While some of these knife-sharpening devices work better than others, many of them are gimmicky at best. When browsing knife sharpening devices, the most effective ones are those that mimic the process of sharpening with a stone but have a feature that holds the knife at the correct angle, such as the Work Sharp Precision Adjust Knife Sharpener.
Sharpening With Oil vs. Water
Most sharpening stones require lubrication to help the blade move smoothly across the stone. Whether you use water or oil for lubrication may depend on the sharpening stone used. The water used would be basic tap water while the oil used is honing oil, which is specially formulated for this application. While different honing oils consist of specific blends, many are simply refined mineral oil that has been cut with thinning agents to give it a lower viscosity.
Knife Sharpening Angle
The most important factor in sharpening a knife is the angle at which you stroke the knife along the sharpening stone. Sharpening a knife at an improper angle will damage it quickly. Too high of an angle will cut directly against the edge of the blade and dull it, while too low of an angle can miss the edge of the blade altogether. So, what is the proper angle to sharpen a knife? Different experts will cite different angles as “the best angle to sharpen a knife,” but much of the difference comes down to regional knife style:
- Eastern-Style Knives (Asian): 15-degree angle
- Western-Style Knives (European): 20-degree angle
Many chefs split the difference and aim for 17 degrees. When sharpening a knife for the first time, consult the manufacturer for the angle of the factory edge, unless of course you desire to reshape the edge to your liking.

Kamron Sanders
The Work Sharp Precision Adjust Knife Sharpener locks the blade at whatever angle you wish to sharpen it.
What Is a Burr?
A "burr" is a microscopic bit of rolled steel that forms on the opposite side of the blade as you sharpen a knife. The burr forms because the sharpening stone is actively cutting the steel as the knife passes over it.
Shop Kitchen Knives
10 Best Knives for Home Chefs
Whether you're paring apples or carving your holiday roast, you need a kitchen knife that's a cut above the rest.
Some steel is immediately dropped from the knife during sharpening while the rest rolls up on the opposite edge to form the burr. While you probably won't be able to see it with the naked eye, you can feel the burr with your finger, which indicates that you've cut that portion of the blade.
How to Sharpen a Knife Using a Sharpening Stone
Follow the steps below to sharpen any style knife using a sharpening stone and a leather strop.
Materials Needed
- sharpening stone
- honing stone
- leather strop + honing compound
- damp rag
- bowl
- oil or water
- marker (optional)
1. Soak Your Sharpening Stones
Check your stone’s manufacturer’s instructions to see if water or oil are recommended and follow the application instructions. If you don’t know the manufacturer or can’t access instructions, soak the stone in water for 10 minutes.

Kamron Sanders
2. Set the Stone in Place
Remove the stone from the water and allow the excess to drip off, then place it on your work surface with your desired starting grit facing up.

Kamron Sanders
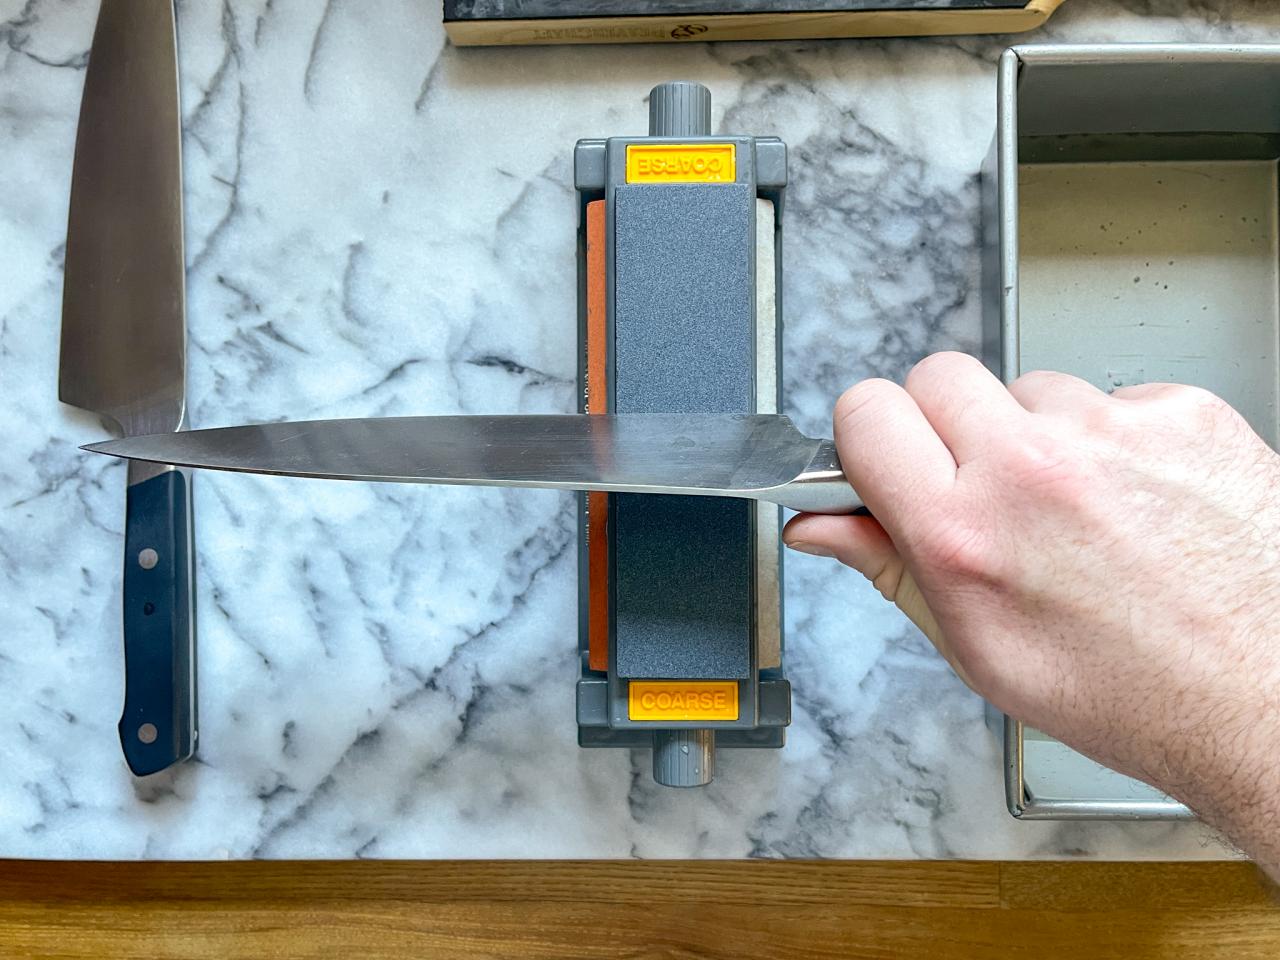
3. Establish Your Blade Angle
To establish your angle, hold your knife at a 90-degree angle (Image 1), then halve that to get a 45-degree angle (Image 2), then halve that to achieve a 22.5-degree angle (Image 3). From there, move slightly downward to approach the 15-degree angle position or slightly upward to move closer to 30 degrees. Whichever angle you choose, maintain that angle for the entirety of the sharpening process.
Kamron Sanders

Kamron Sanders
Kamron Sanders
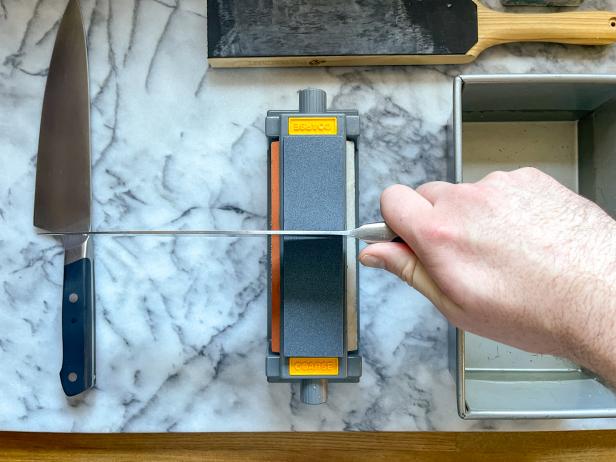
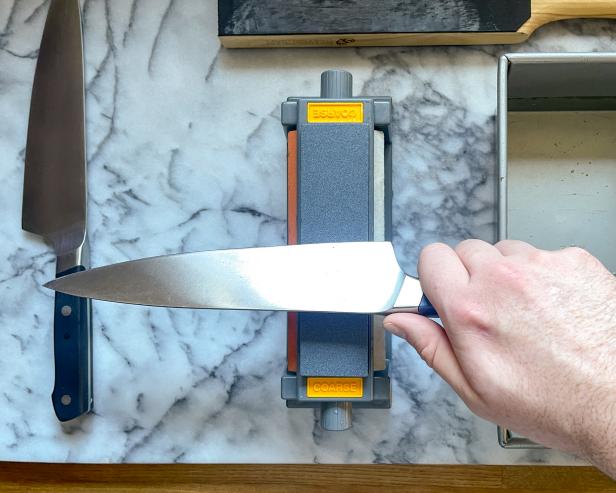
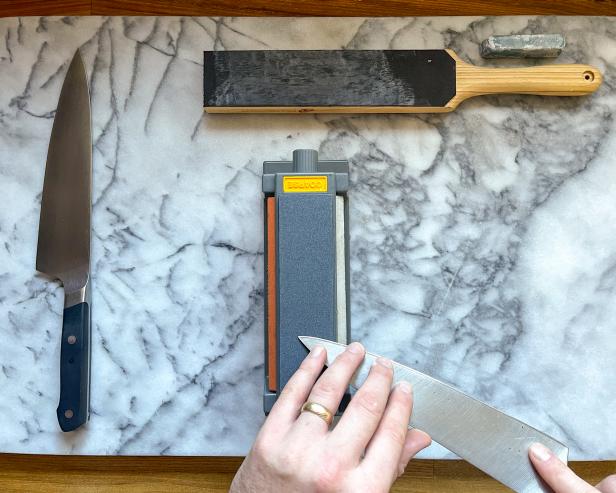
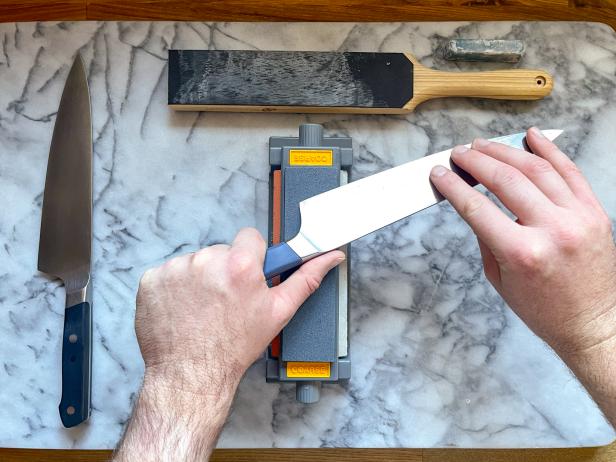
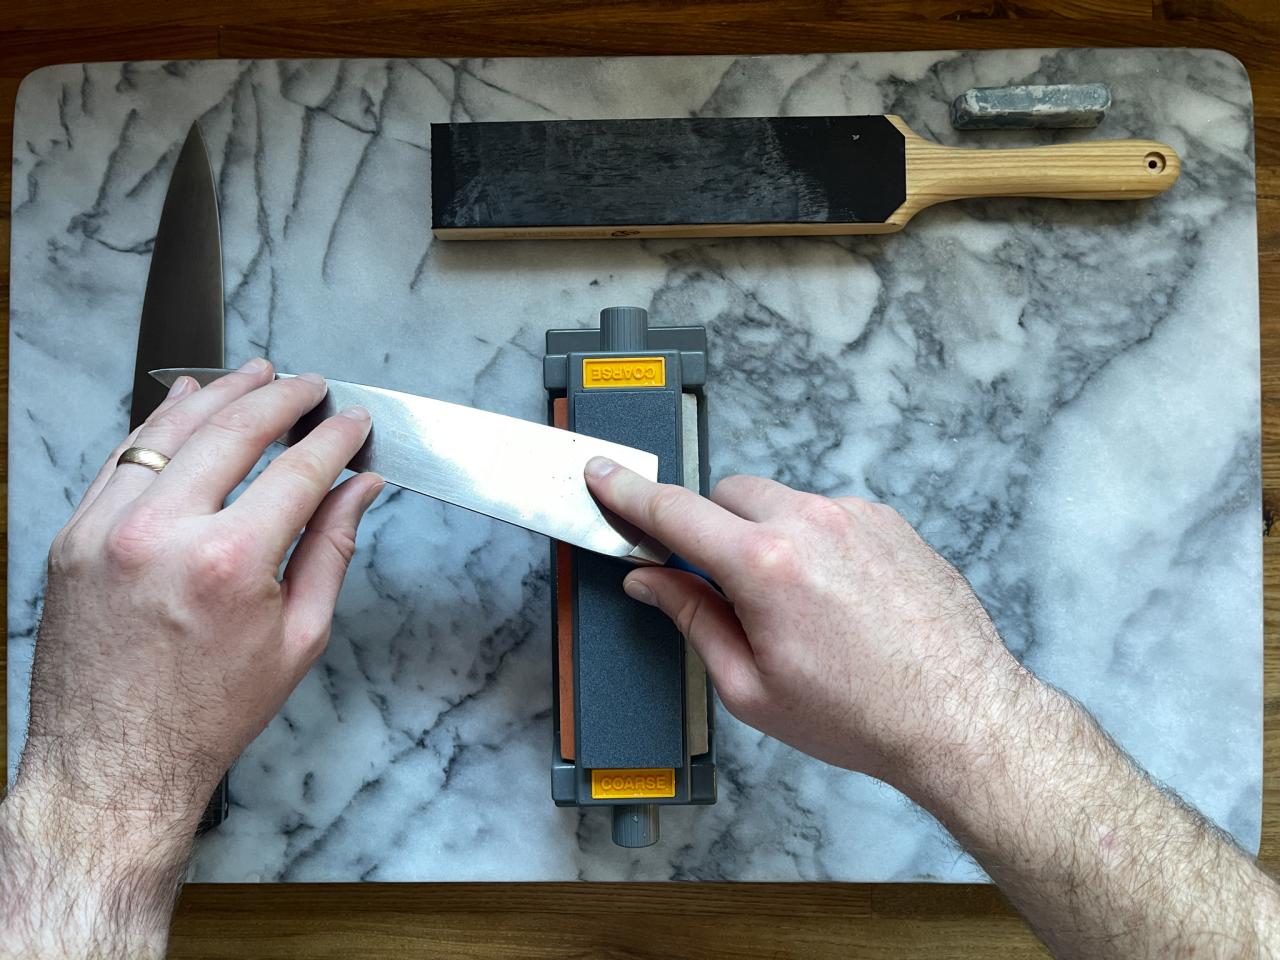
4. Sharpen the Knife
Once you’ve established the proper angle, it’s finally time to sharpen the blade. Unless your knife is severely damaged or needs to be reshaped, you can skip the coarse shaping stone and start on the medium-grit sharpening stone. Start at the heel of the knife and pull the blade back toward your body while also moving laterally from heel to tip (Images 1 & 2). Check the blade to ensure you’re cutting at the right angle before doing too much damage. Complete eight to 10 strokes, then carefully check the opposite side of the knife’s edge for a burr. If a burr has formed, flip the knife over and repeat the process on the other side of the blade, performing an identical number of strokes to promote an even bevel (Images 3 & 4).
Pro Tip: If you're finding it hard to track your progress, lightly mark the edge of the blade with a marker. As you cut with the stone, the marker will disappear and reveal the spots you still need to work on.

Kamron Sanders
Kamron Sanders
Kamron Sanders
Kamron Sanders
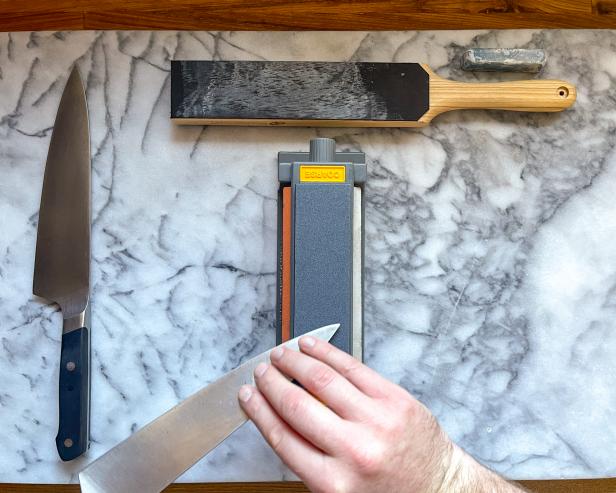
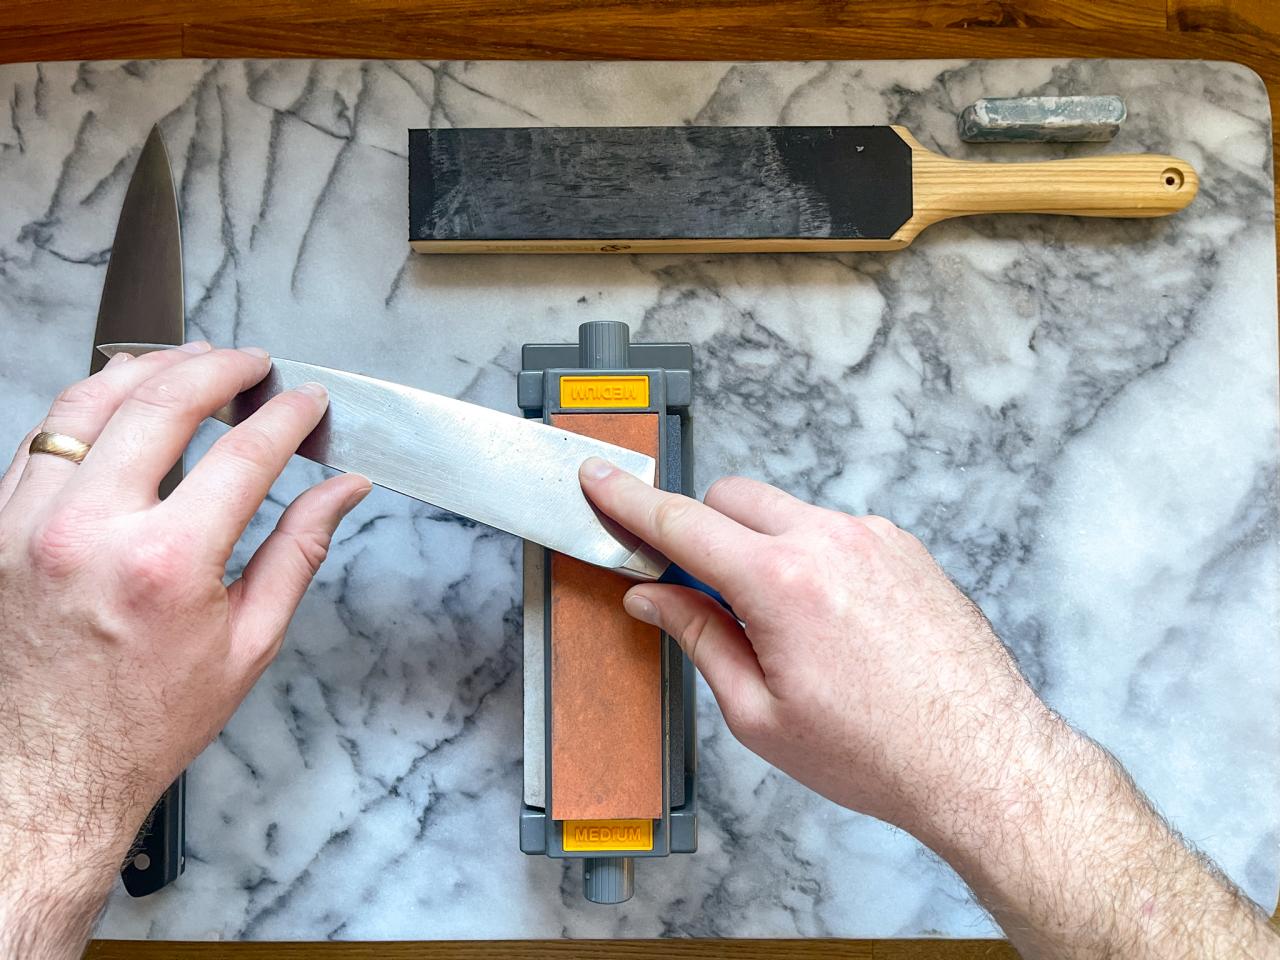
5. Reduce Sharpening Pressure
If you have a finer grit sharpening stone, switch to it. If not, remain on the current stone and begin to flip the knife over after each stroke. As you complete the strokes, lighten the pressure with each pass until you are no longer applying pressure to the blade (Images 1 & 2).

Kamron Sanders

Kamron Sanders
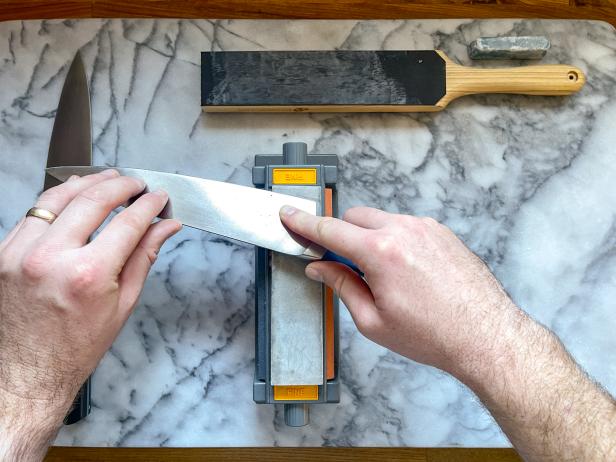
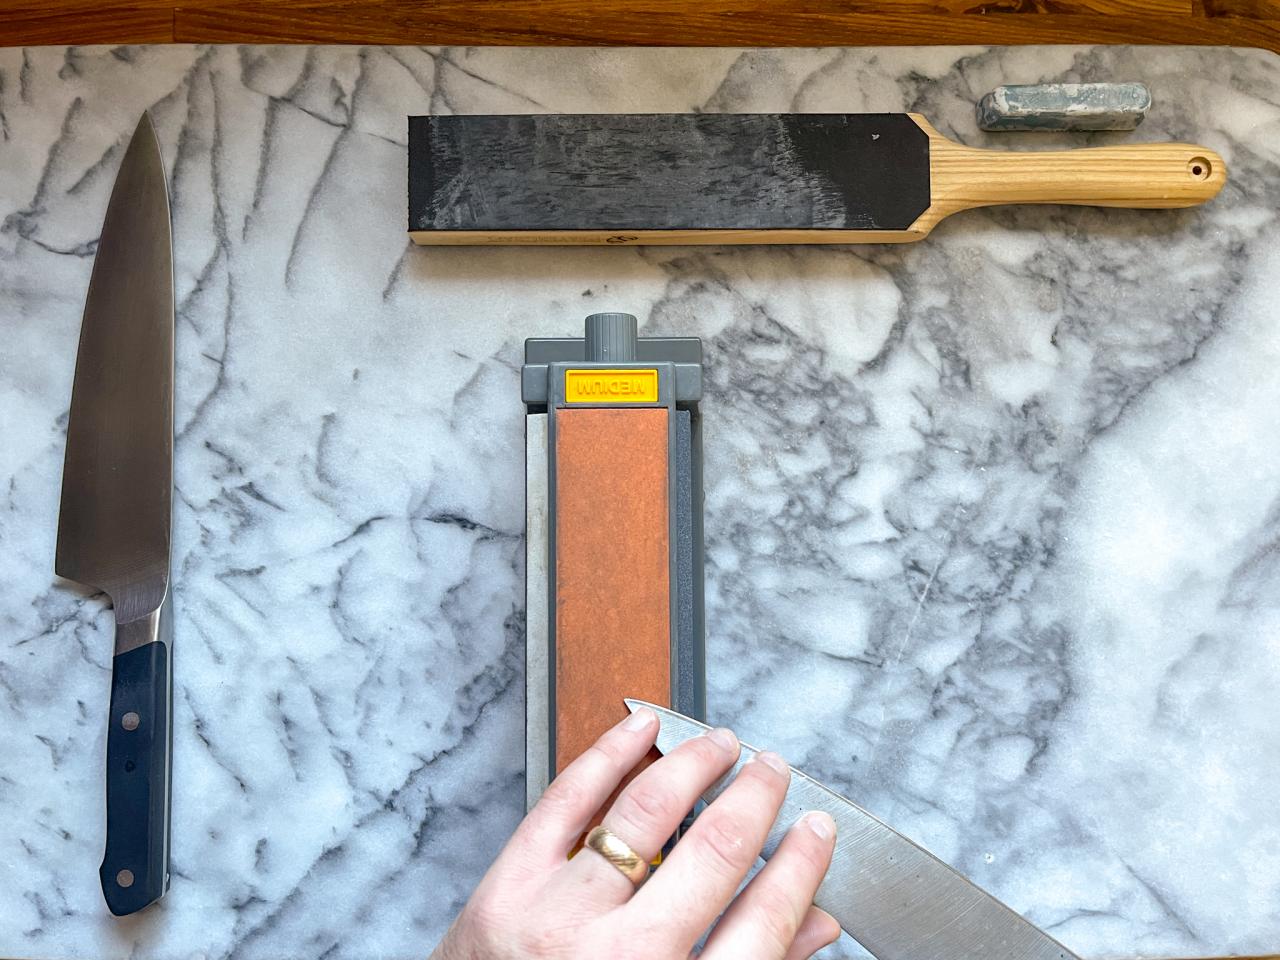
6. Hone the Blade
Swap the sharpening stone for the fine-honing stone and repeat the process from Step 5 (Images 1 & 2). Note: If you find the movement of pulling the blade from heel to tip awkward or hard to control, you can choose to push from tip to heel.
Kamron Sanders
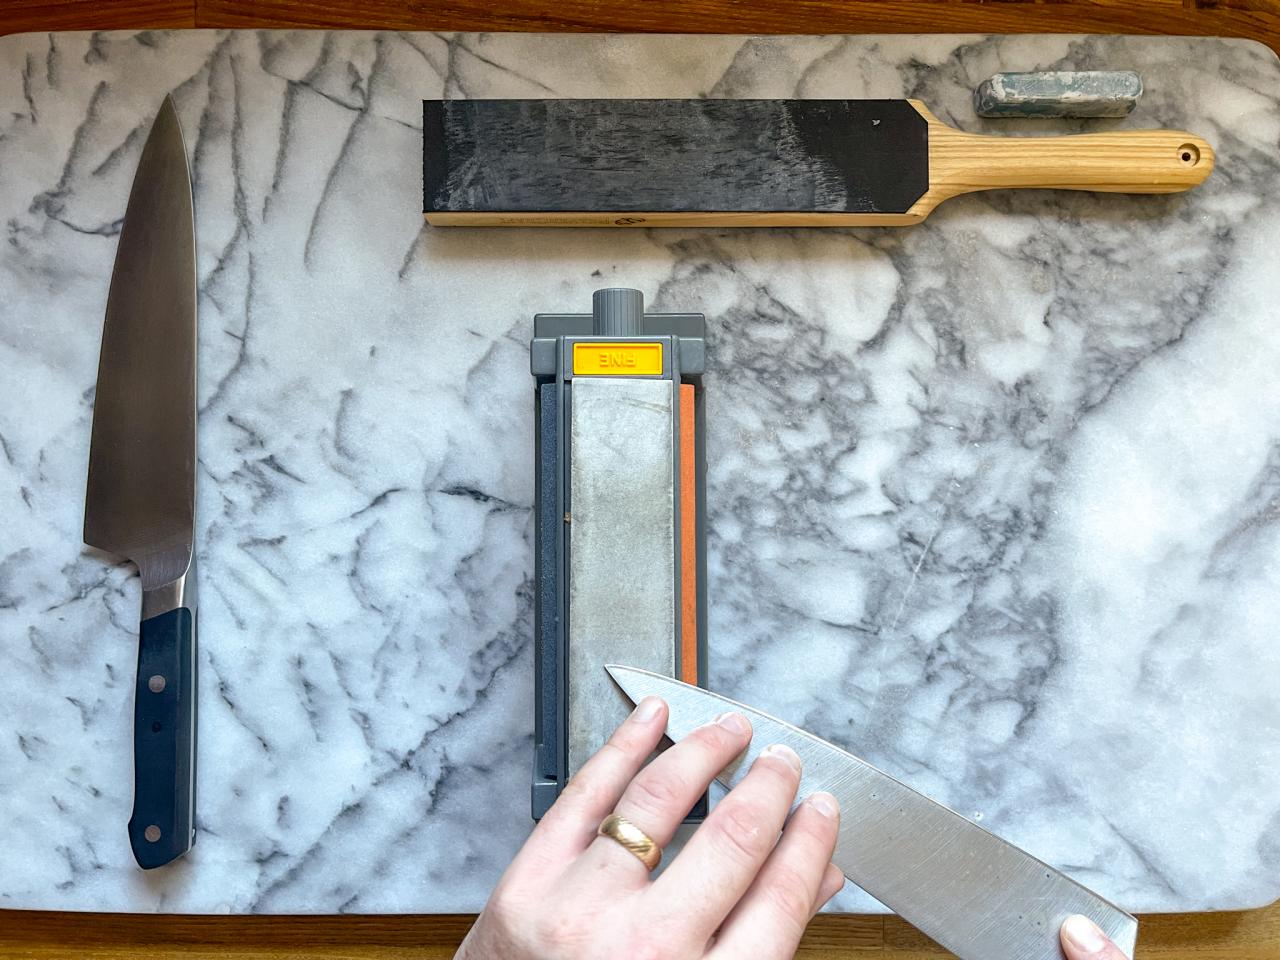
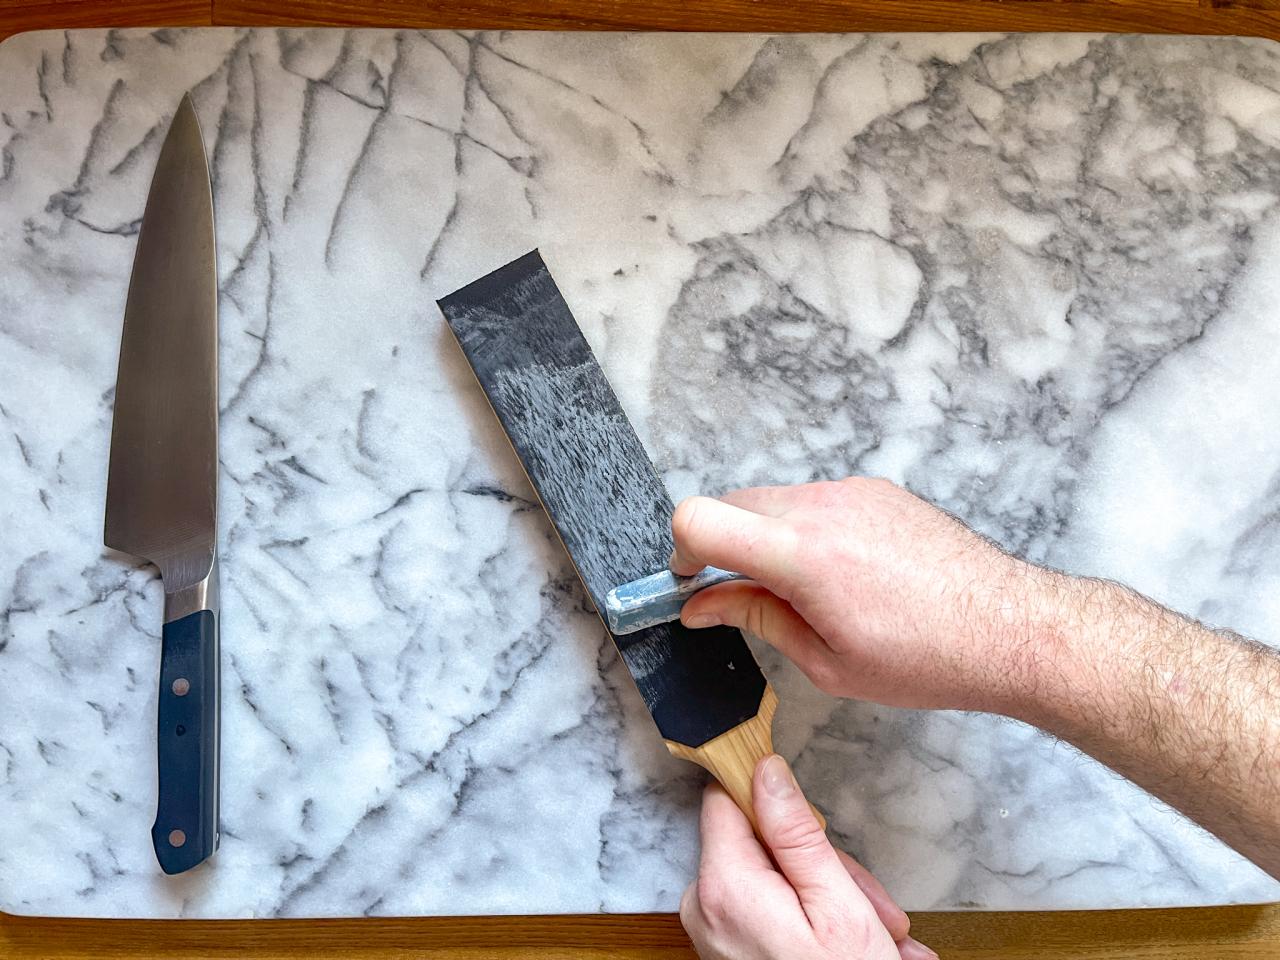
7. Prep the Leather Strop
Rub the compound stick on the leather strop. If you have multiple grits of compound, choose the coarsest grit first, then progress through the grits to get the sharpest blade possible.

Kamron Sanders
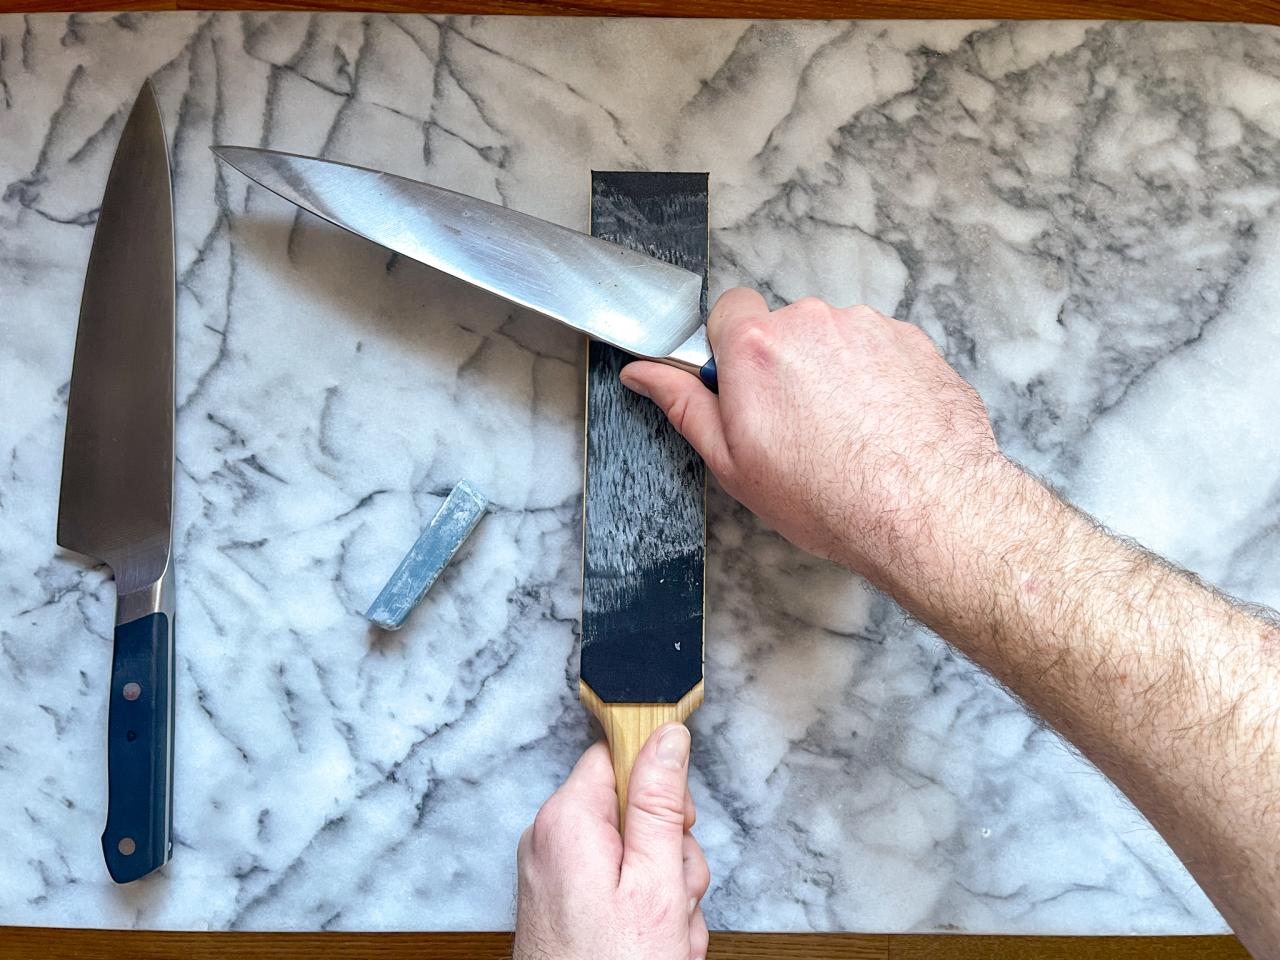
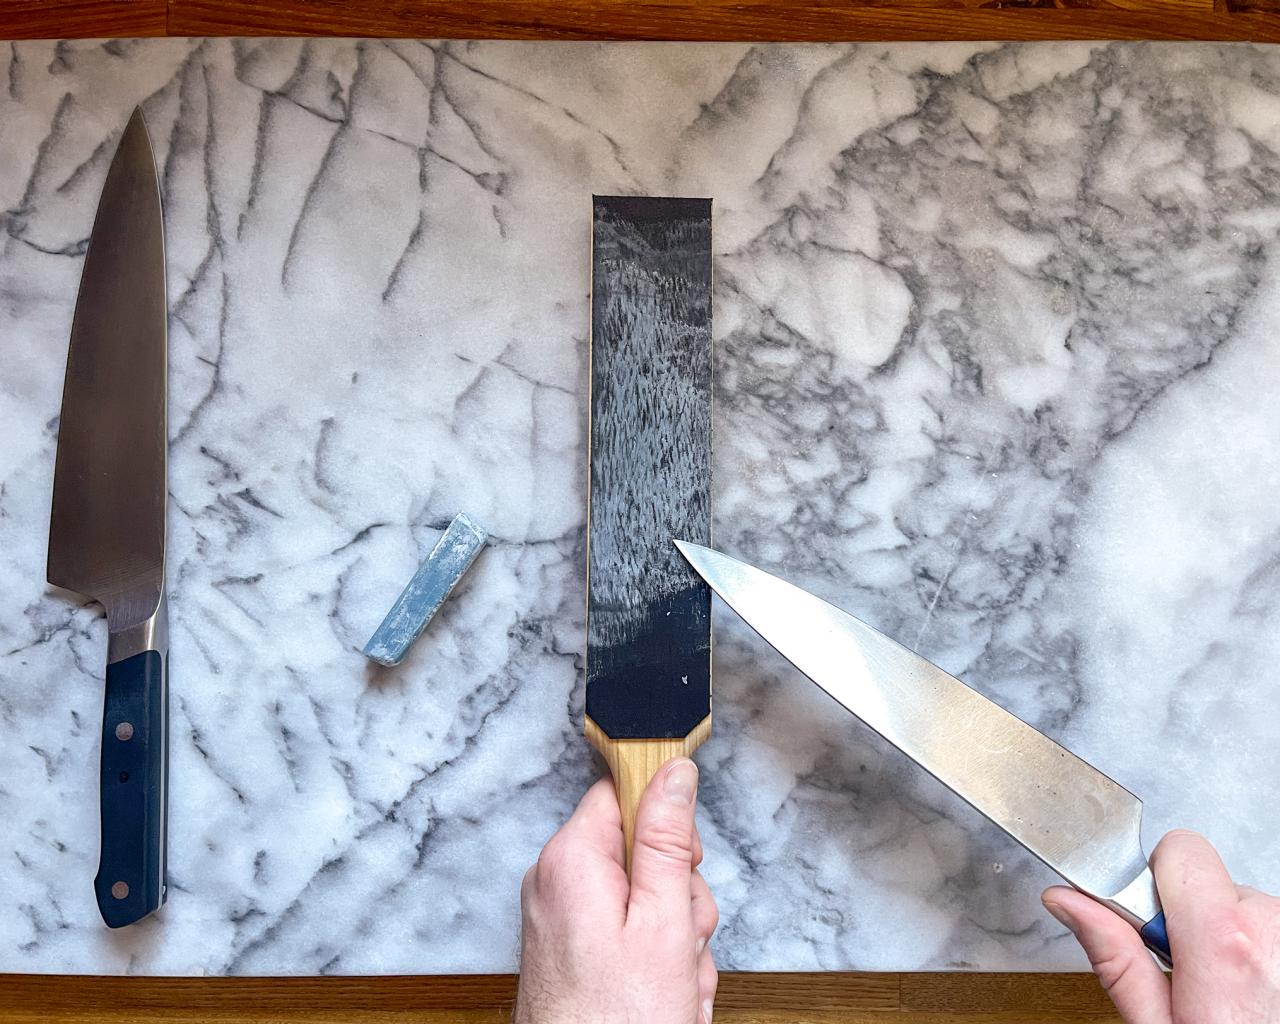
8. Strop the Blade
Place the heel of the knife at the top of the strop and pull backward with the same motion and angle you used to sharpen the blade. Flip the knife after each stroke to get an even bevel (Images 1 & 2). Look for light scratching on the leather when you begin to strop the knife. This indicates the presence of a burr. As you strop the blade, this scratching should disappear.

Kamron Sanders

Kamron Sanders
How to Keep a Knife Sharp
The secret to keeping your knives sharp as long as possible comes down to a few key practices:
- Store Your Knives Properly. Don't simply toss your knives in a drawer with the rest of your kitchen utensils. Knives should be stored in a way that protects the delicate edge. Whether this be a knife block, a magnetic strip or a slotted drawer organizer, keep your blade's edge out of harm's way during storage.

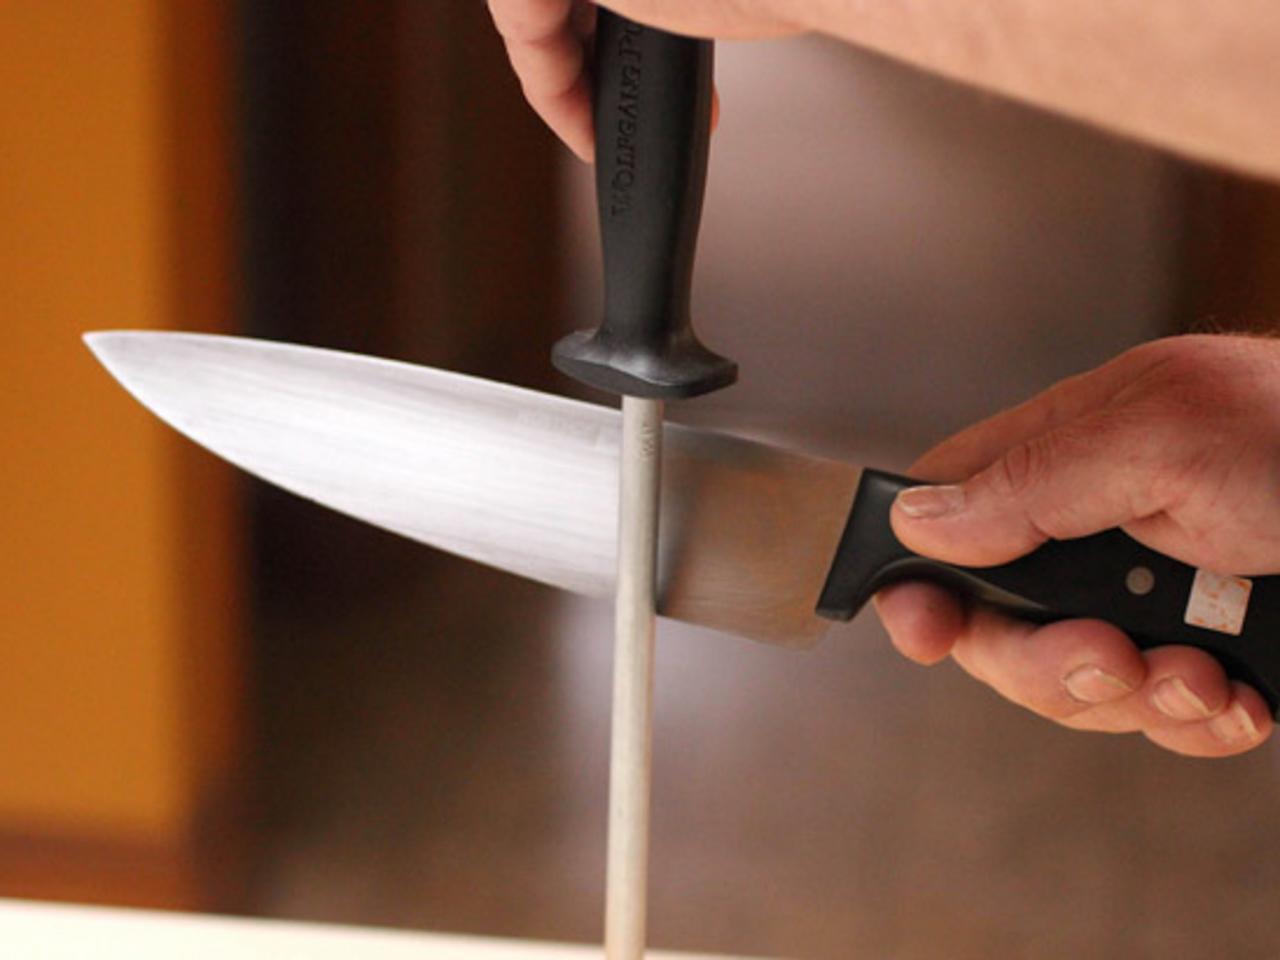
Honing your knife once a week with a honing steel will keep the knife's edge sharp.
- Clean Your Knife Directly After Use. Skip the temptation of placing your knife in the sink after using it and, instead, immediately hand-wash it, dry it and put it away. Knives left in the sink get knocked around, damaging the blade and handle.
- Hone Your Knife Regularly. How often you should hone your blade depends on how often you use it, but most users can benefit from honing the blade once a week. This helps promote a sharp edge and removes any microscopic damage before it gets out of hand.


