


5 Ways to Prevent Lead Poisoning While Fixing Up a Home
DIYers, beware: Lead-based paint exists in most houses built before 1978. Luckily, the EPA has foolproof tips to prevent lead poisoning while repairing or renovating your home.
Listen up, DIYers. We all love a nice weekend project, but if you’re jumping into a renovation, a repair or a paint job, it’s important to look out for lead — which can be damaging to our bodies, particularly when it comes to children and pregnant women.
You’ll find it in lead-based paint, which coats the surfaces of almost all homes built before 1978. When we sand or cut painted surfaces or replace windows, lead paint can chip and create harmful lead dust, another tricky substance to watch out for while DIYing. Particularly high-risk spots include places children and adults are most likely to touch: windows and windowsills; doors and door frames; and stairs, railings, banisters and porches.
Luckily, the United States Environmental Protection Agency provides plenty of ways to prevent lead poisoning. Here’s what you can do.

Rustic White Photography
1. Consult a Certified Professional
Before starting a renovation, repair or paint project, it’s important to determine if lead-based paint exists in your home. A lead-safe certified contractor can help you with this. The older the house —particularly if it was built before 1978 — the more likely lead-based paint is present. According to the EPA, “if you are unable to determine the age of your home, it’s safe to assume the area you are renovating has lead-based paint.”
2. Protect Yourself and Your Home
Proofing Yourself
It’s easy to inhale lead dust while DIYing. The EPA recommends wearing the following protective gear: a disposable N-100 certified respirator; disposable coveralls to limit contamination of your clothing; a painter’s hat to protect your head from dust and debris; disposable shoe covers to prevent the tracking of dust from your work area and protect your shoes from exposure to dust; and eye protection and gloves.
Proofing Your Home
If your home does contain lead paint, the EPA suggests that DIYers first, “remove all furniture, area rugs, curtains, food, clothing and other household items from the work area until cleanup is complete.” For items that cannot be removed from the work area, wrap them with plastic sheeting and seal them with tape. Close all windows, turn off heating and cooling systems, cover floors and vents with plastic sheeting, and seal all doors. The EPA also recommends constructing an airlock at the entry of your work area if needed. The goal is to “contain your work area to prevent dust and debris from escaping to the rest of your home.”

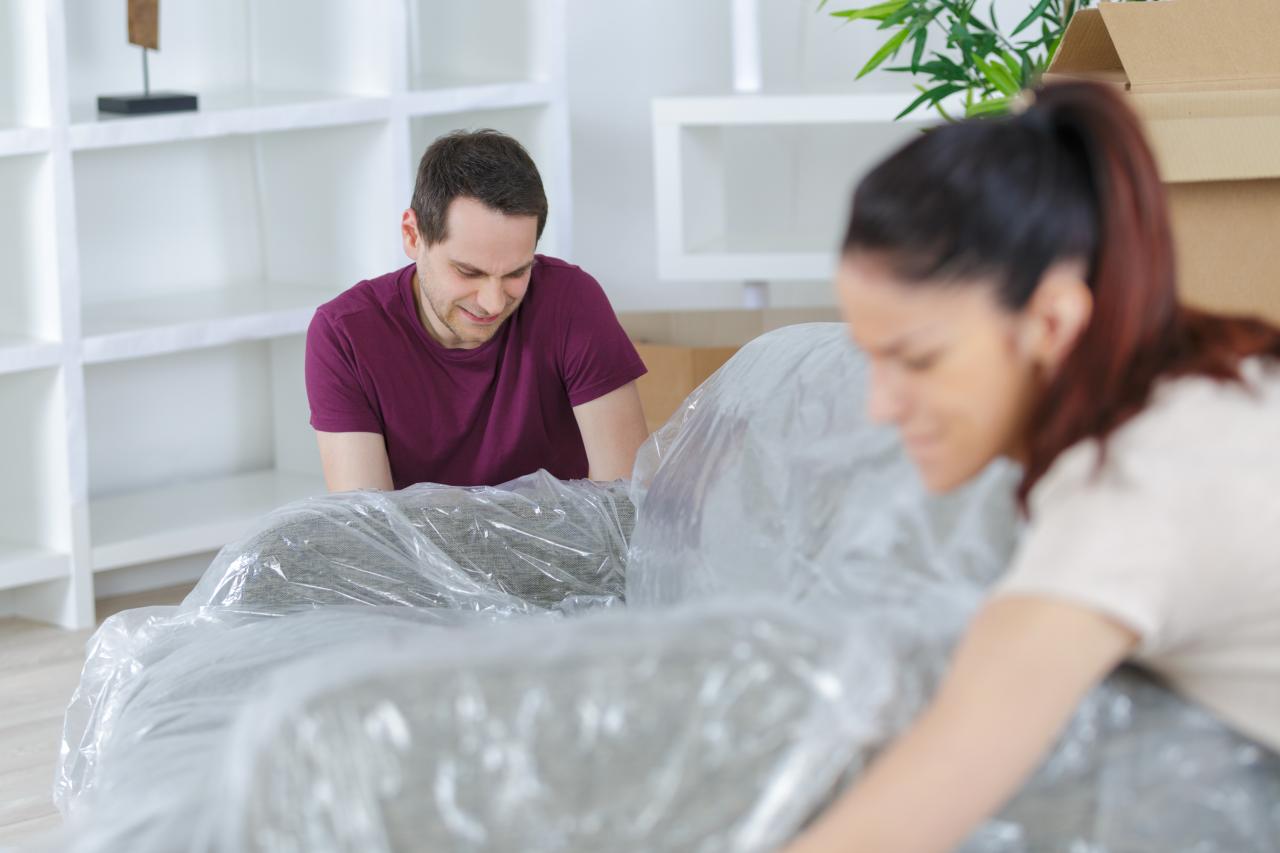
Shutterstock/ALPA PROD
3. Minimize Dust
Once the project begins, you’ll be scraping, drilling, demolishing, etc. — so minimizing the resulting dust is vital. The EPA suggests a plethora of tools to help keep your dust under control: wet-dry sandpaper and a sanding sponge; a spray mister (to must areas before sanding, scraping or drilling); heavy plastic sheeting; a utility knife or scissors; masking tape, duct tape or painter’s tape; a High Efficiency Particulate Air (HEPA) vacuum cleaner; power tools with HEPA-filter-equipped vacuum attachments to contain the dust created by these tools; and more. (For the full list, check the EPA’s website.) As you work, put trash in heavy-duty plastic bags, vacuum your work area with a HEPA vacuum cleaner frequently and wash your hands and face frequently.

4. Clean Your Work Area
The EPA recommends using the following tools to clean your work area both during the project and after its completed: heavy-duty plastic bags; disposable wet-cleaning wipes or hand towels; all-purpose cleaners; a mop and disposable mop heads; two buckets (or a two-sided bucket with ringer); a shovel and rake; a wet mopping system; and electrostatically charged dry cleaning cloths. And, once the entire project is done and you’ve thrown all your trash away, vacuum (with a HEPA vacuum) all surfaces, including furniture, fixtures and objects. Then wipe everything down with a wet cleaning cloth.
5. Control Your Waste
Collect your waste (including dust, debris, protective sheeting, protective gloves, etc.) and put it all in heavy-duty plastic bags or plastic sheeting. Seal everything with tape and deposit it at a licensed solid-waste landfill. And, once all your cleaning is complete, don’t forget to sit back and admire your handiwork.
For more detailed information on how to renovate safely in your pre-1978 home, take a look at Steps to LEAD Safe Renovation, Repair and Painting (PDF).


