


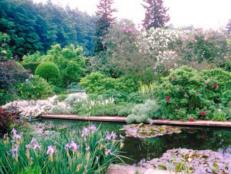
Solutions to the 25 Biggest Landscaping Mistakes 60 Photos
Learn how to avoid common landscaping blunders and how to remedy the ones that may already be creeping into your yard.
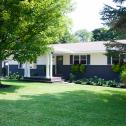
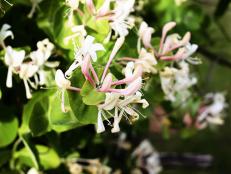
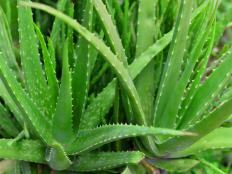
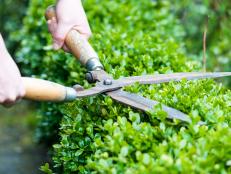
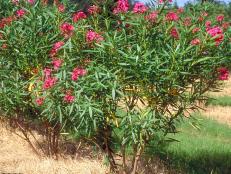
Shrubs & Bushes
Anchor your yard and flower beds with shrubs and bushes, which can add height and structure to the shape of your landscaping.


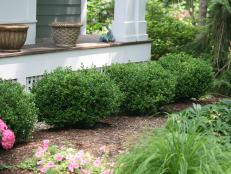


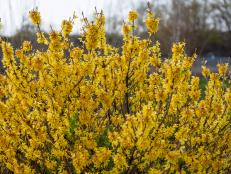
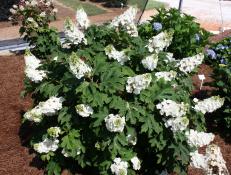
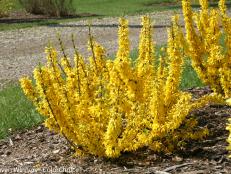
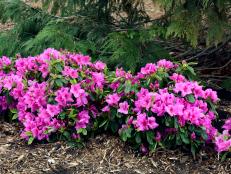


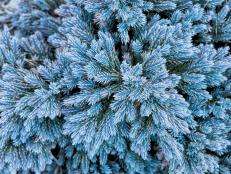
14 Shrubs You Can’t Kill 33 Photos
Looking to improve your landscaping but suffer from a black thumb? You'll never have to worry about these tough-as-nails shrubs.
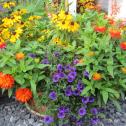
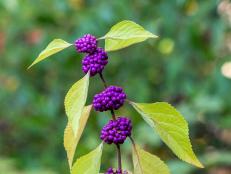
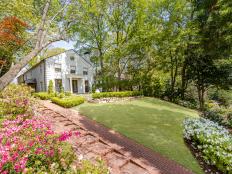
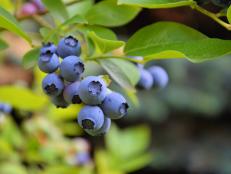
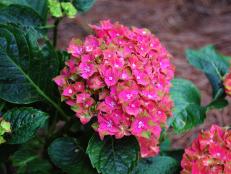
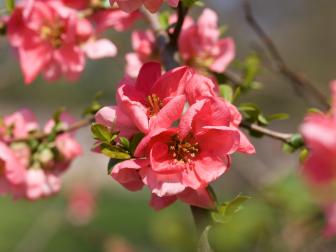
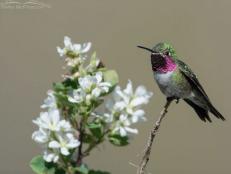
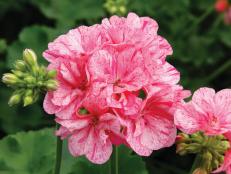
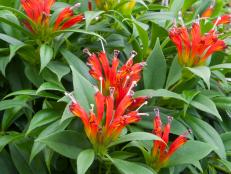
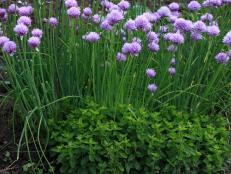
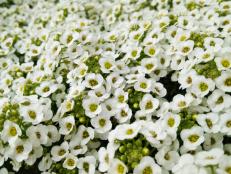
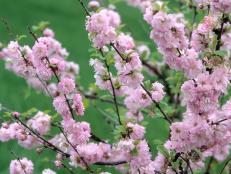
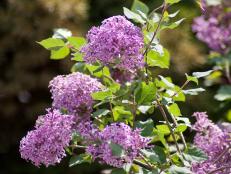
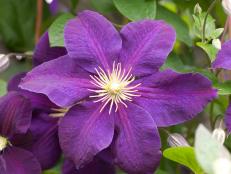
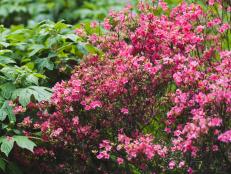
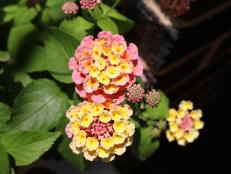
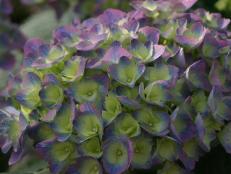
Flowering Plants
Add color and variety to your landscape with flowering plants. Blooms are a great way to attract and nourish polinators, too.


")
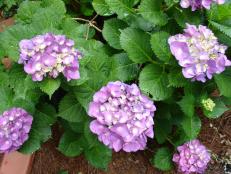
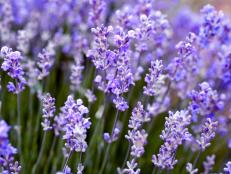
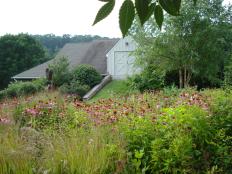
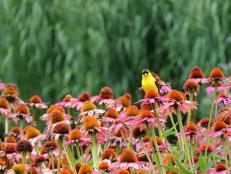
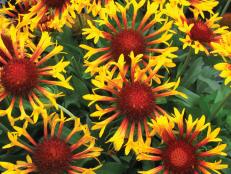
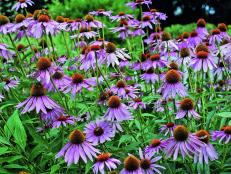
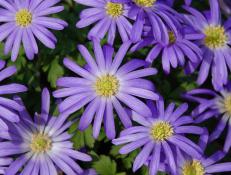
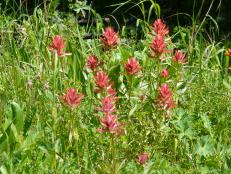
25 Perennials for Season-Long Color 25 Photos
Ignite your yard with the wonderful color of flowering perennials that return to fill your garden with beauty year after year.
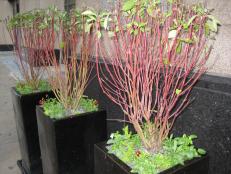
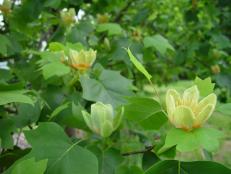
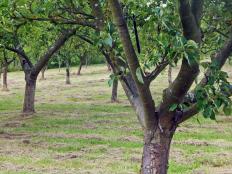
Trees
Learn all about how to plant and care for trees and discover what tree is right for your yard.


")
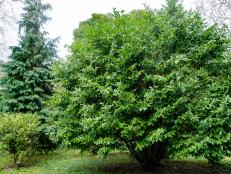
13 Indestructible Trees 13 Photos
Invest in trees that withstand tough conditions.
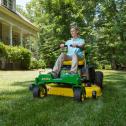
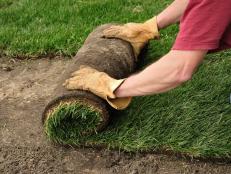
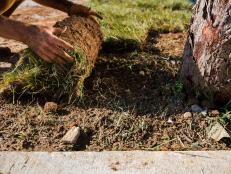
Lawn Care
Get tips for planting and maintaing a beautiful green lawn.


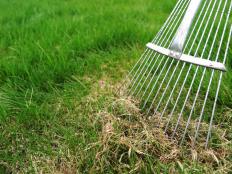


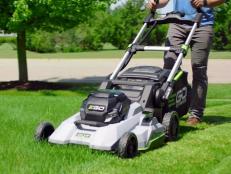
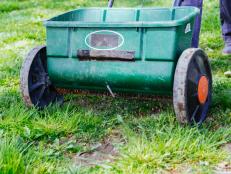


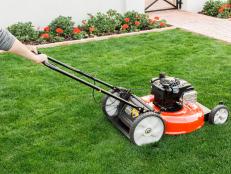
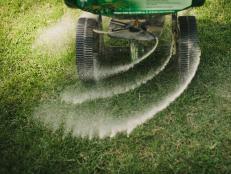
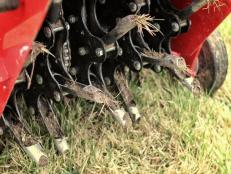

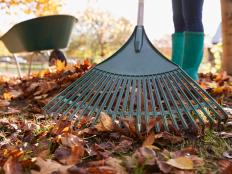

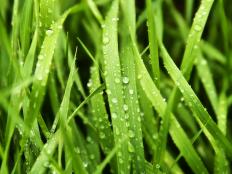
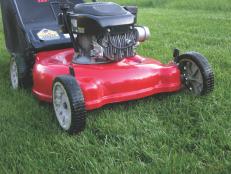


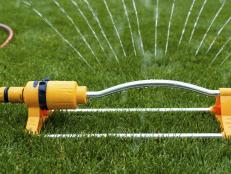


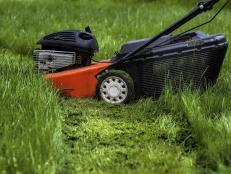

15 Year-Round Lawn Care Tips 15 Photos
No matter what time of the year you’re growing grass, brush up on your lawn care routine with these quick and easy tips.
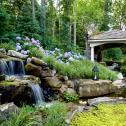
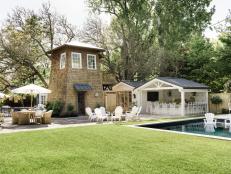
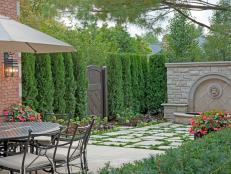
Hardscaping
Finish off your landscape design with retaining walls, walking paths, fire pits and other hardscaping elements.


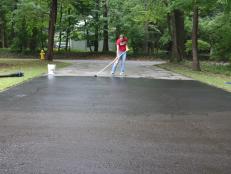


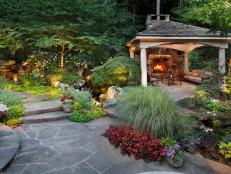


40 Wow-Worthy Hardscaping Ideas 40 Photos
Make the outdoors an extension of your home with smart hardscaping solutions. We share our top tips for transforming your front or backyard into a go-to destination.
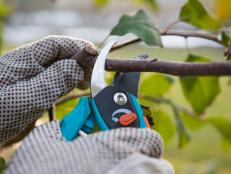
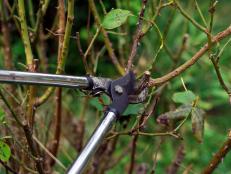
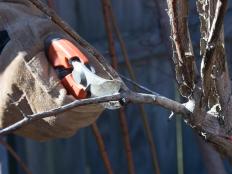
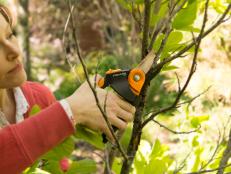
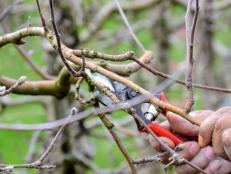
Pruning Tips
From trees to roses, get the best pruning techniques and advice from our lawn and gardening experts.


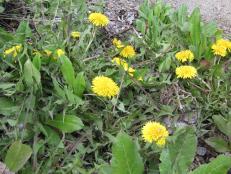
Weeds
Learn how to eradicate pesky weeds from your yard.
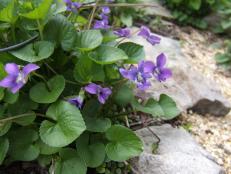

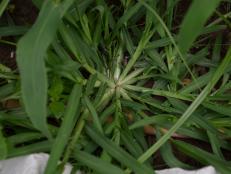

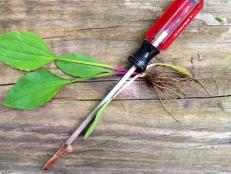
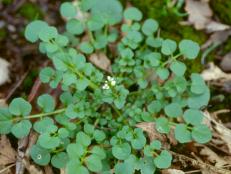

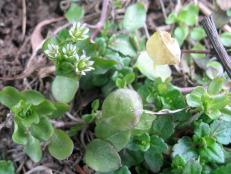
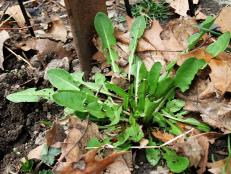
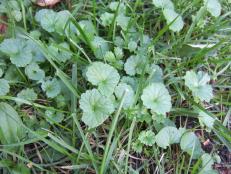
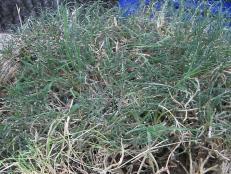
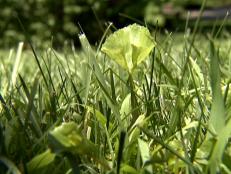
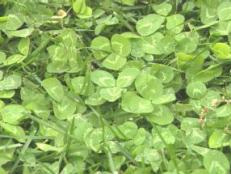


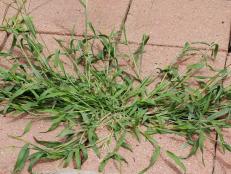
12 Common Weeds 25 Photos
Got weeds? Learn how to identify common weeds, including tips on why they’re thriving and how to get them under control.


