How to Build a Stone Path

A path made of stepping stones is a simple, inexpensive way to add charm to your landscape. Stone paths offer a practical route for foot traffic from the sidewalk or driveway to your front door and along the side or back of the house.
By: Sherry Rauh
Stone Path

An Inviting Stone Walkway

A path made of stepping stones is a simple, inexpensive way to add charm to your landscape.

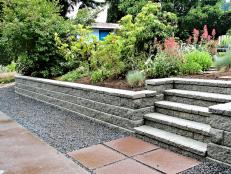
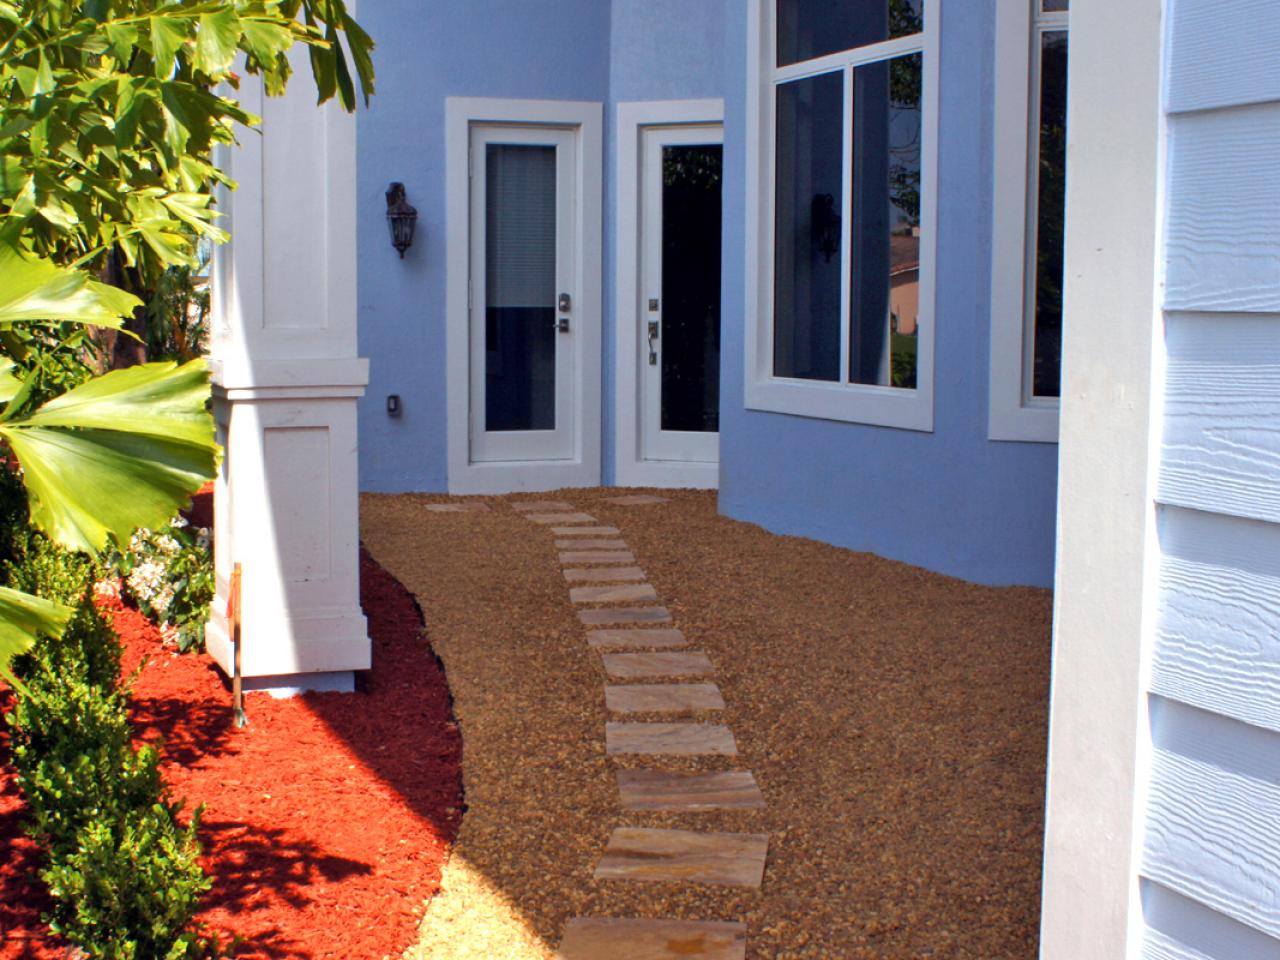
Consider your home's architecture when choosing a style of stepping stone. If there is keystone, brick or faux rock on your exterior walls, bring the same texture and color into the stepping stones. The path shown here was selected to coordinate with the coral hues of the patio pavers. Matching the color or texture of a nearby landscape element will give your path a professional look.

Note: Choose a surface with enough texture that it won't be slippery when wet, especially if the path will be near a pool. And avoid very dark stepping stones, which can become too hot for bare feet in the summertime.

Stepping stones

Landscaped Stone Walkway

Square tile stepping stones create a pathway in a bed of gravel rock. Red mulch accents a flower bed to the right.

Step 1: Clear and Fill

Determine the boundaries of your path and remove all vegetation from the area. If you use an herbicide, apply it at least twice with three days in between. Once the vegetation is gone, put down 2 inches of leveling sand. Drag a 2x4 across the surface of the sand to make it very level.

Remove Vegetation from Your Site

Preparing To Set a Stone Path

The stage is set for laying a stone path in this outdoor space.

Step 2: Lay the Stones

Set the stepping stones into the sand about 6 to 8 inches apart. Keep the surface of the stones well above the sand, and make sure each new stone is level with the one before it.

Laying the Stones

Laying the Stones for the Path

Stones have been laid to create a path.

Step 3: Level the Stones

As you settle the stones into place, use a level to check each surface. When the level is parallel to the house, the bubble should be right in the middle, indicating that the stone is on an even grade. When the level is perpendicular to your house, you want to see a slight positive slope. This will allow water to slide off the stones and away from your house. This is particularly important when stepping stones are placed close to an exterior wall.

Check that each stone is level.

Ensure Your Stone Path is Level

A level is used to aid in setting a stone path.

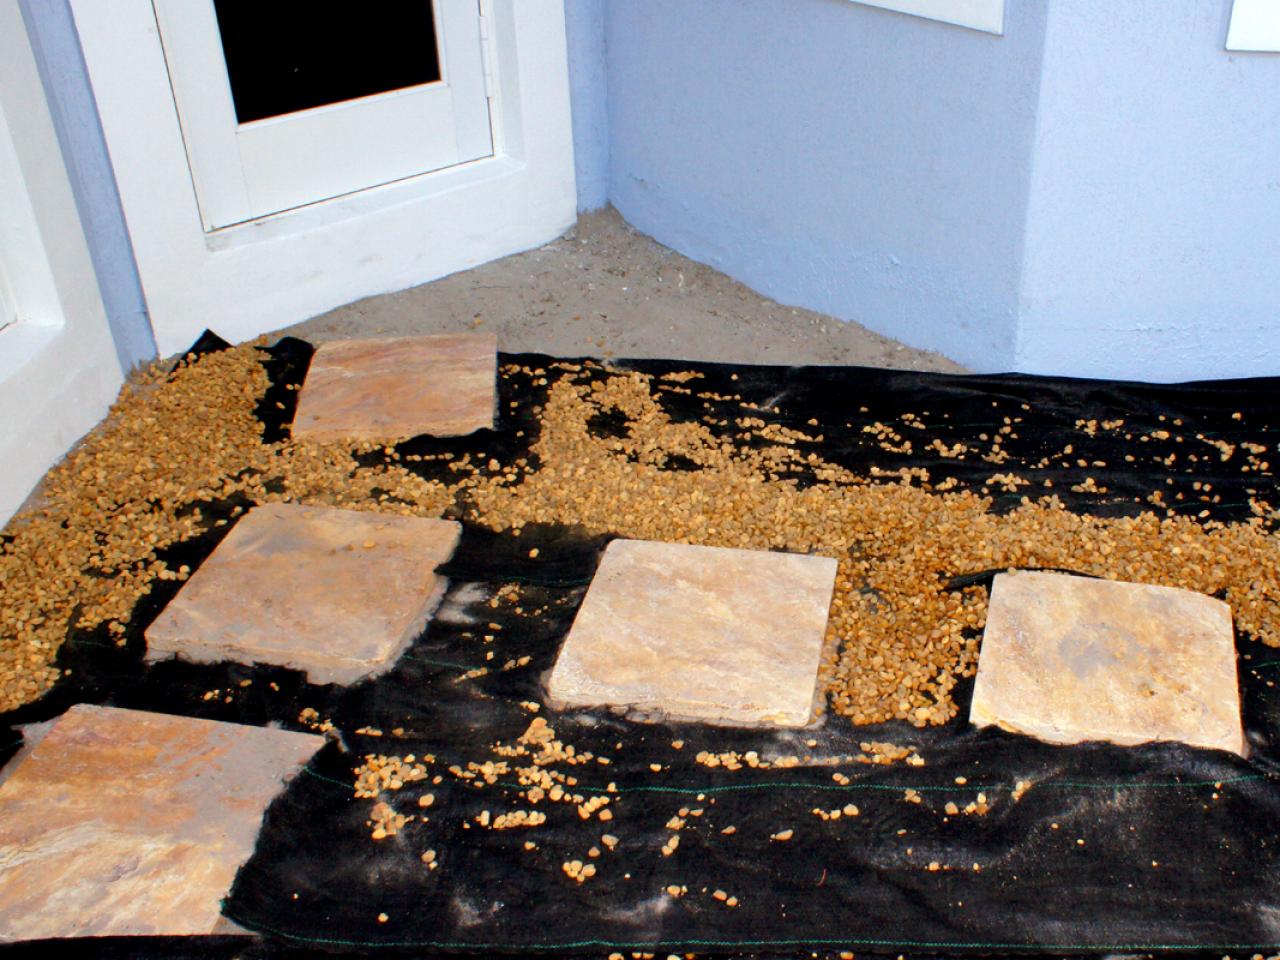
Step 4: Install a Weed Barrier

A weed barrier will ensure that your stone path stays tidy and virtually maintenance-free for years. Once all the stones are in place and appropriately leveled, lay the weed barrier on top. Use garden shears to carefully cut holes for each stone. Weigh the barrier down with some pebbles as you work.

Install a weed barrier around the stones.

Install a Weed Barrier

A weed barrier will ensure that your stone path stays tidy and virtually maintenance-free for years.

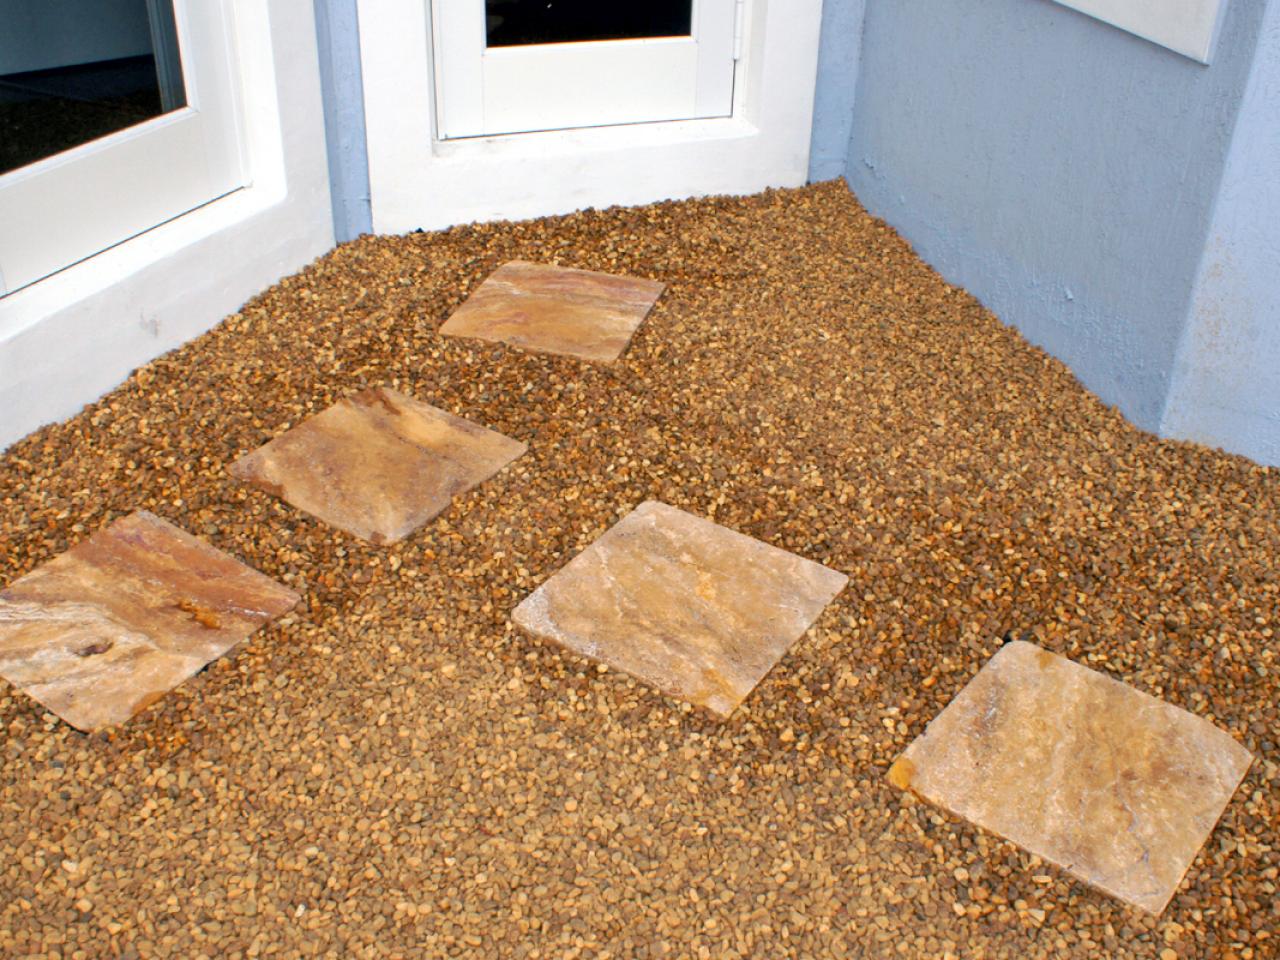
Step 5: Fill with Pebbles

For a clean look, surround the stepping stones with small pebbles in a complementary, yet contrasting color. The pebbles should be deep enough to cover the weed barrier completely, but their surface should remain slightly lower than the surface of the stones.

Stepping Stones

Laying the Pebbles

Stepping stones are laid to set a path to the doors.

Step 6: Install Edging

To keep the pebbles from slipping into the surrounding landscape, you'll need to install edging. For a clean, minimalist look, a narrow strip of black metal works well. For a country cottage ambience, use brick-shaped pavers that coordinate with your stepping stones. Dig a trench that allows you to place the edging material deep enough so it won't be a tripping hazard. The top of the edging should be just an inch above the pebbles.

Stone Path Edging

Stone Path Edging for a Finished Look

Gravel surrounding the foot stones gives a finished look. For a clean, minimalist look, a narrow strip of black metal holds gravel in place.

Next Up

How to Pressure Wash Your Driveway

Erase years of wear and tear from your driveway in just a few simple steps with a pressure washer.

How to Install a Porch Railing

The right front porch railing can add a lot of curb appeal to your home and help define your home's style. Learn how to install new railing on your porch.

How To Care For a Wood Fence

A wooden fence can be a great way to give a home a definitive border and add style. Learn the proper maintenance required to make sure your fence lasts a long time.

How To Build a Stone Planter

Dress up your porch or patio with a stone planter box.

How to Make Simple Window Shades

Whip up some window treatments in no time with these step-by-step instructions.

How to Build a New Fireplace Surround and Mantel

A dated fireplace is given a British Colonial look with the addition of staircase posts, molding and a coat of fresh paint.

How-To: Customize Roman Shades With Fabric

HGTV Magazine shows you how to put your stamp on basic items with these easy makeover ideas.

How to Build a Fire Pit in an Afternoon

With a short list of materials and just a few hours, you can easily create an inviting fire pit area that will quickly become your new favorite spot in the backyard.

How to Build a Concrete Block Retaining Wall

Whether you’re wanting to build a retaining wall to prevent erosion, break up a large slope or just enhance your landscape, learn how to plan for and build a concrete wall with cinderblocks or landscape blocks.

How to Build a Cedar Birdhouse

Learn how to build a simple and inexpensive birdhouse made from a cedar fence picket.

Go Shopping

Get product recommendations from HGTV editors, plus can’t-miss sales and deals.

On TV

Follow Us Everywhere

Join the party! Don't miss HGTV in your favorite social media feeds.