


Brad Nailer vs. Finish Nailer: What's the Difference?
Brad nailers and finish nailers may look similar, but they serve different purposes. Uncover the differences between brad nailers, finish nailers, pin nailers and other nail guns, and then find out which one is best for all your DIY projects.

We're all guilty of using the terms “brad nailer” and “finish nailer” interchangeably — that is until we go tool shopping and realize they're two entirely different tools. While a brad nailer looks a lot like a finish nailer, set the tools side-by-side and you'll notice brad nailers are smaller than finish nailers. Upon checkout, you'll also find that the finish nailer is a bit pricier. Also, take a look at the nails, that's where you’ll see the real difference. While both finish nails and brad nails come in a variety of sizes, brad nails are significantly smaller than finish nails across the board.

Read on to learn what distinguishes brad nailers from finish nailers, plus which nailer is best for your DIY project, from small staple guns to full-size framing nailers.
What Is a Nail Gun?
Nail guns, or "nailers," are power tools that drive fasteners such as staples, brads, finish nails and framing nails with the pull of a trigger, making it easy to drive nails where swinging a hammer is difficult or impossible. Because of the wide range of fasteners covered by the term “nailer,” it only makes sense that each tool’s name would include the fastener it drives. So, to understand the difference between brad nailers and finish nailers, you must first understand the difference between brad nails and finish nails.

Brad Nail vs. Finish Nail
What’s the difference between brad nails and finish nails? Our expert lays out the differences and uses along with the pros and cons of each.
What Is a Finish Nail?
As the name suggests, a finish nail is intended for finish work — tasks like installing moldings and trim, door casings, assembling built-ins and any other type of finish carpentry.
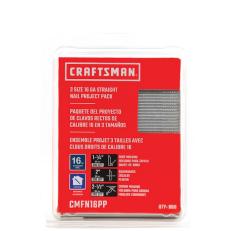
Like other nails, finish nail sizes are measured in gauges, more specifically, 16-gauge, 15-gauge and 14-gauge. What is a nail gauge? Gauge refers to the thickness of the material used to make the nail. While the numbers 14, 15 and 16 seem relatively close in size, there’s a significant difference in holding power between gauges. When it comes to gauges, the size increases as the number decreases. So, a 14-gauge finish nail is considerably stronger than a 16-gauge finish nail. Beyond thickness options, finish nails are available in various lengths, from 1 inch to 3-1/2 inches.
The range of gauges included in the finish nail category is simply what the industry has determined and designated. This doesn’t mean you can only use finish nails for finish carpentry. Odds are, you’ll find finish nails useful in a wide range of applications.
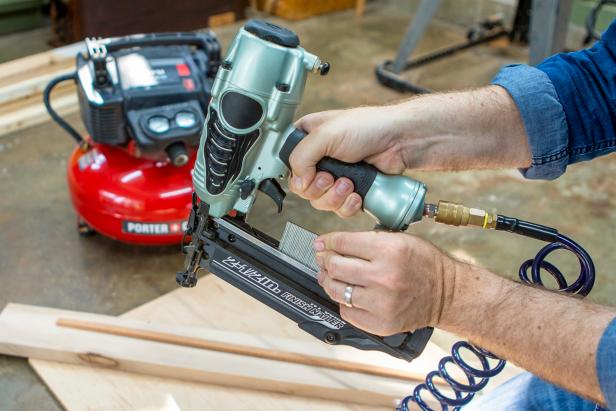
Derek R. Trimble
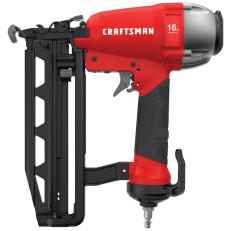
Finish nailer and compressor.
What Is a Brad Nail and a Pin Nail?
Brad nails, or “brads,” are notably smaller than finish nails and include sizes 18-gauge and 21-gauge. Some manufacturers even designate 23-gauge nails as a brad, though this is most often called a pin nail. Along with their size, the holding power of a brad nail is less than a finish nail, but they still have considerable strength. Additionally, the available lengths of brad nails differ from that of finish nails, ranging from 1/2 inch to 2-1/2 inch.
Because brad nails are thin, they tend to yield to harder materials like hardwoods and dense plywoods. The advantage of this is that brads are less likely to split wood than finish nails. The disadvantage is that brads can easily be deflected, which poses a significant risk to the operator and anyone in the vicinity. We recommend using brad nails on softwoods to avoid this risk altogether.
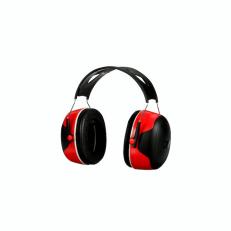
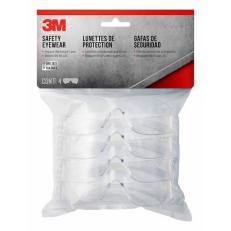
Warning: Always wear safety glasses when operating any type of nail gun and keep your free hand away from the tip of the nail gun at all times.
Don't Forget Safety Gear
Brad nails are less expensive than finish nails. A box of 1,000 2-inch 18-gauge brad nails costs around $10, while 1,000 2-inch 16-gauge finish nails are nearly double the price. However, this doesn't mean you should opt for a brad nailer simply to save money if the job calls for a finish nail.

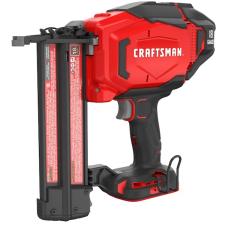
kasarp studio
Brad Nailer
Are Brad Nailers and Finish Nailers Different?
Simply put, finish nailers offer stronger, more powerful fastening than brad nailers. But what else differentiates these two tools? Brad nailers have a smaller frame than finish nailers, making them more maneuverable and easier to operate. However, to account for their larger frame, finish nailers feature an optional angled magazine while brad nailers are limited to a 90-degree magazine. The optional 21- and 35-degree angle of a finish nailer makes it easier to reach tight spaces when installing things like window trim and crown molding, where the operator is forced to hold the tool at awkward angles.
Note: When buying nails for an angled nailer, you must match the angle of the nails with the angle of the magazine.

Brian Patrick Flynn
When to Use a Brad Nailer
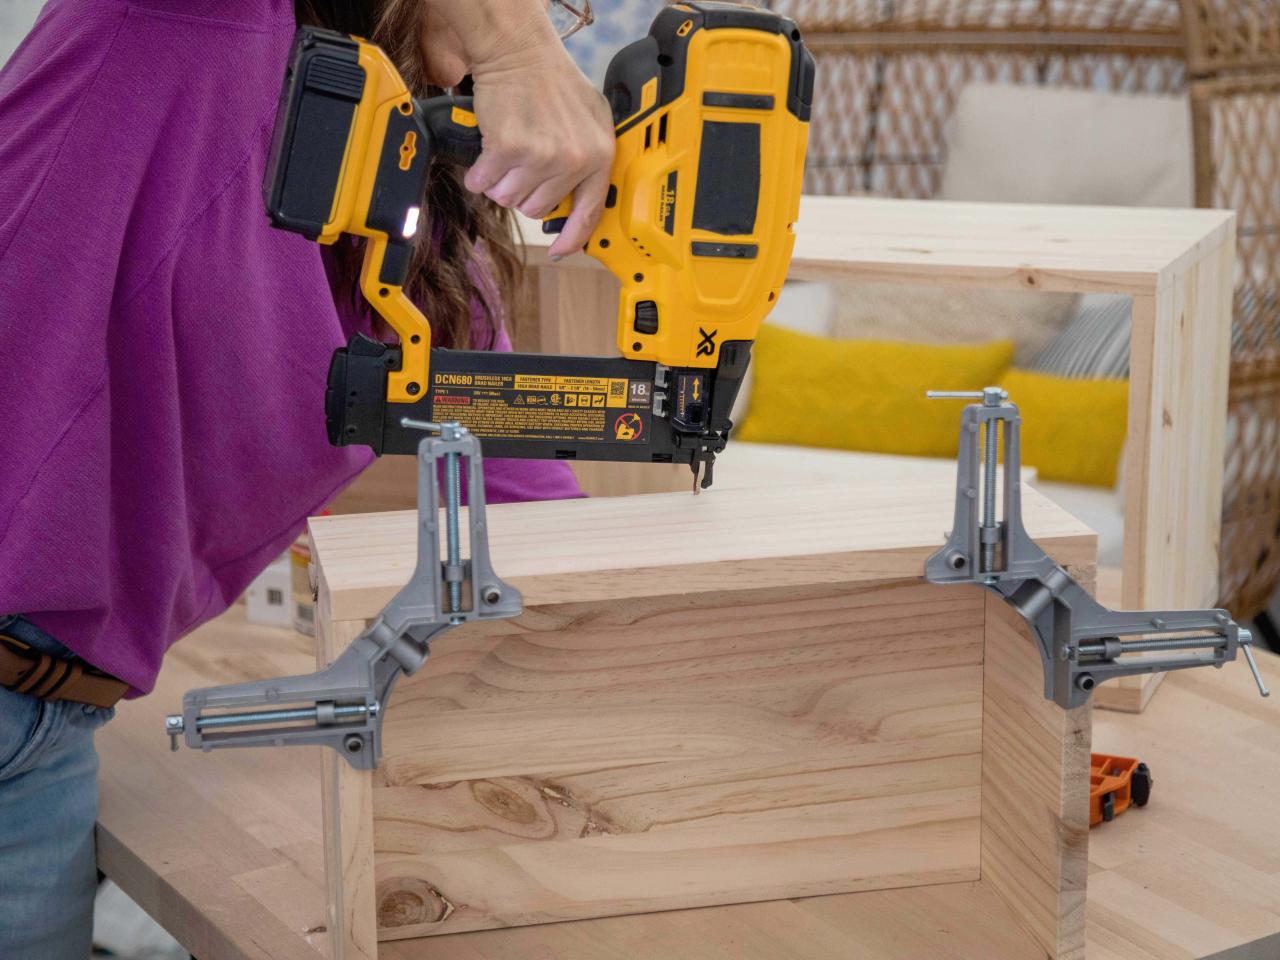
Reach for a brad nailer whenever your project calls for minimal holding power or temporary fastening, especially when working with smaller materials. While brads can tightly fasten materials, they won't always hold tightly in a long-term setting, unless supplemented with adhesive. This is because the natural expansion and contraction of wood will eventually overcome the hold of the brad nail's thin size and small head. However, brad nails are great for DIY projects like building birdhouses, assembling shadow boxes and tacking decorative pieces to furniture. We suggest you use brad nails in combination with adhesive for a long-term hold.
Shop Brad Nailers

When to Use a Finish Nailer
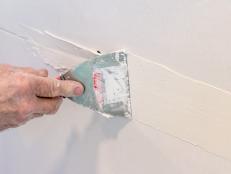
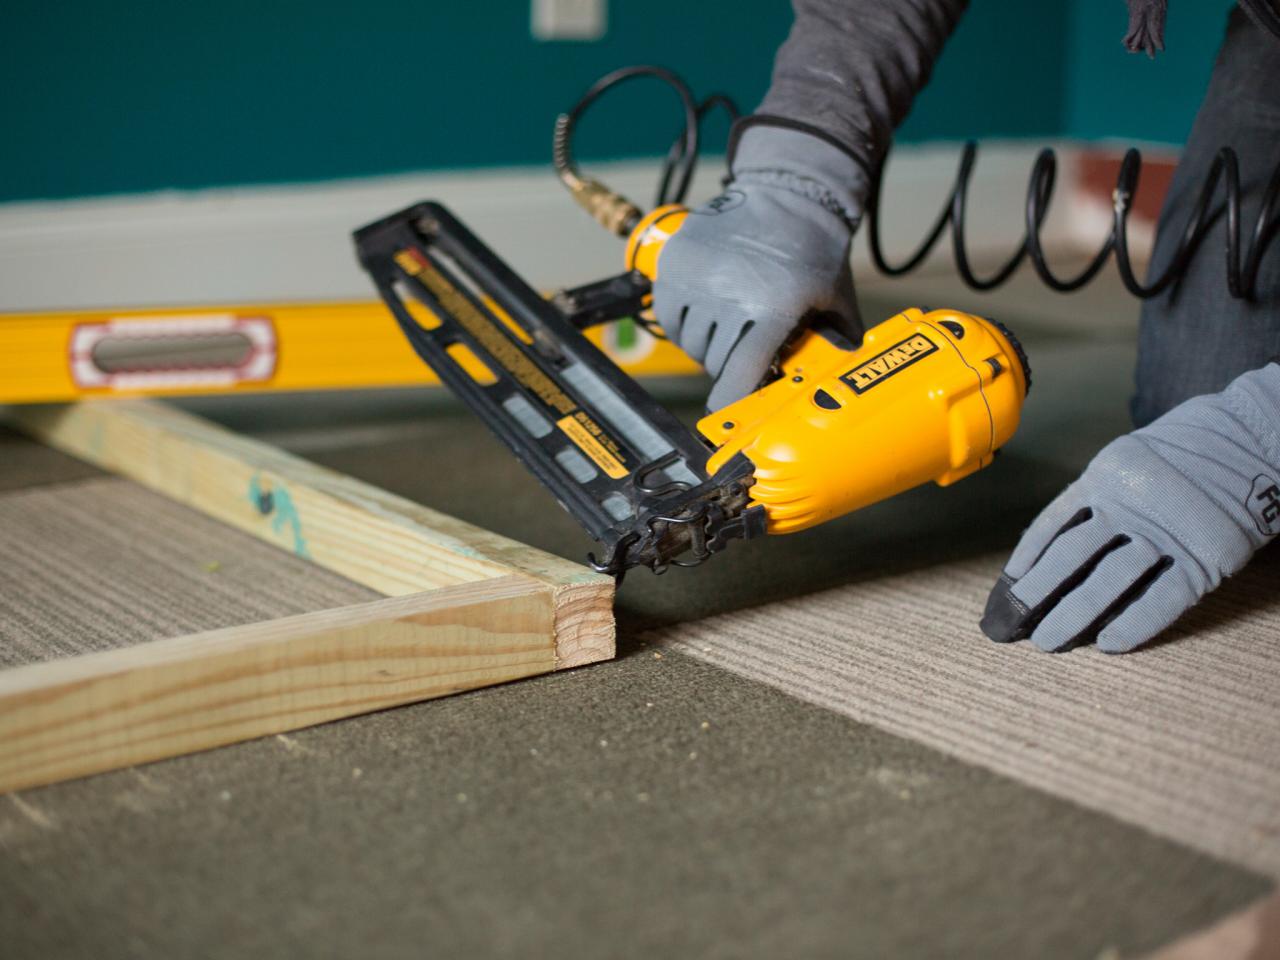
Grab a finish nailer for jobs that require significant long-term holding power, such as mounting door casings, installing crown molding and trimming around a window. Not only are finish nails thicker than brad nails, but the larger head also holds materials together much better, which accounts for the wood's expansion and contraction. This means you can use finish nails without adhesive and still achieve a strong joint. The finish nail's larger head will sometimes protrude from the wood after you drive it, but it can be driven in further using a nail set or nail punch. These small handheld tools allow you to drive the nail head past the surface of the wood so it can be filled with putty, making the nail totally invisible after paint.
Shop Finish Nailers

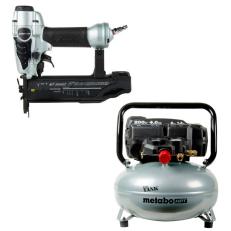
Battery vs. Pneumatic: Pros and Cons
Most manufacturers offer both battery-powered nailers and pneumatic nailers. Traditionally, pneumatic nailers have been the industry standard for power and reliability. But with modern battery technology, there are quite a few advantages to cordless nail guns.
Battery-Powered Nailers. The biggest advantage of battery-powered nailers vs. pneumatic nailers is the freedom that comes with being cordless. Not only does a pneumatic nailer require a compressor, which requires an electrical power source, but the air hose connecting the nailer to the compressor can also be rather cumbersome. While the lack of an air hose makes for much more mobility, the additional onboard power infrastructure including the battery itself, means battery-powered nailers are much heavier than pneumatic nailers. This may not mean much for the occasional DIY project, but it can make a big difference after a long day of nailing.

Shain Rievley
Pneumatic Nailers. Many DIYers and contractors alike still opt for pneumatic nailers because pneumatic power is time-tested and reliable. Unlike a battery, which will lose power as it dies, a constantly refilling air compressor will deliver high-driving power nail after nail. Additionally, pneumatic nailers are considerably cheaper than battery-powered nailers. But keep in mind, a portion if not all those savings will go toward buying a compressor and an air hose.

Brian Patrick Flynn, FlynnsideOut.com
Other Types of Nailers
Beyond brad nailers and finish nailers, there are other nailers DIYers may find useful, such as framing nailers, pin nailers and staplers. Here are some of the most common types and their uses:
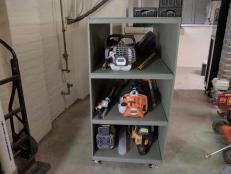
Framing Nailers. You guessed it, framing nailers are for big jobs like framing, which require immense strength. Framing nails are bigger than finish nails, ranging from 8- to 12-gauge, and feature a larger head, which vastly increases their holding power. Odds are you aren't going to find everyday uses for a framing nailer unless you're framing houses. Should you find a need, framing nailers are available as rentals at many tool rental stores.

Adrian Henson
Pin Nailers. On the opposite end of the spectrum from framing nailers, the aforementioned pin nailer drives a headless 23-gauge nail. This tiny pin nail is ideal for applications that require the minimum amount of holding power, while the lack of a head makes it easy to hide. Pin nailers are for attaching small trim or decorative pieces that even a brad nail might split. While they have their place, most DIYers will find a brad nailer is more useful.
Stapler. A powered stapler serves a much different purpose than its nail-driving counterparts. Staples are ideal for holding fabric and similar materials, making this a go-to tool for upholstering, installing insulation and fastening roofing felt — basically any material that needs more than a small nail head to hold it in place. Staples are not intended for finish materials and decorative pieces, as it's nearly impossible to hide a staple.

Brian Patrick Flynn, FlynnsideOut.com
Multi-Fastener Gun. A multi-fastener gun allows you to load the tool's magazine with a variety of different fasteners, from pin nails to brad nails to narrow-crown staples. This capable tool is great for DIYers looking to get the most versatility for their buck.

50 DIY Woodworking Projects for Every Skill Level 51 Photos
Whether you’re a beginner wanting to try woodworking or an experienced craftsperson looking for something to do this weekend, we've got a project for you. Here you'll find a variety of plans for simple storage solutions, indoor and outdoor decor, games, furniture and more.


