


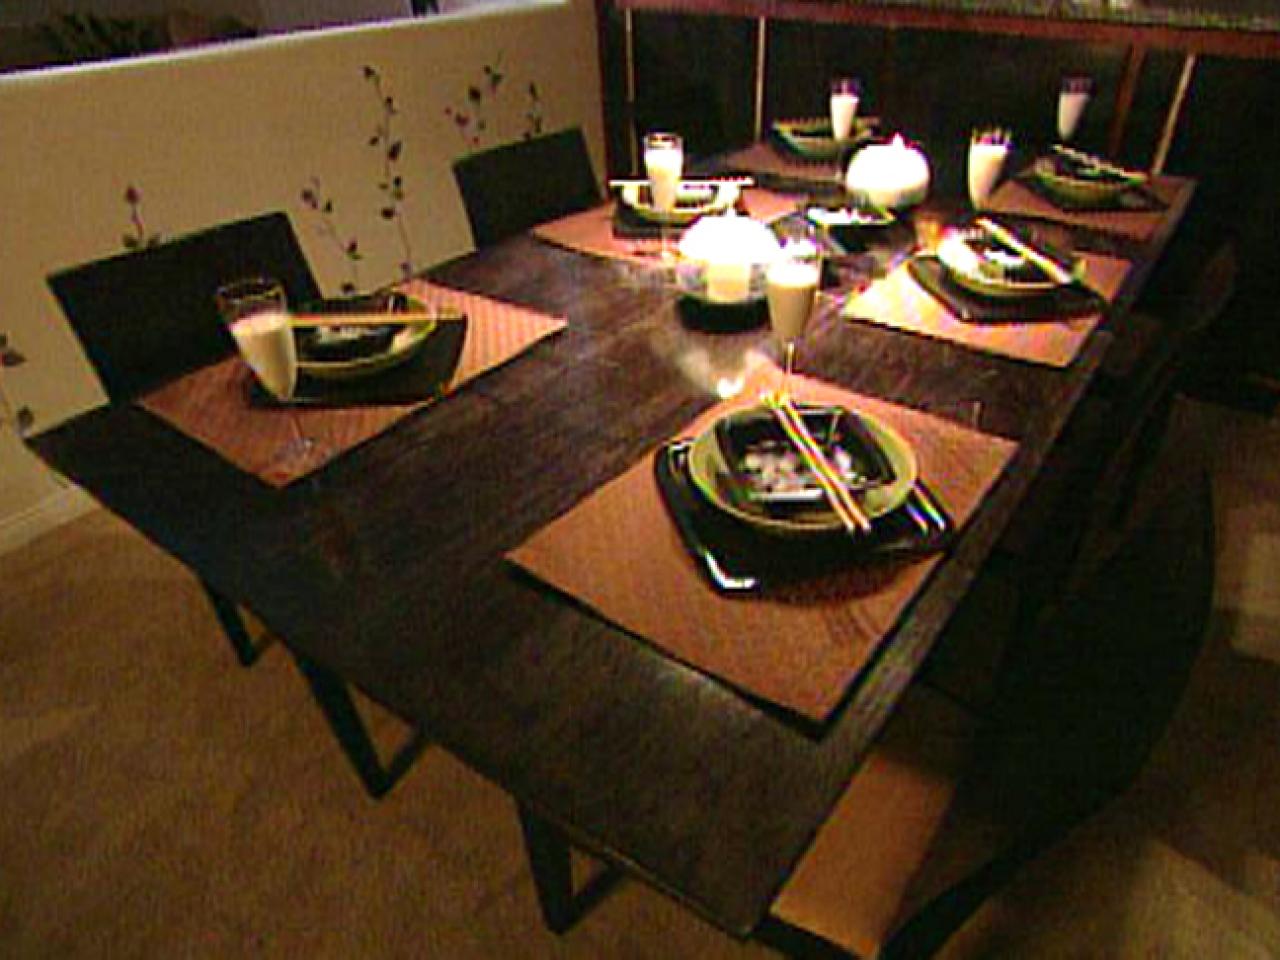
How to Build an Expandable Dining Room Table

Materials and Tools:
small resalvaged table
3/4" plywood
poplar wood
1/2" roto hinge
five 12mm barrel hinges
pocket-hole screws
wood glue
drill with 12mm drill bit and forstner bit
straight edge
speed square
rubber mallet
clamp
pocket-hole jig
hammer
chisel
small screwdriver

Steps:
1. The legs and base of an existing table are used, so we don't have to start entirely from scratch. With a hammer, chisel, screwdriver and any other necessary tools, remove the tabletop from the rest of the table.
2. Trace the dimensions of the tabletop (ours was 40"x40") onto two sheets of 3/4" plywood. Cut the wood with a straight-line saw. Stain the two tabletop pieces.
3. To make the table extension (adjustable tabletop), start by making a mock-up of the two tabletop pieces with scrap wood so you don't ruin the finished piece.

4. Locate the ideal pivot point of the pieces so they're evenly balanced when fully extended. To do this, draw two intersecting lines down the center of one of the mock pieces to make four even squares. Hold a speed square at the midpoint (20") of one side and draw a 45-degree angle toward the adjacent side. Now hold the speed square at the corner of that side and draw an intersecting line with the first line to form two 45-degree angles.

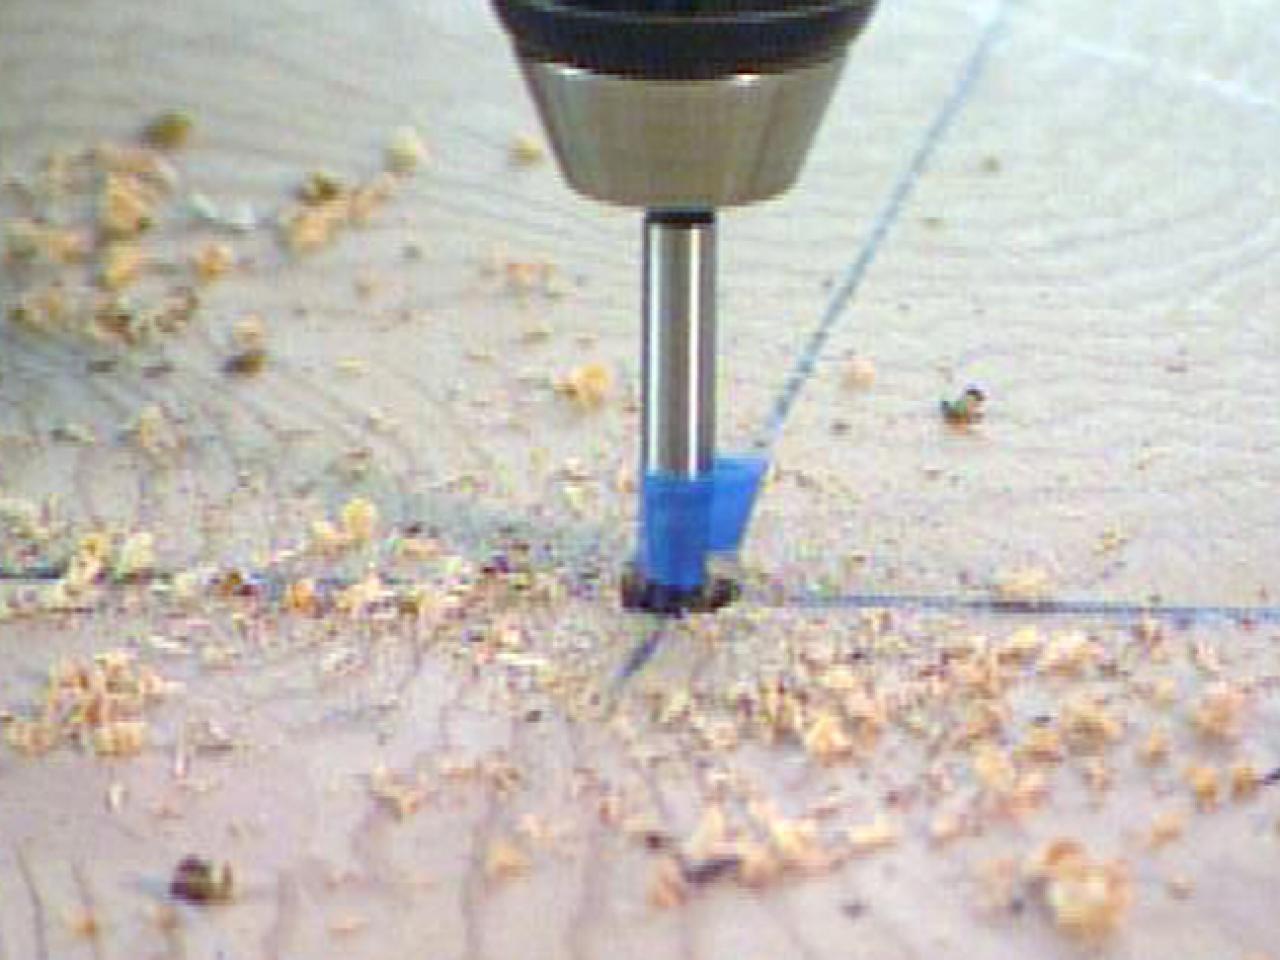
5. Drill a hole with a forstner bit where the two lines intersect.
6. Place the roto hinge inside the hole with a mallet.
7. Copy the same pilot hole onto the second mock-up tabletop. Place the hole on top of the roller and see if it stays balanced when it swivels open. The edge of the top piece should line up along the center line when fully extended.
8. If the mock-up fits, move on to the next step. Clamp the two real tabletop pieces together and drill five holes along each of the profiles, two that start 4 inches from the edge and the rest will be 8 inches apart.

9. Place five barrel hinges in the holes so that the two pieces fit together around a pivot point. Secure them with a small screwdriver.
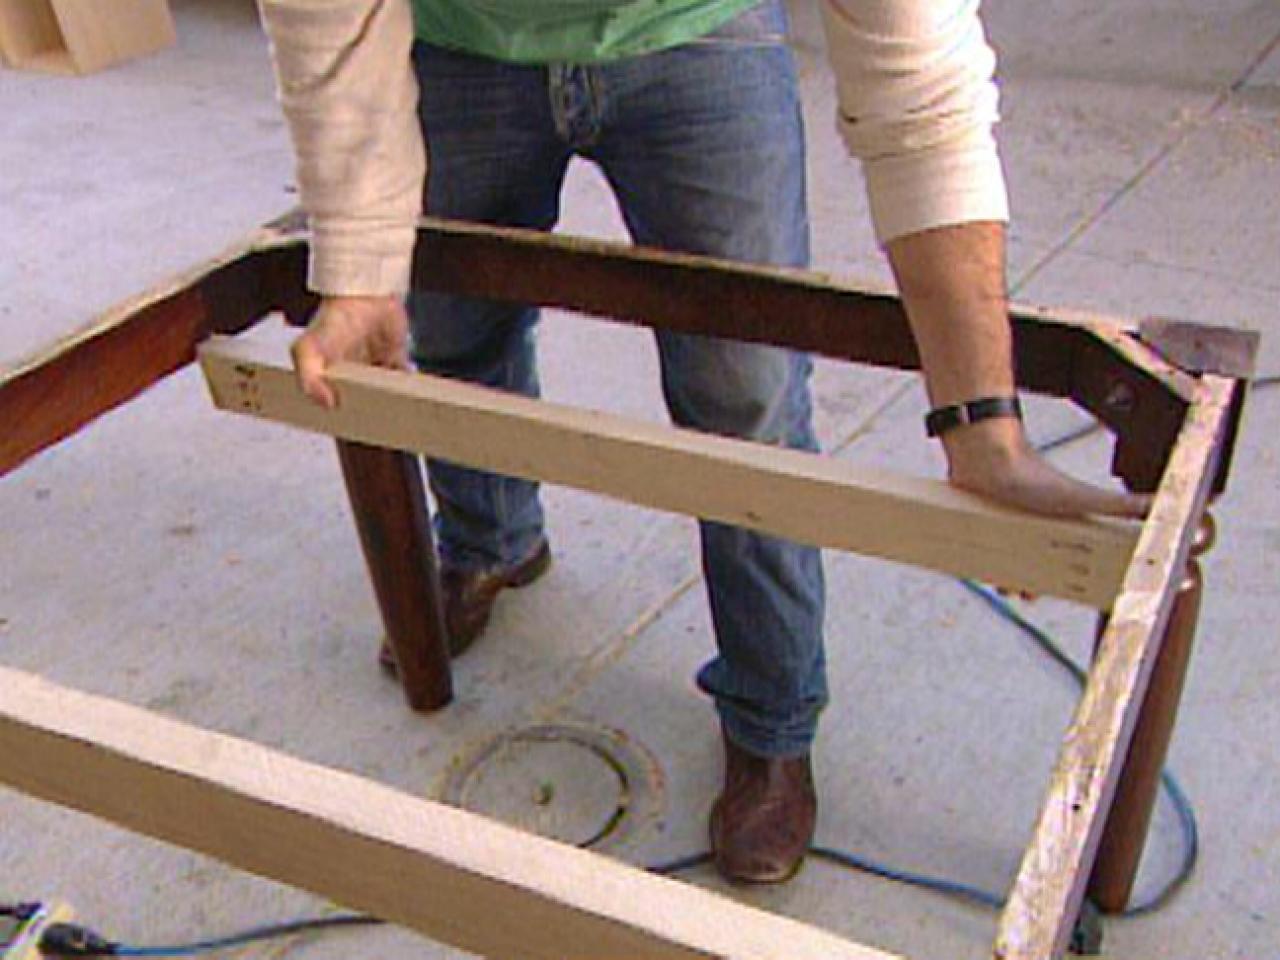
10. To make the existing table framework stronger, cut two pieces of poplar down to 3"x1-1/4"x35" to serve as braces. Drill three pocket holes along two of the edges of each piece.

11. Attach the poplar with glue and pocket-hole screws inside the existing framework, 8-1/2 inches from the edge. The pocket holes should face inward.
12. Now replicate the pivot hole from the mock-up onto the bottom side of the real bottom tabletop. Place the roto hinge inside the hole. Drill the corresponding hole into the top of the poplar brace and place the tabletop onto the base so that the holes line up and the hinge fits inside.
13. Now open up your table and watch in amazement as it doubles in size.


