


How to Make an Upholstered Christmas Tree
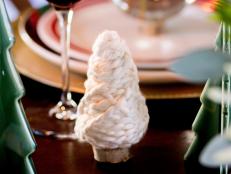
When it comes to Christmas trees, I say the more the merrier. This custom tree adds sophistication to your holiday decor and is super easy to store, too.

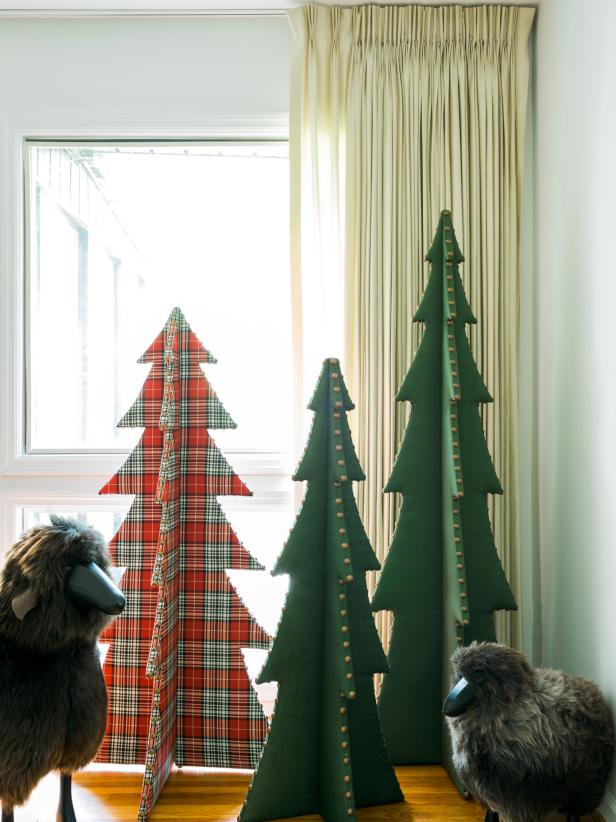
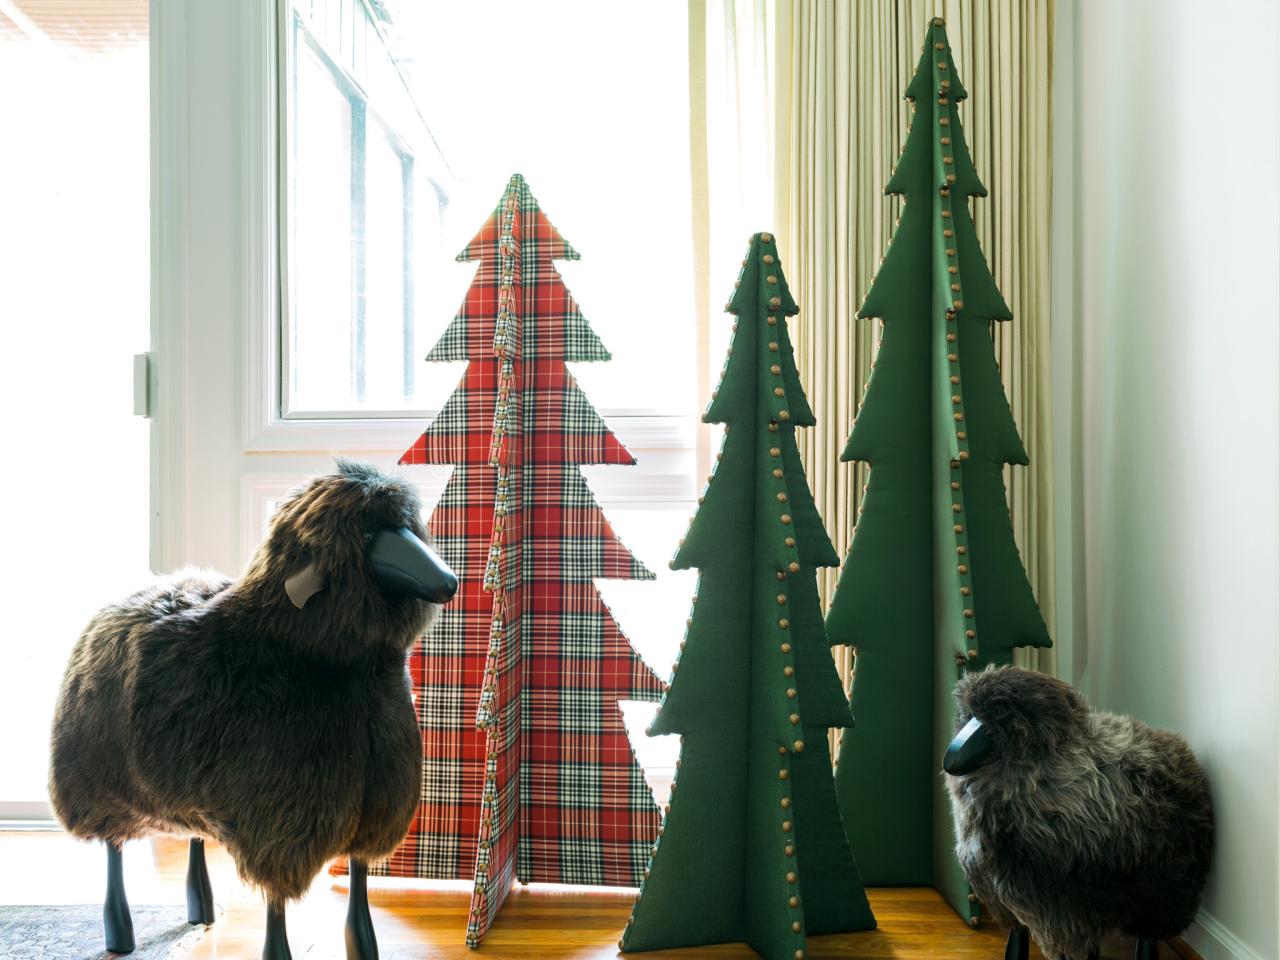
DIY Upholstered Christmas Trees
When it comes to Christmas trees, I say the more the merrier. This custom tree adds sophistication to any style holiday decor AND it's super easy to store away- so go ahead and make several! A grouping looks phenomenal!

Photo by: Flynnside Out Productions
Flynnside Out Productions
Materials Needed
- 2 pieces particle board or plywood
- fabric (in desired pattern)
- craft paper
- upholstery nail-head trim
- cotton batting
- spray adhesive
- staple gun
- upholstery tack hammer
- jigsaw
- scissors
- permanent marker
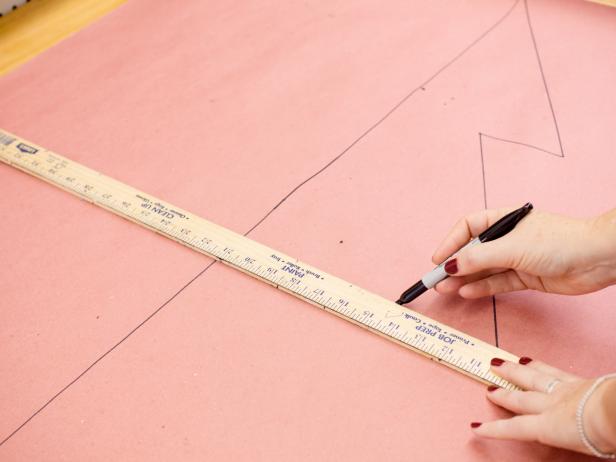
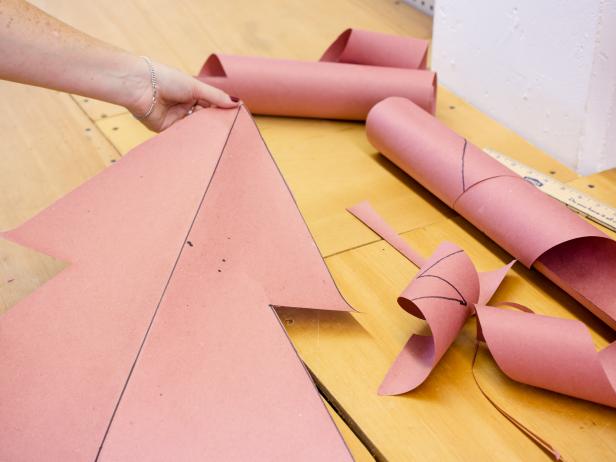
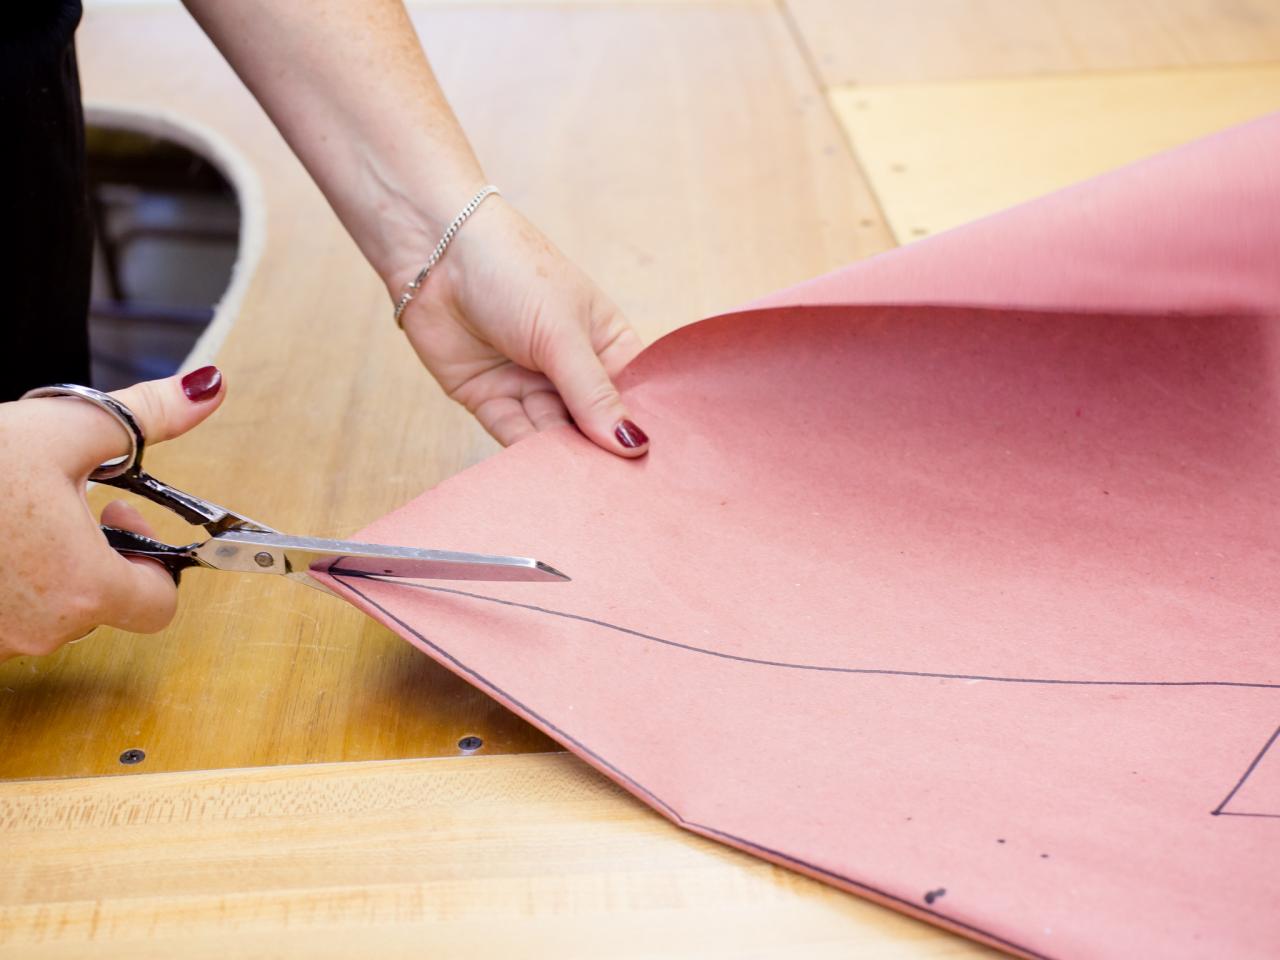
Create Template
Using a straight edge, mark the center line of the tree at your desired height. Draw one-half of the tree onto the craft paper (Image 1). Once complete, fold the paper along the center (Image 2) and cut out (Image 3).

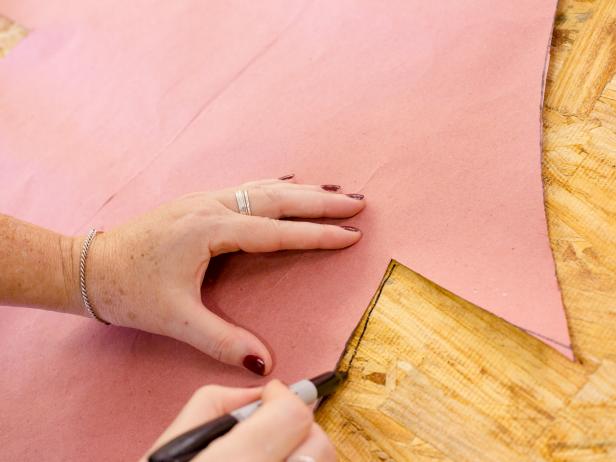
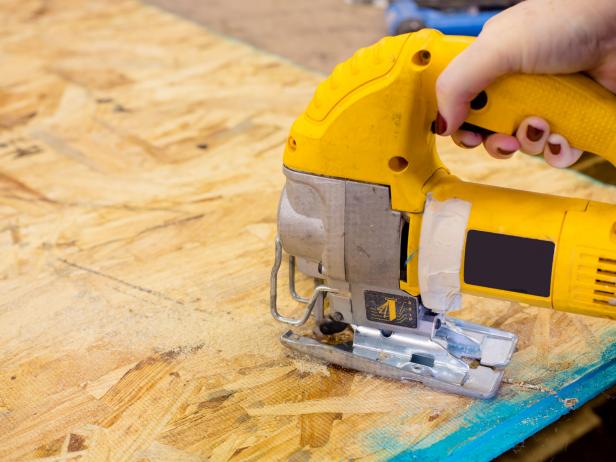
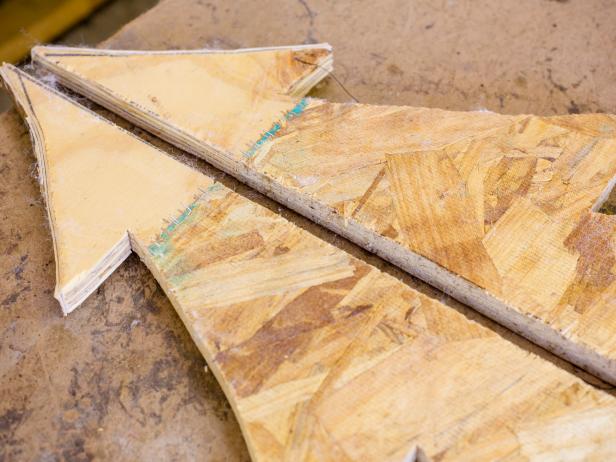
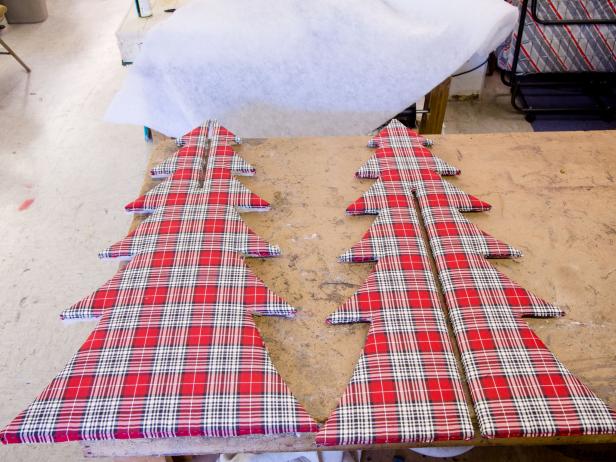
Trace and Cut Boards
Place the template onto the board and trace the tree (Image 1). Repeat this on both boards. Using a jigsaw, cut out the tree shape (Image 2). Along the center of each tree, cut a 1-inch-wide notch into the top of one board (Image 3) and again into the bottom of the other. Dimensions for these cuts will depend on the height of your tree and thickness of the boards. For example, if your tree is 48 inches tall, the top notch may be 12 inches long and the bottom notch on the other board will be 36 inches tall (48-12=36). To ensure the boards fit together well, slide the larger bottom notched board on top of the smaller notched board at a 90-degree angle. Adjust as needed before moving on to the next step.
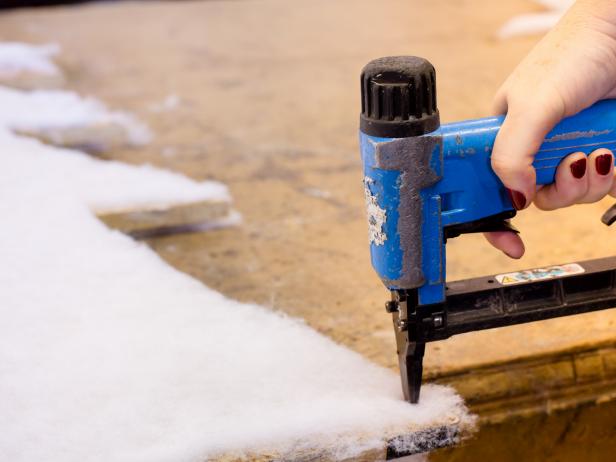
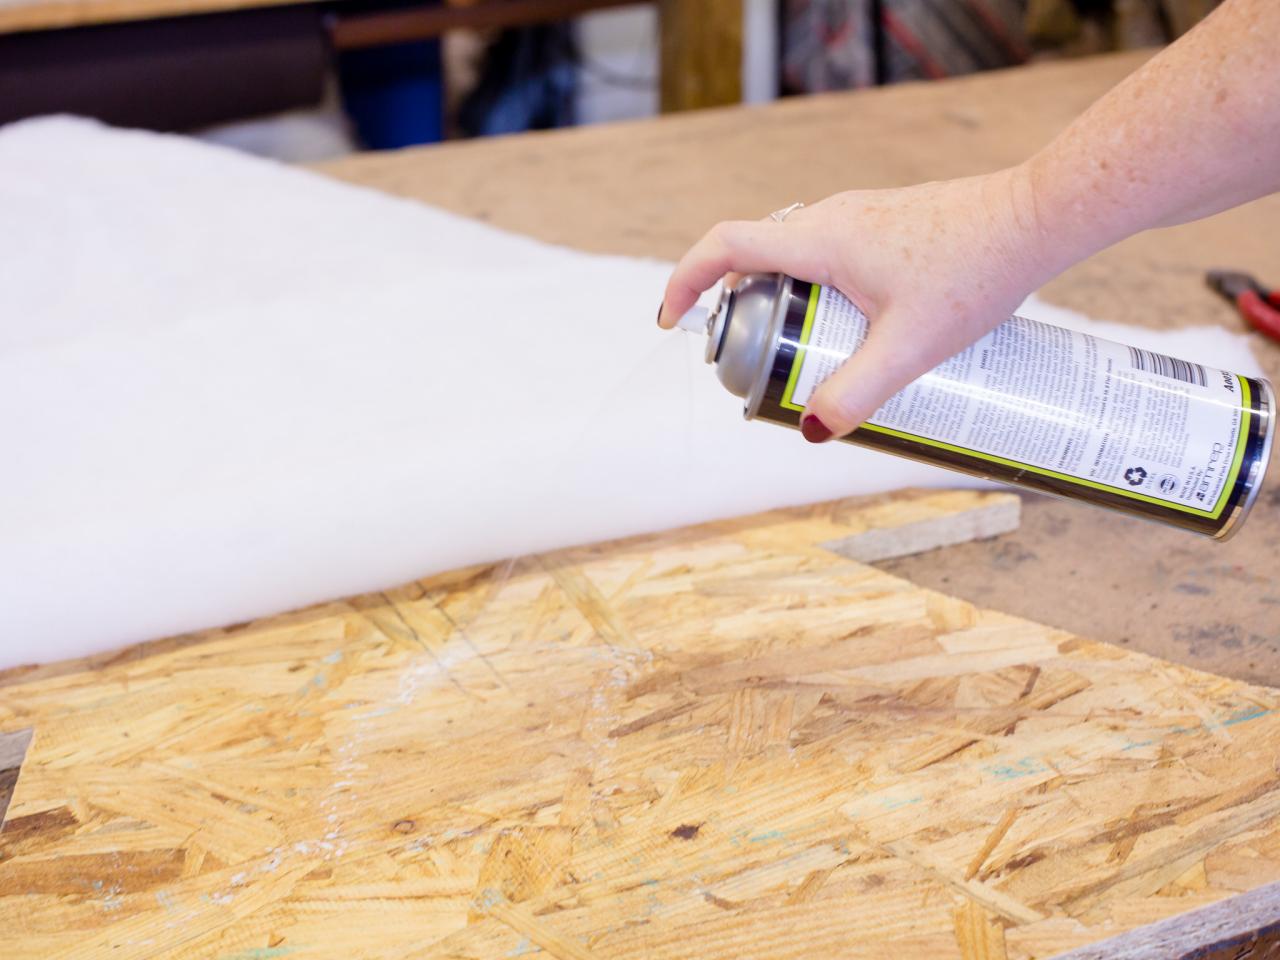
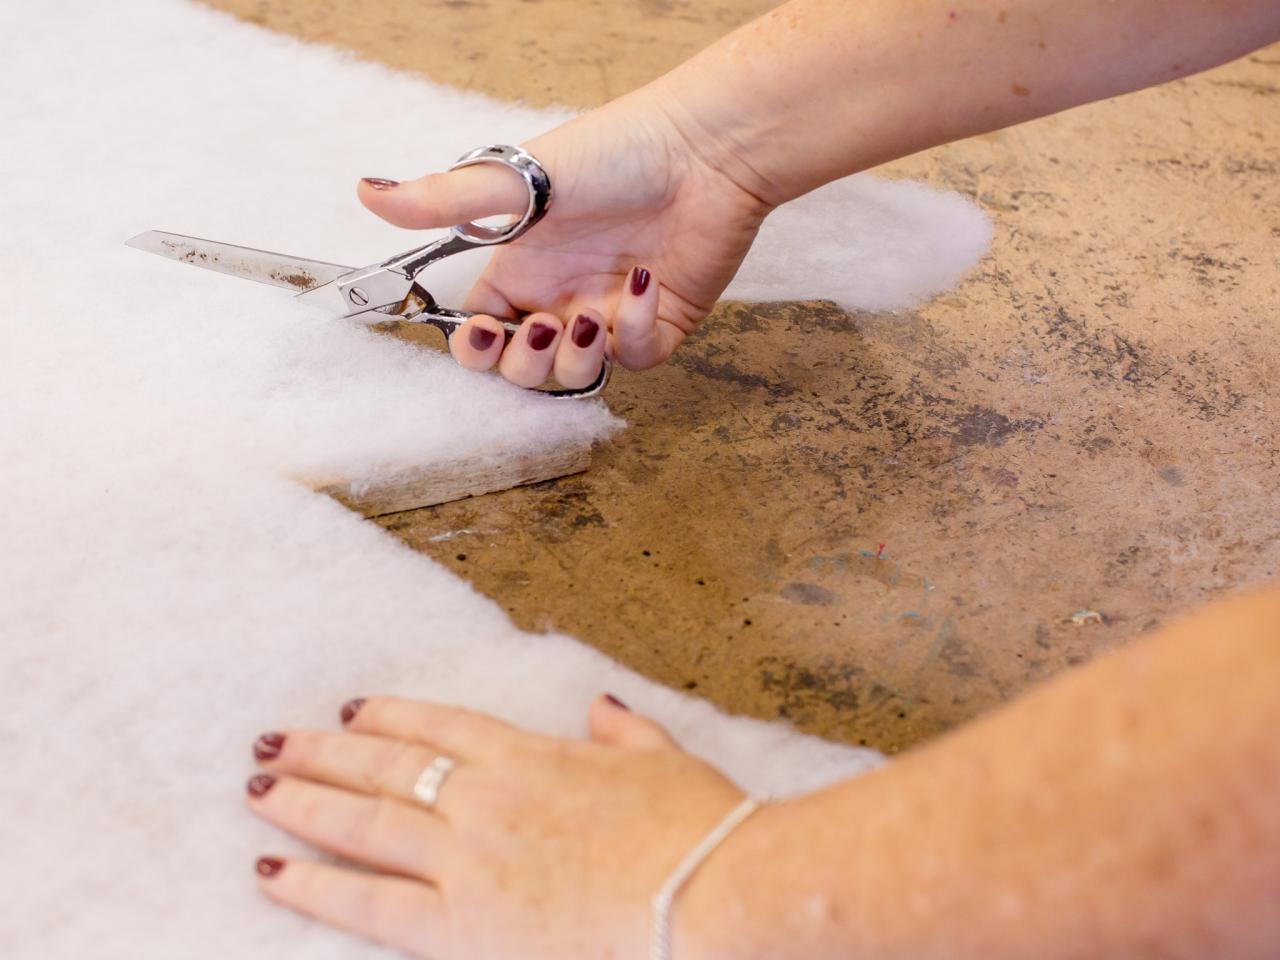
Add Batting
Spray adhesive onto the board's surface (Image 1), then roll out batting on top. Press into place and trim neatly along the edges (Image 2). To ensure the batting stays put, staple once on each corner (Image 3). Repeat on either side of each board.


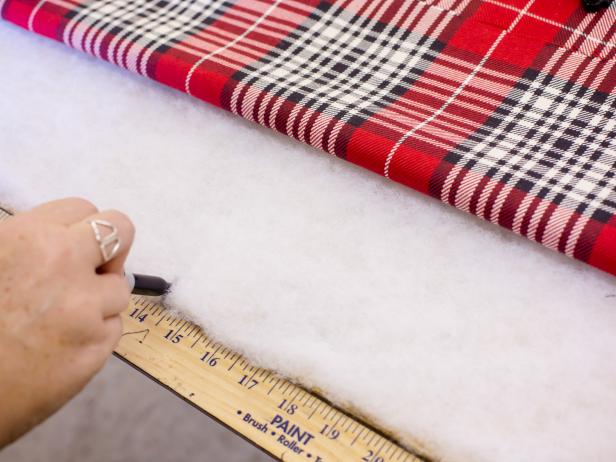
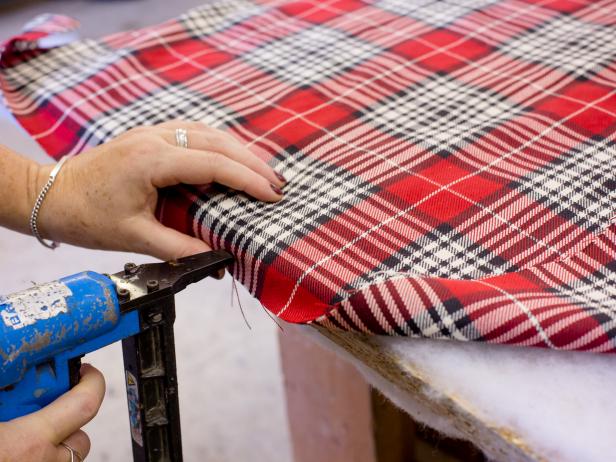
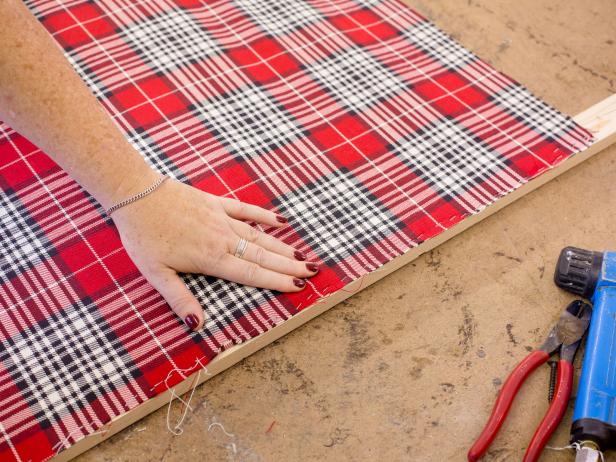
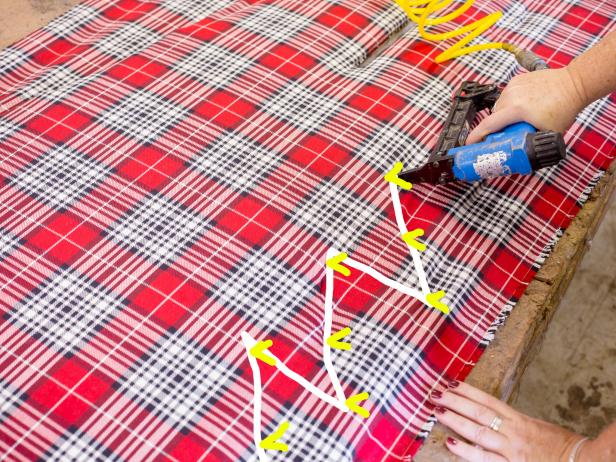
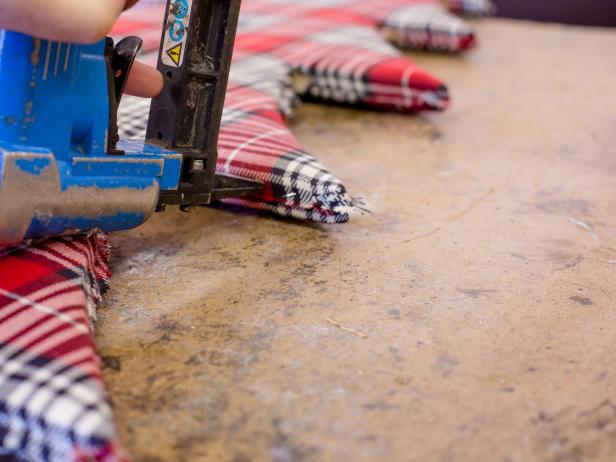
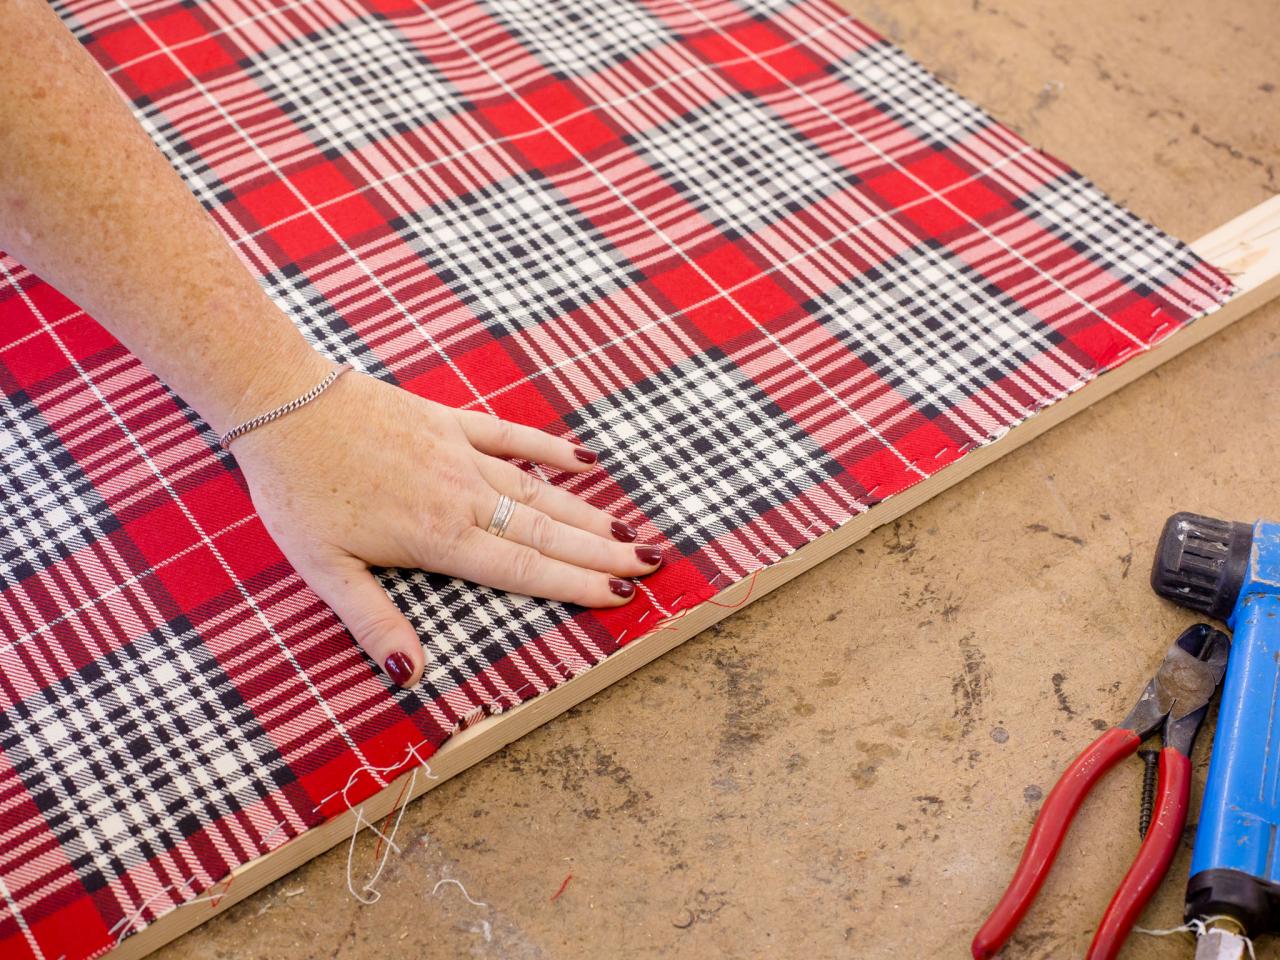
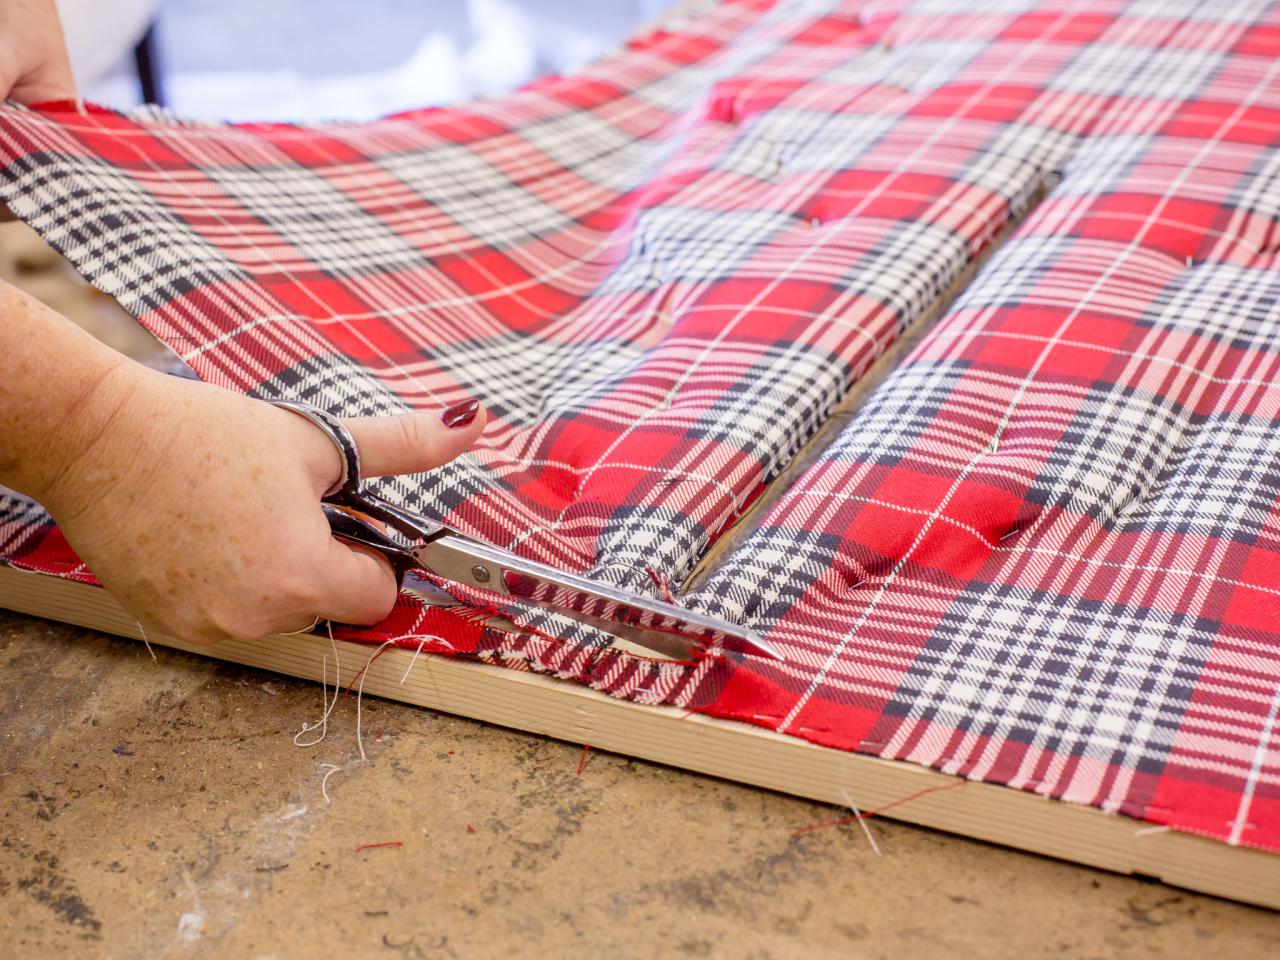
Cover With Fabric
Once both boards have batting in place, it's time to cover them with fabric. Place fabric on top of the tree and smooth out any wrinkles. If you're working with a pattern, mark the center of the tree and pattern (Image 1). Make this the first place you staple, so that your fabric is centered properly (Image 2). You also may want to temporarily stretch your fabric across the tree, using a scrap board at the top of the tree, to get a taut fabric (Image 3). Continue stapling the fabric on the tree, hitting each outer and inner corner first, then the middle (Image 4), to secure the overall shape. If you used a board to pull the fabric tight, you can remove it now and cut the fabric away (Image 5). Next, cut away excess fabric, leaving a one-inch overhang (Image 6). Finish stapling the fabric along the edges and trim again to remove excess fabric (Image 7). Repeat on the other board (Image 8).
Flynnside Out Productions
IMAGE 1
Flynnside Out Productions
IMAGE 2
Flynnside Out Productions
IMAGE 3
Flynnside Out Productions
IMAGE 4

Flynnside Out Productions
IMAGE 5

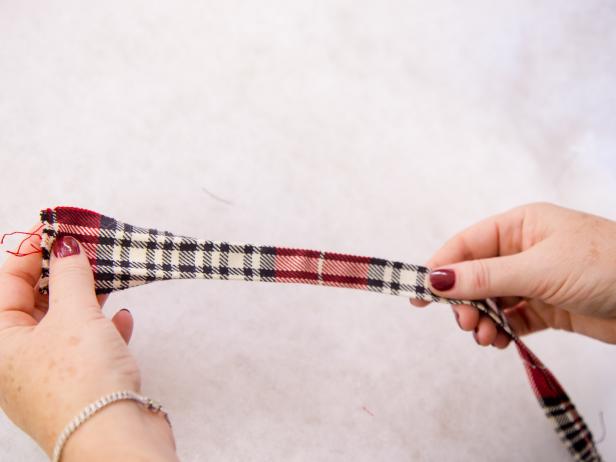
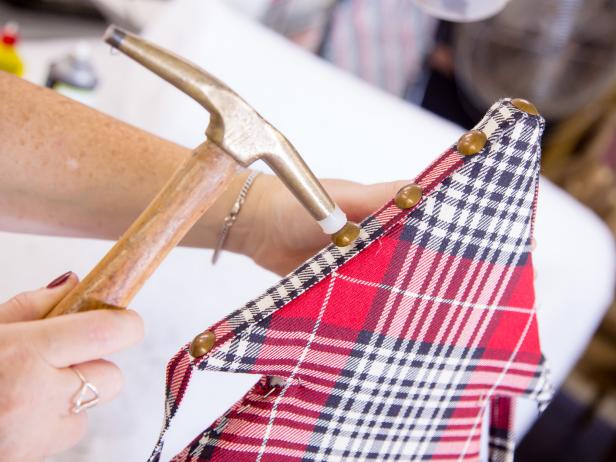
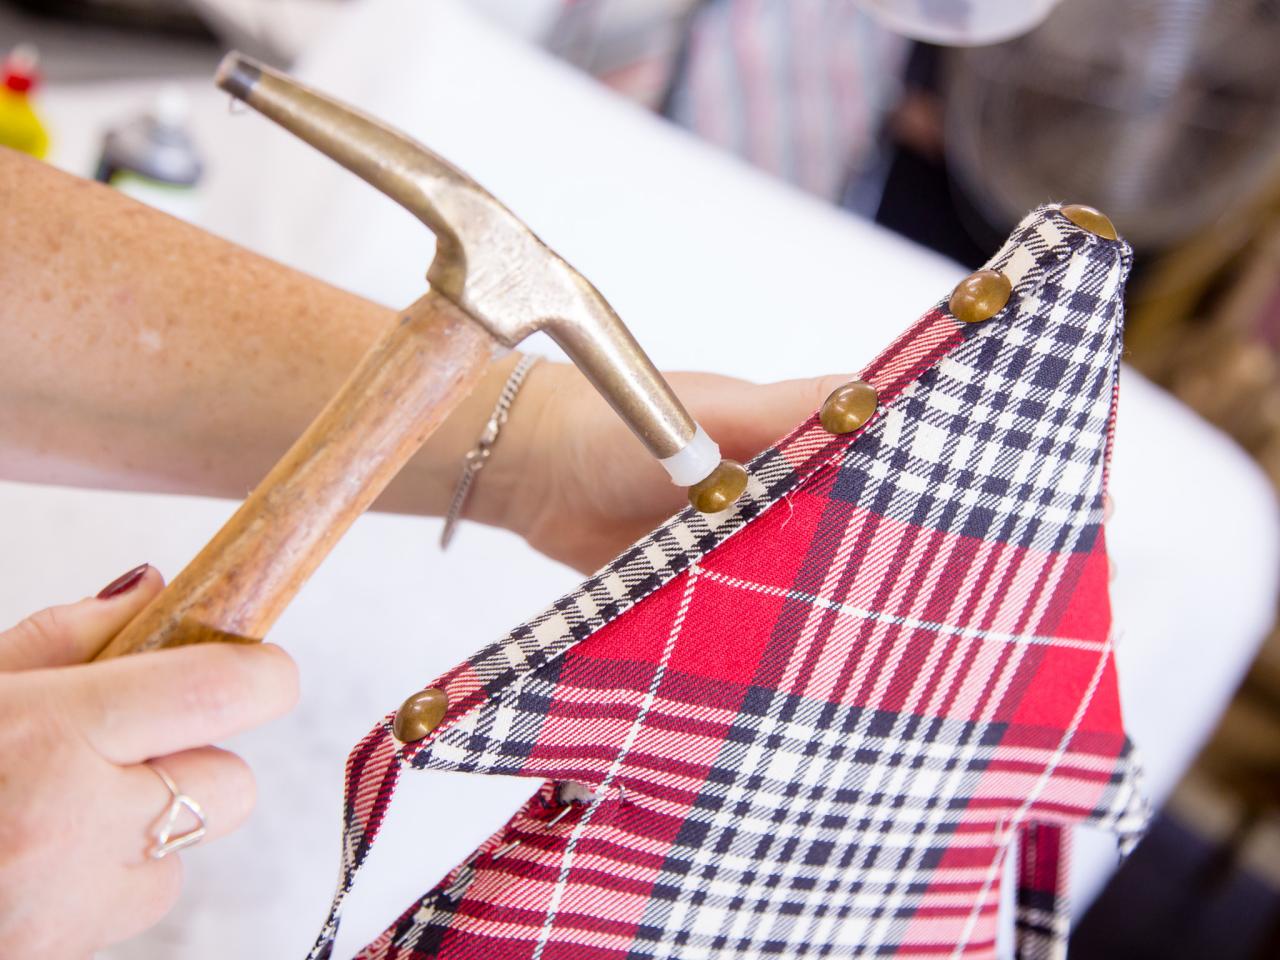
Add Nail-Head Trim
Using the same or a coordinating fabric, cut 2-inch-wide strips at a length that will accommodate the perimeter of your trees. Neatly fold the fabric over to hide rough edges and iron to get a tailored look (Image 1). Place the center of the strip at the top of the tree board and secure with one nail head. Continue adding nail heads along the edge, starting with the corner and filling in so that the trim is pulled tight along the edge (Image 2), working your way down the tree. Repeat on other board.
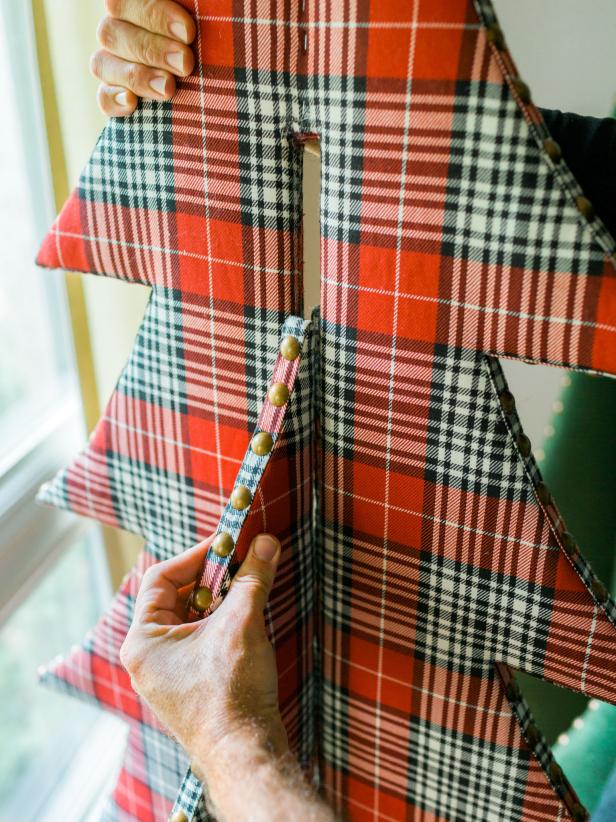
Assemble and Display
Once each board is covered and trimmed out along the edges with nail heads, you're ready to assemble. Slide the upholstered tree with the longer notch over the top of the shorter notched upholstered tree at a 90-degree angle. They should fit snuggly together. When the holidays are over, simply disassemble and store away flat.
Flynnside Out Productions
Flynnside Out Productions
DIY Upholstered Christmas Trees
When it comes to Christmas trees, I say the more the merrier. This custom tree adds sophistication to any style holiday décor AND itâs super easy to store away- so go ahead and make several! A grouping looks phenomenal!
Photo By: Flynnside Out Productions
DIY Upholstered Christmas Trees
When it comes to Christmas trees, I say the more the merrier. This custom tree adds sophistication to any style holiday decor AND it's super easy to store away- so go ahead and make several! A grouping looks phenomenal!
Photo By: Flynnside Out Productions


