


How to Paint Wood Furniture
Learn how to strip, sand and paint wood furniture.

A fresh coat of paint is all it takes to breathe new life into older furniture. Now you can learn how to paint wood furniture like a pro.
Don't be so quick to throw out that tired piece of wooden furniture. It's not hard to give that wooden chair or table new life by stripping off the old finish and painting it with a fresh coat of color. Learn how to repaint wood furniture in the following steps, with expert tips on getting the smoothest outcome. We used oil-based paint for our chair, but this process can be followed if you choose a water-based paint instead.
Tools + Materials
- scraper tool
- palm sander and pads
- tack cloth
- nylon bristle brush
- safety gear
- drop cloth
- sandpaper, various grits
- spray-on oil-based primer
- oil-based paint
- spray-on oil-based clear sealant
1. Test For Lead
Before you start, make sure that the paint you are removing is not lead paint. You can find inexpensive lead testing kits at your local big-box store. These steps apply only to items with paint that tests negative for lead.
2. Remove Loose Paint
Scrape off any loose paint, being careful not to gouge the wood with the scraper by holding it parallel to the wood and applying even pressure.

3. Sand Smooth
Sand the entire chair with a palm sander to even out the surface. First, sand the entire chair with 80- to 100-grit sandpaper. Then switch to finer sandpaper, between 150- to 200-grit, to get a smooth surface (sandpapers with higher numbers have finer grit). Pro Tip: When sanding, always move with the grain of the wood.
4. Hand Sand Crevices
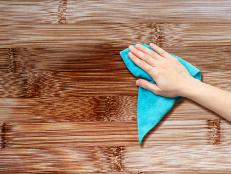
You may need to hand sand to get into the crevices. When finished, wipe down the chair with a tack cloth to remove dust.

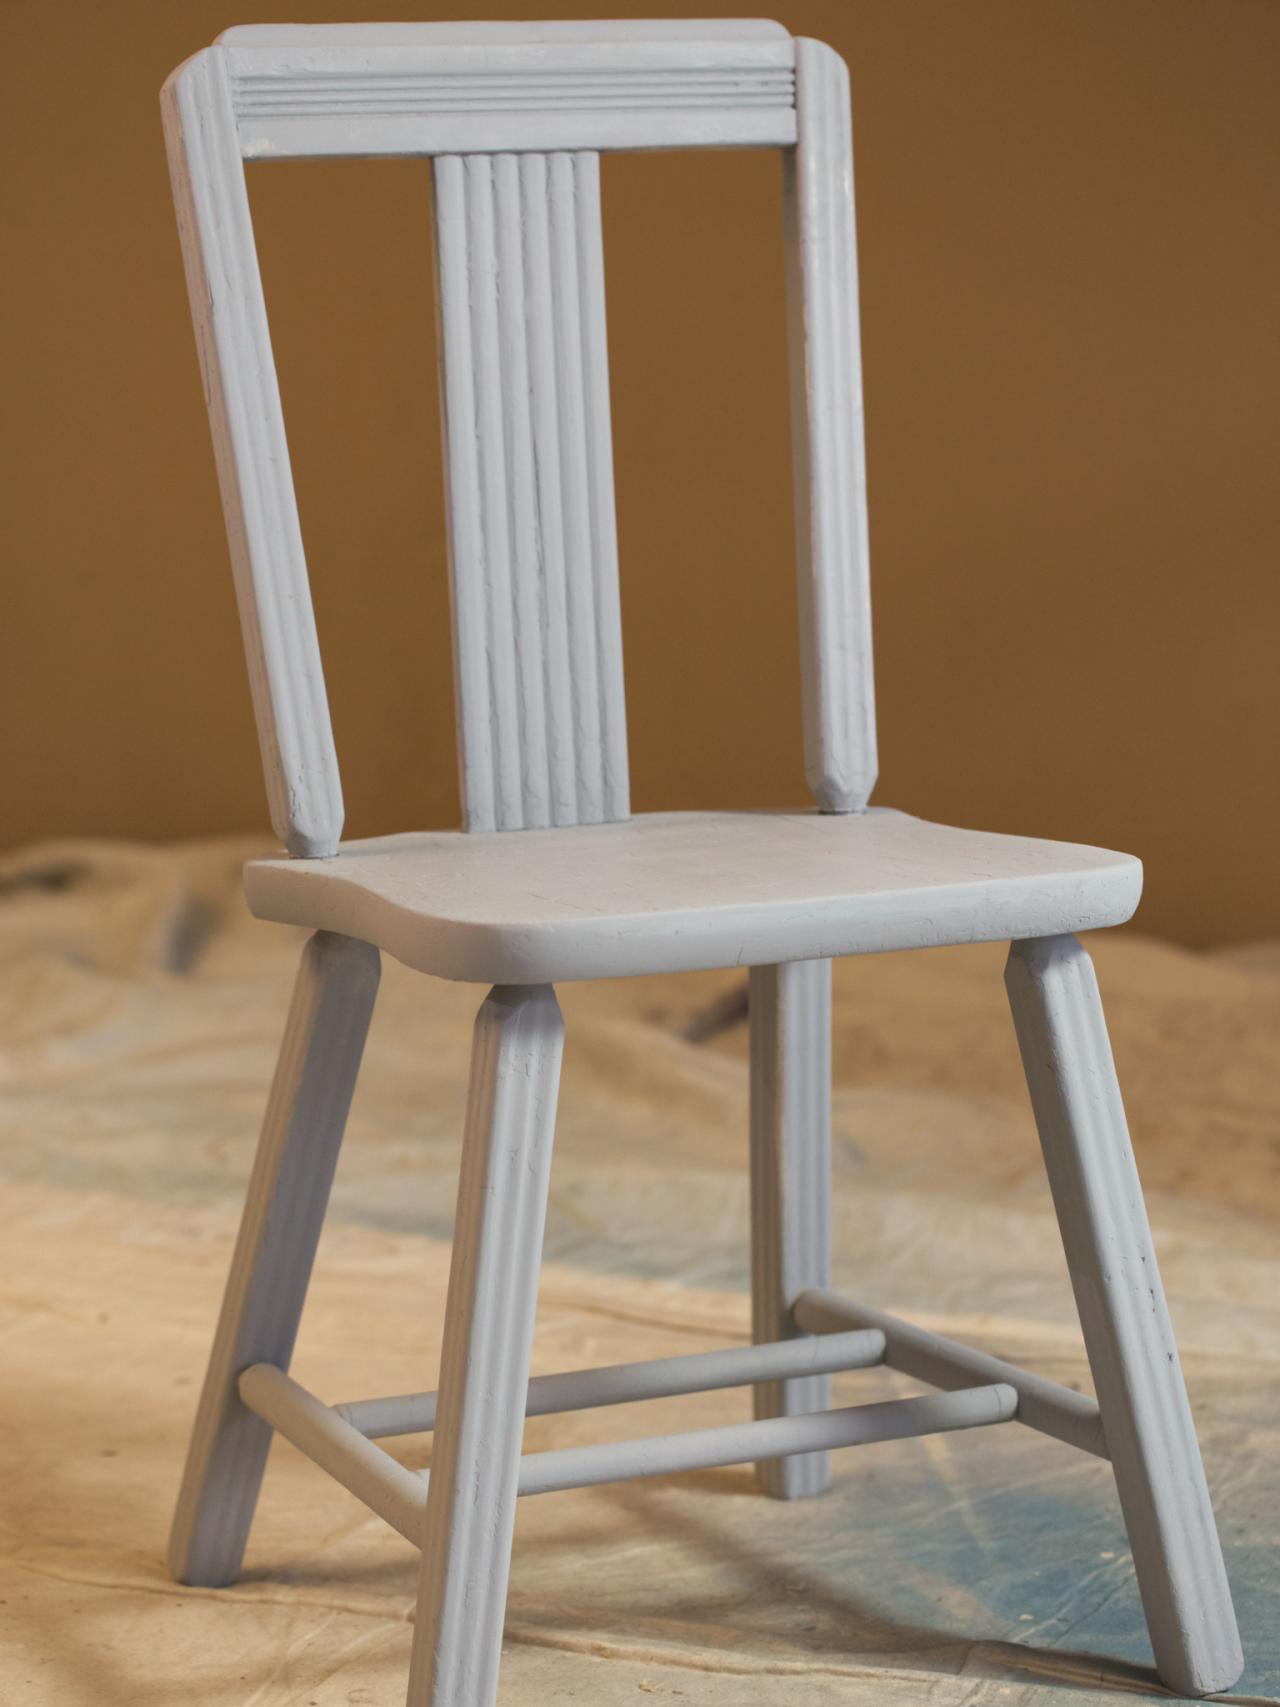
5. Apply Primer
Use a spray primer for neat, even coverage. Choose a white primer under light color paint and a darker primer under darker color paint for uniform coverage. Begin with the underside of the chair. Spray slowly for a consistent spray pattern to avoid drips and overspray. Use a back and forth motion following the natural lines of the chair. Apply 2 to 3 light coats, allowing the primer to dry to the touch between each application. Check your primer label because drying times vary widely.

6. Sand if Necessary
If the surface feels a little coarse once the final coat of primer is dry, lightly sand with very fine sandpaper and wipe again with a tack cloth to remove dust.

7. Paint the Furniture
Apply the paint with nice smooth strokes following the natural lines of the piece. Use a high-quality nylon bristle brush for the best results. Brush back over the previous stroke for an even finish. If you get a drip, lightly drag the brush back over the area to stop the run and smooth it out before moving on. Apply 2 to 3 light coats, allowing each coat to dry to the touch between applications. Check the label on your paint can because drying times vary depending on the product.
8. Apply Clear Coat
A polyurethane clear coat gives an added layer of sheen, and hardens and protects the paint. Match oil-based top coats with oil paint and water-based top coats with water-based paint. Hold the can 10 to 12 inches away and spray using a back and forth motion. Follow the natural lines of the chair to coat it evenly. After the first clear coat dries, lightly sand with 200-grit or higher sandpaper for a professional finish before spraying on the final coat.

9. Let it Dry
Let your furniture fully cure in a warm, dry, well-ventilated area before use — typically 24 hours. Once you know how easy it is to repaint wood furniture, you’ll see the hidden potential in all kinds of pieces!

More Tips on Painting Wood Furniture
- It is best to prime all painting surfaces to prevent stains from bleeding through the new paint.
- Primer must match the type of paint you have chosen. For furniture, it's best to use a satin or semigloss finish in either a latex or an oil-based paint. Never leave primer unpainted.
- If you choose a latex paint, a latex primer is an excellent choice for most uses. It goes on easily and blocks most stains, and it doesn't have the odor of an oil-based primer.
- Although you can use oil-based primers with latex paints, you must use an oil-based primer with oil-based paints. Oil-based primers offer superior adhesion and stain blocking, but they do have a strong odor. When using oil-based primers and paints, make sure you have good room ventilation.
- When you're painting, start at the top and work down, smoothing paint drips as you work downward.
- Latex paint comes in a variety of sheens, including flat, low sheen or satin, semigloss acrylic latex and oil-based enamel. Oil-based paint can be used for both exterior painting and interior trim work; it's also very durable and easy to clean.

Paint Glossary: All About Paint, Color and Tools
Learn what type of paint to use, which tools will work best and the basics for picking color schemes.


