
.-Battle-on-the-Beach-courtesy-of-HGTV.-.jpg.rend.hgtvcom.196.196.suffix/1714761529029.jpeg)


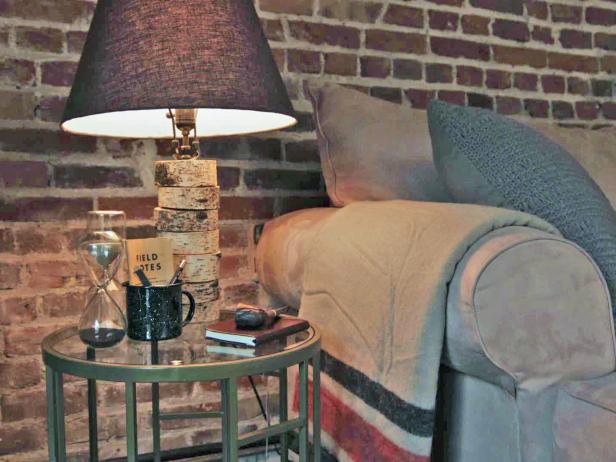
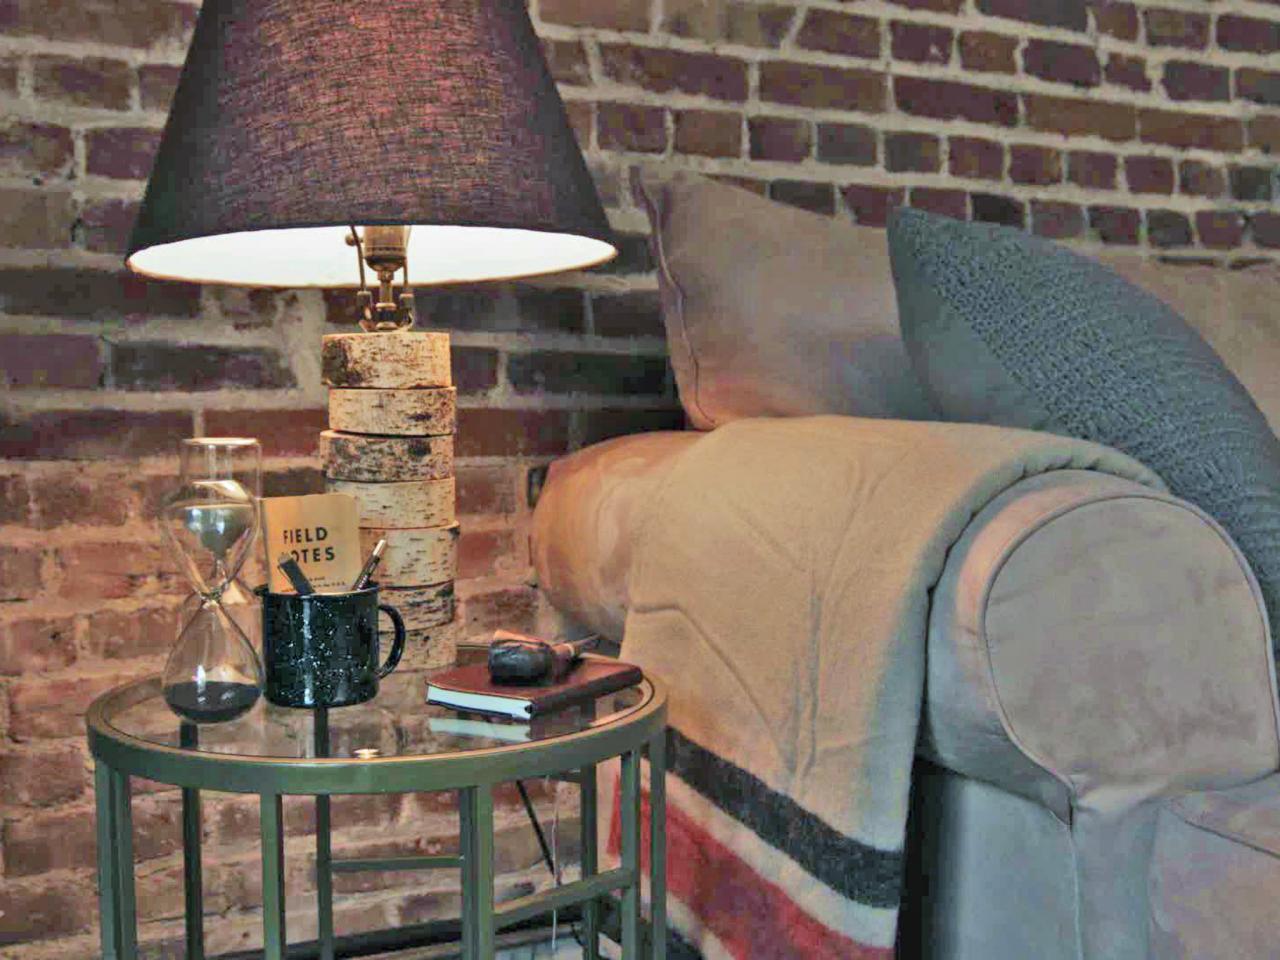
How to Make a Birch Table Lamp
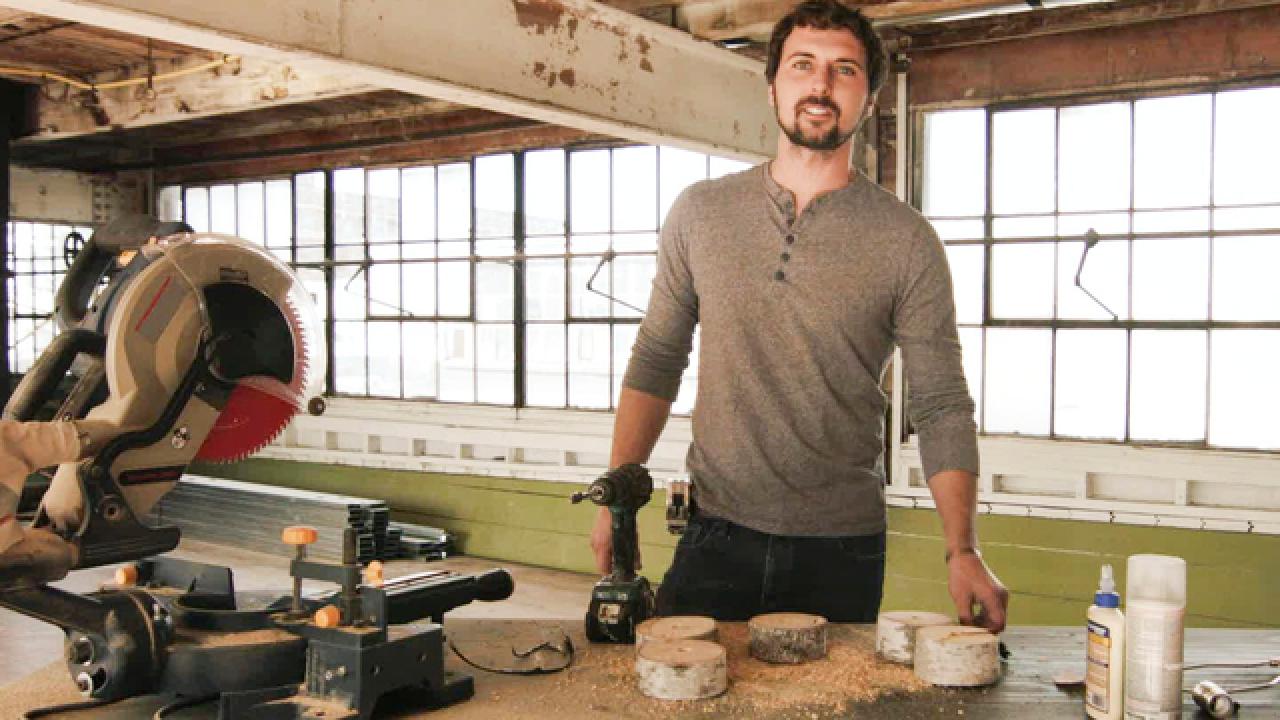


Materials and Tools:
- birch log, approximately 3" wide and 1' tall
- tape measure
- table saw
- wood glue
- polyurethane
- lamp components
- lampshade
- light bulb
- goggles
- drill with 1/2" diameter and 1" diameter bits
- palm sander with 220-grit paper
- polyurethane
- black spray paint
- mask
Instructions:
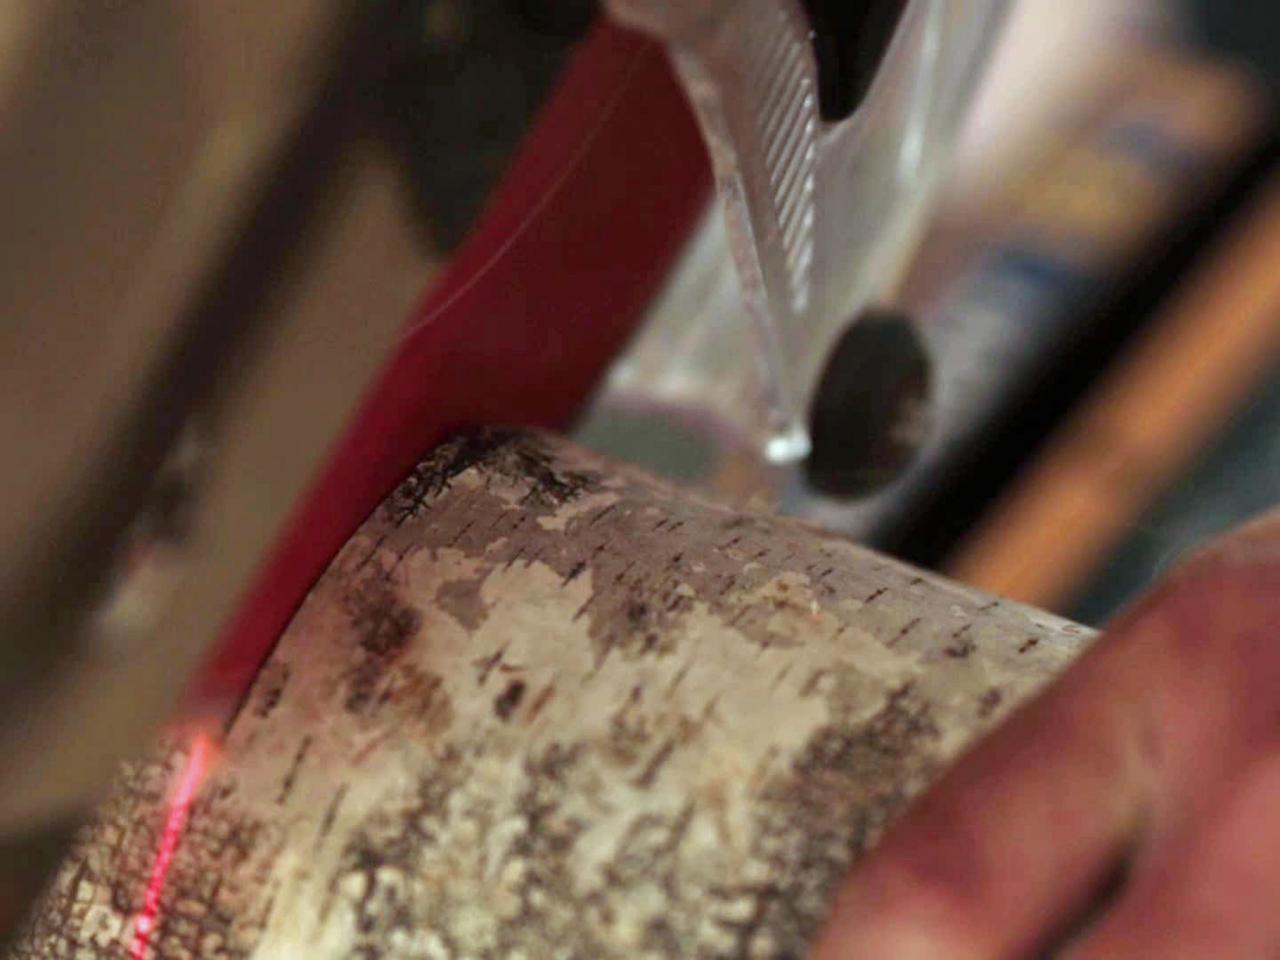
Cut the birch log into 2-inch slivers using a table saw.

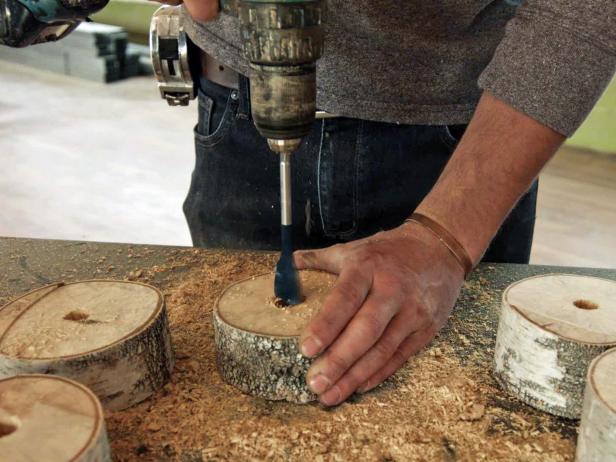
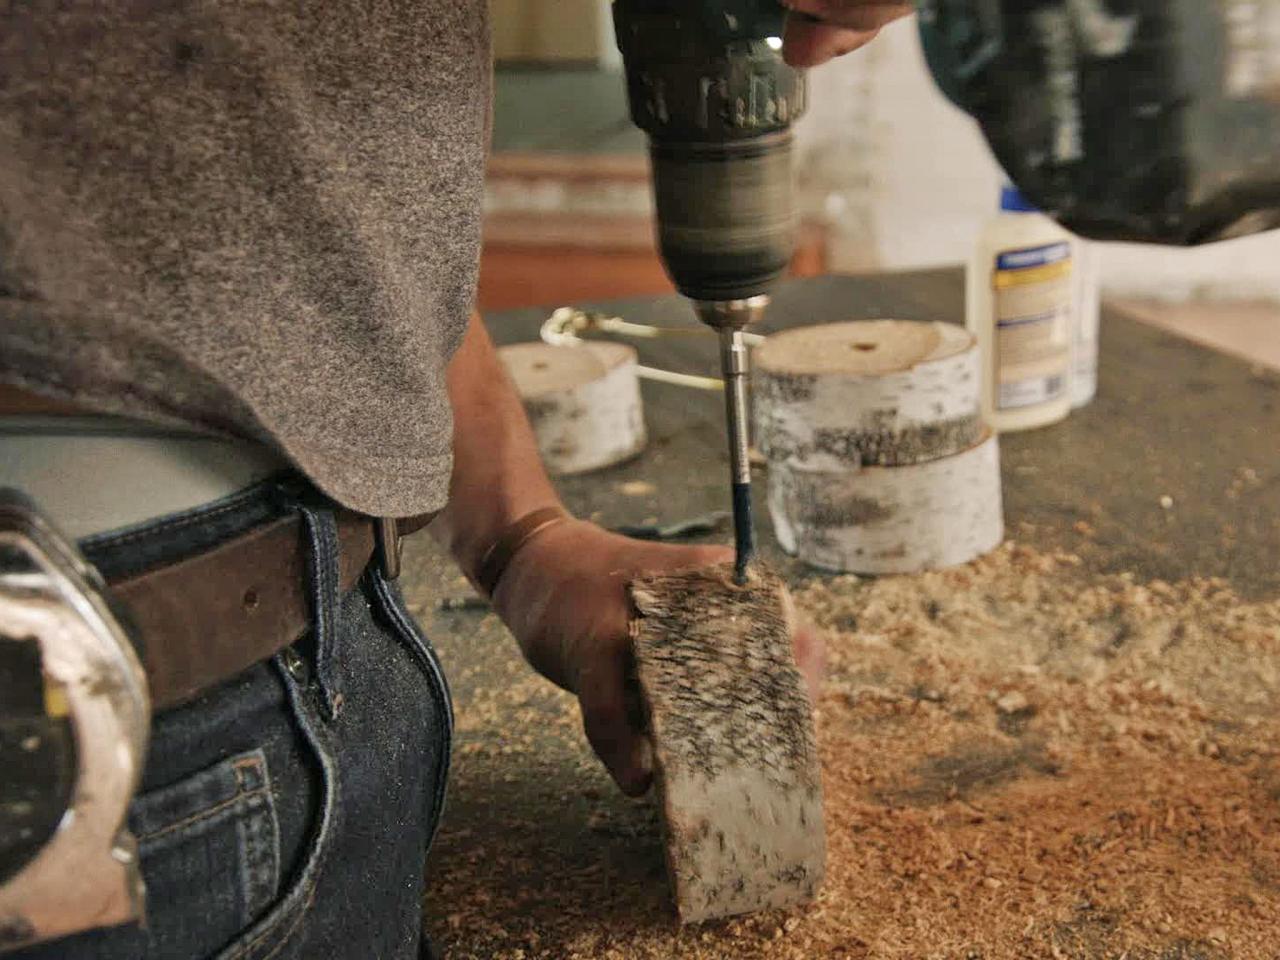
Drill a hole through the center of the birch slices using a 1/2-inch diameter bit. Don't worry about drilling exactly in the center. This will accentuate the staggered look of the log pieces.

Boar out a larger hole in the bottom slice using a 1-inch diameter bit. Drill a 1/2-inch diameter hole into the side of the bottom slice.

Sand the tops and bottoms of all wood slices using 220-grit paper. Apply polyurethane to the outer edges of the wood slices, and apply black spray paint to all lamp components.

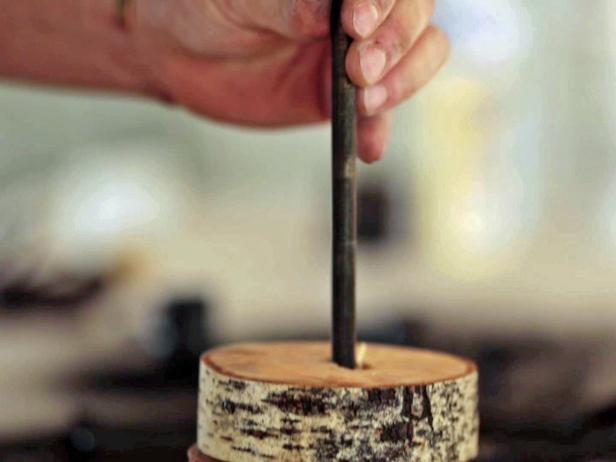
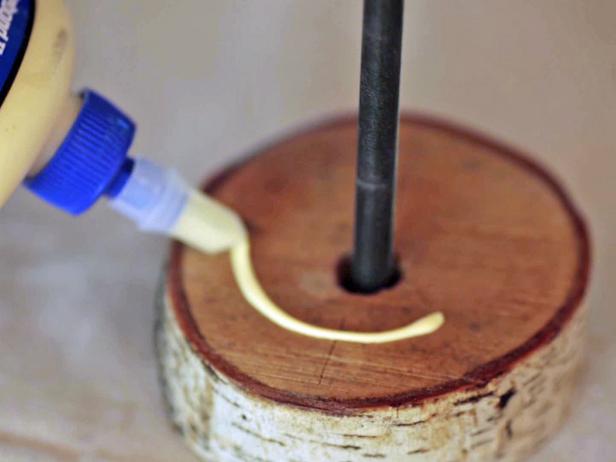
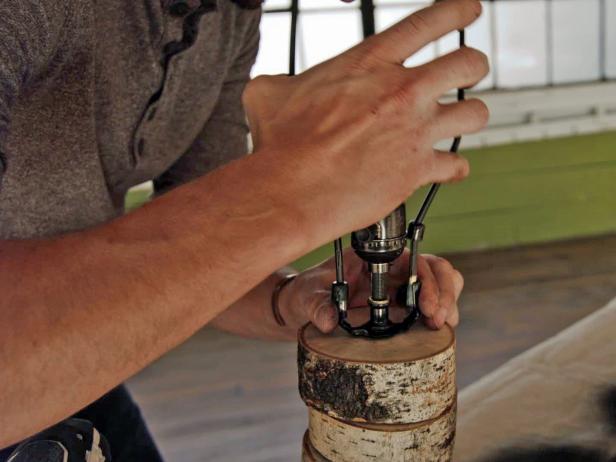
Run the rod through the hole, and stack all of the birch slices to make sure everything fits. Unstack slices, apply wood glue and restack the slices.
Apply a nut to the top of the rod to hold everything together, and run the wire through the center of the rod.

Add the remaining lamp components to the top of the log stack by following instructions on lamp kit. Screw in a light bulb, and attach the lampshade.


