


Light Up Your World: DIY Fringe Chandelier
Make a bold statement with a DIY chandelier that rivals even the most expensive, bespoke light fixture.


Long gone are the days of cheesy “candle-lit” chandeliers or boring flush mounts. Make a statement with an elegantly upgraded chandelier that you can DIY to your liking!
Materials Needed
- retro lampshade
- awl
- hammer
- pliers
- gold spray paint
- waxed twine
- 12” and 8” embroidery hoops
- 4 yards of 6” chainette fringe
- hot glue gun + sticks
- decorative metal trim
- painter’s tape
- 300-grit sandpaper
- 3/32” drill bit
- drill
- LED bulb
Prep Shade
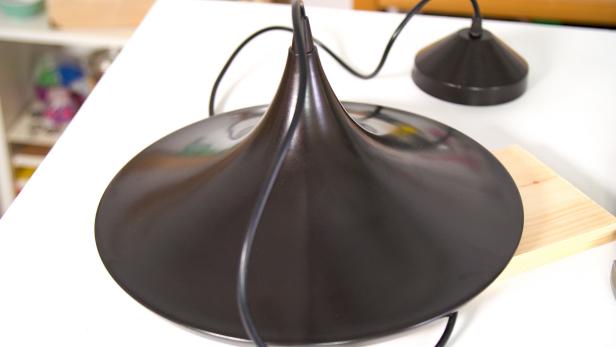
To begin, choose a ceiling lamp that is round, approximately 16 inches in diameter, and has a lipped edge for attaching fringe (Image 1). Using a hammer and awl, poke four small holes equidistant around the lipped edge (Image 2).
RTR Media

RTR Media
Paint Shade
Before painting, tape off the cord and any other surface you do not wish to paint (Image 1). Prep the metal surface by scuffing with 300-grit sandpaper (Image 2). A light scuffing allows the spray paint to better adhere. Paint the entirety of the lamp and ceiling base with short, light strokes, allowing ample drying time between coats (Image 3).

RTR Media

RTR Media

RTR Media
Prep and Attach Hoops
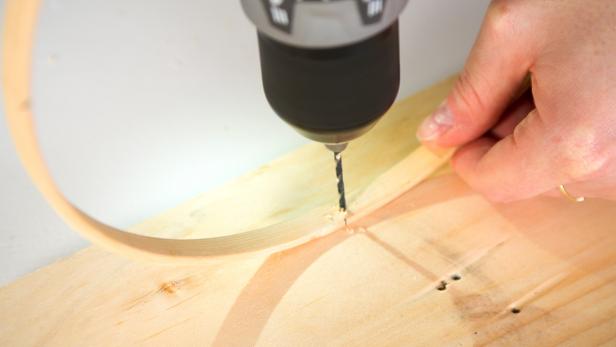
Drill four equally-spaced holes in each of the embroidery hoops aligned with the ones in the shade (Image 1). The goal is to have layered circles of fringe with around 3 inches of overlap. To achieve this, thread the waxed twine through the lamp shade and knot to secure (Image 2). Allow 3 inches of space between the embroidery hoops and tie knots to hold in place (Image 3). Trim any excess twine.
RTR Media

RTR Media

RTR Media
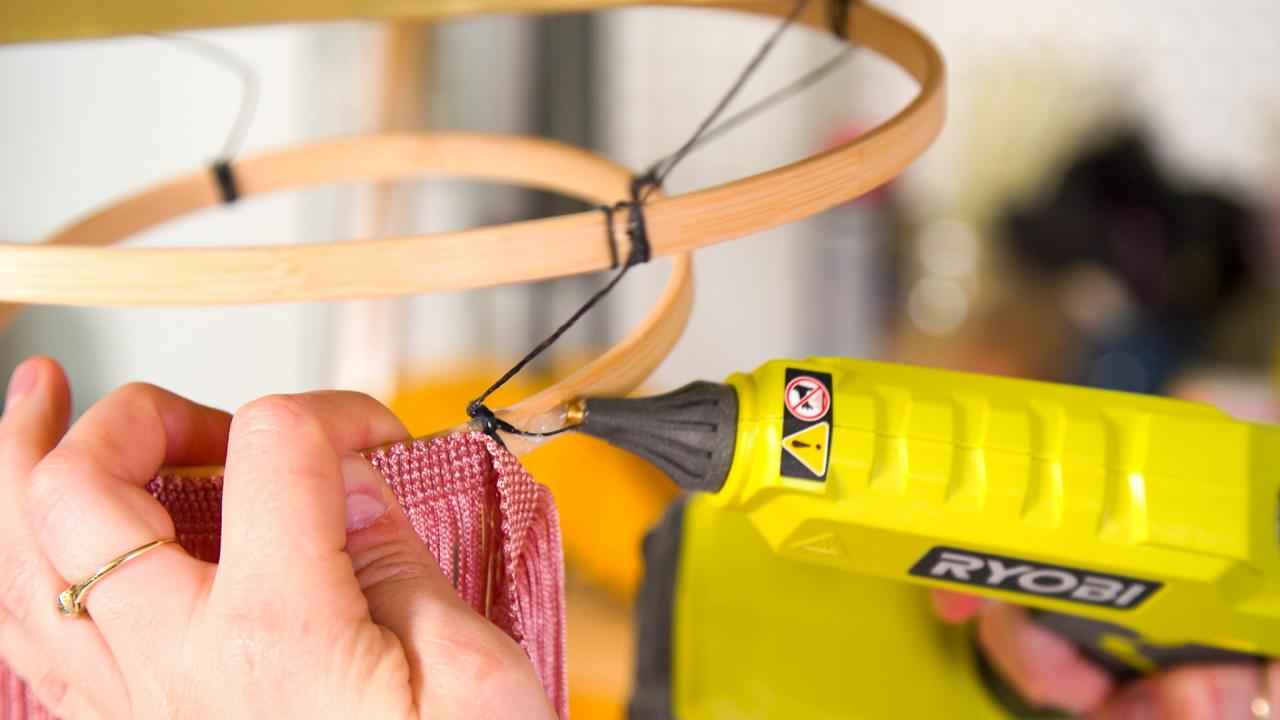
Attach Fringe and Metal Trim
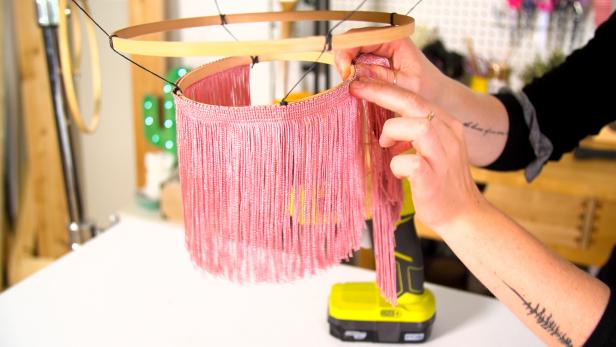
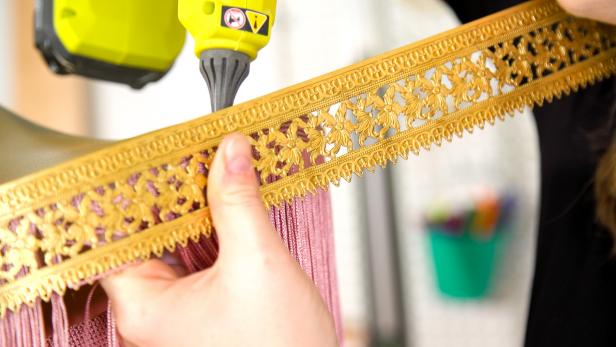
Starting with the smaller hoop first and working upward, hot glue the chainette fringe around each hoop and then glue to the outside rim of the lampshade (Image 1, 2, 3). Hot glue decorative metal trim to the outside layer of fringe, covering any holes or seams for a clean finish (Image 4). Note: Depending on the stiffness of your decorative trim, you may need to source a stronger adhesive glue.

RTR Media
RTR Media

RTR Media
RTR Media
Hang With Optional Molding
Your lamp is looking more beautiful than ever, but it could still use a little dash of elegance. To do so, source a decorative piece of round ceiling molding to take this lamp to new heights! Hang the light following the manufacturer’s instructions and use a small LED bulb to reduce heat.

RTR Media


