


A Remodel Where Design Is the Star

William Psolka

On Christmas Eve 2008, I bought my first house, a mid century modern, three-story ranch. The main selling point for my three-bedroom, two-bath home built in 1955 was its basement bonus room, which would make the perfect design studio. I swore to myself and friends that, within a year, I was going to reinvent the dingy room as a bold and beautiful design studio. "I'll be writing your Christmas cards from its custom built-in workstation," I told them.
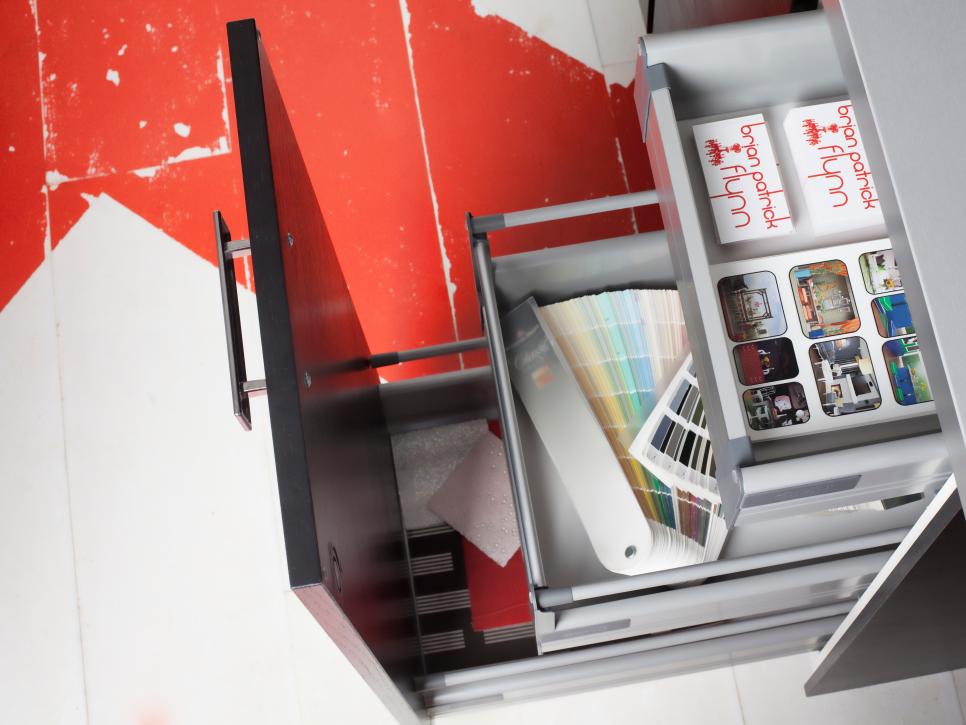
As a self-taught interior designer, television show producer, decorator and prop stylist, I'm passionate about 1960s design. This dream studio would need to house a plethora of important, work-related supplies including design and construction books, swatches, samples, sketches, floor plans, paint fan decks, pop art, architectural drawings, mood trays, test photos and, most importantly, my favorite vintage props.

I was determined to squeeze in a sleeping space for house-guests. The 11'10 x 12'4 basement was originally intended to be a fourth bedroom, plus the sofas in my living room get blasted with full sunlight at dawn, making for hostile guest accommodations. I'd have to kick my design skills into full gear to use a single space for both work and slumber.
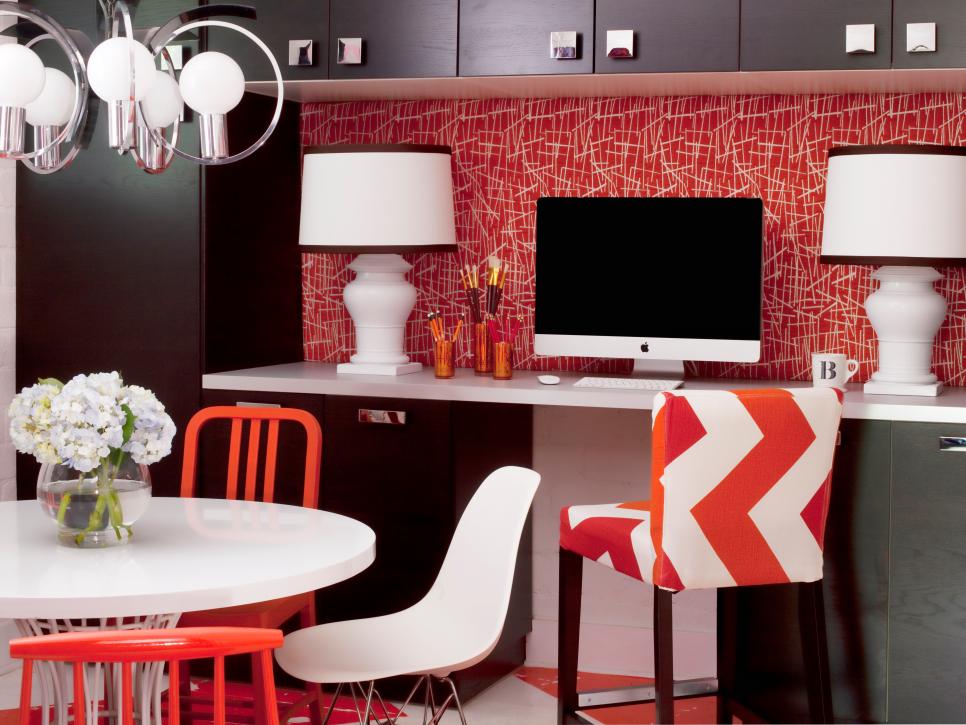
The new area needed to function as an efficient workspace with the warm feeling of a living room. I opted for the workstation to be counter-height, and the meeting/lunch table to sit at table-height. Aesthetically, I pictured working and sleeping tied together with a mod vibe.
Choosing function and look was easy but deciding on a budget was harder. The biggest issue with the project was choosing where to splurge and where to save. Accustomed to spending other people's money to make their spaces spectacular, shelling out cash for my own home was uncharted territory. While some of my clients are comfortable spending $1,200 on a high-end, designer desk chair, I'm more of a $200-chair-kind-of-guy. And after an estimate for wall-to-wall white shag carpet came in at $1,800, it became evident I was a $600-flooring-kind-of-guy.
To get my unique floor without busting my budget, I installed 1x10 pine planks and with a carpenter friend painted a zigzag pattern on the wood with white and red-orange porch and deck paint. To get a weathered look we sanded down random areas before sealing the entire surface with a high-gloss floor sealant.
To make the task of figuring out how much to spend less daunting, I needed to identify the project's must-haves and assign them the biggest chunk of change. For me, the musts were unique floors, built-in cabinetry, an extra-wide desktop surface, open shelving, a custom sleeping space and a new ceiling. My budget for turning the dungeon-like bonus room into a bright, modern workspace was $6,000. Even if we did the project in phases, I was determined to stay either on or under budget.
Mid-Century Modern Studio Remodel
See All Photos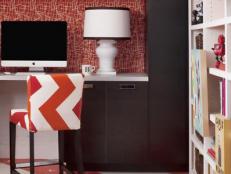


Since the project didn't require plumbing, major electrical work or any relocating of load-bearing walls, we decided to do it in several phases over a six-week period. The project phases were:
- Scrape popcorn ceiling then replace it with bead board
- Rip out carpet
- Tear open front wall of existing closet
- Grind concrete slab and install wood plank floors
- Spray all surfaces white
- Tear out old trim and replace it with 1x4 MDF (medium density fiberboard)
- Install cabinetry
- Put in new lighting
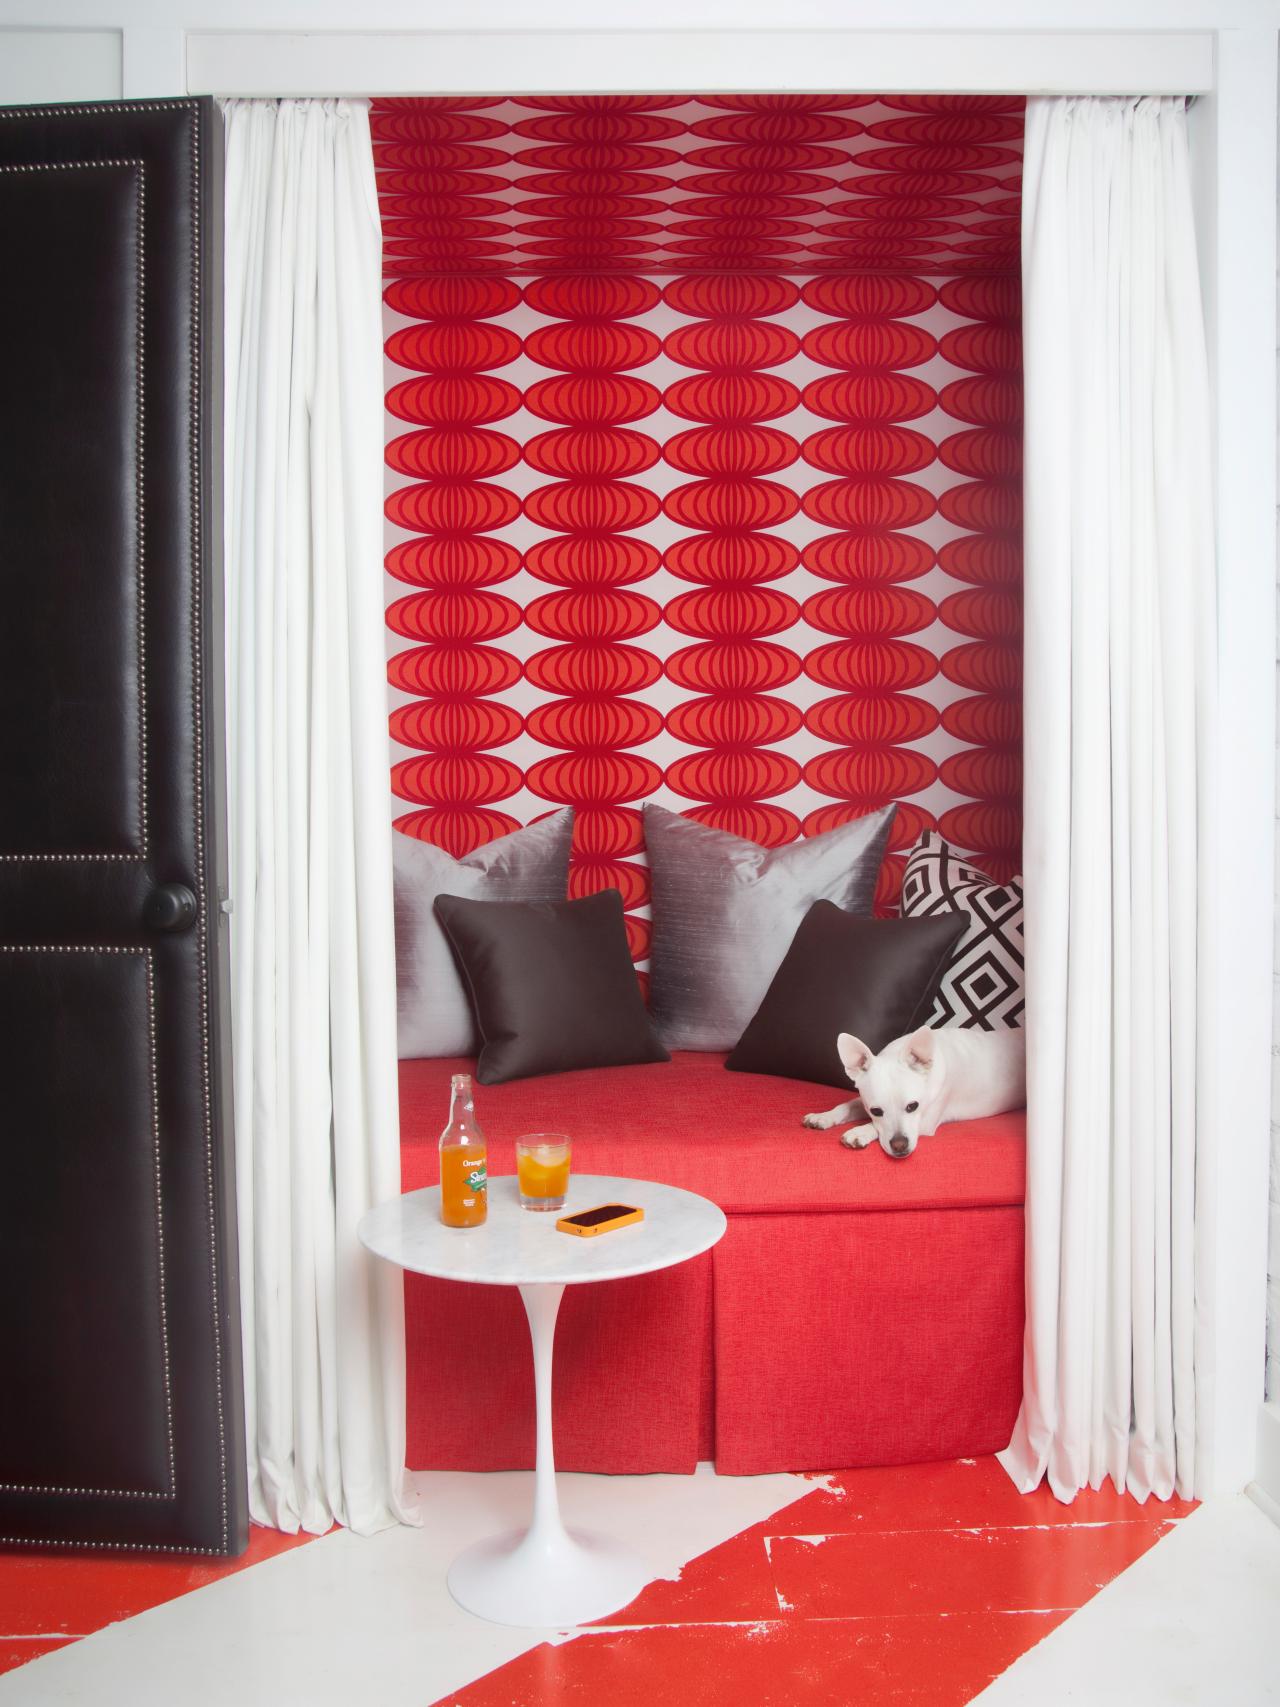
- Build out sleeping nook into old closet space
- Fabricate then hang a new custom door


To make the studio fit in with the rest of the house, I wanted to keep a mid-century look architecturally and decoratively. While the rest of the home's decor is neutral, the design studio needed a more playful palette that would coordinate with everything else. My branding colors are red-orange and white. For the most part, my home's interiors are dark brown and silver. To make the two schemes work harmoniously, I chose dark brown cabinetry and polished-chrome hardware accented with red-orange, a tone popular in 1960s design.
The bonus room had dark brick walls, which I brightened by painting ultra-white. There was no way I could have gotten any work done in such a bleak space. I added a pair of table lamps and a single pendant light.
Since big-ticket items like built-in cabinetry and a custom sleeping nook could easily eat up most of the budget, I had to mix price points. I stuck with a big-box retailer for all things cabinetry, then splurged on the custom construction and upholstery of the nook. After pricing out ready-made office components, I found the cost to be too high for my budget and the look too "catalog" for my style. The solution? I decided to use ready-made kitchen cabinets and a pre-fab laminate countertop instead. With so many styles and sizes available, it was an excellent way to get a custom look and avoid custom costs.
I learned some lessons in the project. When installing raw, pine planks as flooring, it's imperative to wait a few weeks until the boards swell before painting them. I painted mine the day after installation and had to touch up the swollen areas between each board just a few weeks later as raw wood started to show through. It's best to have cabinet installers see the space in person before getting an estimate via email or over the phone. When the cabinet installers showed up on installation day and learned my walls were brick, the labor costs went up hundreds of dollars.
Many of the design ideas I used have inspired friends to implement them in their own homes. When I started looking for a house, my main goal was to find a place where I could work from home to avoid commuting. Now that the basement room has become a full-fledged design studio, my commute simply involves walking down the stairs and making a right.


