


How to Start Seeds Indoors
Starting seeds indoors in winter helps you get a jump on your spring and summer gardening goals. Seed starting may also save you money in the long run, and, no matter your age, it’s a great way to learn about how plants grow.

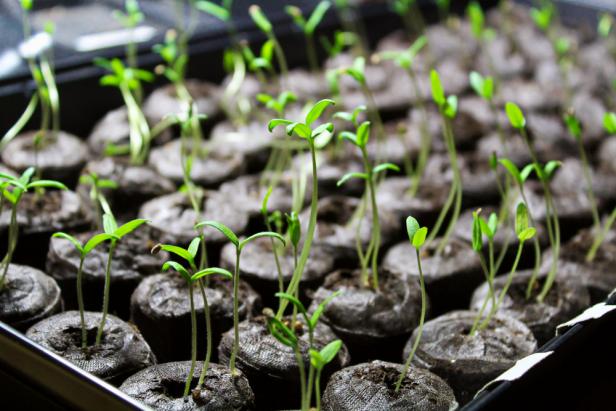
Shutterstock
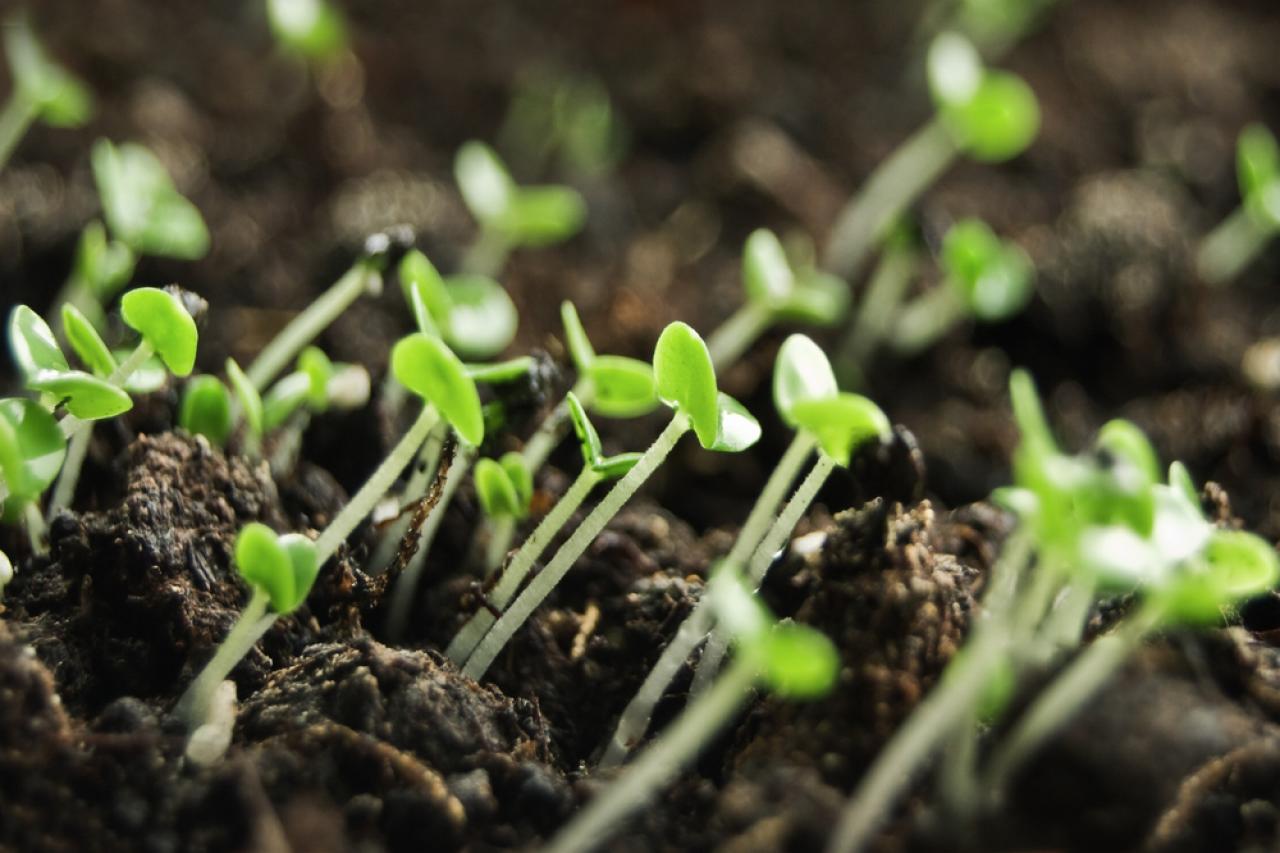
Seeds have germinated and sprouted in this indoor seed starting setup.

Starting seeds indoors can be a fun late winter activity, and for some gardeners in colder climates, it’s a necessity. Gardeners typically start seeds indoors for these reasons:
- To get ahead of spring and summer planting.
- To learn and experiment with growing techniques.
- To save money, compared with buying transplants.
- To teach children how seeds germinate and plants grow.
- To experience the emotional benefits of gardening during winter.
- To prevent birds and other critters from eating seeds (like sunflowers) before they can grow.
Starting seeds indoors can be especially helpful for gardeners in a short-season climate, meaning one where the summers aren’t typically long enough for some plants, such as tomatoes and peppers, to grow to maturity (Zones 5 and above). Starting indoors means your plants are several weeks, if not months, ahead of schedule as opposed to sowing directly outdoors, giving plants enough time to flower and make fruit before frost comes again in fall.
On the other hand, gardeners in warmer climates that don’t experience freezes or much frost (Zones 9 and above) may never feel the need to start seeds indoors. For those of us in between, it's a choice.
When to Start Seeds
Know your last frost date (the 20-year average of last spring frosts in your area) and then look to your seed packets for guidance on when to start seeds indoors. Informative packets will say how many weeks ahead of your last frost date you should sow a certain type of seed.
For example, a packet of pepper seeds may say “Sow indoors 8-10 weeks before average last frost.” My last frost date is around April 15, so if I back up 8-10 weeks on the calendar, I know to sow pepper seeds indoors around the end of February. The date will be different depending on where you live, but the frost date is your waypoint. If your seed packets don’t provide good info, search online for a “planting schedule” for your gardening zone.
What Seeds to Start Indoors
Cabbage, broccoli, Brussels sprouts, cauliflower, and greens like kale are good for starting indoors in late winter and transplanting outdoors in early spring. Tomatoes, peppers, and eggplant can be started indoors and then transplanted in late spring. Annual flowers such as zinnias, marigolds and sunflowers can also be started indoors.
Not all seeds need to be started indoors, however, because they’re fast-growing (making it unnecessary to start inside) or because the plants don’t transplant well. These include root crops like beets, carrots and radishes; beans and peas; and squash family plants like cucumbers, summer squash, winter squash and melons such as watermelon. While perennial flowers often can be started from seed, it typically takes a long time and isn’t worth the investment for most home gardeners.

How Long Does It Take for Tomato Seeds to Germinate?
It’s important to understand germination when you’re starting tomato plants from seed. Know what to expect and how to troubleshoot if things don’t go quite as planned.
Gather Seed Starting Supplies
Just like outdoors, plants need a few basic things to grow indoors: warmth, light and water. If you can find a spot indoors with 8+ hours of sunlight a day, temperatures around 70 degrees or above (in winter, mind you) and access to water, then count yourself lucky. Most people don’t have all of those things and, instead, need to bring in supplies to supplement all or some of these necessities. Here are things you’ll want to gather ahead of starting your seeds.
- Seeds
- Seed Starting Mix
- Seed Starting Trays and Tray Covers
- Seed Pots
- Grow Lights (optional but highly recommended)
- Heat Mat (optional but recommended)
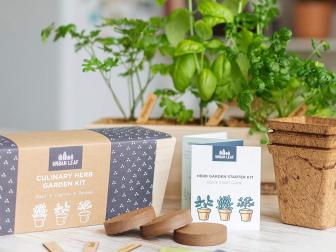
Shutterstock
Seed starting kits with soil pellets like these are a good option for first-timers. These seedlings are at the stage where they need to be thinned to one per pot. Thin by cutting with small scissors, rather than pulling, to avoid disturbing roots.
Seed starting mix is lightweight, allowing germinated seeds to easily send out new roots, and it drains well, so seeds and tender roots won’t rot. Seed starting mix is also fungus-free (sometimes confusingly called "sterile"), helping avoid common fungal problems in seedlings. It’s very important that you use a starting mix rather than regular garden soil. You can buy it, or make your own seed starting mix.
Trays will catch water and keep your surface like a countertop or windowsill clean and dry; you can buy trays for seed starting or use something flat with a lip, like a sheet pan or baking dish, to serve the same purpose. Most ready-made trays also come with a tray cover, a plastic cover that simulates the warm, humid conditions of a greenhouse, to help germinate seeds. You can use plastic wrap or other clear covers if you’d like to try using household items.
Pots can be made of plastic, metal, peat or coir, or you can try making seed pots and seed trays out of any number of upcycled items from eggshells to newspaper. Just be sure to add drainage holes to anything you're using for a seed pot. You may also see seed starting kits with pellets of seed starting mix that sit on a tray. These easy-to-find kits are a good option for beginners. Some more experienced growers use a system called soil blocking to make compact blocks of soil that hold their shape, no pot needed, eliminating waste in their seed-starting practice.
Grow lights are very helpful for indoor seed starting, unless you have an especially great source of sunlight. Seeds need a lot of bright light to germinate and grow into seedlings. Look for energy-efficient LED grow lights or fluorescent grow bulbs. Some are full-spectrum, meaning they contain red, blue, yellow and green light. However, plants don't need full spectrum light, so some grow lights will appear pink when on because they only contain red and blue light.
A heat mat is also very helpful for indoor growing, especially if you’re starting summer plants like tomatoes, peppers and eggplant. A heat mat raises soil temperature from below, aiding in germination rates and warming roots as seedlings grow. Most seeds need temperatures from 65 to 70 degrees to germinate. You can also try placing seed trays on warm surfaces in your home, such as the top of a refrigerator.
10 Garden Starter Kits Perfect for Beginners
Get your grow on with these easy-to-follow gardening kits for beginners.

14 Clever Ways to Start Seeds 14 Photos
Get growing with these fun, inexpensive ideas for seed pots and seed trays.
Instructions for Germinating Seeds
Follow these steps to start seeds and grow seedlings indoors.

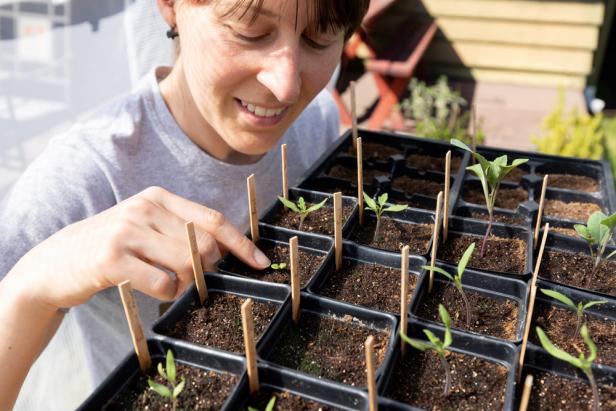
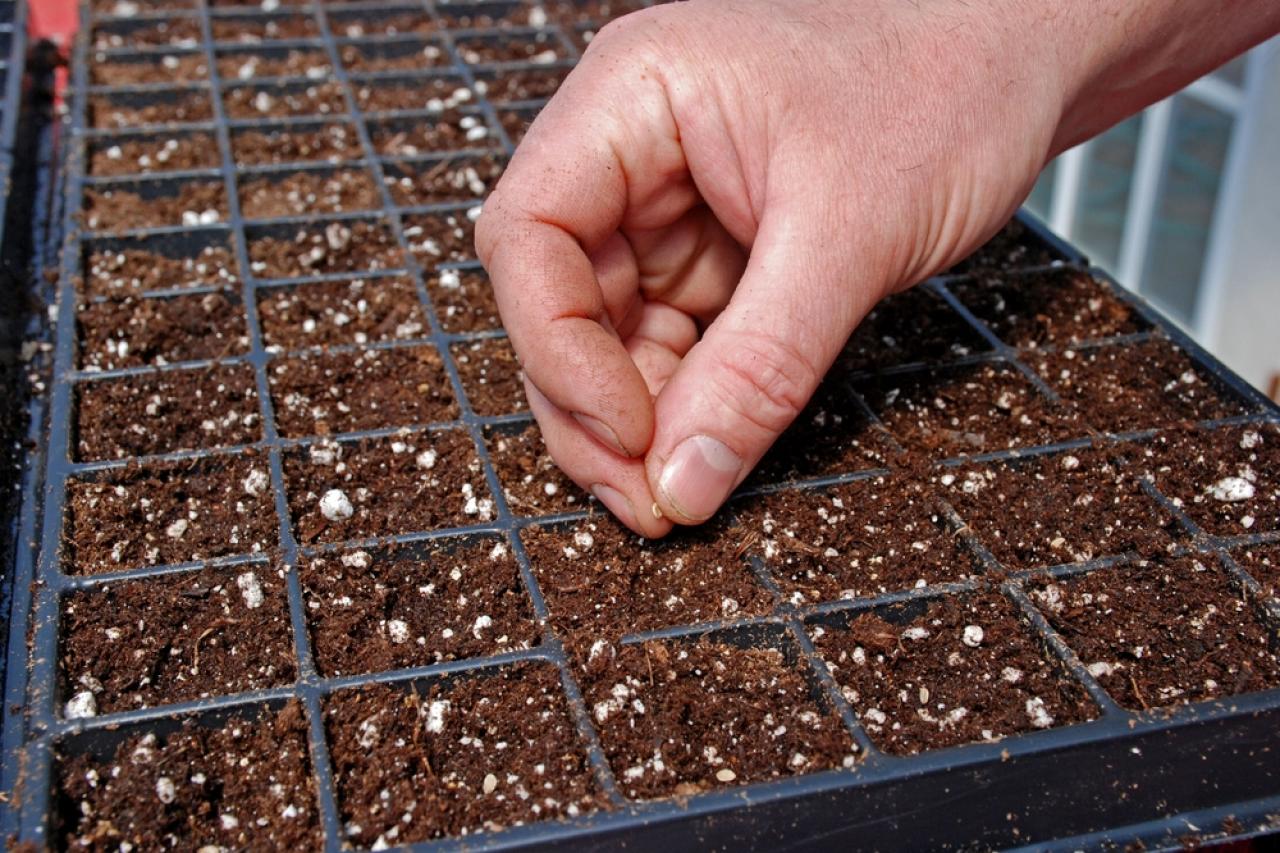
Shutterstock
This gardener is carefully sowing one tomato seed per plastic cell filled with seed starting mix.
- Dampen seed starting mix with a little water and fluff the mix so it has equal moisture.
- Fill pots with seed starting mix and place the pots in the trays.
- Plant seeds according to packet instructions. Most seeds are planted as deeply as they are wide. Plant a few seeds per pot with plans to thin out later.
- Water evenly from above. Cover trays to hold in heat and humidity.
- Set trays on a plant heat mat or in a warm spot. At this point, you do not need a strong light source because seeds don’t need light to germinate, but they do need warmth.
- Check often to spot when seeds germinate. Germination is when genetic plant material breaks out of the seed coating as a sprout to start developing into a small plant.
- When you see sprouts, remove the tray cover to allow airflow, and make sure plants get plenty of light from this point on. Newly germinated and growing seedlings can require 12 to 18 hours of light daily.
Caring for Seedlings
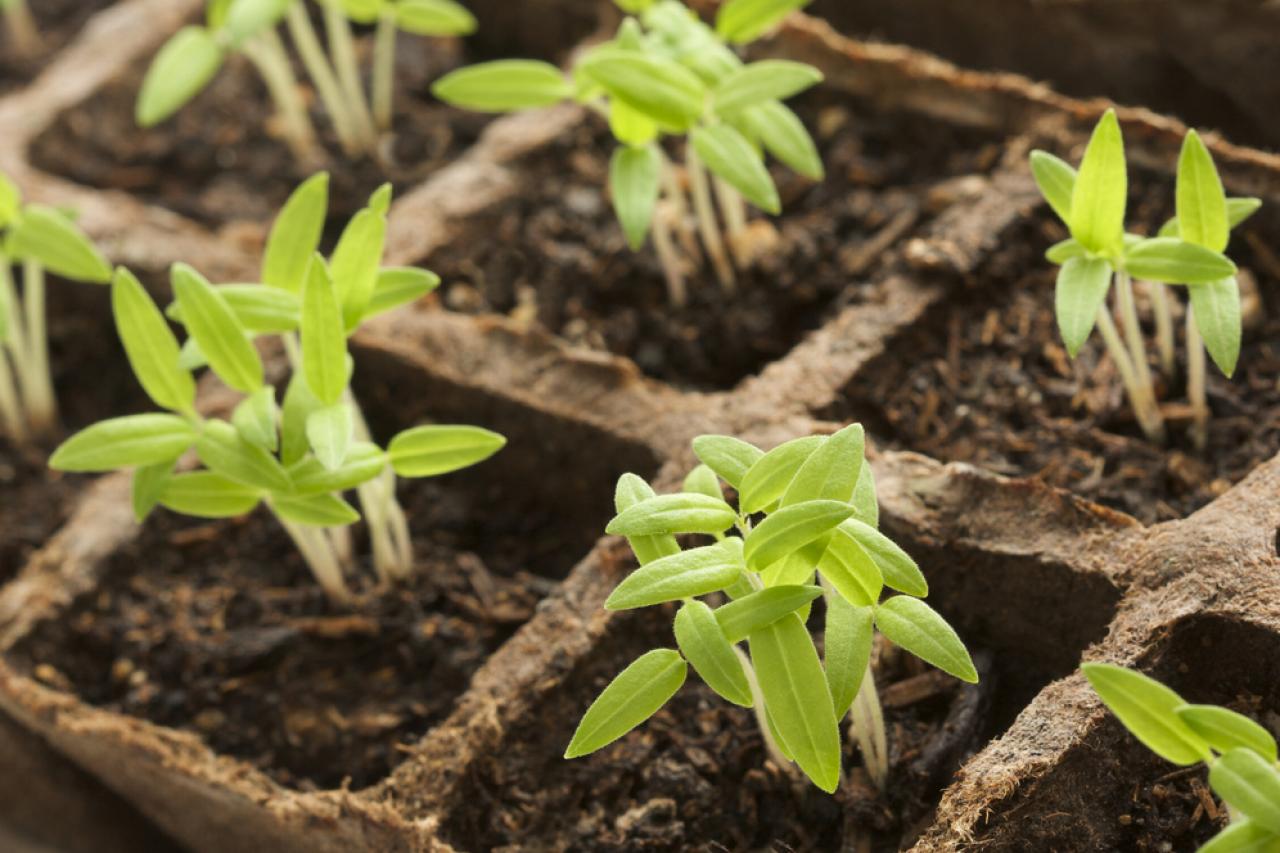
After seeds have germinated, sprouts need a little time before they turn into true seedlings. The first stage is called cotyledon; a cotyledon has only two simple leaves, which are the first leaves to appear. The next set of leaves that appear are referred to as “true leaves,” and these resemble the leaves of the adult plant. After true leaves develop, you have a seedling that is engaging in photosynthesis, the capturing of light energy to create food (also known as chemical energy).
Shutterstock
A gardener points to a new sprout from seed that's just germinated. Her other seed pots have small seedlings that are just starting to grow their true leaves.
Water and Fertilizer
Throughout the process, keep soil evenly moist and don’t let it dry out. Watering from below can help, especially in the early stages. Water into your tray, and the seed pots or pellets will soak up moisture slowly and evenly from the tray. At the start of the seedlings stage, you can also begin fertilizing with a balanced liquid fertilizer mixed with water according to the package instructions.
Thin Seedlings
If you have multiple seedlings in a pot, you’ll need to thin until you only have one or possibly two. If seedlings are crowded, none will get the chance to thrive. Use small scissors to snip back extras. Don’t pull up the seedlings, which can disturb roots of the ones you’ve selected to remain and grow.
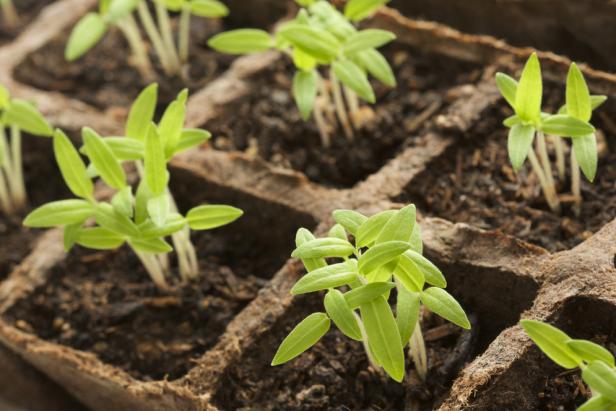
Shutterstock
It's time to thin out these healthy-looking sprouts. Each of them has two simple first leaves, called cotelydons.
Adjust Light
Keep seedlings under grow lights until you’re ready to move them outdoors. You will likely need to move the position of the lights, though, as the seedlings grow. If lights are too close to the plants, then the plants could experience what amounts to sunburn. Too-close lights will also dry out soil more quickly.
Reduce Heat (Maybe)
If you are using heat mats for germination, you may need to turn them off or remove them after seedlings begin to grow. Too much heat can cause soil to dry out quickly. On the other hand, if your indoor area is cool, the mats may be helpful.
Troubleshooting Common Problems
The germination and the cotyledon stages have the most risk for plants succumbing to a common fungal disease called “damping off.” If this happens, germinated seeds will not progress and you may see a fungal fuzz on them. There’s no saving these, so discard them.
To avoid damping off:
- Be sure to use a quality seed starting mix.
- Use the vent in your tray cover if it has one.
- Remove the plastic cover after sprouting.
- Allow for plenty of air circulation.
- Water from below and don’t overwater; soil should be moist but not soaking wet.

Shutterstock
This watering can with a spout makes it easier to direct water to the soil in each pot, or to pour water into the bottom tray, where the seed pots can soak up water from below. Getting water to the soil, rather than sprinkling it over the tender seedlings' leaves, will help avoid fungal problems.
If your seedlings have long, thin — often called "leggy" — stems, then they are stretching to find light, meaning they are not getting enough light. This will most likely happen if you try growing indoors without grow lights. You may also see seedlings stretching sideways toward a window or whatever the best light source is. It can also happen when seedlings aren't thinned enough and are competing for resources. Seedlings may also appear pale rather than bright green.
To avoid leggy seedlings:
- Provide bright light for at least 12 hours daily, ideally from an efficient LED grow light.
- Keep the light source overhead rather than off to one side.
- Thin seedlings so that only one, possibly two (if your seeds pots are larger) seedlings are growing in each pot.
- Fertilize seedlings beginning after true leaves appear.
Transition Seedlings Outdoors
If you started your seeds on the right schedule, your seedlings should be ready to move outdoors by the time your last frost rolls around, or, for summer crops, when the temperatures are warm enough to move plants outdoors (usually 50 degrees or more at night). Before you transplant into the garden, though, seedlings need a transition period called “hardening off.”
Shutterstock
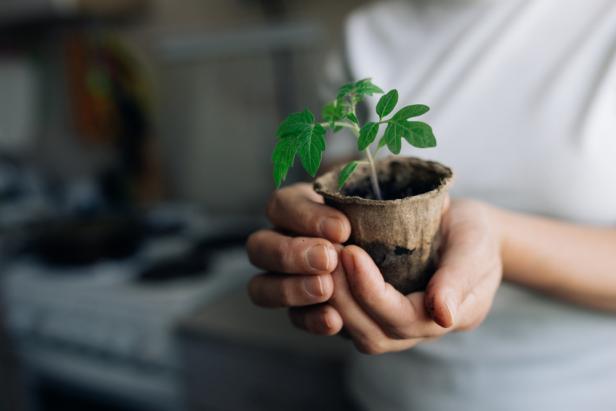
Seedlings grown in compostable pots can technically be transplanted in their pot, but you'll have better results if you tear away the pot and plant the seedling without it.
Hardening Off Seedlings
For a couple weeks, move plants from indoors to outdoors for a few hours each day, increasing the time as the seedlings grow larger. Slowly acclimate them to sunlight, starting them off in a shadier spot and then moving into the sun after a few days or so.
You may need to water the seedlings more often during this time, but on the other hand, be aware of weather, especially rain, and don’t leave the seedlings out in a deluge. Bring the seedlings indoors each night until the temperatures are consistently above 50 degrees.
Shutterstock
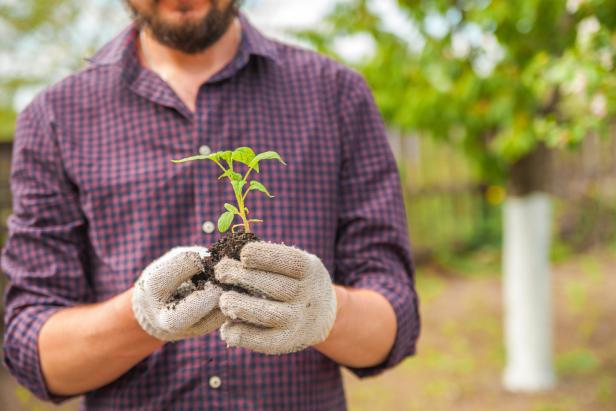
After being hardened off, this seedling is ready for planting.
Transplant Seedlings
When your plants are sufficiently acclimated to the outdoors, it’s time to transplant them into the soil. Water seedlings well, then transplant into the garden, ideally in the morning when weather is cooler so the plants can adjust to their new home before the heat of the day. After transplanting, keep plants well-watered and follow growing and care instructions, depending on the plant.

Do Garden Seeds Have Expiration Dates?
Will last year’s seeds grow? Learn what you need to know about seed package dates, germination tests and seed storage.


