


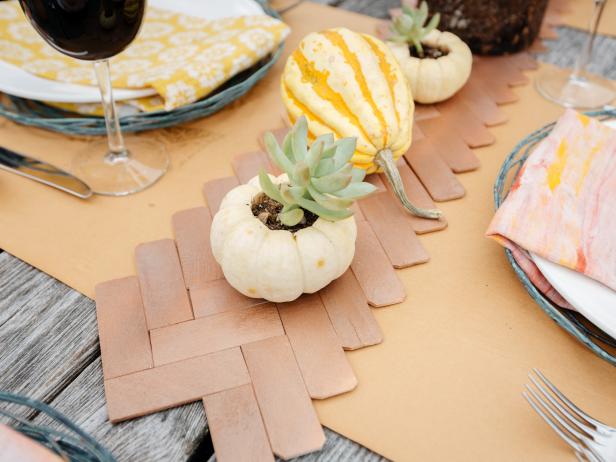
Turn Paint Sticks Into a Herringbone Table Runner

Jason Kisner, Copyright 2013, HGTV/Scripps Networks, LLC. All Rights Reserved.

Materials Needed:
- wooden paint sticks (we used 56 medium-sized sticks)
- painter's tape
- handsaw
- 2 large sheets of felt
- spray adhesive
- copper spray paint
- fine-grit sandpaper
- pencil
- utility knife
- speed square or ruler
Determine Length and Width of Runner
Before you begin your table runner, determine the length and width of the runner. For use on a rectangular table, it should be narrow enough to allow for 12 inches on both sides and at either end for plates, placemats and glassware. This runner was created for use on a 5-foot picnic table, and is roughly 8 inches wide and 36 inches long.

Measure and Cut Paint Sticks
Creating a herringbone look means overlapping pieces of the same size in a zig-zag pattern. To create a roughly 8-inch-wide runner, we used rows of three pieces that are each 3-1/2 inches long. When calculating the length of each stick, remember that each piece will overlap with the next by about 1-1/4 inch.
These paint sticks were roughly 1-1/4 inches wide, which means we needed 28 rows to create a 36-inch-long runner. We used 56 sticks total, making 1 cut from 28 and two cuts from 28, since you need twice as many end pieces as you do middle pieces to create the desired look.
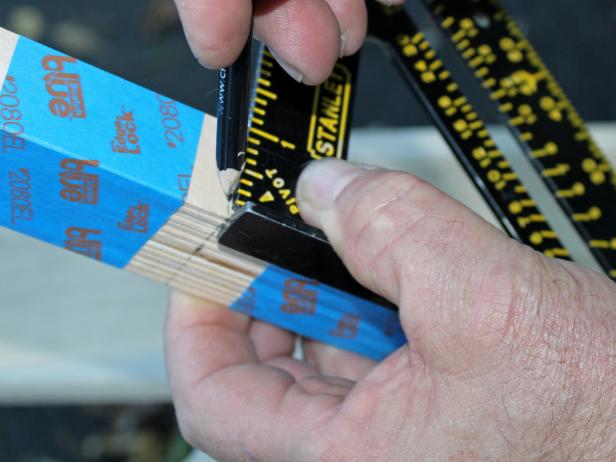
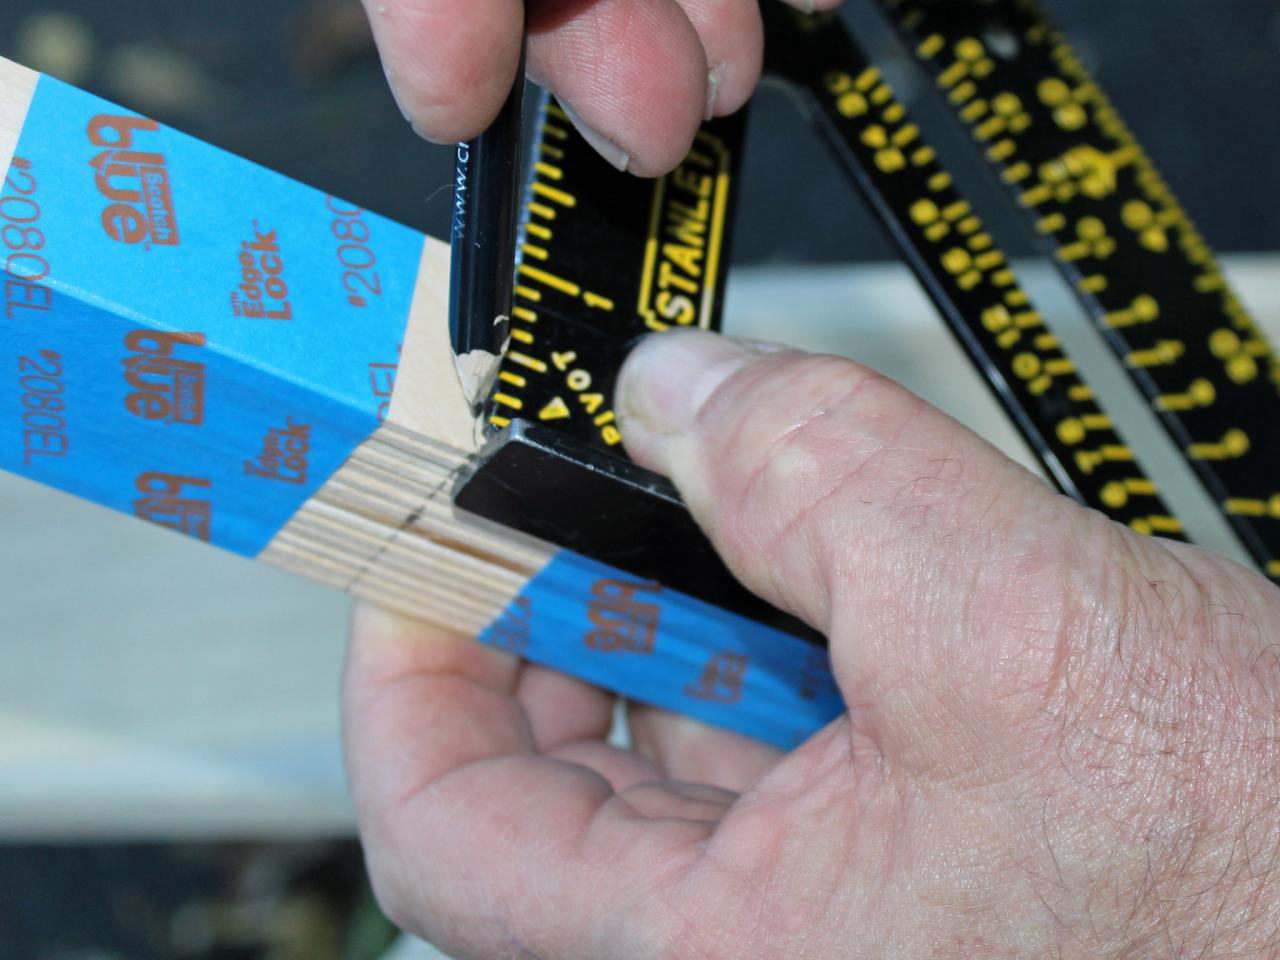
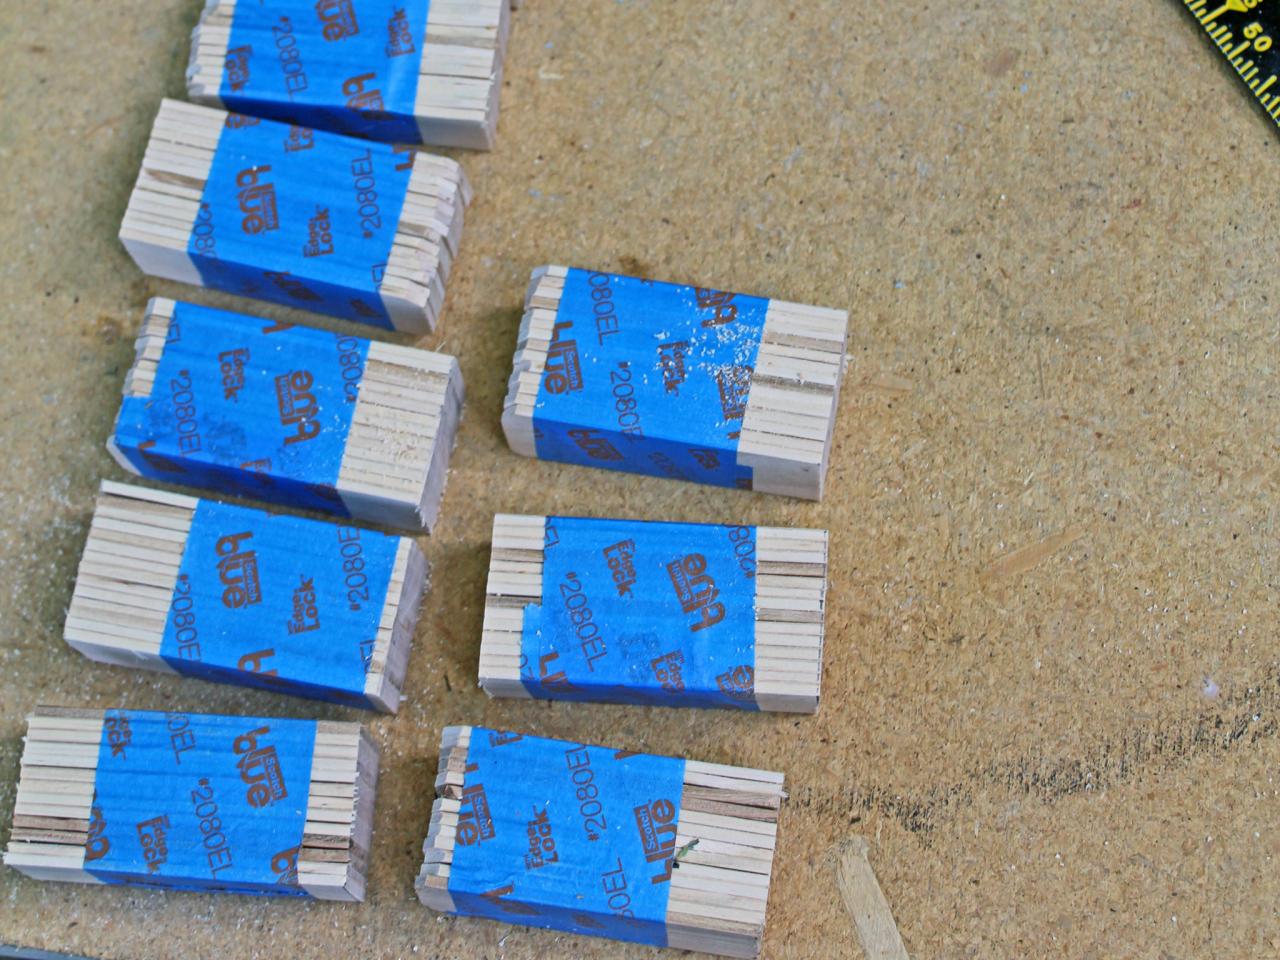
Once you've determined the proper measurements for your runner, bundle a group of 14 sticks together and secure with painter's tape. This will make it easier to cut pieces to size.
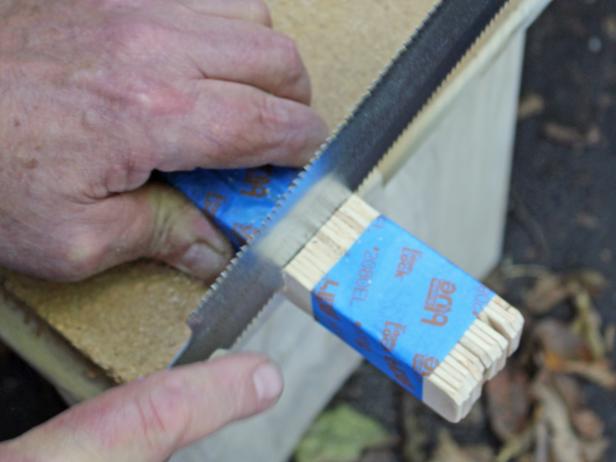
Using a speed square or ruler, measure out the desired length and mark with a pencil. On a flat, secure surface, cut the group of sticks to desired length. Repeat with a second group of taped sticks.
For final two groups of sticks, measure and mark the first length, then measure the same distance towards the center of the sticks. Make 2 cuts with a hand saw.
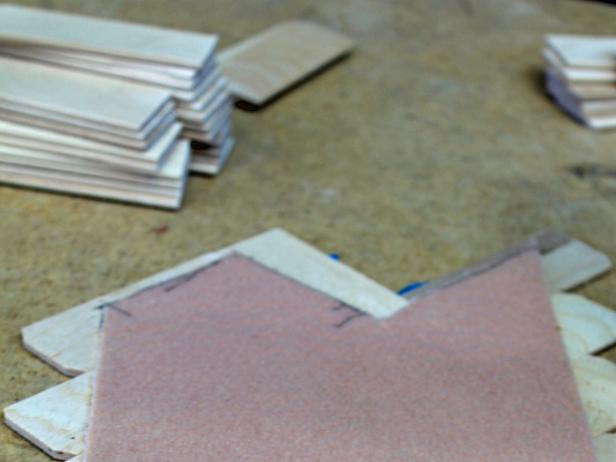
Lightly sand the ends of each bunch, then unwrap tape. Now you're ready to start the assembly!

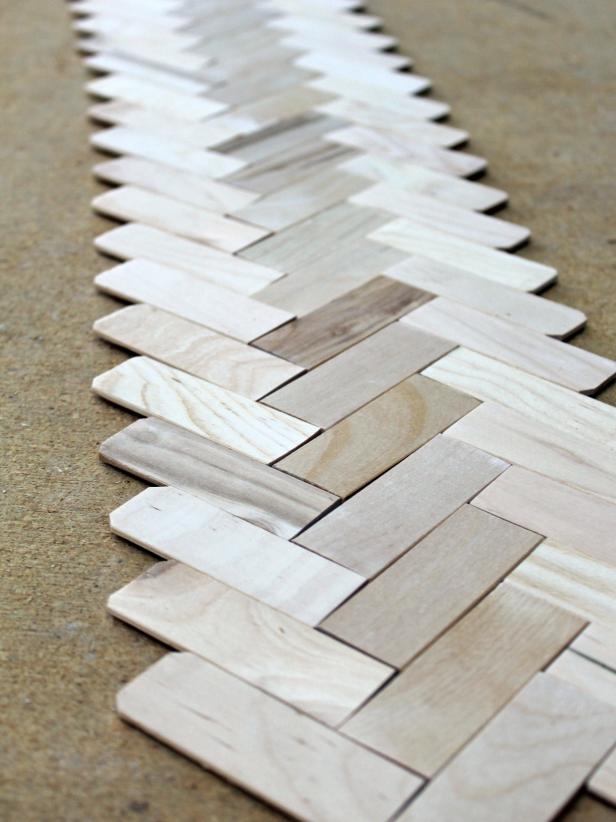
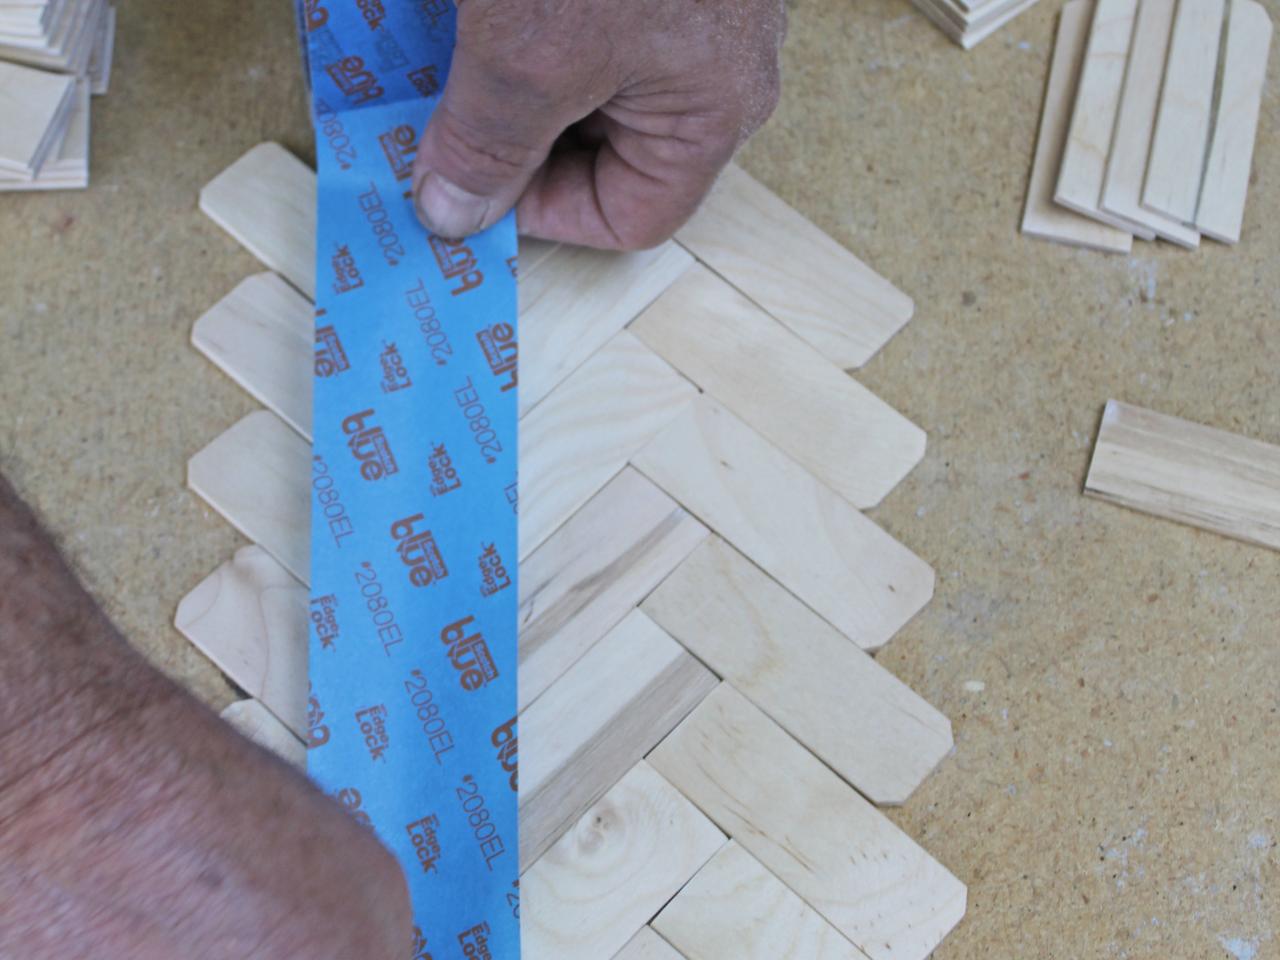
Create Herringbone Pattern
To creat the herringbone pattern, lay one of the center pieces at a 45-degree angle. Set an end piece, cut side facing down, at the bottom of the center piece. Line up a second end piece, cut side up, with the bottom-corner of the central piece. Then, add another center piece to start a second row and repeat.
Tip: For best results, the pieces should be as close together as possible. Depending on your paint sticks, some may vary slightly in width. If the pattern isn't lining up, try swapping for an alternate piece. We found this solved any fit problems we encountered.
We sectioned our runner into 4 sections of 7 rows for easy storage and transportation. Once you've finished a quarter of your design, you're ready to glue it together.

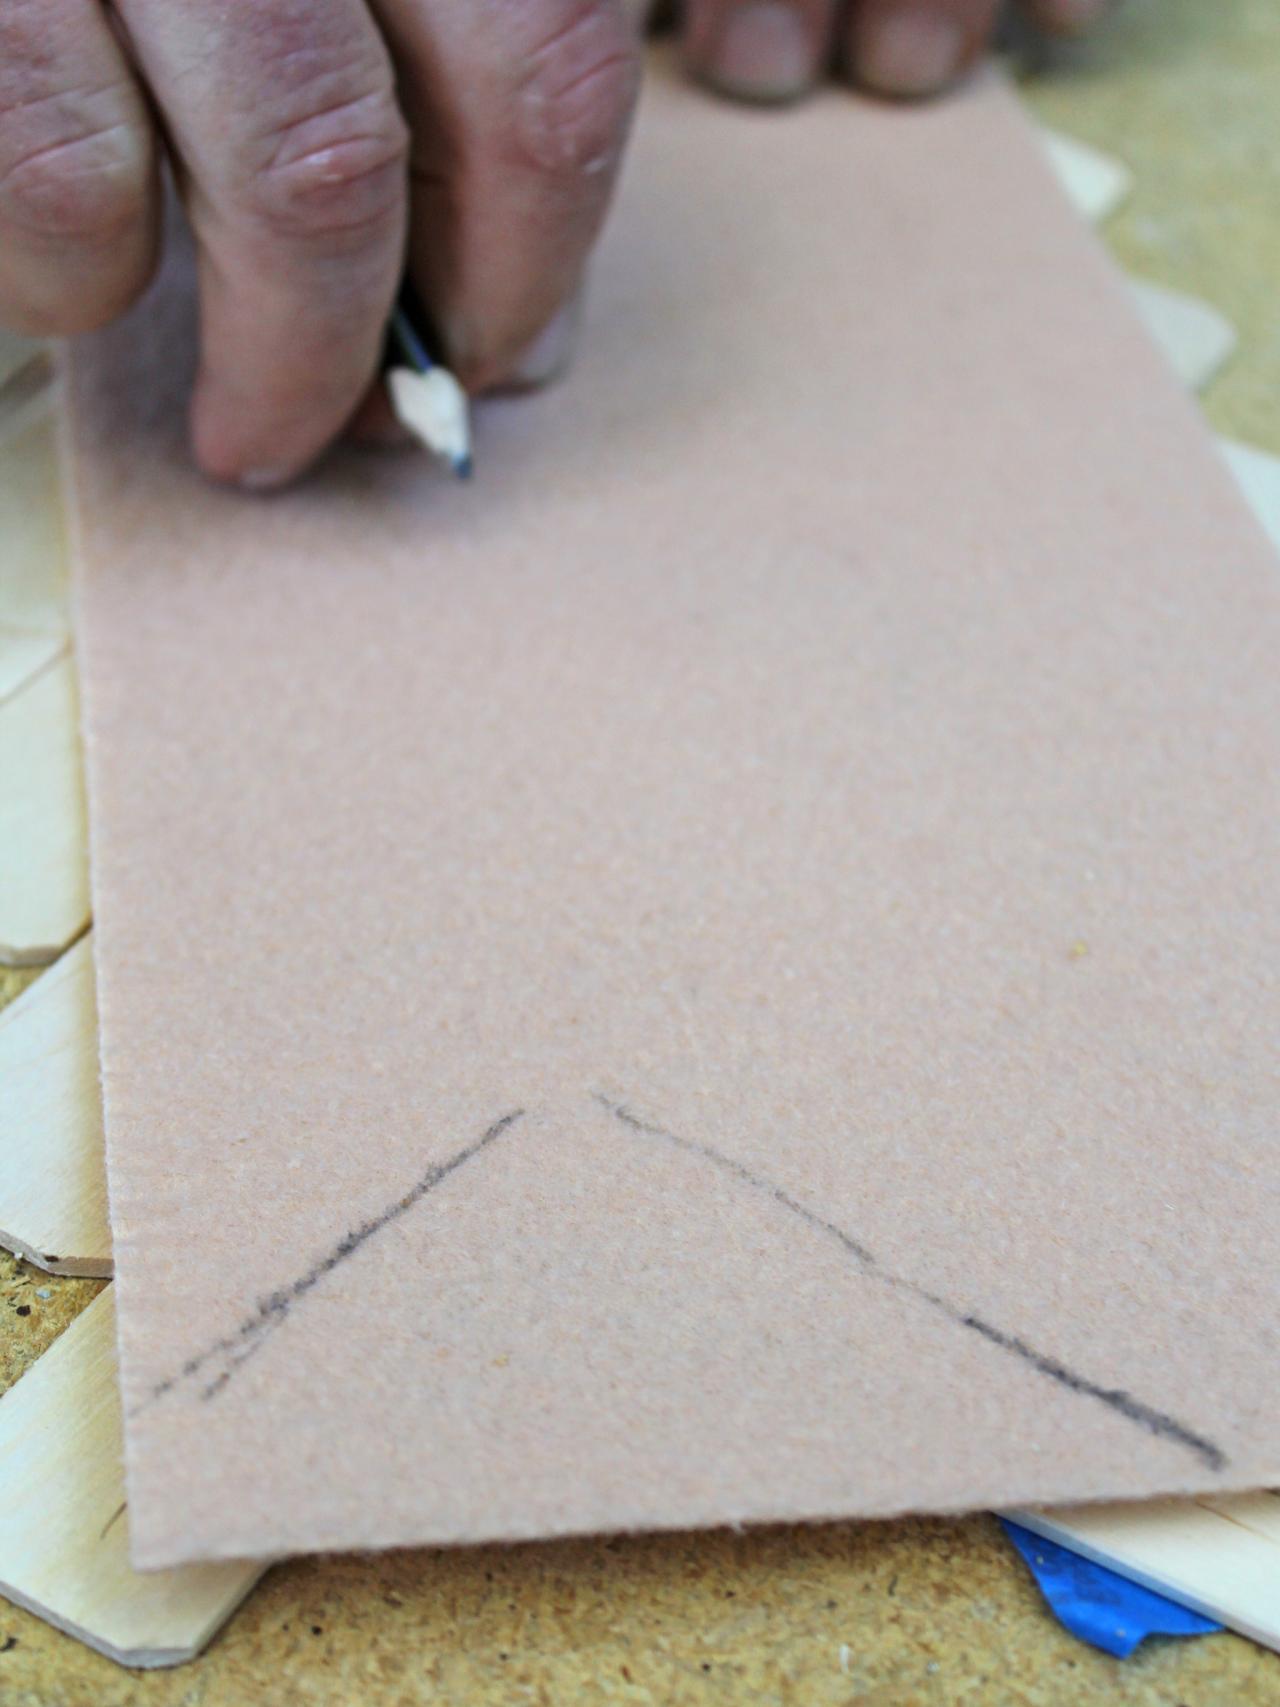
Glue Runner Onto Felt Background
Once you're happy with the first section of runner, run two strips of painter's tape across both sides of the runner. Flip over.
Using a utility knife, cut a piece of felt to the rough width of the runner. Then, use a pencil to mark where additional cuts should be made to ensure felt isn't visible from top of runner. Make additional cuts with utility knife.
Spray back of felt with spray adhesive. Let stand for 30 seconds to allow glue to become tacky, then attach to back of table runner. Let dry for a few minutes, then flip over and remove painter's tape.
Repeat with remaining sections of runner, using the end of each existing section as the guide for the beginning of the next section.
Tip: Make a mark on the end of each section with a pencil, and use the same mark on the beginning of a new one. This will help you assemble the sections in the correct order.


Paint Table Runner
When all sections of the table runner are assembled, it's time to paint! Pull sections apart slightly and spray a light coat of your color of choice onto the runner. (We used copper.) Repeat until fully covered and desired hue is achieved, allowing to dry between coats.

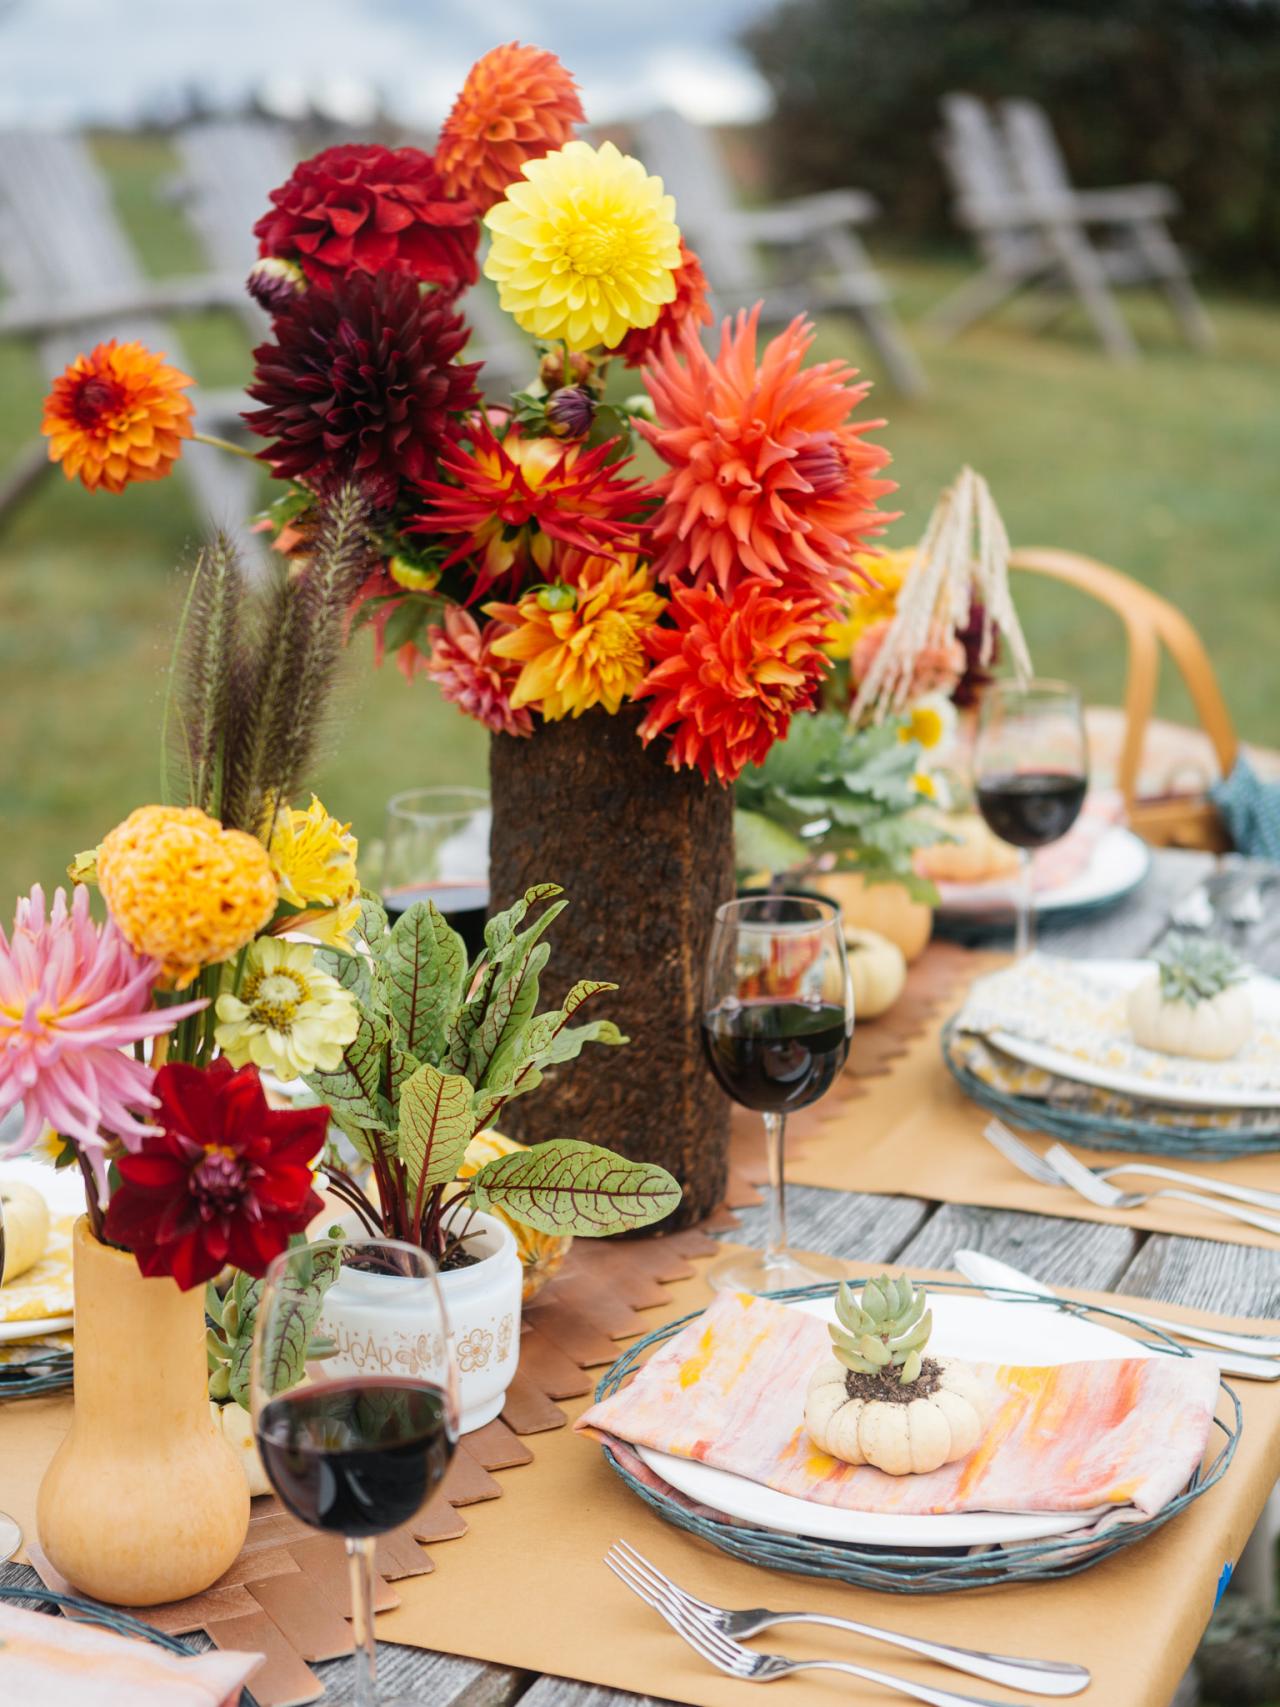
Set the Table
Use the finished table runner as the base for a stylish indoor or outdoor centerpiece. When the party is over, split the sections apart and repurpose as kitchen trivets.

Jason Kisner, Copyright 2013, HGTV/Scripps Networks, LLC. All Rights Reserved.
Jason Kisner, Copyright 2013, HGTV/Scripps Networks, LLC. All Rights Reserved.


