
.-Battle-on-the-Beach-courtesy-of-HGTV.-.jpg.rend.hgtvcom.196.196.suffix/1714761529029.jpeg)


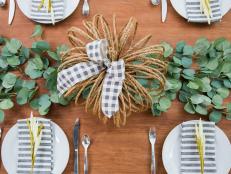
Golden Harvest Dining Room

Fall Tip: Celebrate the harvest by creating stress-free table settings that evolve throughout the entire fall season.
With all the big family gatherings and meals during the autumn season, it's important to plan ahead for your dining room. Keep the word "evolution" in mind, making small changes as the season progresses. Start with a basic look for harvest and autumn by adding bright berries to your chandelier and using three gold runners widthwise across the table to tie couples together. Warm-colored napkins, gold dinnerware and woven placemats and napkin rings complete the look.

Fall Tip: Keep the centerpiece involved by creating an alternative to the massive centerpiece that blocks the view from across the table. Get the step-by-step instructions for here.
For the harvest setting, the trays are filled with pears and apples, as well as a candle for height.
Fall Tip: Don’t use scented candles in the dining room, as they'll interfere with the smell and taste of your delectable meal.

If you are a connoisseur of wine, then you probably display your collection in a wine rack. However, this unique rack is guaranteed to be a subject of dinner conversation.
Materials and Tools:
1 sheet of 3/4-inch birch plywood
1x4x6 pine board for side trim
circular saw
jigsaw
120-grit sandpaper
small wood brads
wood glue
1-1/4-inch spade bit
wood stain
water-based polyurethane
Steps:
1. Cut the plywood to 60 inches tall with a base of sixteen inches tapering to eight inches at the top.
2. At the base of the rack, measure two inches from each side and use a cup lid as a template for a curve. Trace the curve on each side and draw a straight line between the two curves. Cut out the detail using a jigsaw and a scroll blade. Sand smooth and remove dust.
3. To hide the rough edge of the plywood, attach a smaller trim piece along the edge of the wine rack. Either cut a piece of 1x4 or purchase some edging at a home center store. Use wood glue to hold it in place and tack it down with brads.
4. Find the center of the wine rack to mark the location of each wine bottle hole. Start the first hole eight inches down from the top of the plywood. Mark every six inches from the top hole for the remaining seven holes.
5. Use a 1-1/4-inch spade bit drill to drill through the marks. Note: When drilling holes in lumber, start the hole on one side until you see the tip of the bit poke through. Flip the board over and continue the hole until completed. This will eliminate tearing of the wood.
6. After all the holes have been drilled, sand smooth and remove dust.
7. Stain the wood as desired. Apply several coats of water-based polyurethane, according to the manufacturer's instructions, to protect the finish.
8. To prevent slippage, attach small hooks to the back of the wine rack and then secure it to the wall.

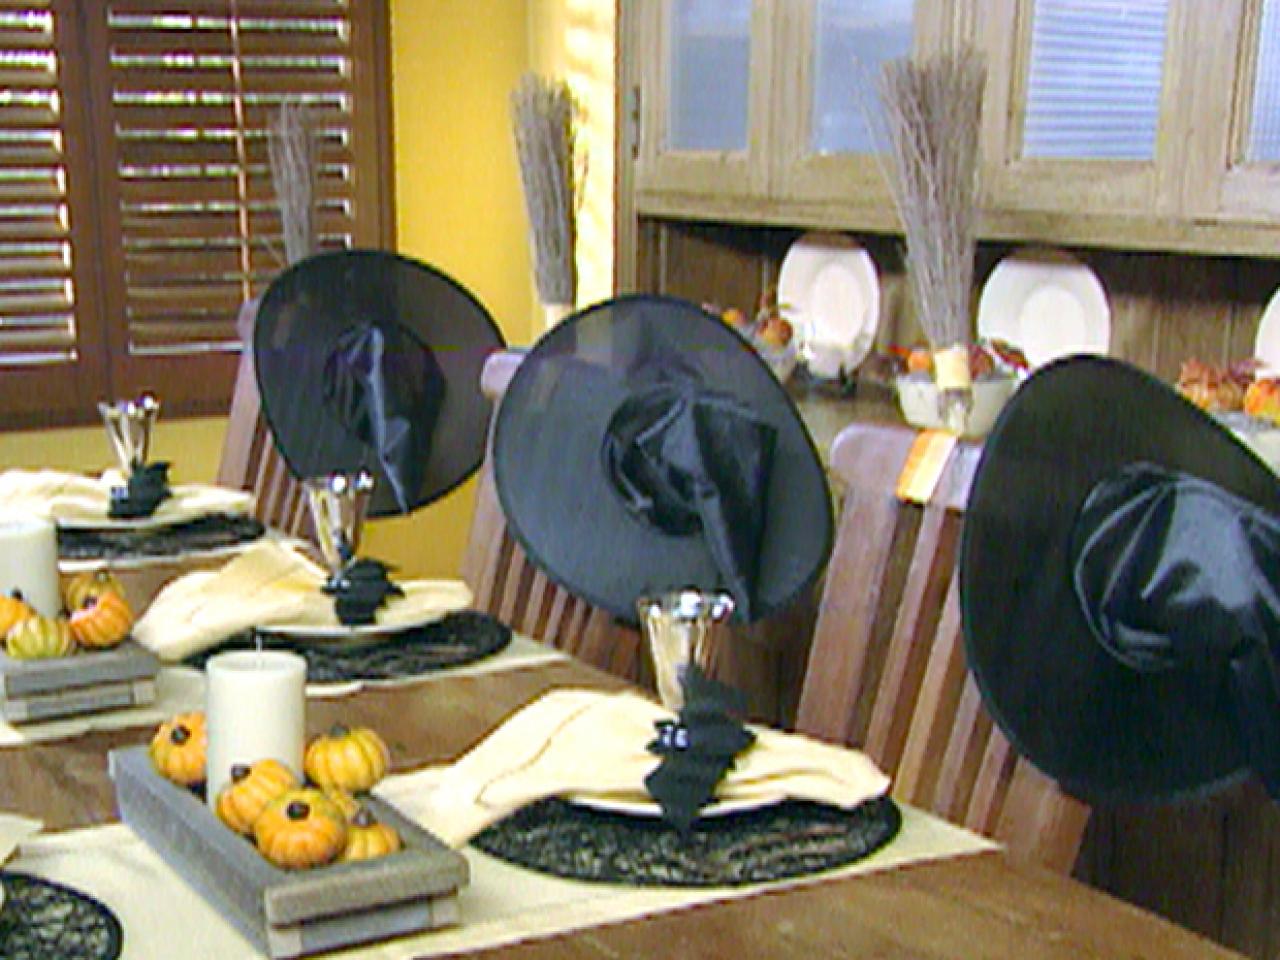
By merely taking a few items away from our basic harvest table and adding some Halloween treats, we can change our dining theme in a heartbeat. Add tiny pumpkins instead of apples and pears to the centerpieces. Remove the placemat, glass and napkin and replace them with a spooky spider web placemat, a cool silver goblet and a pale napkin that matches the runner. To top off the design, create a black bat napkin ring with these step-by-step instructions.

To evolve this table into Thanksgiving, simply remove the basic Halloween colors and decorations. For the elegance of this holiday, add a little sparkle, some layering and richness of color. Add dried artichokes to the centerpieces and glass bead wreathes as placemats. A patterned napkin combined with the gold one is perfect with a metal napkin ring.


