


How to Install a Doorbell
Whether your doorbell is broken, unattractive or simply not high-tech enough, it’s an easy fix to replace it with something that’s right for you. We’ve got simple installation instructions for three types of doorbells: a high-profile doorbell, a low-profile doorbell and a smart doorbell.

Jalynn Baker
Materials Needed
- new doorbell
- screwdriver
- drill (hammer drill for brick or stone)
- drill bits (masonry bit for brick or stone)
- forstner bit
- current detector
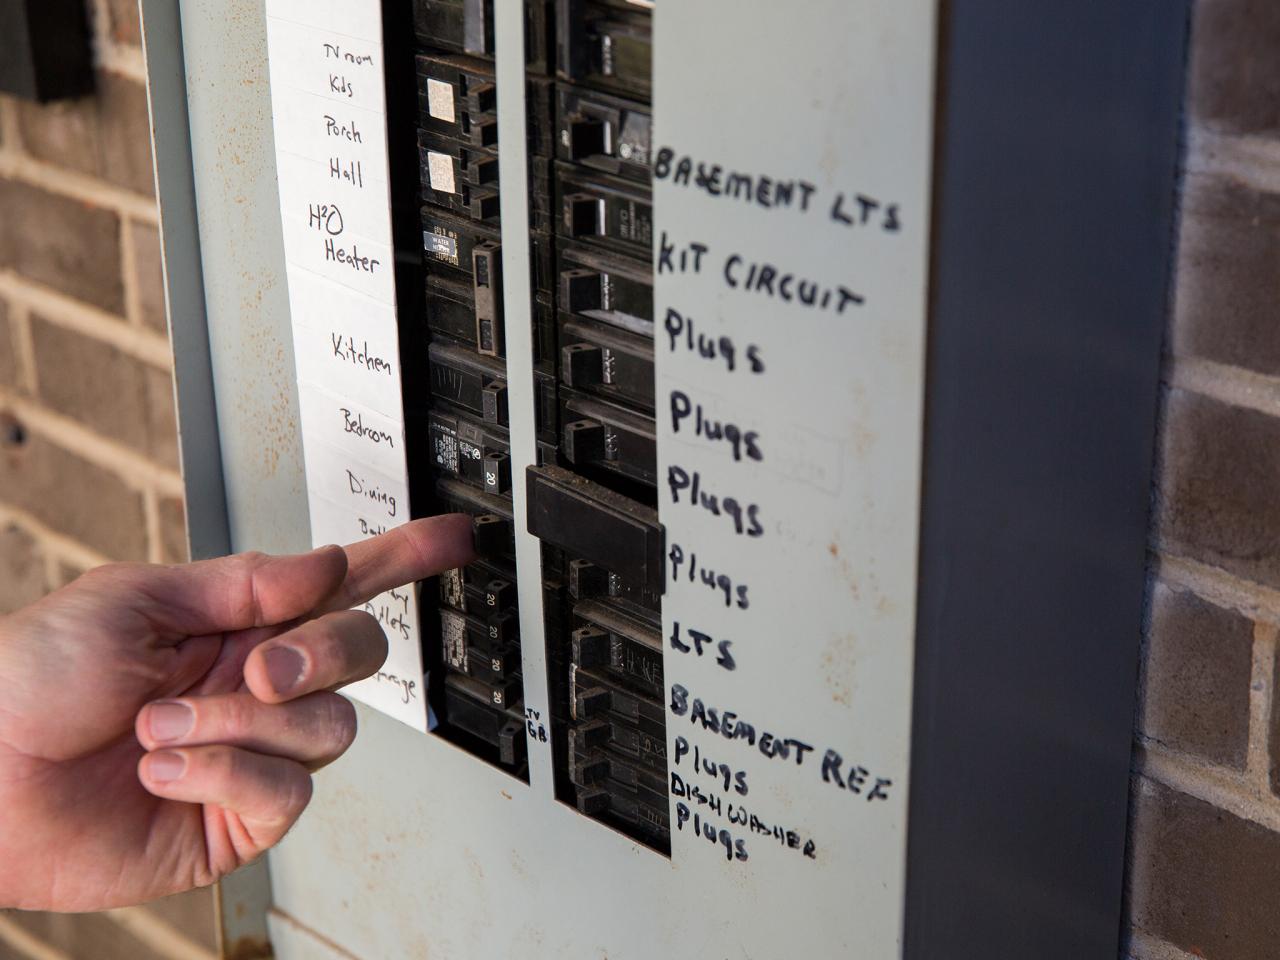
Safety First
Doorbells are attached to the house’s electricity through a transformer. The transformer lowers the voltage significantly and makes it safe to work with. As long as you’re working with the 18-gauge wires that attach your doorbell or your chime, you don’t have to worry about the danger of electric shock. Just to be safe, though, go ahead and shut off power at the breaker.

Jalynn Baker
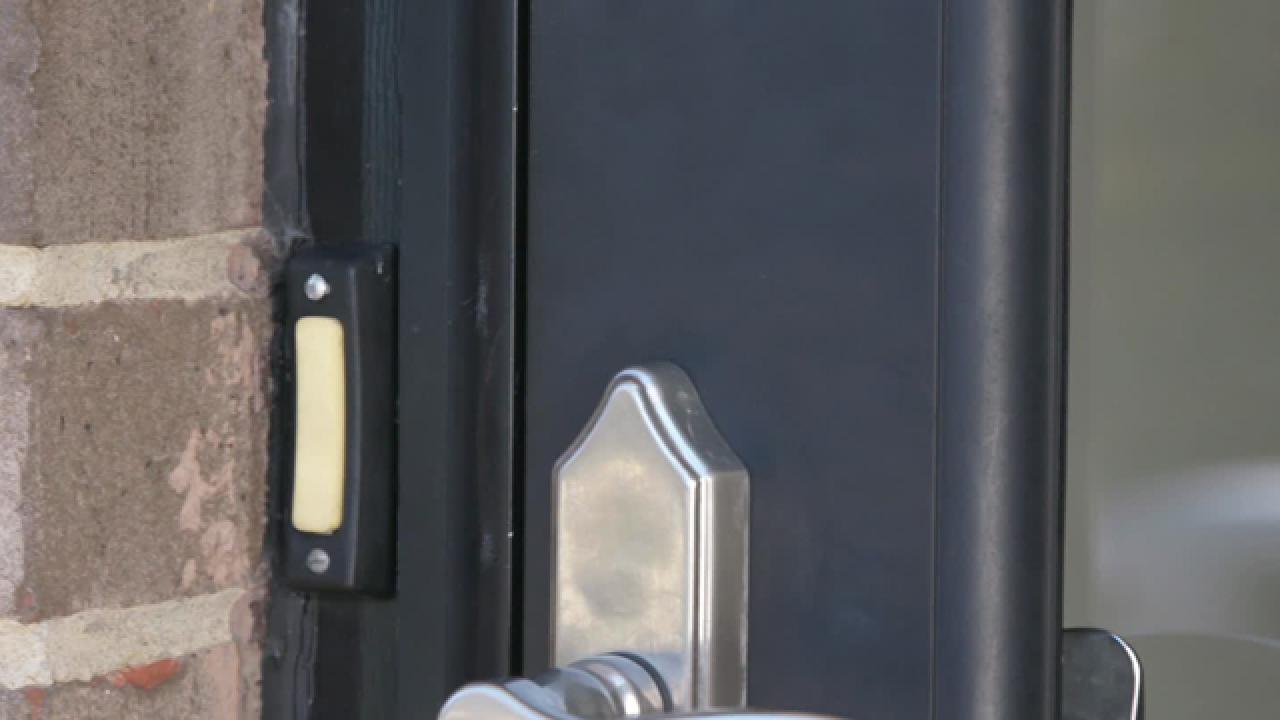
Replacing a High-Profile Doorbell
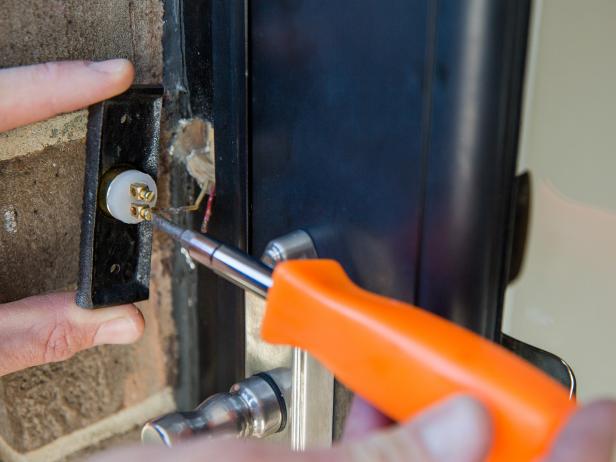
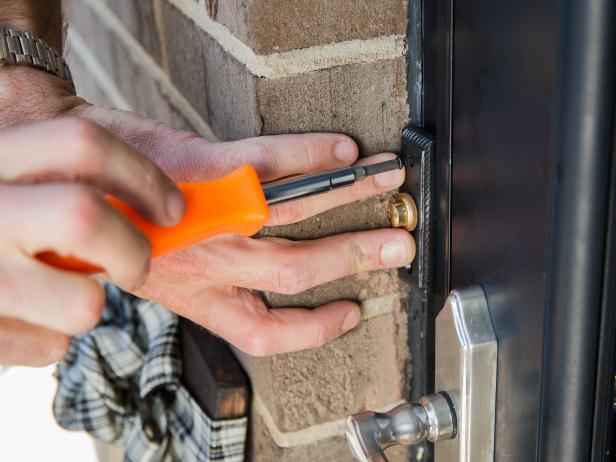
The simplest doorbell is a high-profile doorbell. It’s directly wired into the house using two 18-gauge wires and is attached to the house with two screws. It’s called a high-profile doorbell because it sticks out from the house about an inch or so. This is different from a low-profile doorbell, which we’ll get to shortly. In order to replace this doorbell, detach it from the outside wall using a screwdriver. Next, use a current detector to make sure the wires are safe to handle, then remove the two wires by unscrewing them at the terminals. Be careful not to break your wires. Unpackage your new doorbell and attach each of the existing wires to each of the terminals (Image 1). It doesn’t matter which wire goes on which terminal. Finally, attach the doorbell to the outside of the house using the screws provided (Image 2).
Jalynn Baker
Jalynn Baker
Troubleshooting
Your new high-profile doorbell might be slightly larger or smaller than your old one. If this is the case, you’ll need to create a new hole to attach the doorbell to the house. If you have wood or vinyl siding, use a drill and small drill bit to create a pilot hole for your attachment screw. Then use a screwdriver to attach your doorbell. If your house is brick or masonry, you’ll need to drill a pilot hole using a masonry bit and hammer drill. Use a drill bit that will accommodate a plastic masonry fastener. Push the masonry fastener into the hole and screw your doorbell into the outside of the house using a screwdriver.
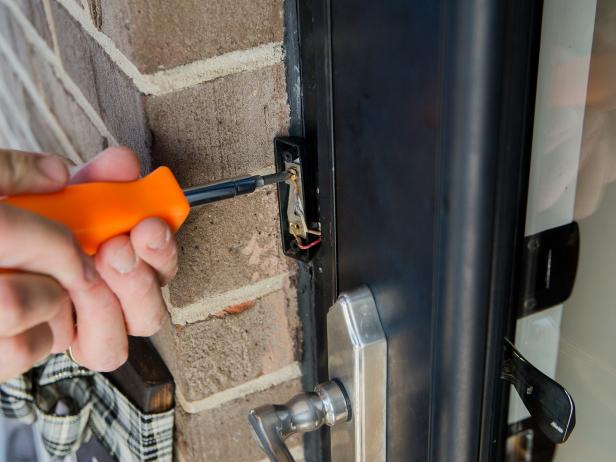
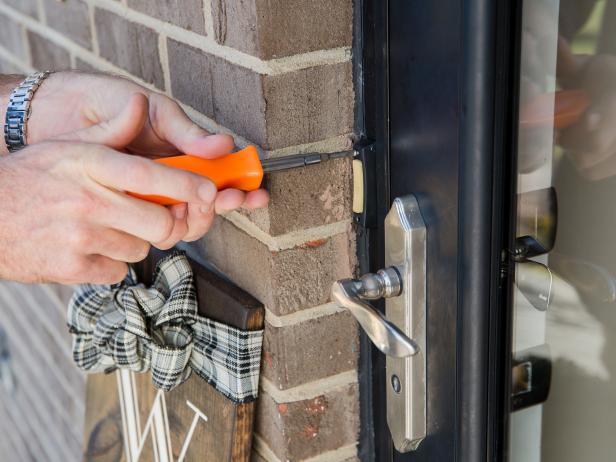
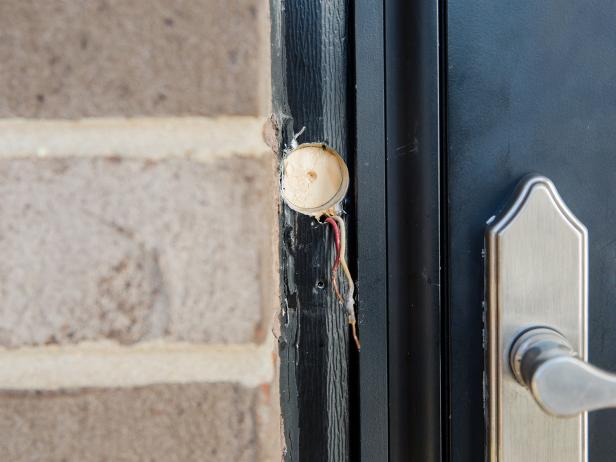
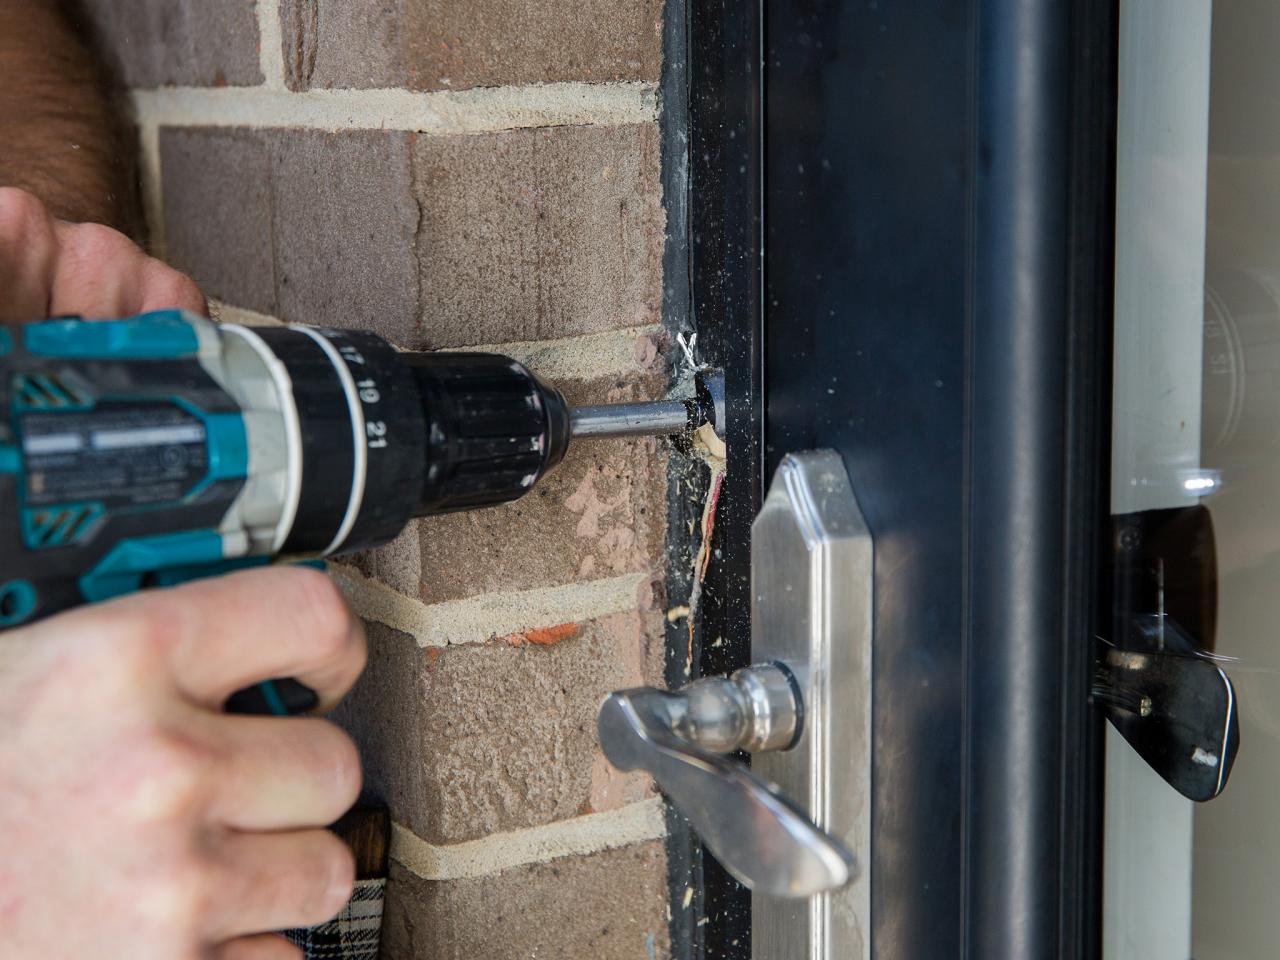
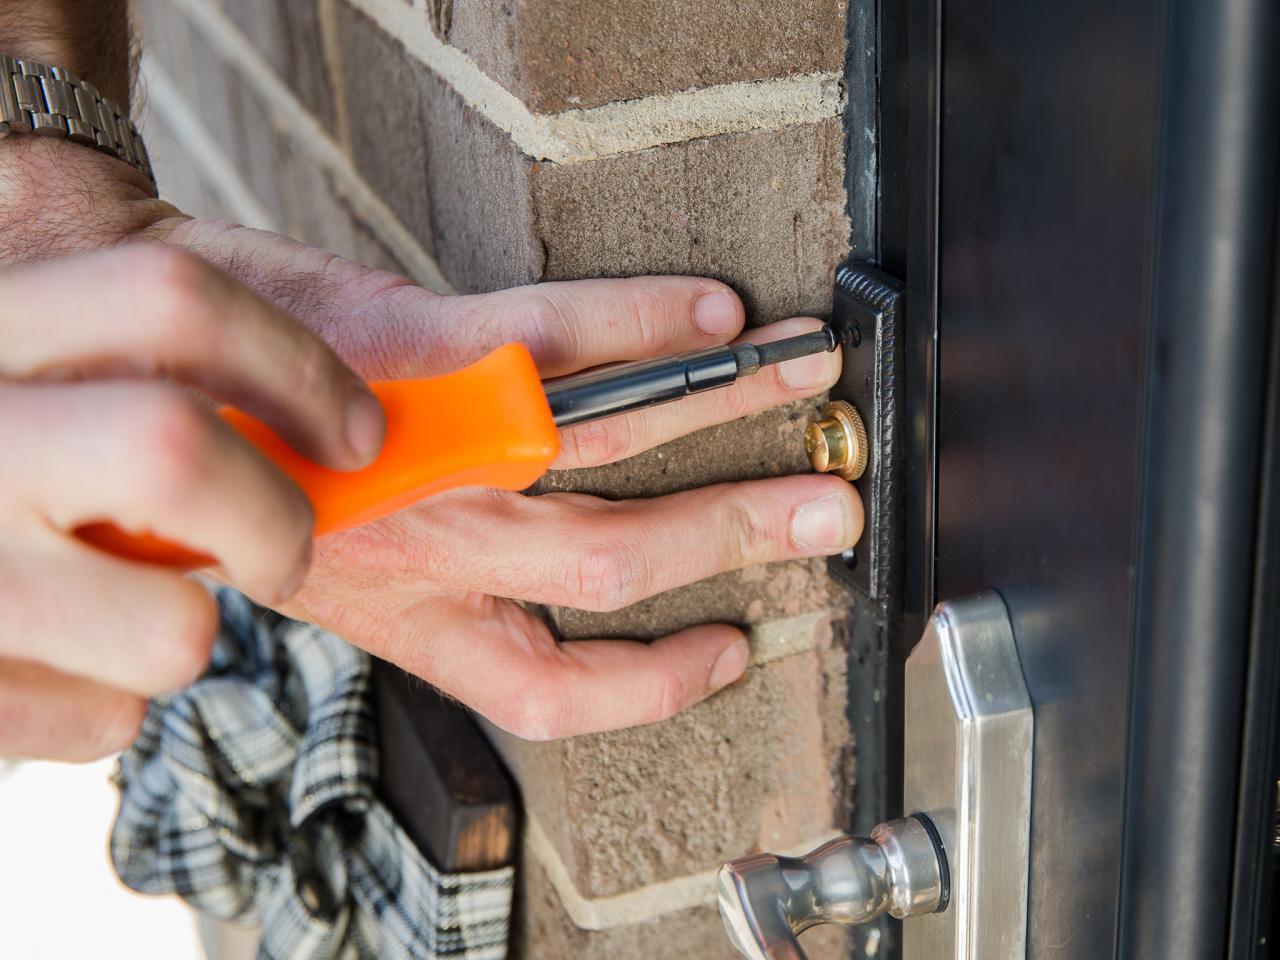
Replacing a Low-Profile Doorbell
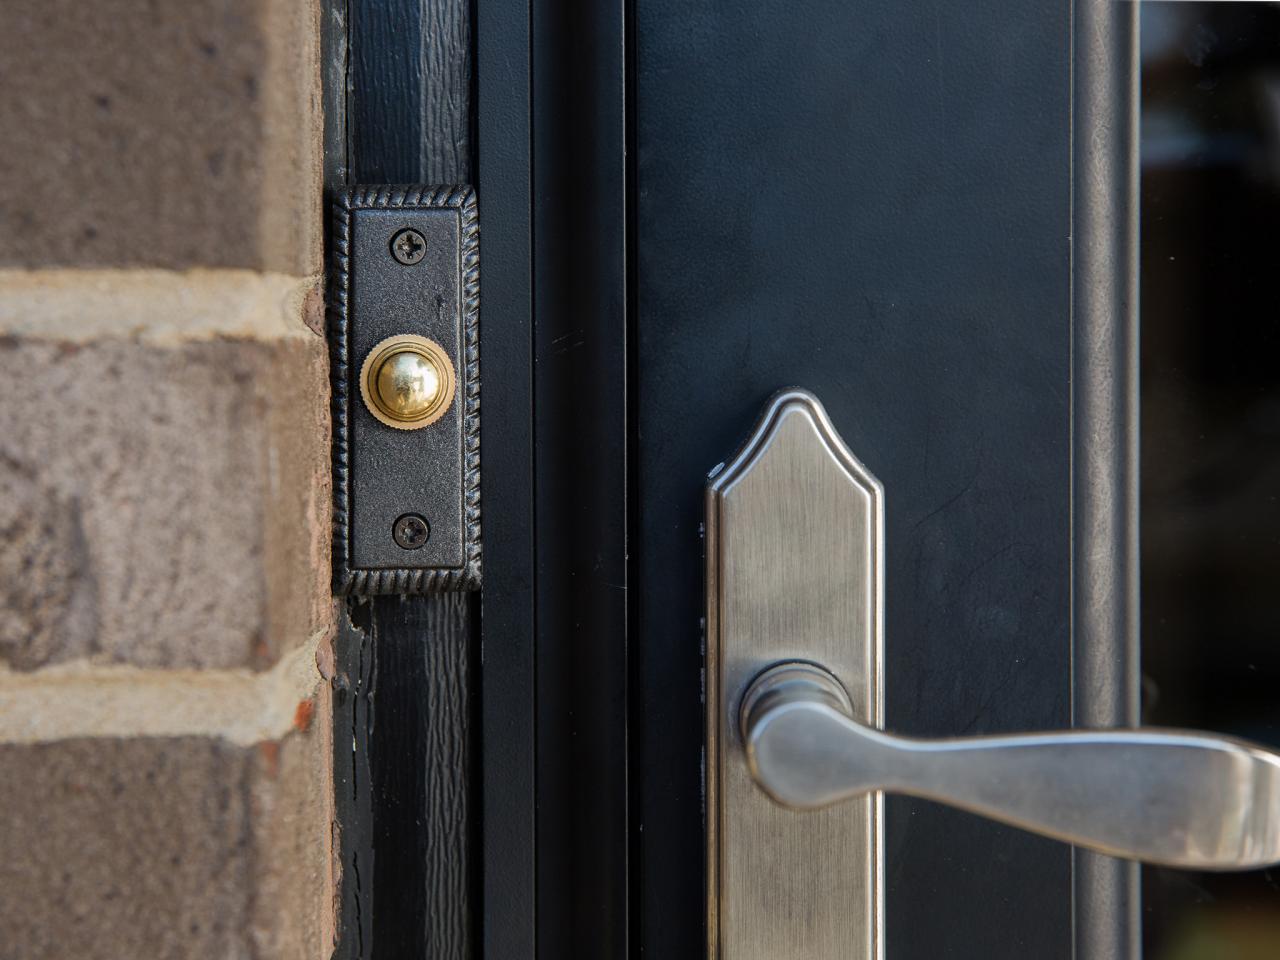
A low-profile doorbell is one that doesn’t stick out from the house more than 1/8 inch or so. It can remain so thin because its components are stuck into the side of the house. If you’re replacing a high-profile doorbell with a low-profile one, you’ll need to remove some material on the outside of the house to make room for the doorbell components. This can easily be done on a home with wood siding by using a forstner drill bit and drill (Images 1-2). For a brick or masonry home, you’ll need to use a hammer drill and masonry bit. Either way, remove enough material so your low-profile doorbell components can slide smoothly into the wall. Once your doorbell rests flush against the wall, you can attach the wires to the terminals (Image 3) and secure the doorbell to the house using the screws provided (Image 4).

Jalynn Baker
Jalynn Baker
Jalynn Baker
Jalynn Baker
Installing a Smart Doorbell
The internet of things is among us. Many people now choose to install smart doorbells that are connected to their home’s Wi-Fi and thus to their smartphones as well. The good news is that all doorbells are essentially installed using only two wires. You’ll install a smart doorbell just like you install a high- or low-profile doorbell. Use a screwdriver to remove your old doorbell and detach it from the wires protruding from the house. Attach your smart doorbell to the two wires by screwing them into place. It doesn’t matter which wire goes on which terminal. Once your doorbell is wired, you’re ready to attach it to the house. Follow the instructions above for attaching a doorbell to a wood or masonry house. Your final step will be to use your smartphone to download the appropriate doorbell app and hook your new smart doorbell up to your home’s Wi-Fi. Follow the instructions included in your smart doorbell packaging.
Replacing a Doorbell Chime
You may want to replace your doorbell chime now that you’ve installed the new doorbell of your choice. The new doorbell chime is as easy to install as a doorbell. First, you’ll want to remove the cover of the chime by prying it off with a flat-head screwdriver. Generally, the cover comes off by prying the bottom part first. The chime is attached to the wall using one or two screws, and it’s wired into the house using two wires. One wire is marked “trans” and goes to the transformer. The other wire is marked “front” and goes to the front doorbell. If you have a rear doorbell, it will be attached to the chimes and will be marked “rear.” Detach each of the wires and remember which is which. Remove the screw(s) securing the chime to the wall and pull the chime down. Replacing and rewiring the new chime is as simple as performing the steps in reverse. Attach the chime to the wall with screws and then attach each wire to the appropriate terminal using a screwdriver.


