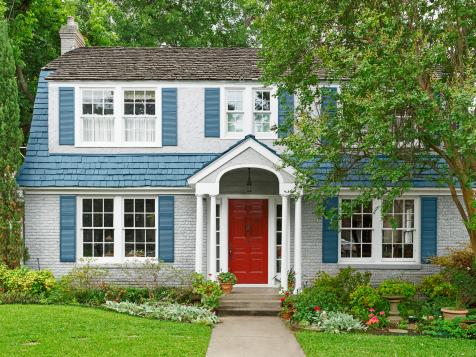
Top 15 Home Updates That Pay Off 15 Photos
Find out how the top 15 home improvements rank, plus get tips on maximizing your ROI when you sell.
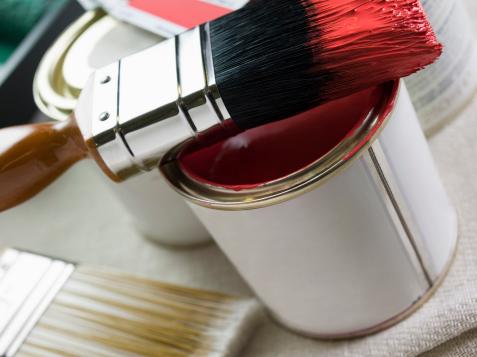
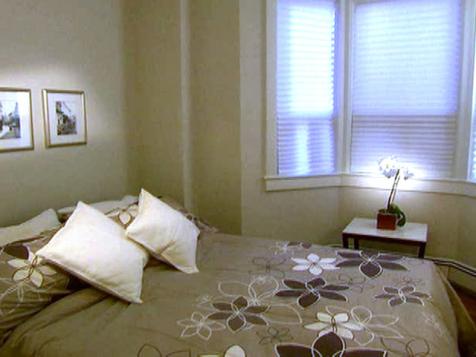
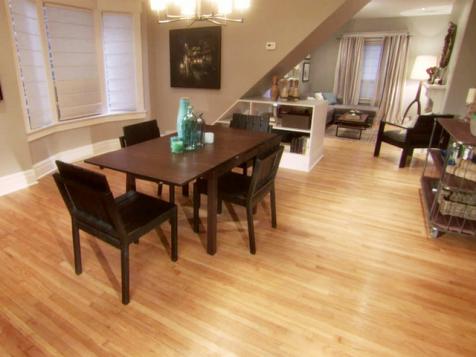
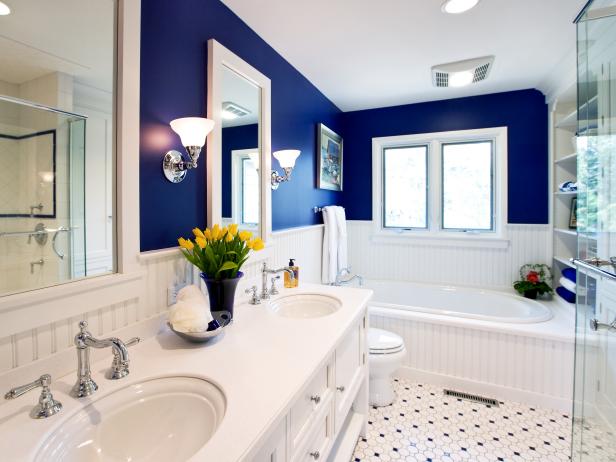
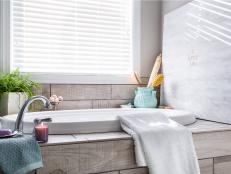
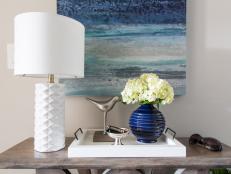
Photo Inspiration


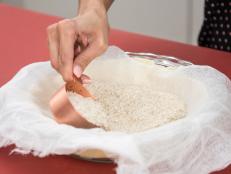


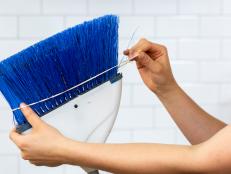


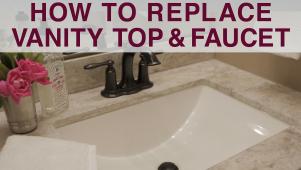
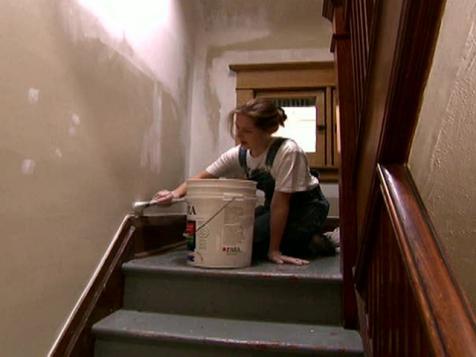
Video Quick Tips


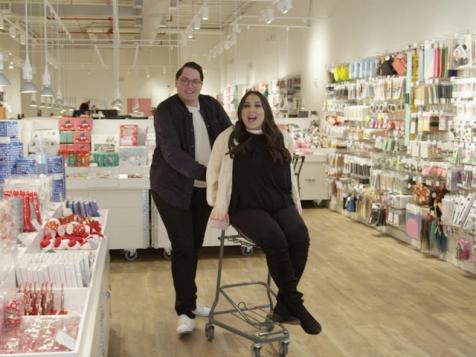
Our Best Remodeling Advice
Get tips from our pros before tackling your next remodeling project.
- You'll Wonder How You Ever Lived Without These Handy Touch-Up Tools
- What Does Asbestos Look Like and How to Identify It
- 8 Ways to Fix Drafty Windows
- The Best Showerheads to Update Your Bathroom
- How to Test Electrical Receptacles for Grounding
- Egypt Sherrod Used the Coolest Paint Trick in her Winning 'Rock the Block' House