

The Best Mother's Day Gift Ideas
We rounded up 91 thoughtful gifts for moms based on different personalities and interests.
More Mother's Day Ideas


Father's Day Gift Ideas + Entertaining Tips


More Holiday Ideas


What's New in Holidays
30 Unique Father's Day Gift Ideas for Quirky Dads May 17, 2024
Does Dad dig things like beer and beard maintenance? We've got the perfect gift list.
15 Best Father's Day Gifts for Pet Dads May 17, 2024
Pet dads deserve a round of applause, too. This Father's Day, gift him something that celebrates his proud pet parental status.
84 Best Father's Day Gifts You Can Get on Amazon May 17, 2024
Show the dads in your life the love they deserve with a thoughtful gift, no matter their interests or your budget.

The Best Father's Day Gifts for Grandpa May 15, 2024
Grandpas deserve the world, but these thoughtful gift ideas are the next best thing.
30 Gifts for Garden-Loving, Outdoorsy Dads May 14, 2024
Dad doesn't need another tie. Find the perfect garden-centric gift that he'll want to use year-round.

The Best Father's Day Gifts May 7, 2024
Spoil your favorite guy with our favorite 75 dad-worthy gifts for every personality, hobby and interest.
84 Last-Minute Mother's Day Gift Ideas You Can Still Get to Her in Time May 2, 2024
Down to the wire? Shop our favorite gifts with fast shipping options and even same-day, in-store pick-up.

40+ Gifts for Teachers That Really Show Your Appreciation Apr 18, 2024
We can never truly thank teachers for everything they do for our kids, but we can try with these thoughtful gift ideas — just in t …

The Best Flower and Plant Services That Ship Quickly Apr 15, 2024
Never forget a birthday, holiday or anniversary again with these gorgeous last-minute options.

Our Top 33 College Graduation Gift Ideas Apr 12, 2024
Mark their milestone with a gift that will also help them settle into their new city, apartment or job.

42 Best Graduation Gift Ideas for the Class of 2024 Apr 9, 2024
From keepsake boxes to single-serve coffeemakers and luxury sheet sets, we've found the best graduation gifts under $100.

20 Best Inexpensive Graduation Gift Ideas Apr 8, 2024
Shop our curated gift list to celebrate your graduate in style and under budget.
12 Nontraditional Ways to Gift Flowers Apr 3, 2024
Turn a timeless gesture into an extra-special sentiment because they deserve it.
25 Best Mother's Day Gifts on Etsy Apr 10, 2024
May brings flowers and a time to celebrate all the moms in our village. Shower them with these handmade and personalized gifts.
62 Best Mother's Day Gifts Under $25 Apr 10, 2024
Show Mom how special she is, even if you're on a tight budget. From gifts for gardeners to bakers to pet lovers, check out our gif …
26 Best Gardening Gifts for Mother's Day Apr 10, 2024
From lavish to low-cost, surprise Mom with one of these garden-inspired gift picks.
22 Thoughtful First Mother's Day Gifts for New Moms Under $100 Mar 25, 2024
Celebrate a mom's first Mother's Day with these meaningful gift ideas.
The Best Mother's Day Gift Baskets for Every Mom in 2024 Mar 20, 2024
Whether your mom's love language is chocolate, tea or flower seeds, wow her with a thoughtful gift basket this Mother's Day — no w …

The Best Mother's Day Gift Ideas May 10, 2024
We rounded up 91 unique and thoughtful gifts for moms based on different personalities and interests.
The Best Egg Decorating Kits for At-Home Easter Fun Mar 15, 2024
No plain, white eggs this season! Create the most eye-catching Easter eggs with these vivid color and pattern ideas.

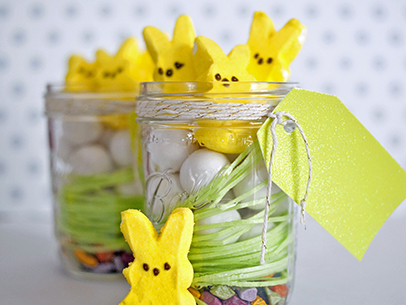
15 Unique Easter Basket Ideas for Kids Mar 12, 2024
Looking for alternatives to cheap toys and candy? Check out these fun Easter gifts that will help your family create lasting memor …
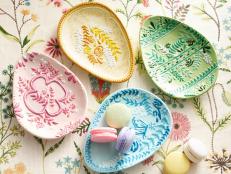
The Prettiest Easter Decor Under $100 to Leave Out Through Spring Mar 6, 2024
Embrace the new season with charming decor that celebrates Easter in a chic, not cheesy, way.

30 Gift Ideas Drew Barrymore Approves of as Etsy’s First Chief Gifting Officer Mar 4, 2024
Find gift recommendations for moms, hosts, nature lovers and more.

28 Adorable Outdoor Easter Decorations Mar 6, 2024
Celebrate the season with too-cute decor we're loving right now.

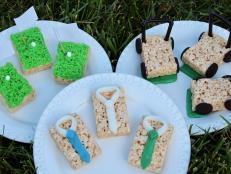
DIY Easter Games for the Whole Family Feb 9, 2024
Hunting for eggs isn't the only Easter activity. This year, keep the candy coming and the games going with some clever ideas for c …

35 Gift Ideas Based on Your Love Language Feb 7, 2024
Embrace the five unique ways the people in your life want to be loved.

34 Best Gifts for the Taylor Swift Fan in Your Life Feb 6, 2024
Give the Swifties what they want this year: friendship bracelets, football merch and other enchanted finds inspired by their favor …

The Best Last-Minute Valentine's Day Gift Ideas Jan 30, 2024
Down to the wire? Here are our favorite flowers, cards, candy and more.

32 Fun + Affordable Valentine's Day Gift Ideas for Kids Jan 26, 2024
Save the cards and candy for class, and surprise your kiddo with a little something off this list.
Our Favorite Gifts From Black-Owned Brands on Amazon Jan 19, 2024
Pick the perfect present with gifts from Black-owned brands on Amazon.