


Make a Planter Box With Nail Head Trim

Materials Needed:
- 1/8" drill bit
- power drill
- 24" W x 30" H pieces of 3/4" exterior plywood (2)
- 22 1/2" W by 30" H pieces of 3/4" exterior plywood (2)
- water-resistant glue
- 1 5/8" or 2" exterior-grade silver drywall screws
- Phillips head drill screwdriver bit
- tape measure
- pencil
- 4x4 treated post cut into four 6" lengths
- 22" W x 22" H piece of 3/4" exterior plywood
- 1-1/2" finishing nails
- 10' lengths of 1x4 rough-sawn cypress (4), cut into eight 25 1/2" lengths and eight 24" lengths
- 5/16" drill bit
- hammer
- wood filler
- one or two sheets of 150-grit sandpaper
- 3" paintbrush
- exterior primer
- exterior paint or stain
- 5/16" x 2" carriage bolts, washers and nuts
- socket wrench
- chicken wire
- staple gun
- wire cutters
- birch branches
- moss
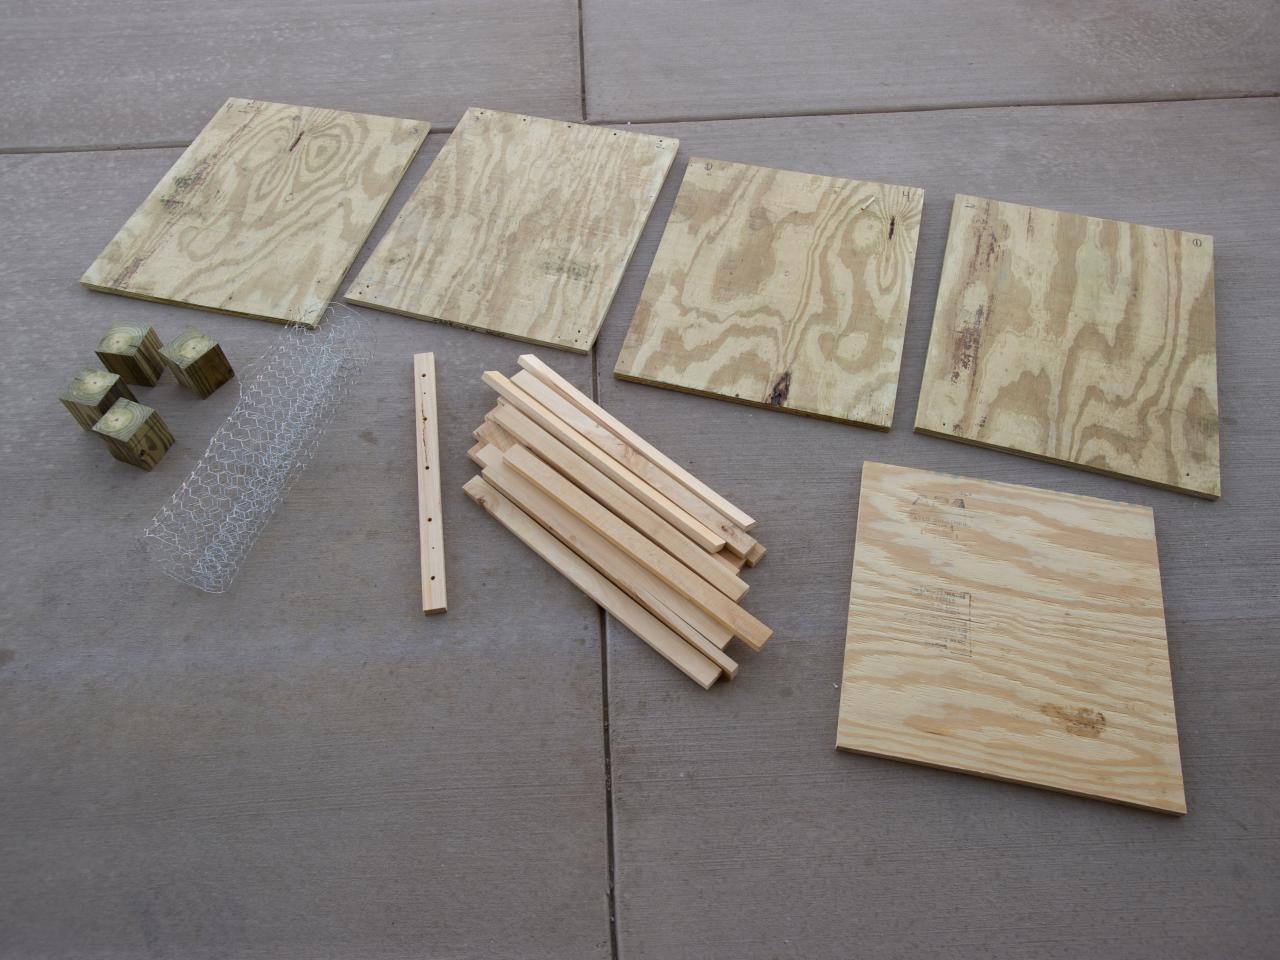
Gather Materials
Pay a visit to the hardware store to purchase sheets of exterior plywood, posts and cypress, plus tools and materials needed to construct the planter box. Have wood pieces cut to size.


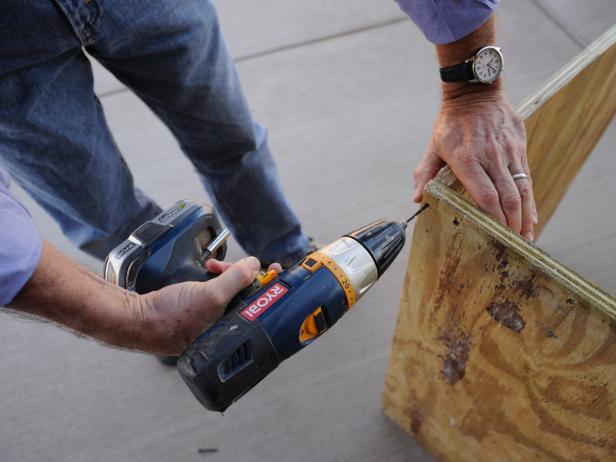
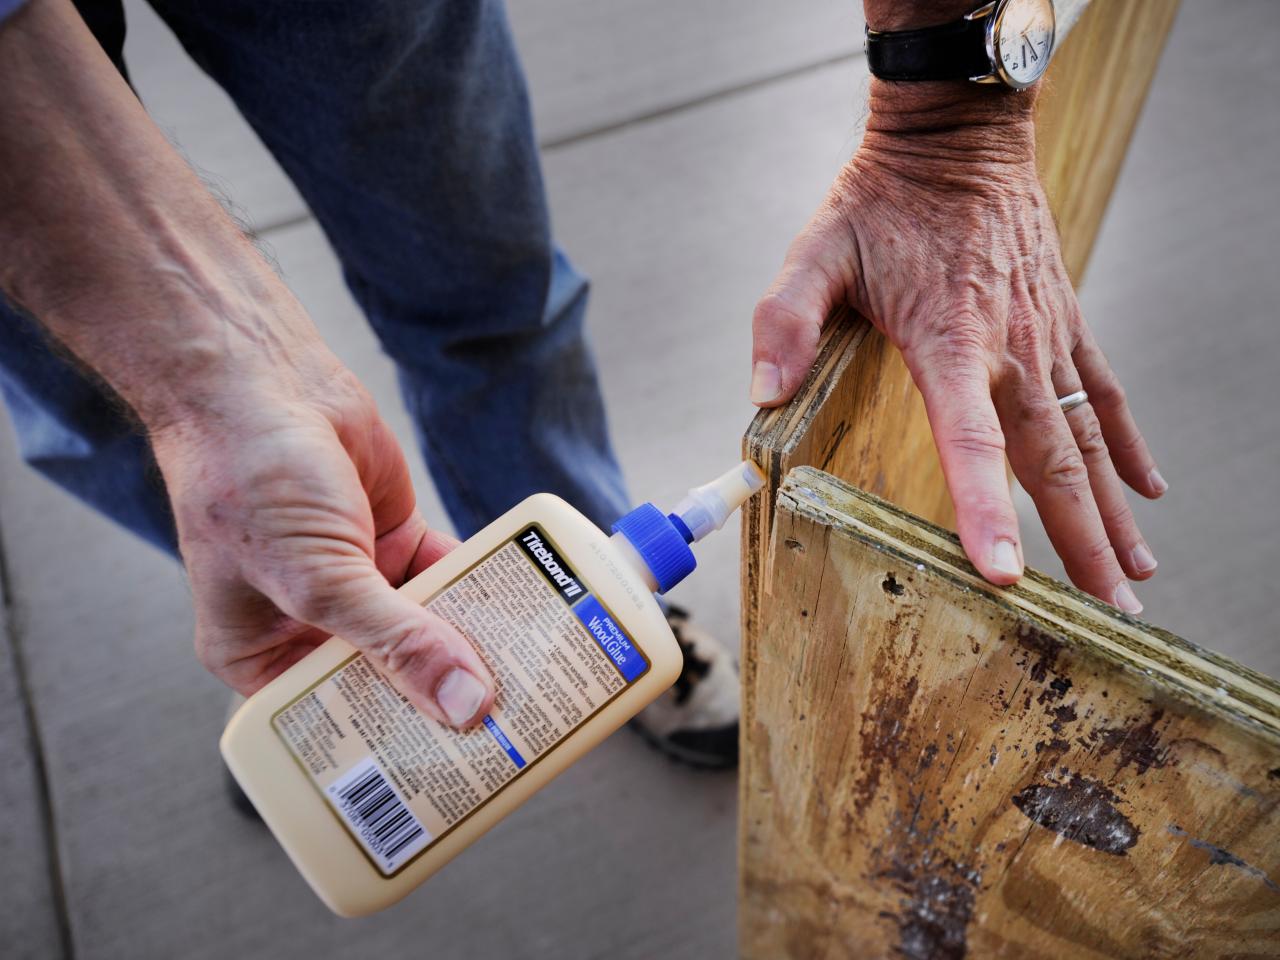
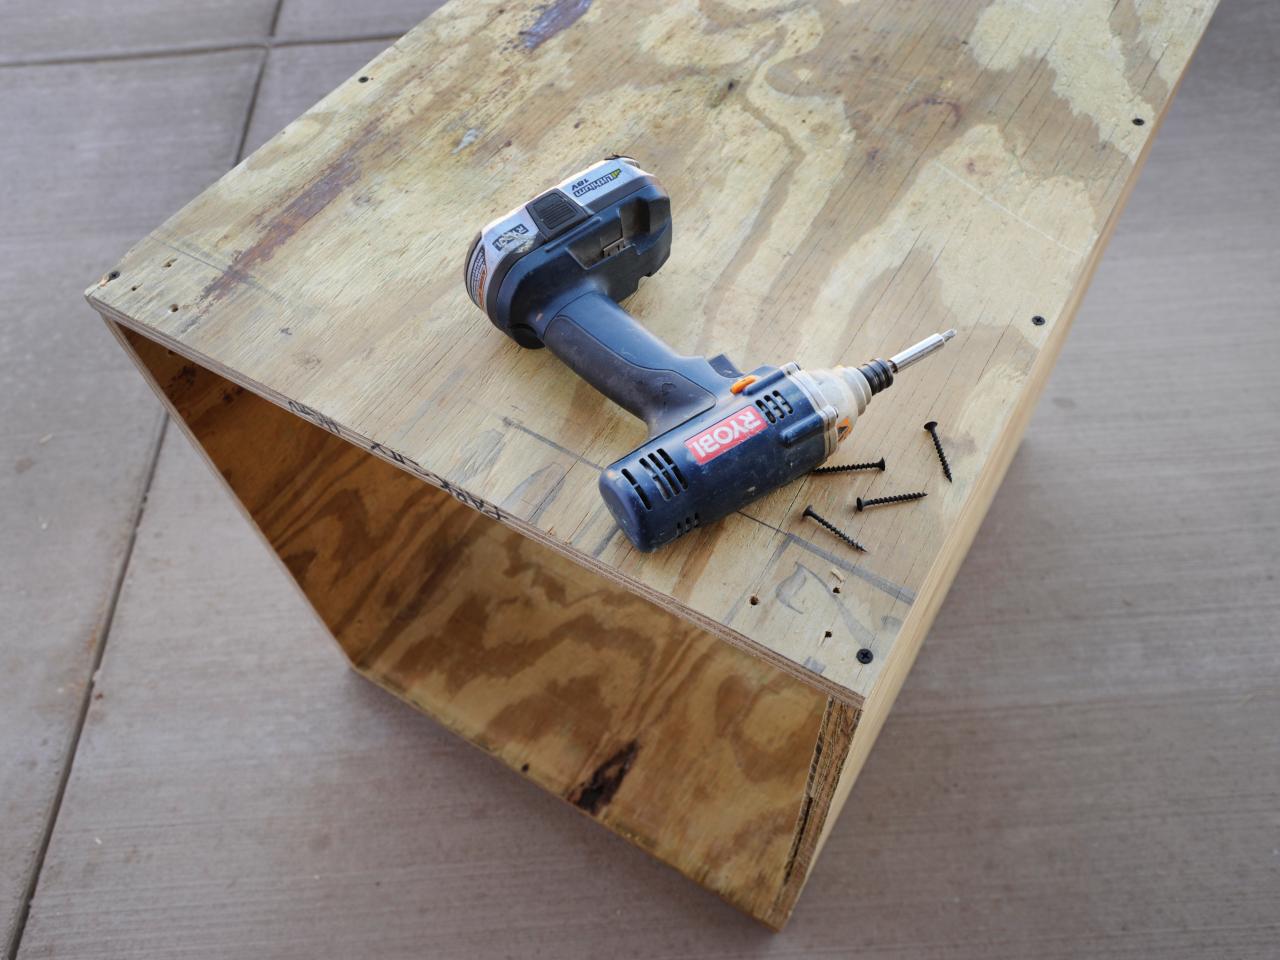
Assemble Planter
Using the 1/8" drill bit and working 3/8" from the edge, drill five equidistant pilot holes on each long edge of 24" x 30" (front and back) panels. Place glue along long edges of 22-1/2" x 30" (side) panels. Create first corner by gluing long edge of front panel to long edge of side panel at a 90-degree angle. Using the 1-5/8" screws and the Phillips head screwdriver bit, screw panels together at pilot holes. Repeat procedure for each planter box corner.


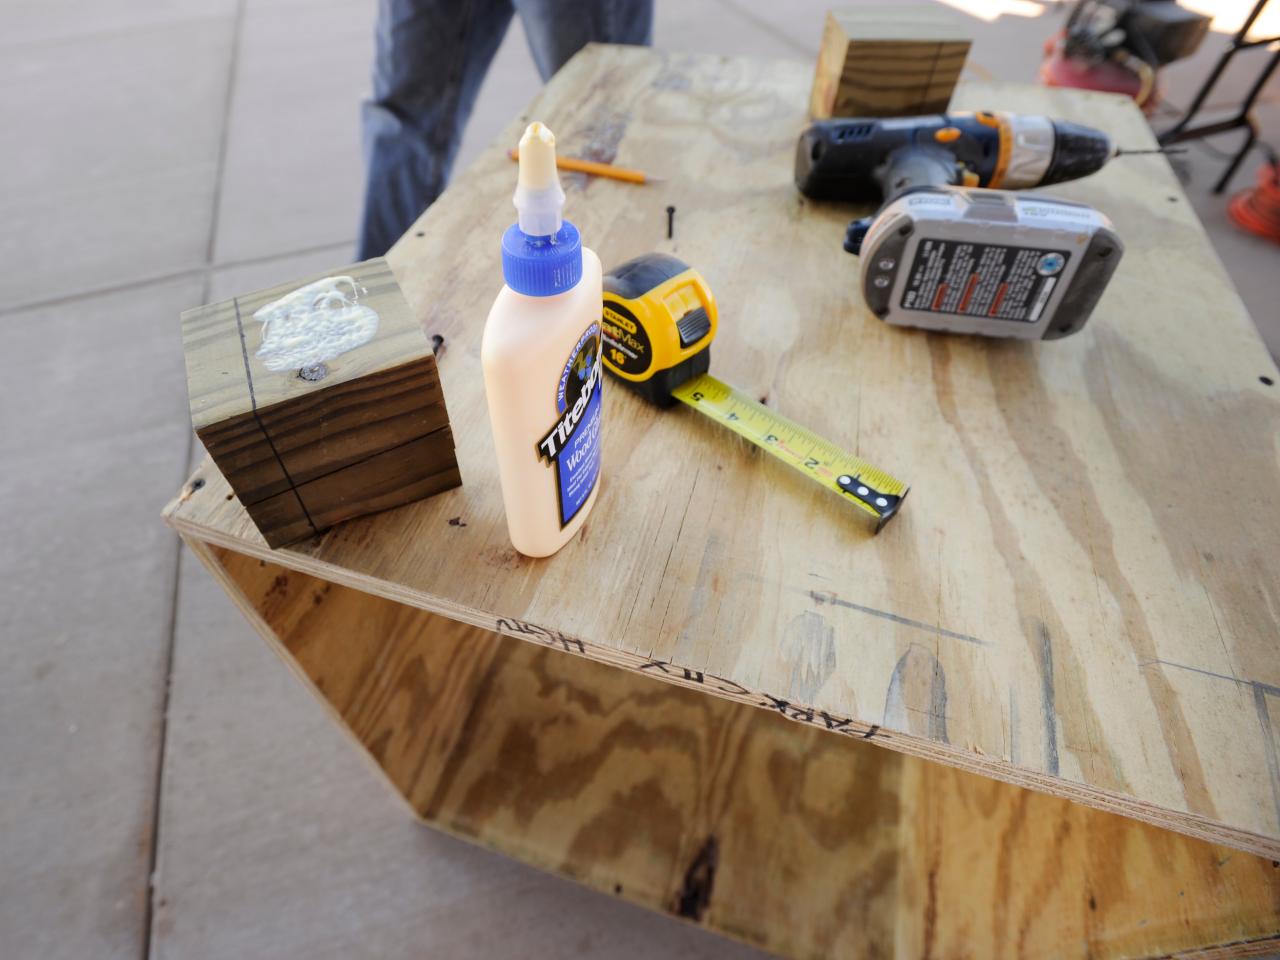
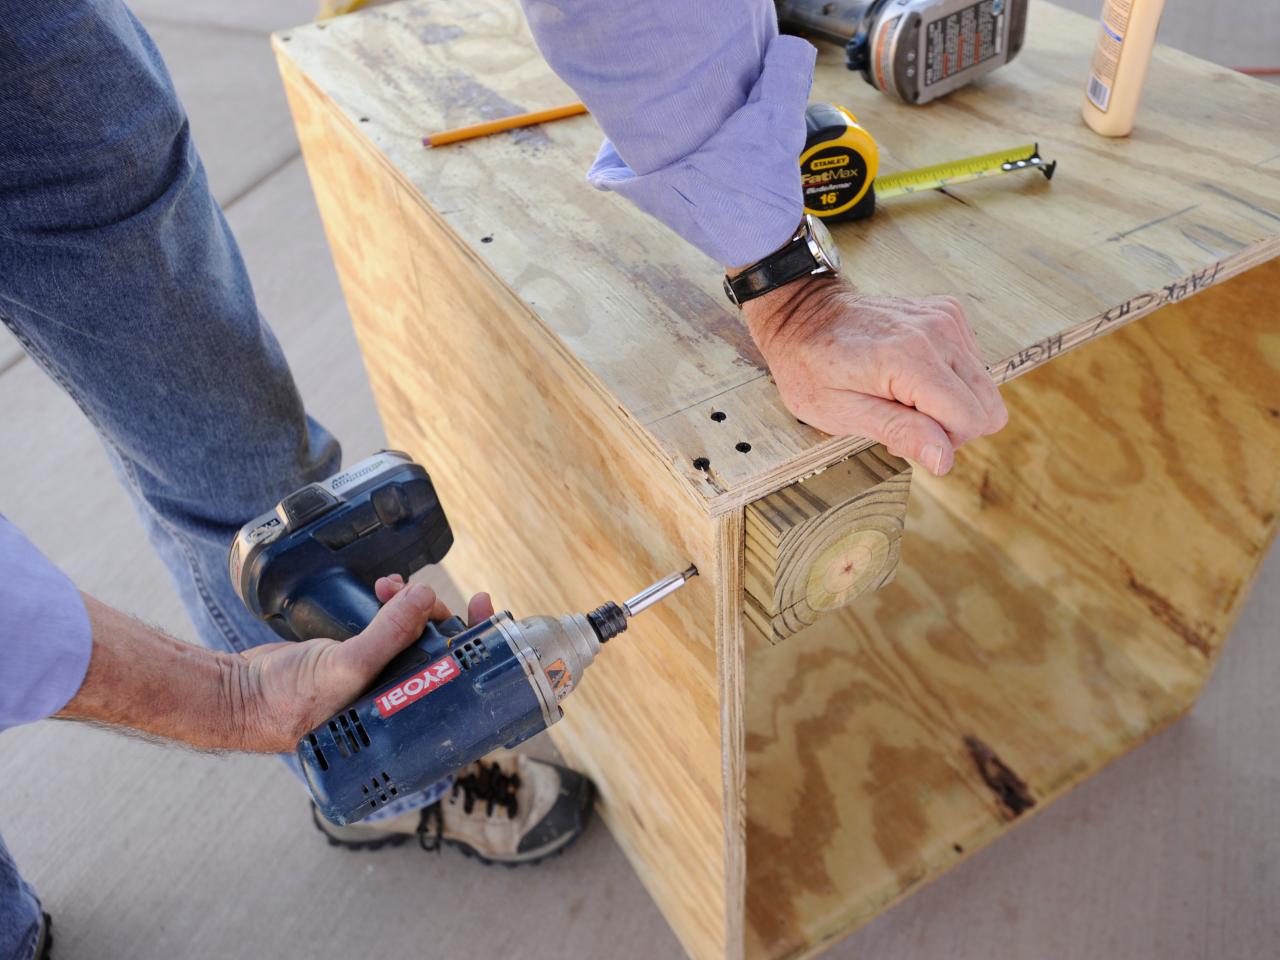
Attach Legs
Measure 1 inch from the bottom of each 4x4 treated post and mark measurement clearly with a pencil. Lay planter box on its side. Using the 1/8" drill bit and measuring 1 1/2 inches up from bottom and 1 1/2 inches out from the side of each bottom corner, drill pilot holes. You will drill eight pilot holes total. Place glue on two sides of a post. Position post, glued sides toward panels, in a planter box corner, making sure that the 1" mark lines up with the bottom edges of the box. To secure the post, drill a 1 5/8" screw into each pilot hole. Drill three additional screws into each corner. Repeat the procedure for each post.


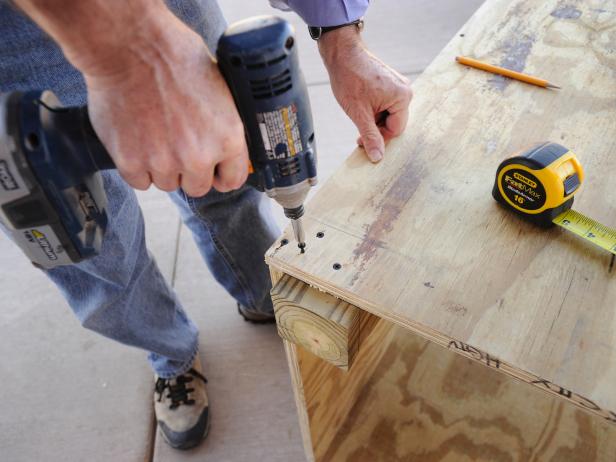

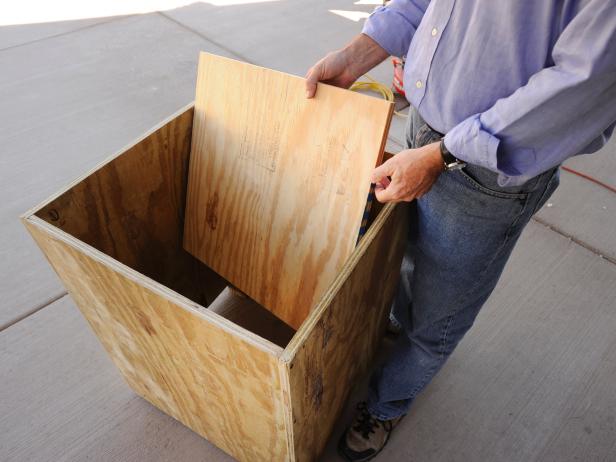
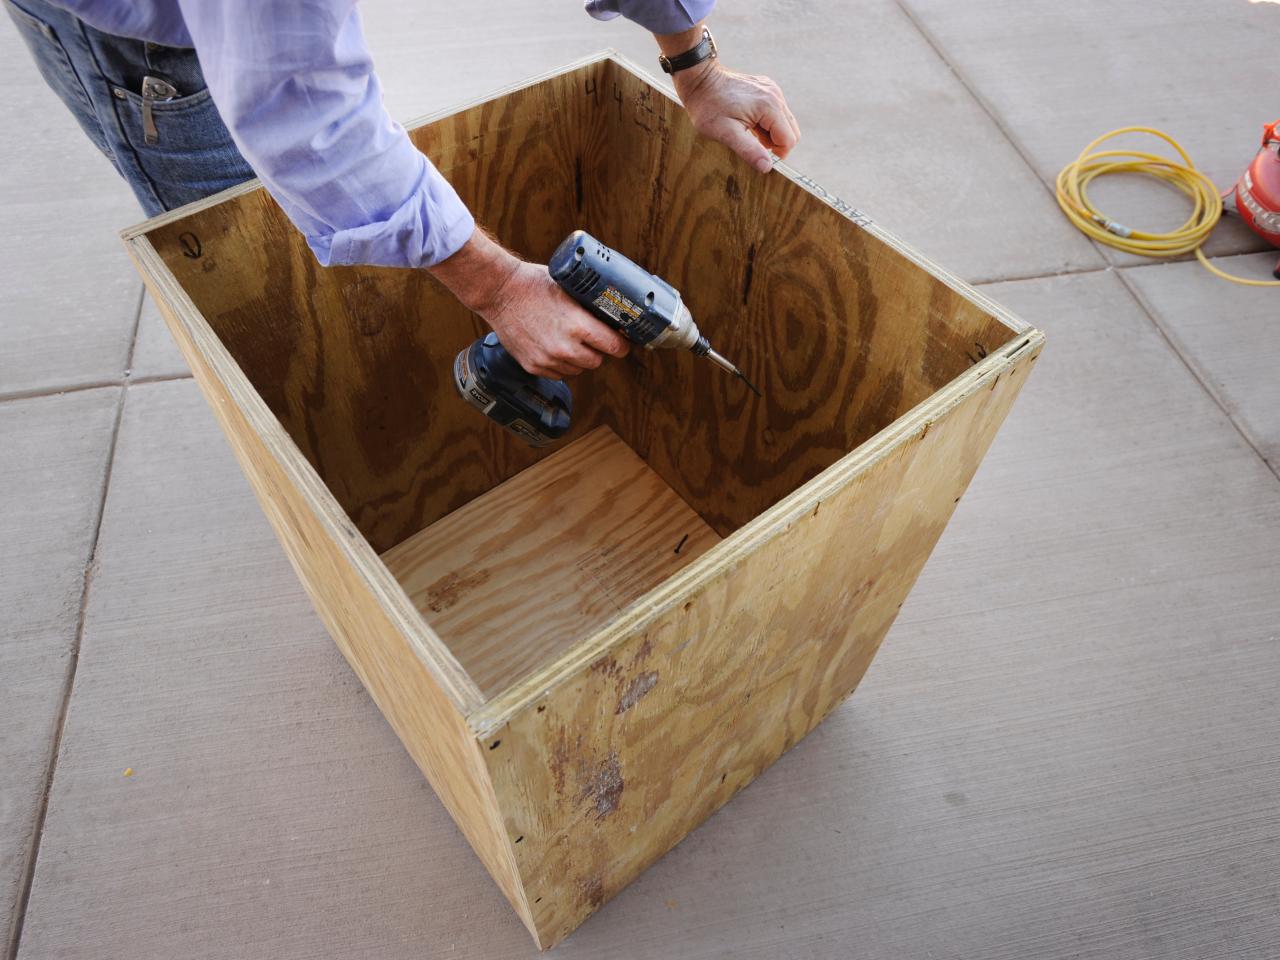
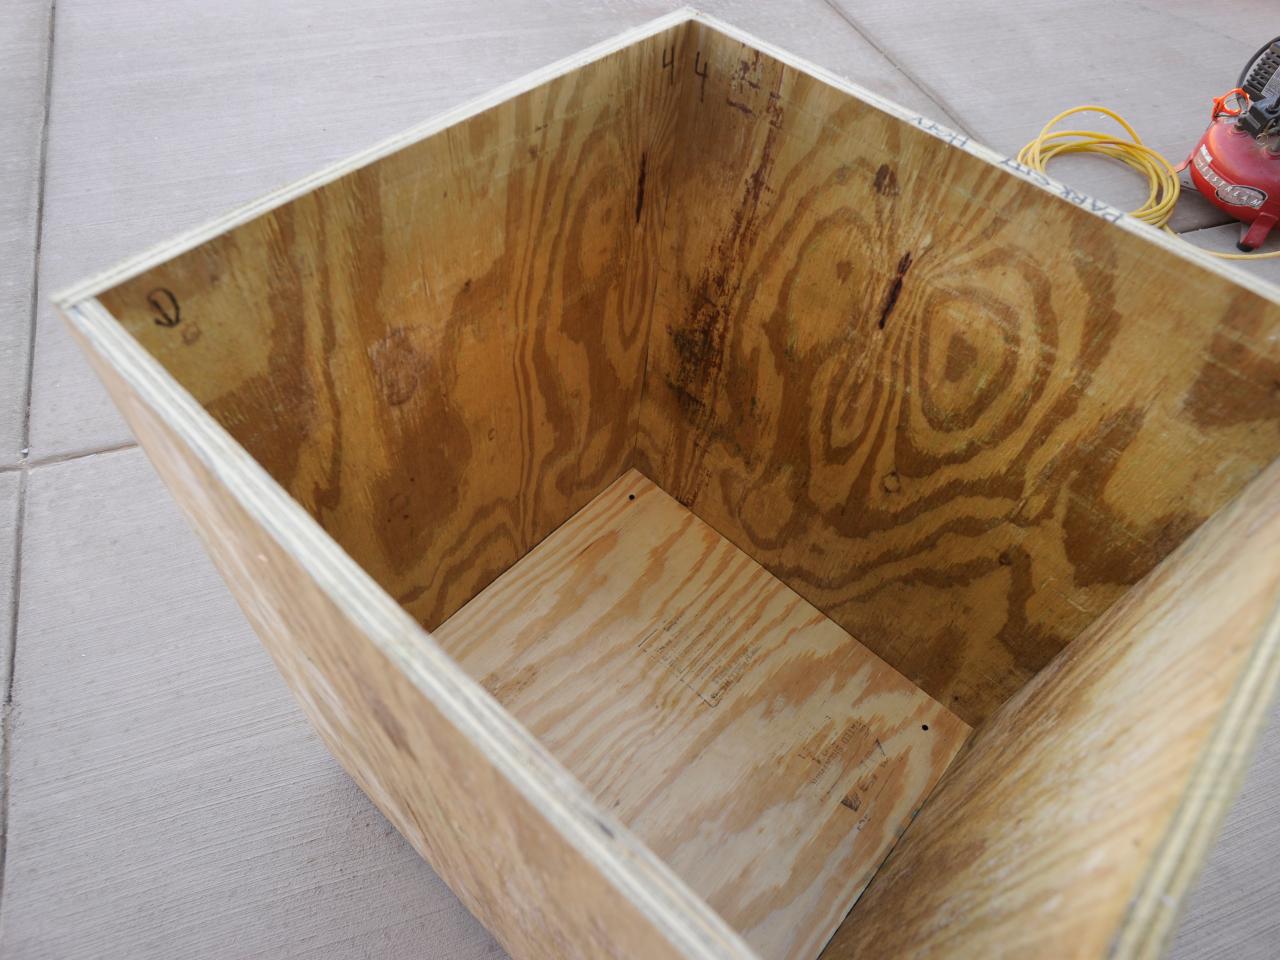
Attach Bottom
Insert the 22" x 22" (bottom) panel inside the planter so it rests on top of the posts. Center the panel. Secure the bottom by drilling 1 5/8" screws through the bottom panel and into the posts.


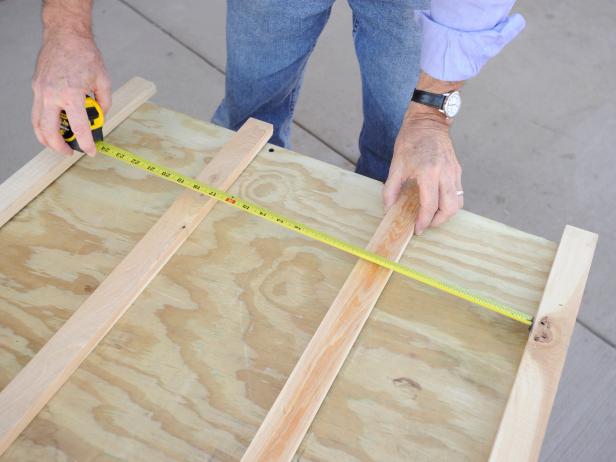
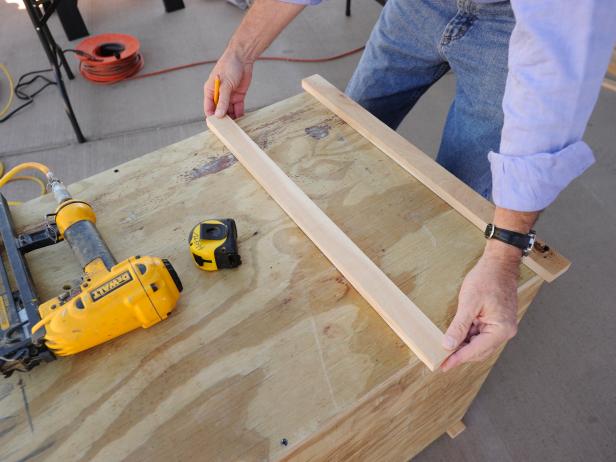
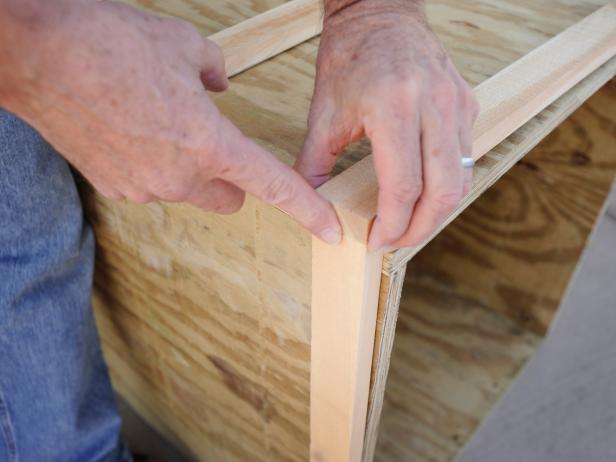
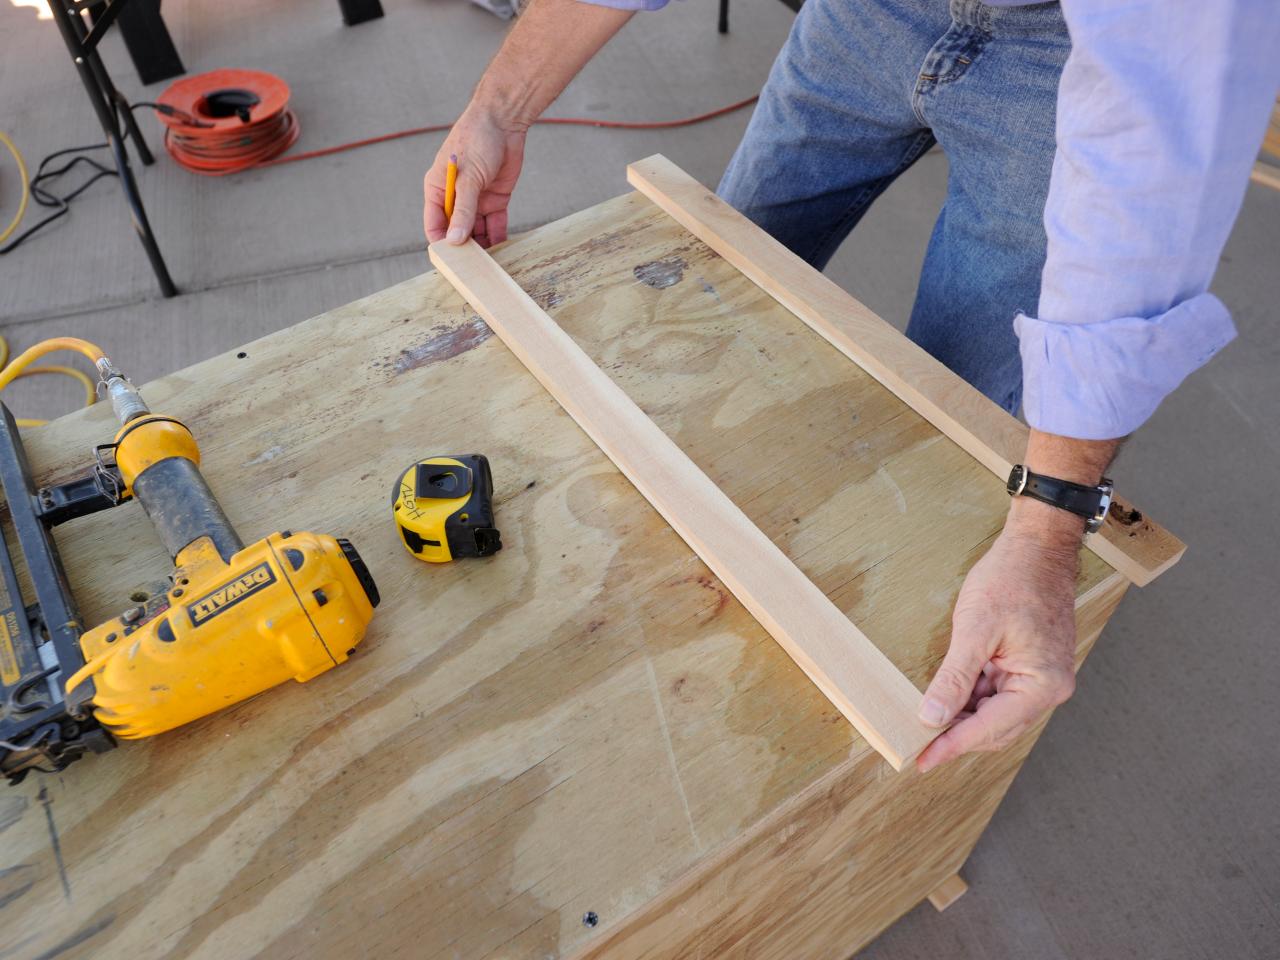
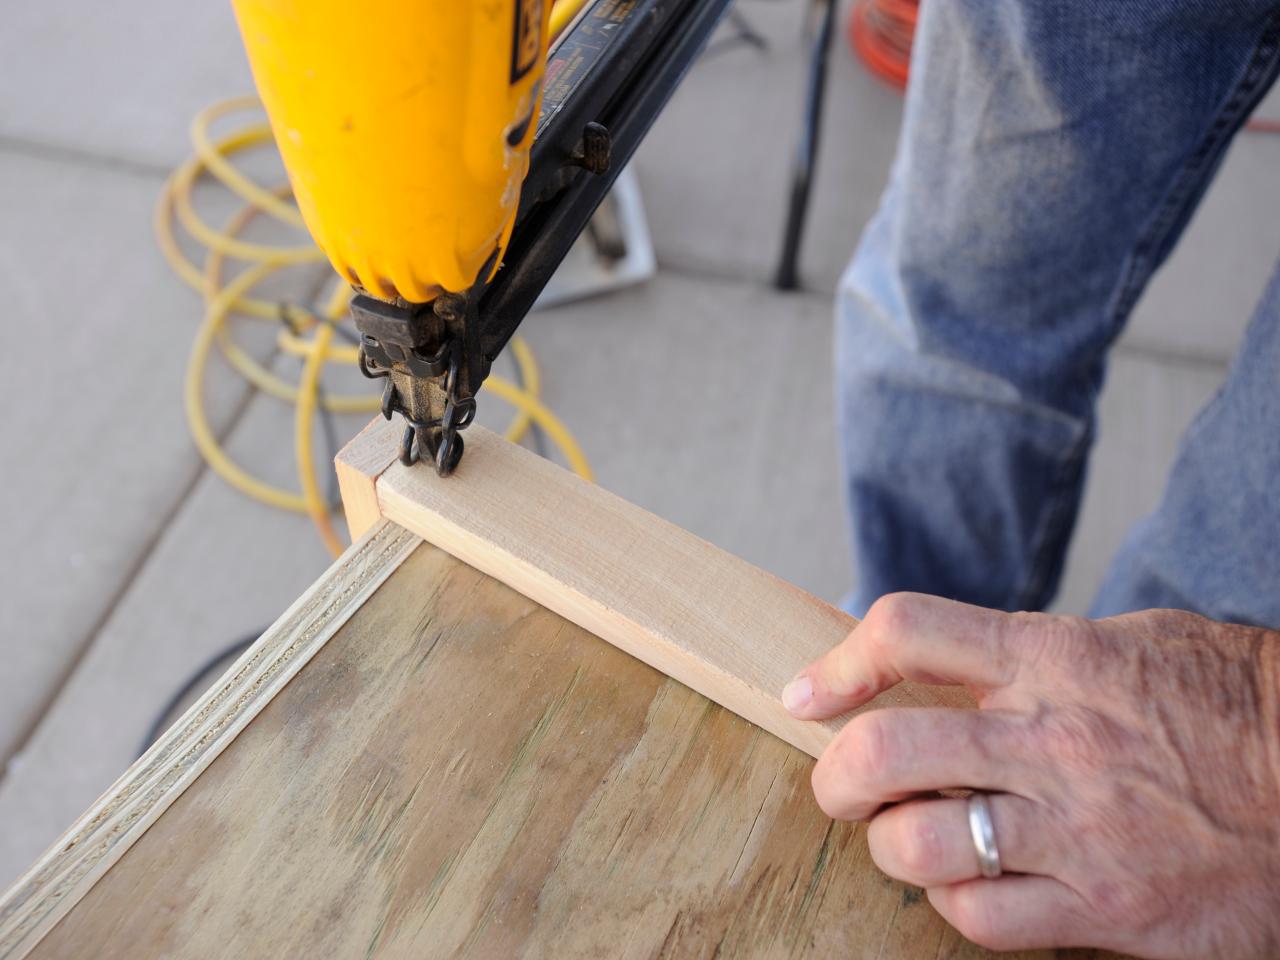
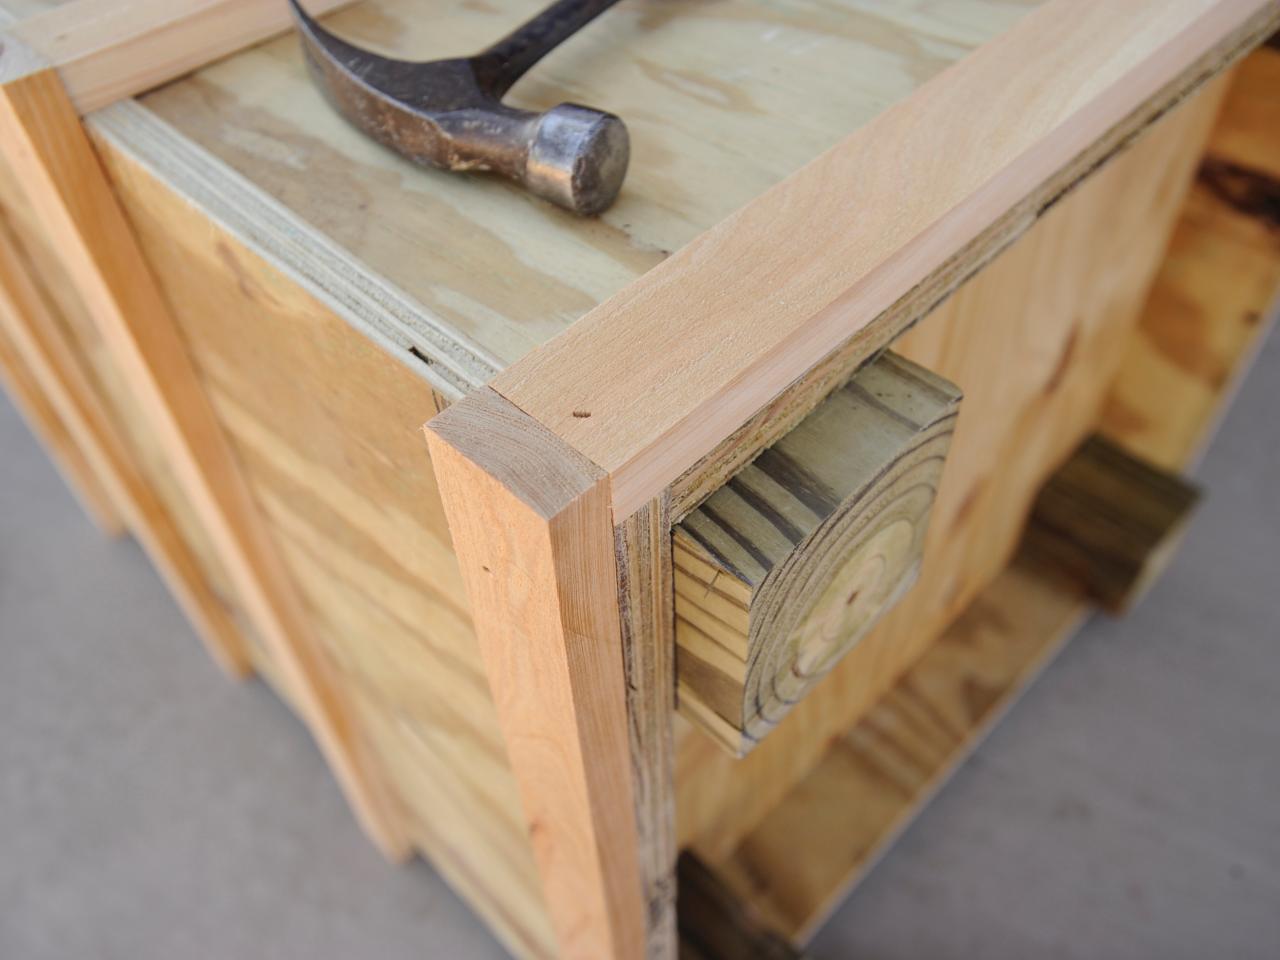
Attach Rough-Sawn Cypress Trim
Using finishing nails, attach four 24" trim pieces to each side panel of the planter box. Equally space pieces, assuring that top and bottom trim sits flush to edges and covers nail heads. Attach four 25-1/2" trim pieces to the front and back panels, aligning with the 24” trim pieces on side panels. Tap pieces into place with a hammer.


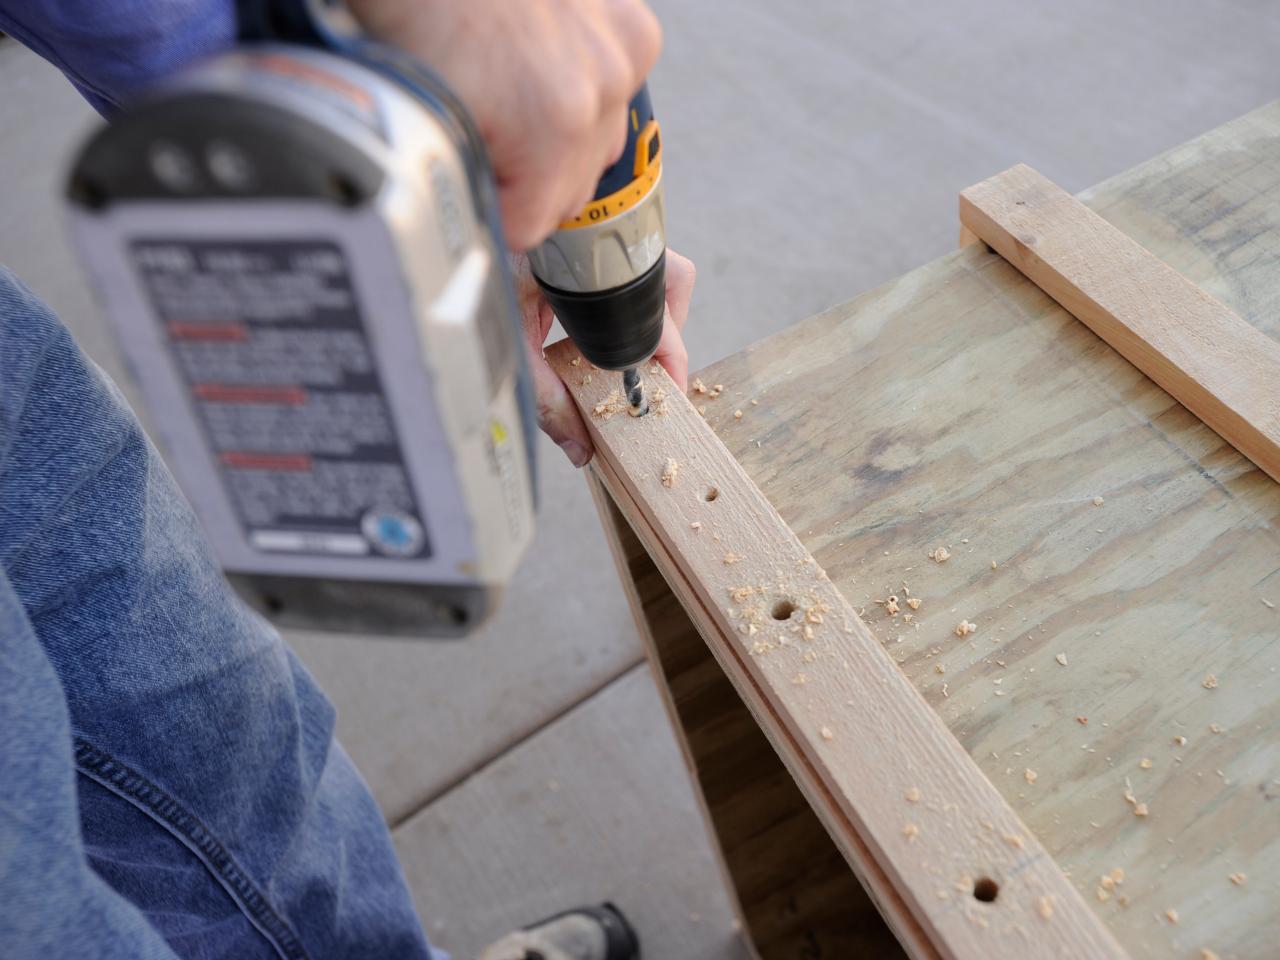
Drill Pilot Holes for Decorative Carriage Bolts
To make a marking jig (template), drill holes, spaced 5 inches apart and 2 1/2" from each edge, in a 24" piece of trim. Place jig atop each attached trim piece, and using the 5/16" bit, drill holes through trim piece and plywood planter. You will drill a total of 80 pilot holes.

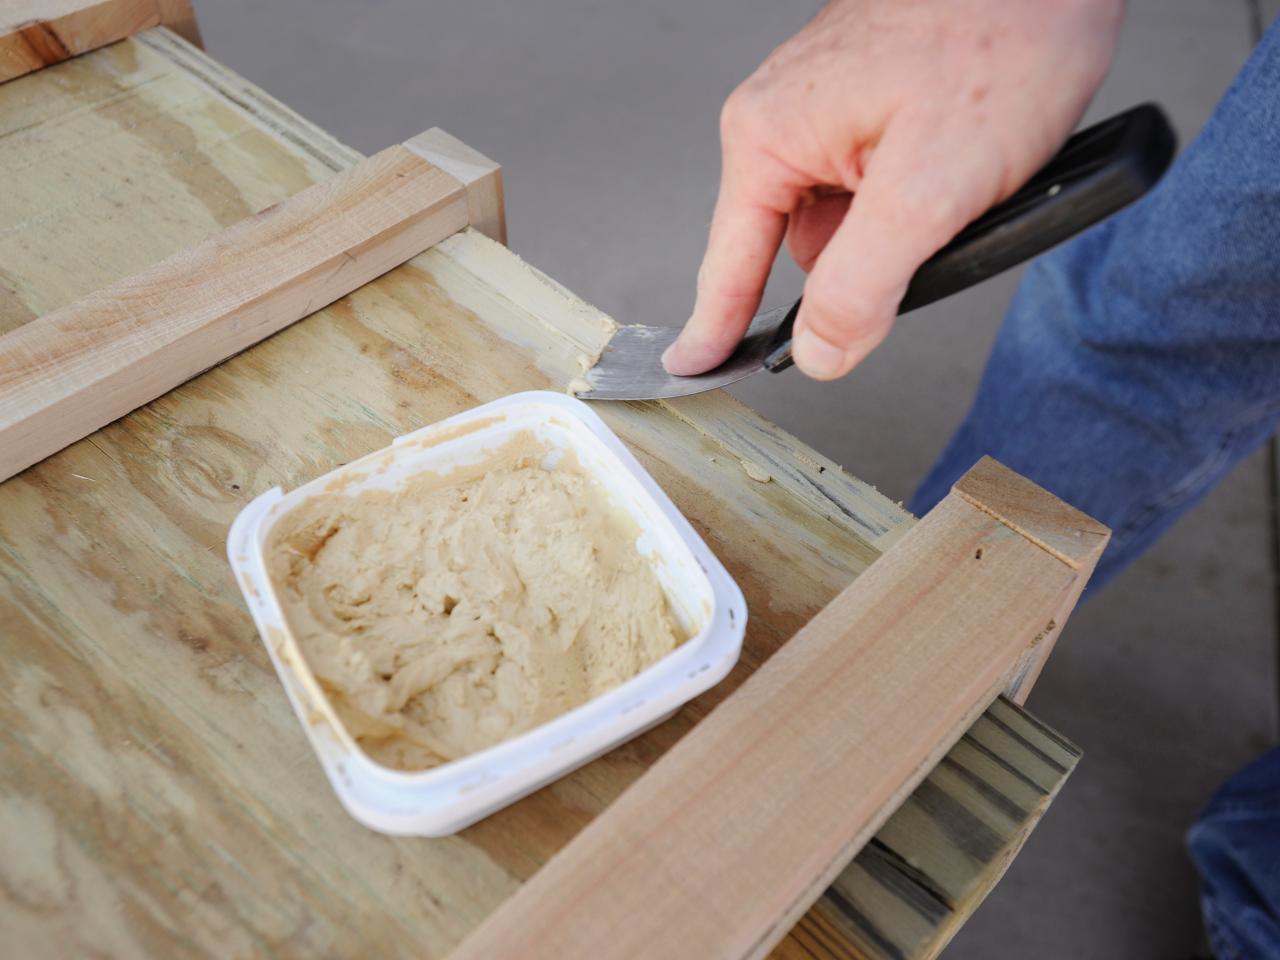
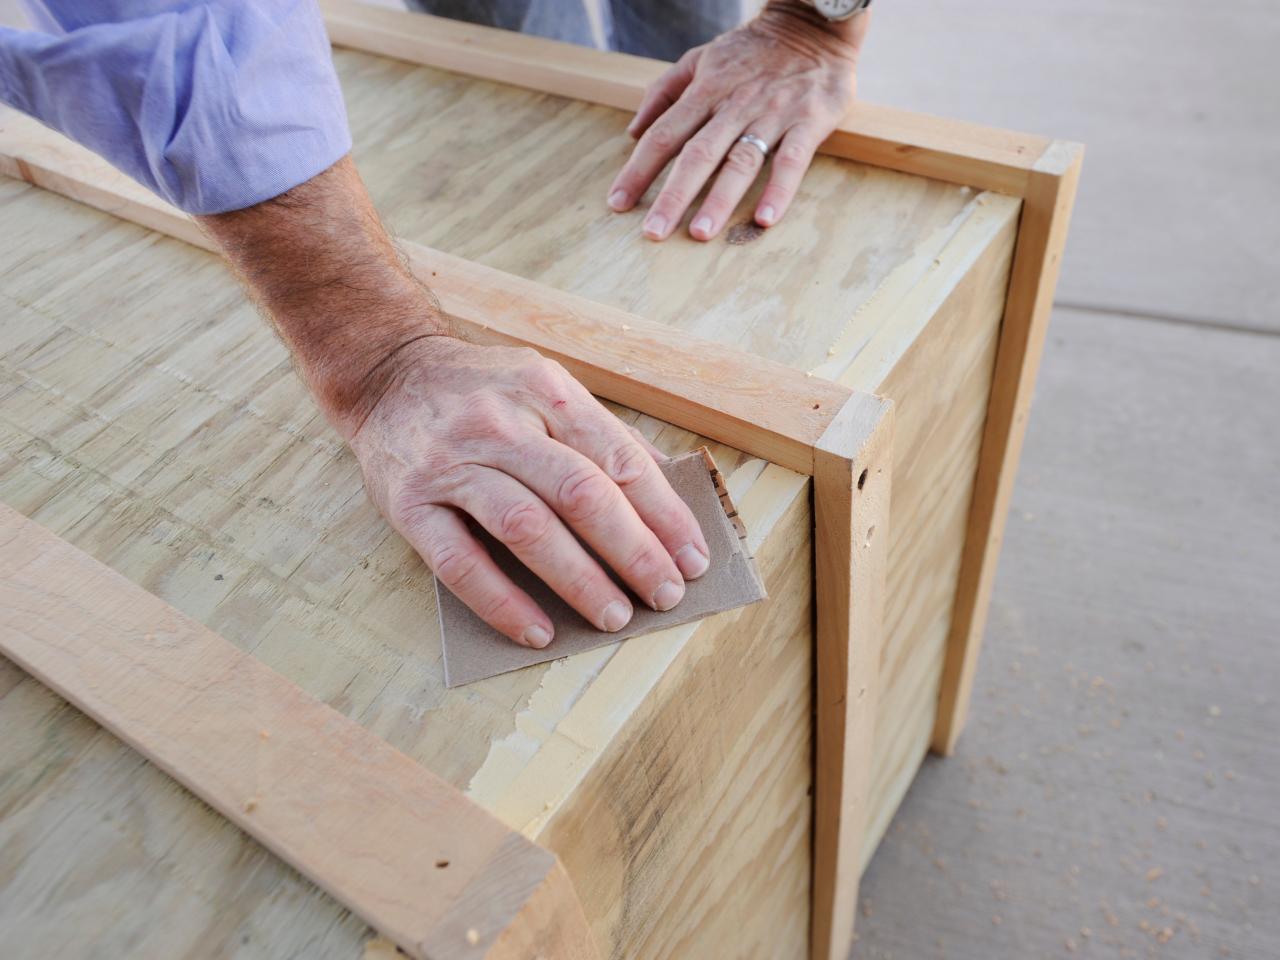
Finish Edges
Apply wood filler to all exposed plywood edges. Allow wood putty to completely dry according to manufacturer's directions. After putty is completely dry, sand all edges smooth.


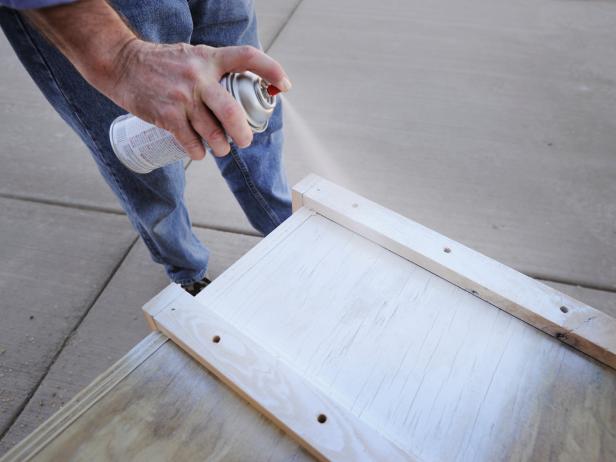
Paint the Planter
Prime all surfaces (outside, inside, legs and underside) with exterior-grade primer and allow to dry according to manufacturer's directions. Paint or stain planter, applying two coats and ensuring that all surfaces as described above are completely covered. Dry between coats according to manufacturer's directions.

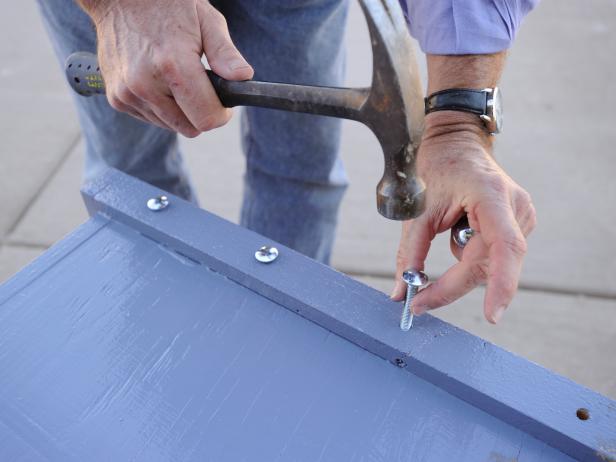
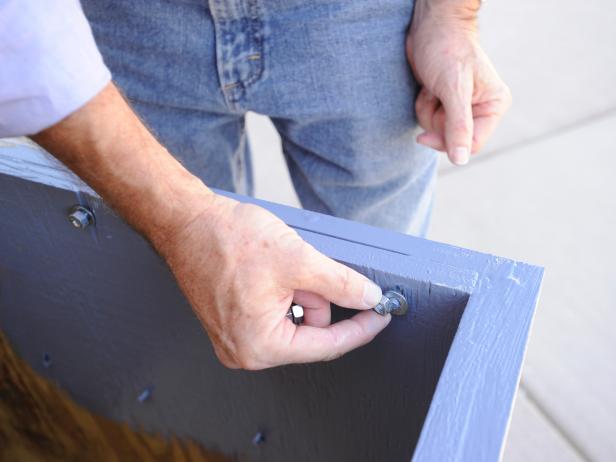
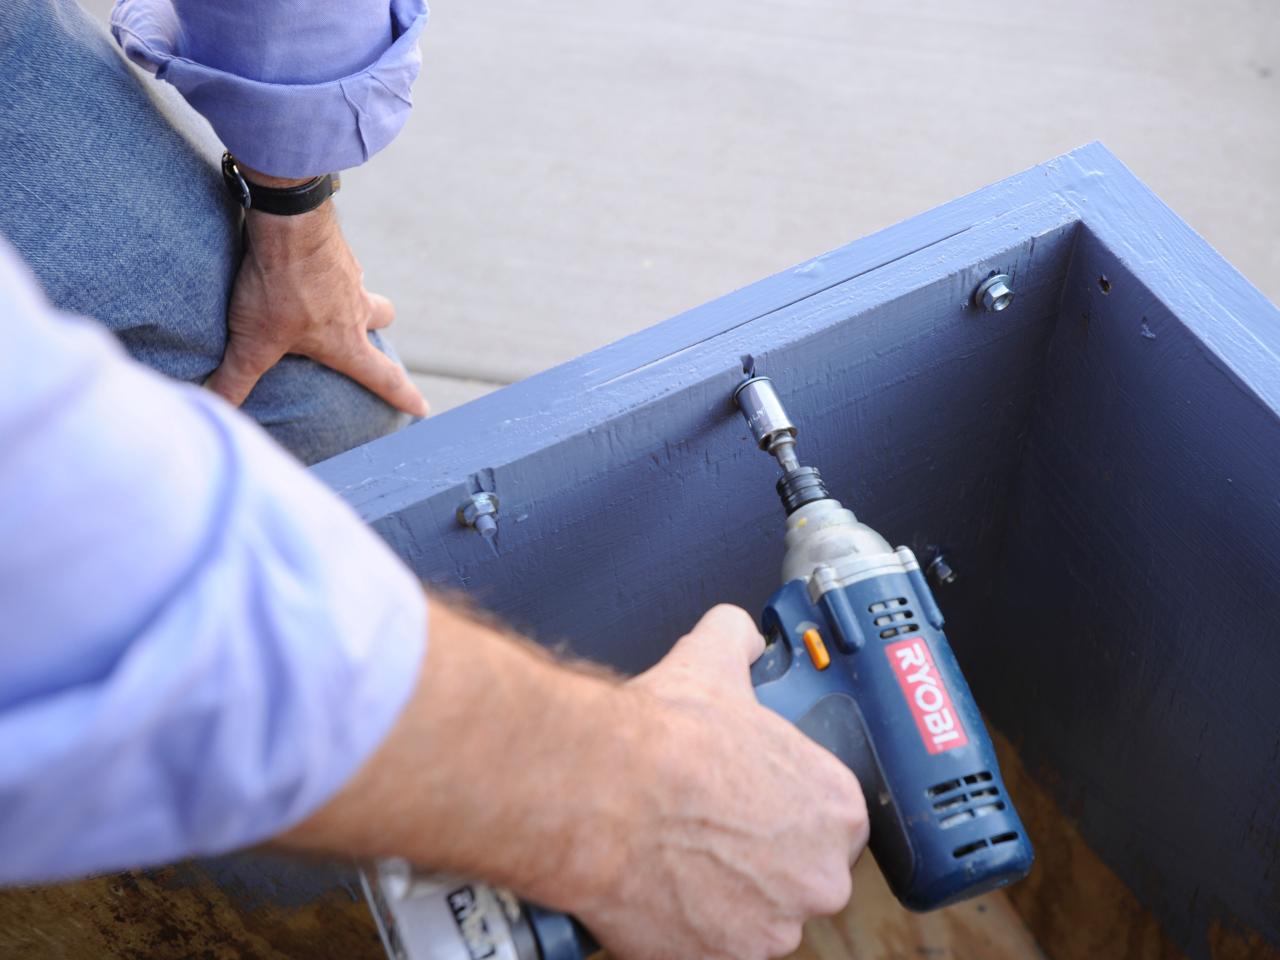
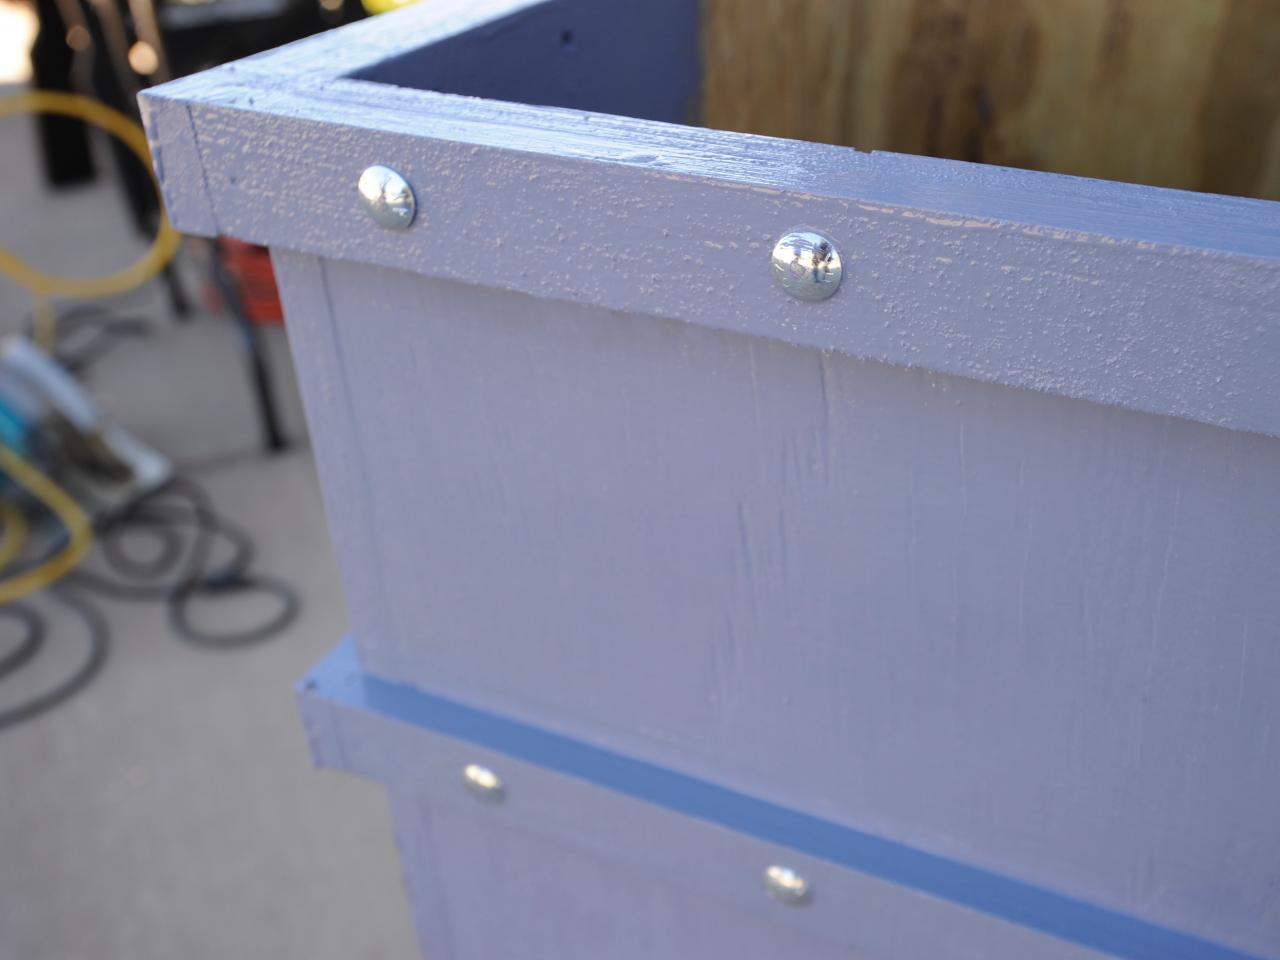
Attach Carriage Bolts
With the carriage bolt head facing the outside of the planter box, insert bolt in each predrilled hole. Screw washer and nut on bolt end and tighten with a nut wrench or socket driver.


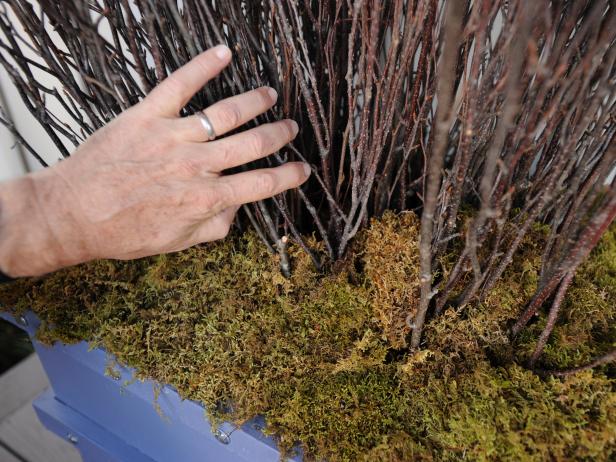
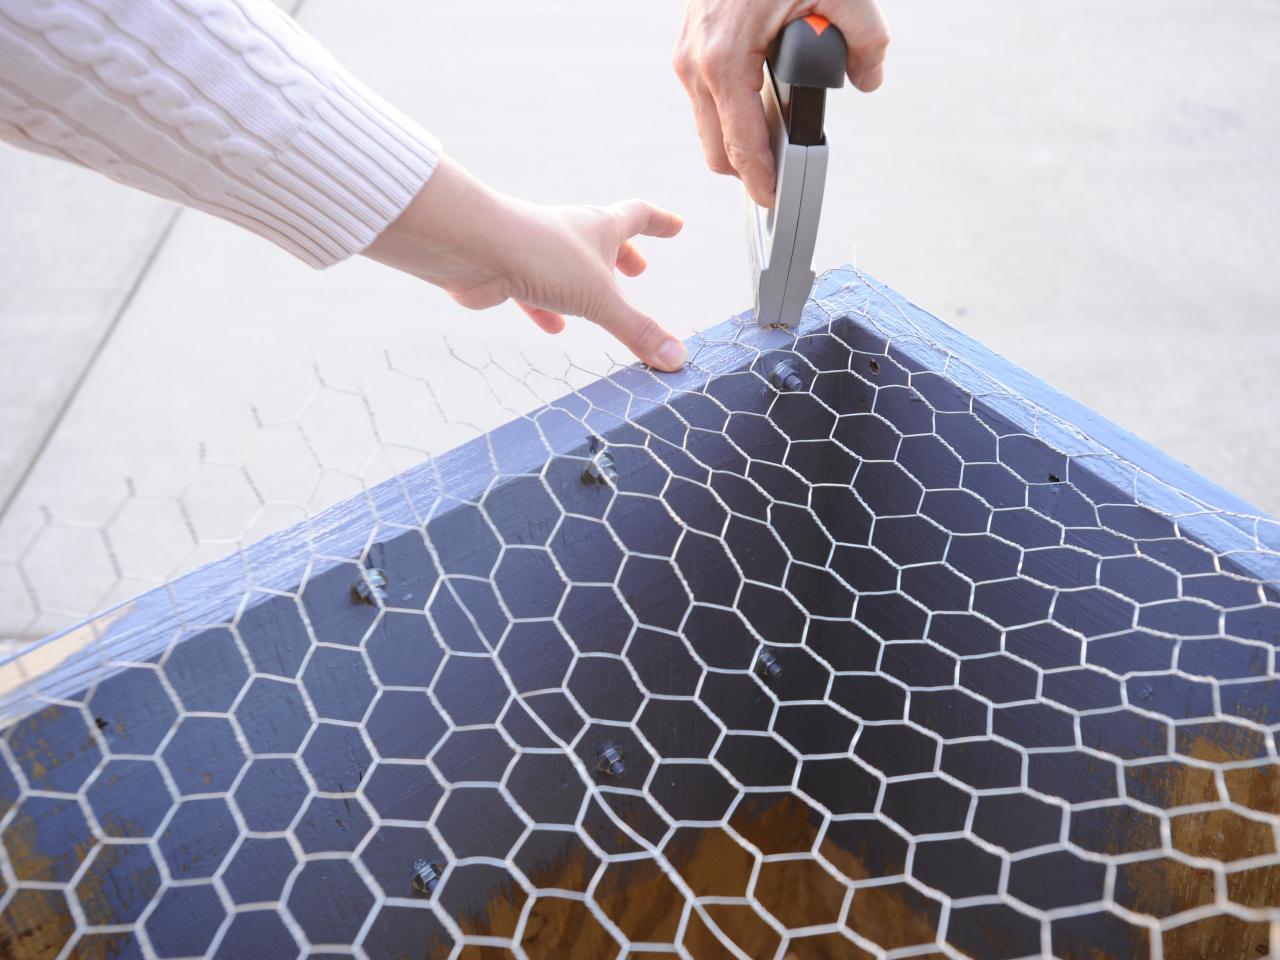
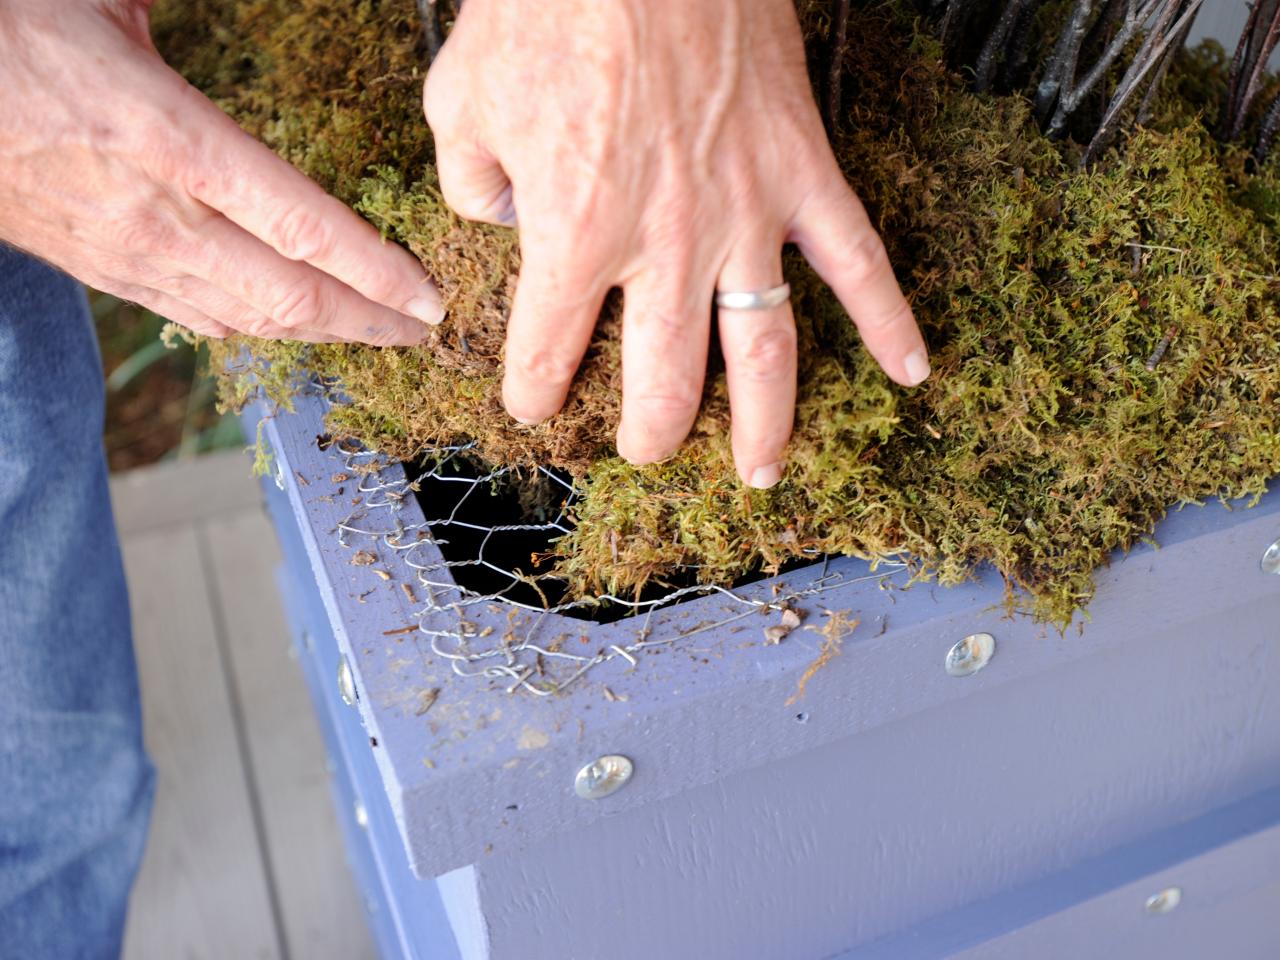
Finish Planter
Place a piece of chicken wire on top of the planter. Staple in place. Trim excess wire with a wire cutter. Working from the center out, insert birch branches in wire. Fill base with moss, tucking moss into wire as you go.


