


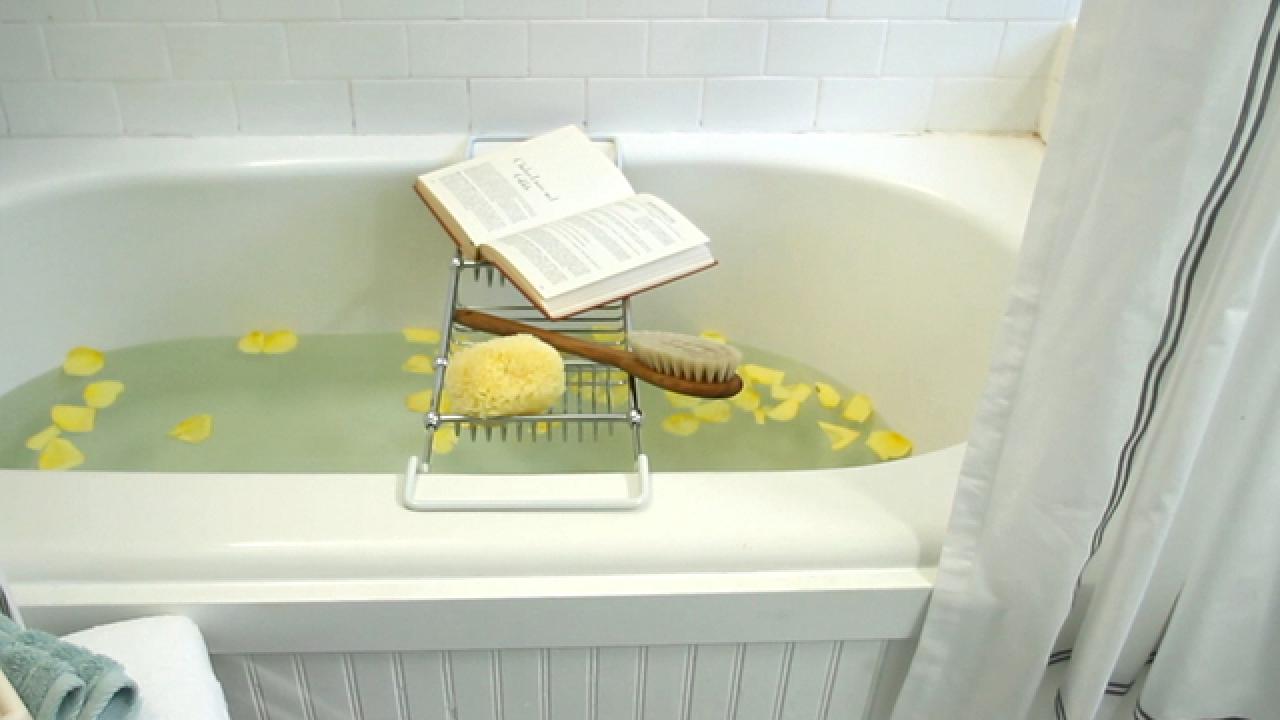
Update a Bathtub Surround Using Beadboard

Materials Needed:
- standard bathtub
- 4' x 8' sheet of beadboard
- table saw
- chop saw
- level
- 1' x 3' PVC trim
- silicone adhesive
- caulk gun
- paint roller
- paint pan
- pan liner
- 2" paintbrush
- semi-gloss exterior paint
- router
- clamps
- tape measure
- pencil
- note pad
- medium-grit sanding block
- damp cloth
Measure Tub Surround
Use tape measure to determine length and height of tub and note the dimensions.
Create a Ledge
Using router, create a ledge notch spanning entire length of back side of trim.
Cut Trim
Referring to the dimensions, measure, then mark trim with pencil and level. Cut trim to size using chop saw, mitering corners.
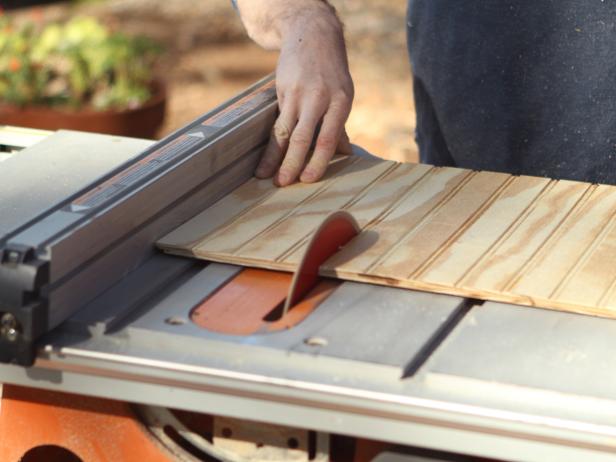
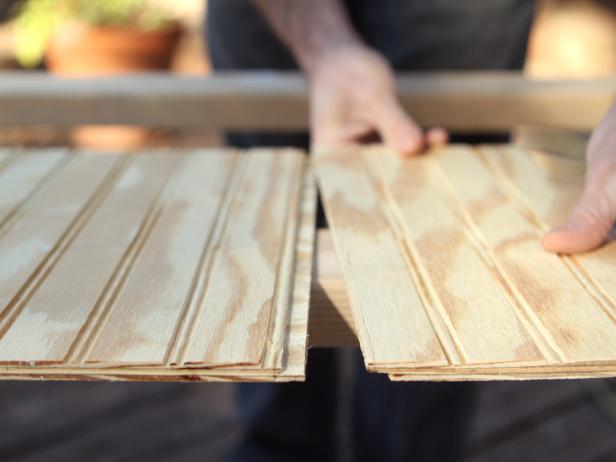
Cut Beadboard
Referring to measurements on note pad, mark beadboard with level and pencil, then cut beadboard to size with table saw (Image 1). Take note of where beadboard grooves will butt up (Image 2).
Sand and Paint
Using medium-grit sanding block, sand front of beadboard. Wipe away dust with damp cloth. Using the roller, apply two coats of exterior paint to front and back of beadboard. With a brush, add two coats of paint to front of trim.

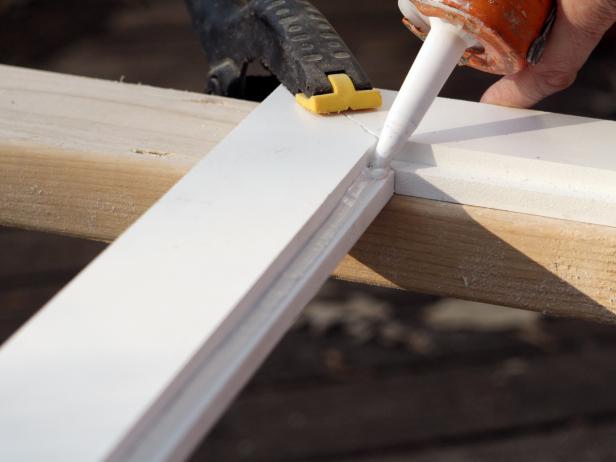
Assemble Panel
Apply silicone adhesive to all four edges of beadboard, then fit beadboard into grooved trim pieces. Attach all four trim pieces with miters lined up. Clamp beadboard panels to trim pieces, let silicone dry for at least two hours.
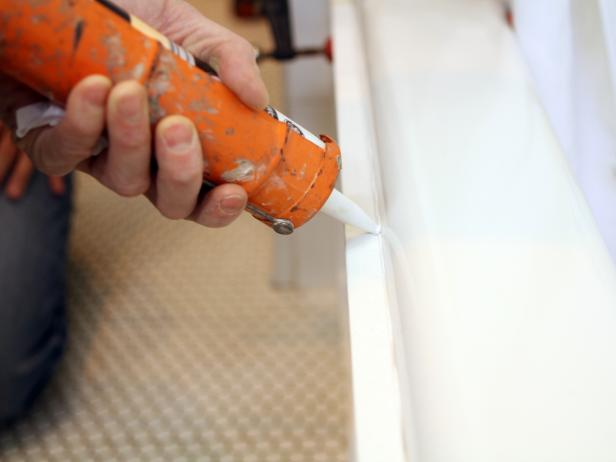
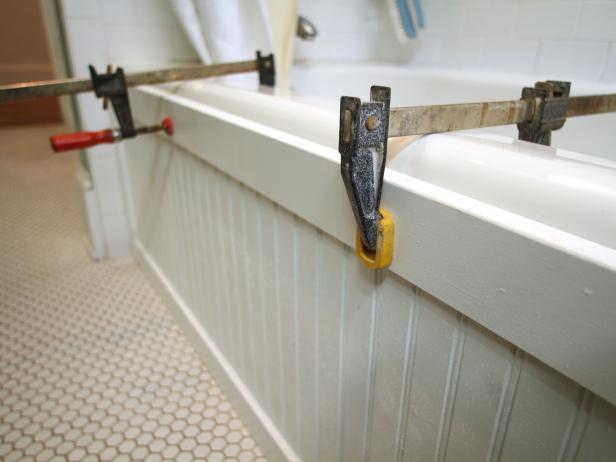
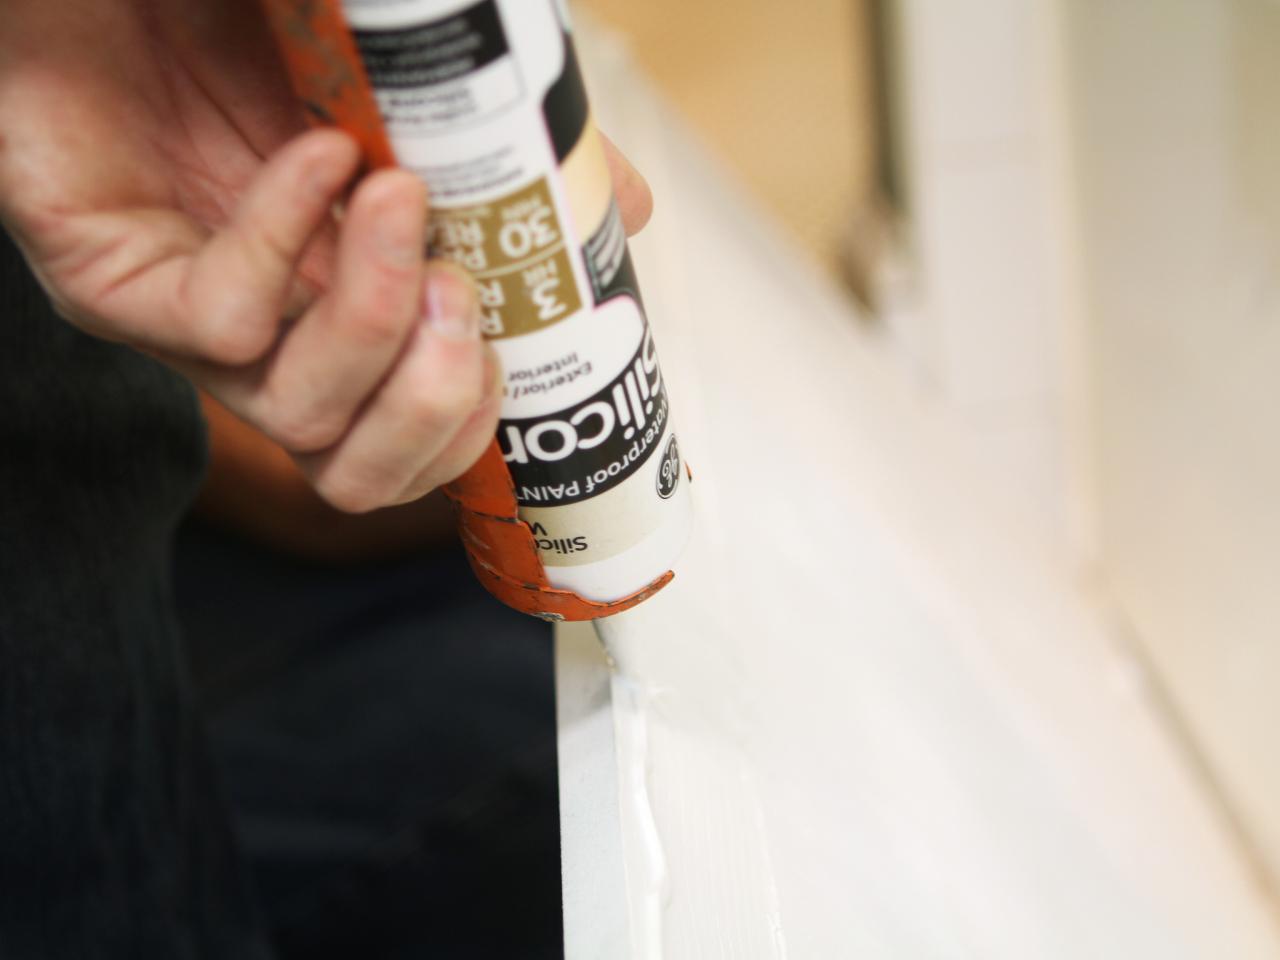
Install Panel
Apply silicone adhesive directly to front of tub using caulk gun (Image 1). Press panel into place, then add clamps. Using caulk gun, add bead of silicone to gaps between panel and tub surround, wipe with damp cloth. Allow at least 24 hours for adhesive to dry (Image 2).


