


Turn an Unfinished Attic into a Walk-in Closet
Tools and Materials:

Note: Lengths and amounts are for the project pictured. Adjust figures according to the measurements of your attic.
400 square feet of 3½-by-16-inch insulation
80 square feet of 6½-by-16-inch insulation
14 sheets of beadboard
four sheets of ¾-inch OSB (oriented strand board)
16 linear feet of berber carpet
50 linear feet of baseboard
48 liner feet of closet shelf
40 2-by-4-inch boards
3½-inch galvanized nails
2¼-inch galvanized nails
2-inch finish nails
lighting kit (track or recessed)
air compressor with hoses
brad gun
circular saw
dust masks
framing nailer
measuring tape
pencil
miter saw
safety glasses
utility knife
Steps:
1. Decide on the orientation of the closet. Be sure to keep in mind headroom, storage needs and standard closet allowances. Normal hanging height for clothes is 40 inches. If you want a double-hanging clothing rod, you’ll need at least 80 inches. A tall rod for dresses and coats needs to be mounted 60 to 70 inches high.
2. Make sure the joists in the attic are suitable to carry weight. Depending on the span, you’ll need at least a 2-by-8 joist under foot for flooring. Decide on the size of floor and remove insulation from between joists in that area. (Do not add insulation between heated spaces.) Be sure to wear a dust mask, gloves and a long-sleeve shirt when working with fiberglass insulation.

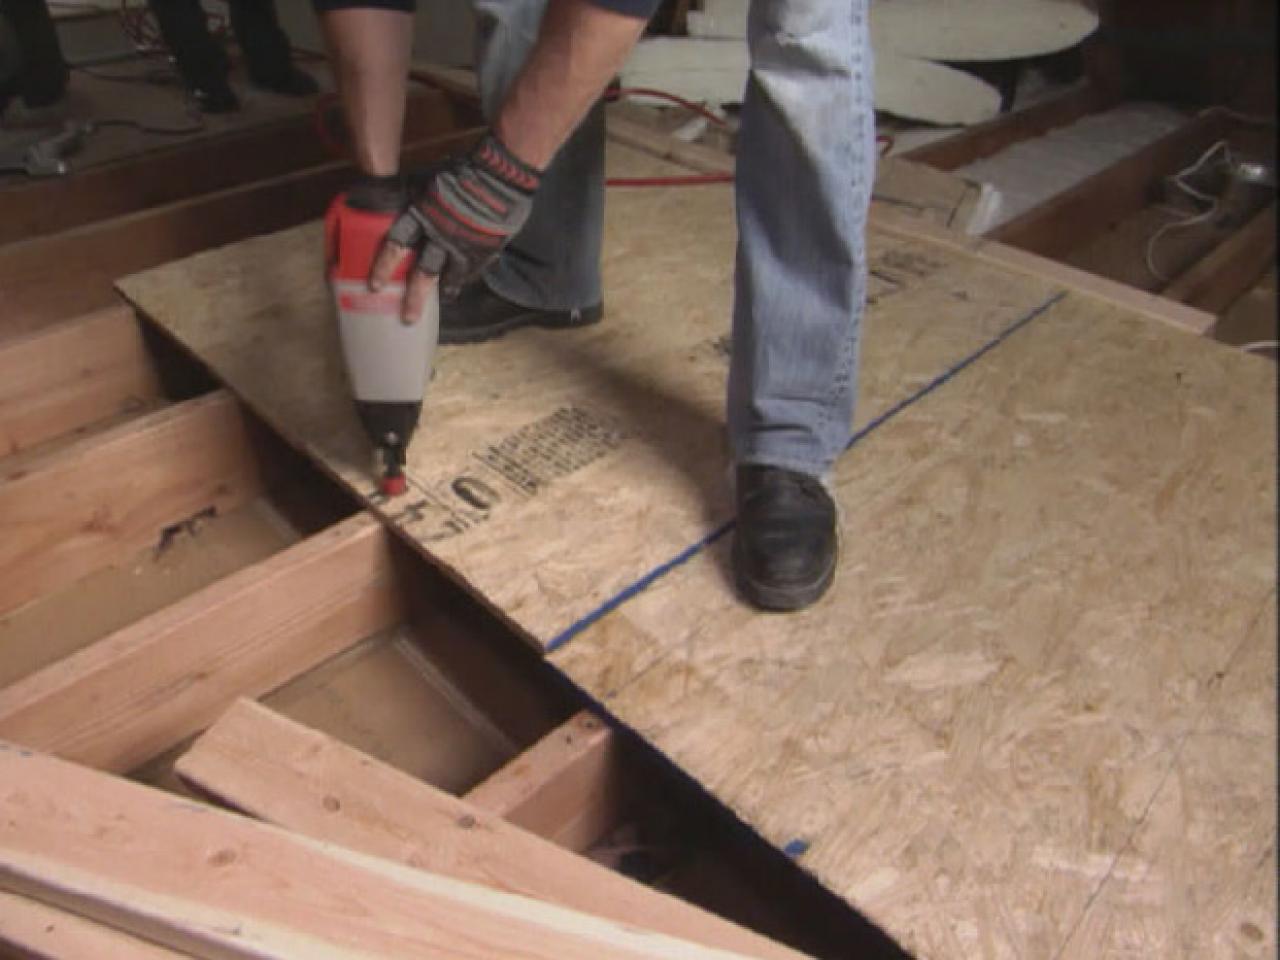
3. Lay out ¾-inch oriented strand board (OSB) for the floor deck. Nail the OSB down and make sure to make cuts to allow for walls of the closet. This allows the floor to be pulled up easily if you ever need to get to the space below to make repairs.

4. Frame the side walls using 2-by-4s placed on 24-inch centers. Use a single bottom plate and a single top plate. Wearing safety glasses, cut the tops of the 2-by-4’s to match the angle of the roof with a miter saw. The walls for this project were set at 80 inches high to allow for a double row of hanging clothes. Be sure to leave an access door to each side of the attic.

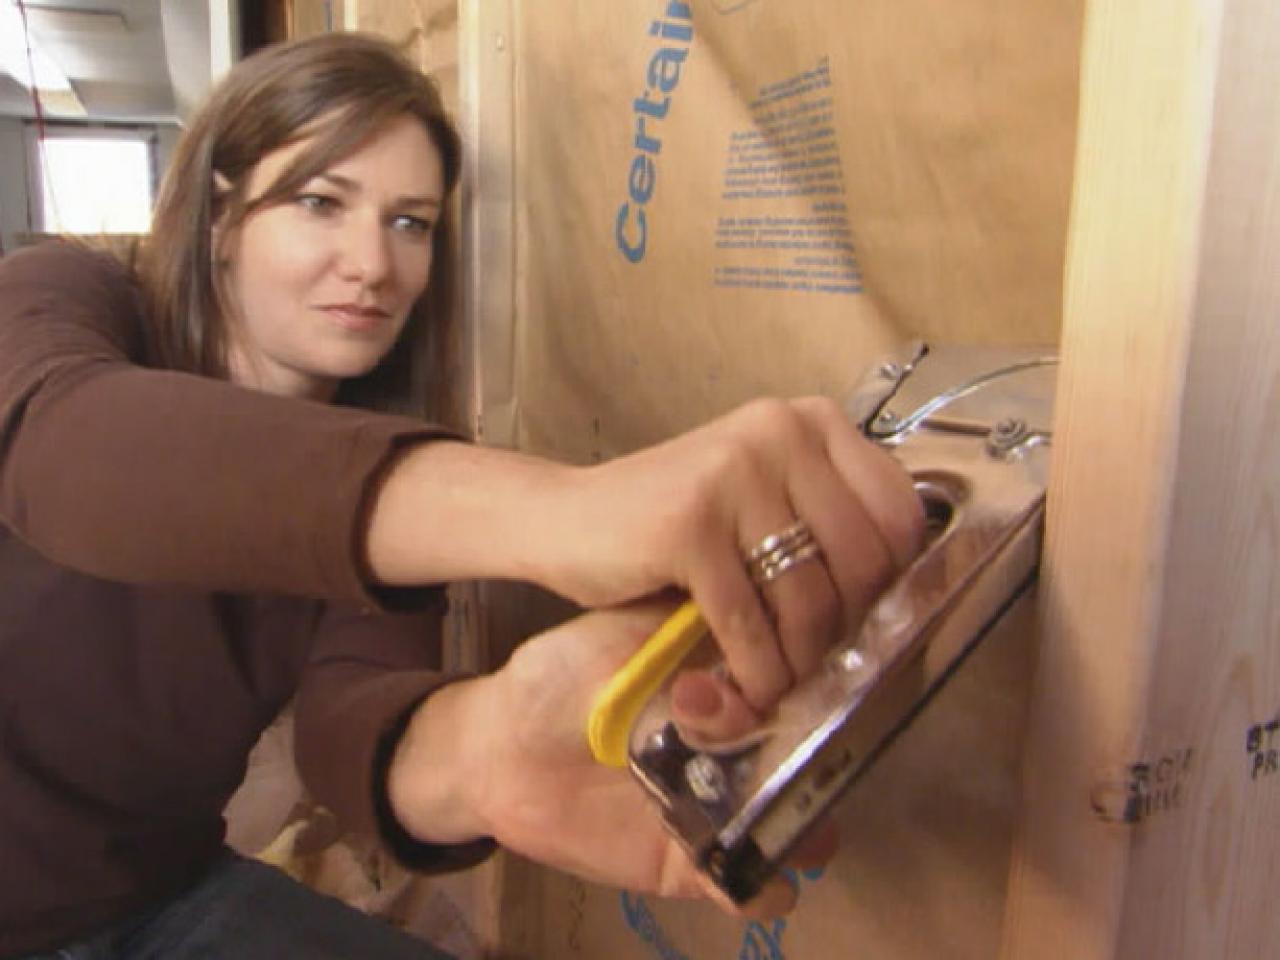
5. Insulate the walls and the ceiling with minimum R-13 insulation. Make sure to leave air space above the insulation in the rafters to allow for airflow through the attic.

6. Cover the walls with ¾-inch OSB before finishing. Using OSB instead of drywall allows you to screw in racks and accessories without having to find a wall stud. Cut the OSB to size with a circular saw.

7. Cut beadboard ceiling panels to fit and attach to the ceiling joists. Apply construction adhesive to the joists, and then nail the panels into place.
8. Install lighting. A single bulb on a string is probably not going to provide adequate lighting. In this case, track lighting or recessed lighting was installed using existing wiring.
9. Cover the ceiling with beadboard. Try to line up the beadboard lines across the walls and ceiling.
10. Install the trim in the corners, both the vertical corners and the horizontal seams between the ceiling and walls. Cut the baseboard to fit, but don’t install it yet. Nail everything but the baseboard in place with the finish brad gun, and caulk all seams.
11. Paint the baseboard.
12. Lay the carpet in place and cut to fit with a utility knife.
13. Nail the pre-painted baseboard in place and touch up the paint if necessary.
12. Lay the carpet in place and cut to fit using a utility knife.
13. Nail the pre-painted baseboard in place and touch up the paint if necessary.
14. Hang the shelves according to manufacturer's instructions.


