How to Make a Sink Skirt

Pedestal sinks are ideal for tight spaces but often show exposed plumbing and offer little storage. An easy-to-sew sink skirt will solve both problems, providing style and function to a bathroom.
Black & White Pattern Pedestal Sink Skirt

Black and White Damask Bathroom Sink Skirt

Pedestal sinks are ideal for tight spaces but often show exposed plumbing and offer little storage. An easy-to-sew sink skirt will solve both problems, providing style and function to a bathroom.

Materials Needed:

  • 4-1/2 yards of 48"-wide cotton fabric
  • measuring tape or ruler
  • 2 yards cotton piping
  • 5' of 1"-wide adhesive-backed hook and loop tape
  • coordinating all-purpose thread
  • sewing machine
  • scissors
  • iron
  • 1 roll 5/8" fusible bonding web tape
  • high temperature hot glue gun
  • hot glue sticks

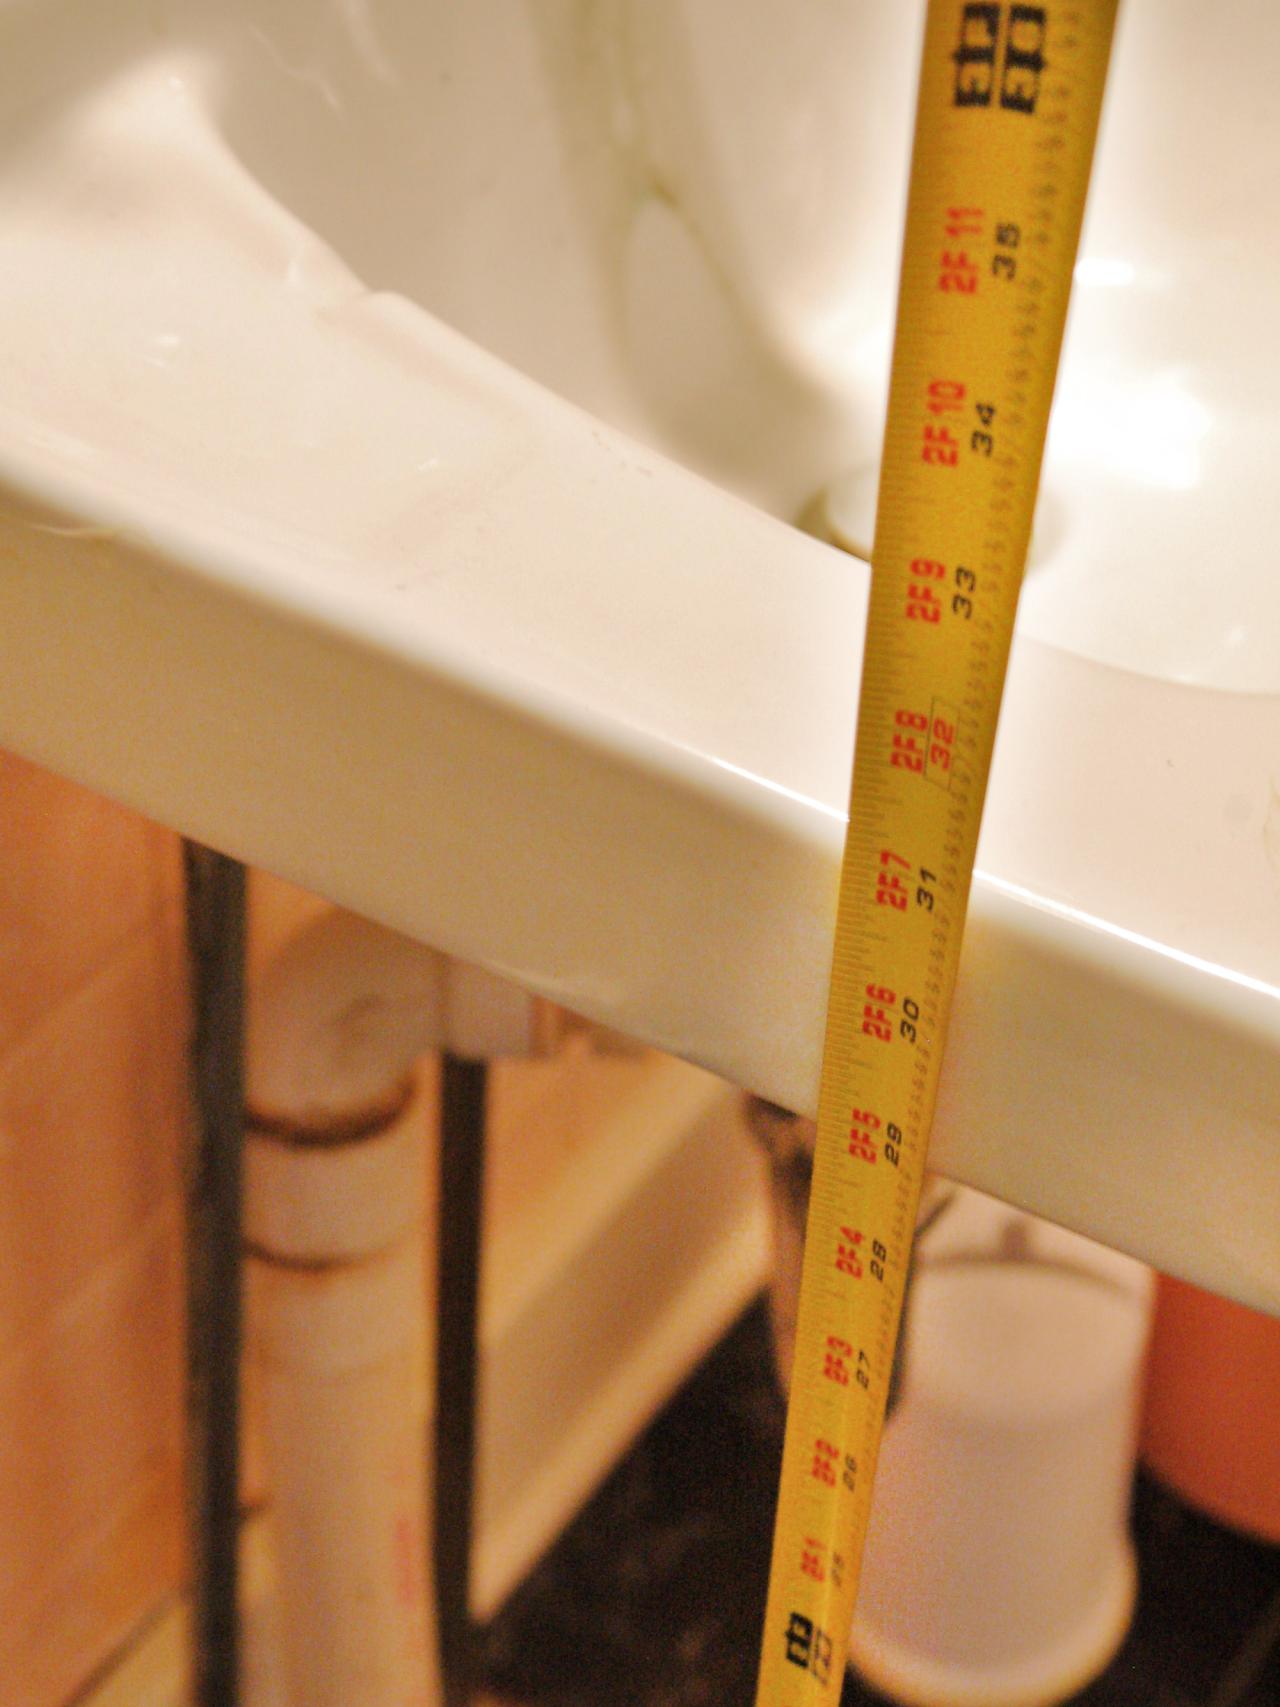
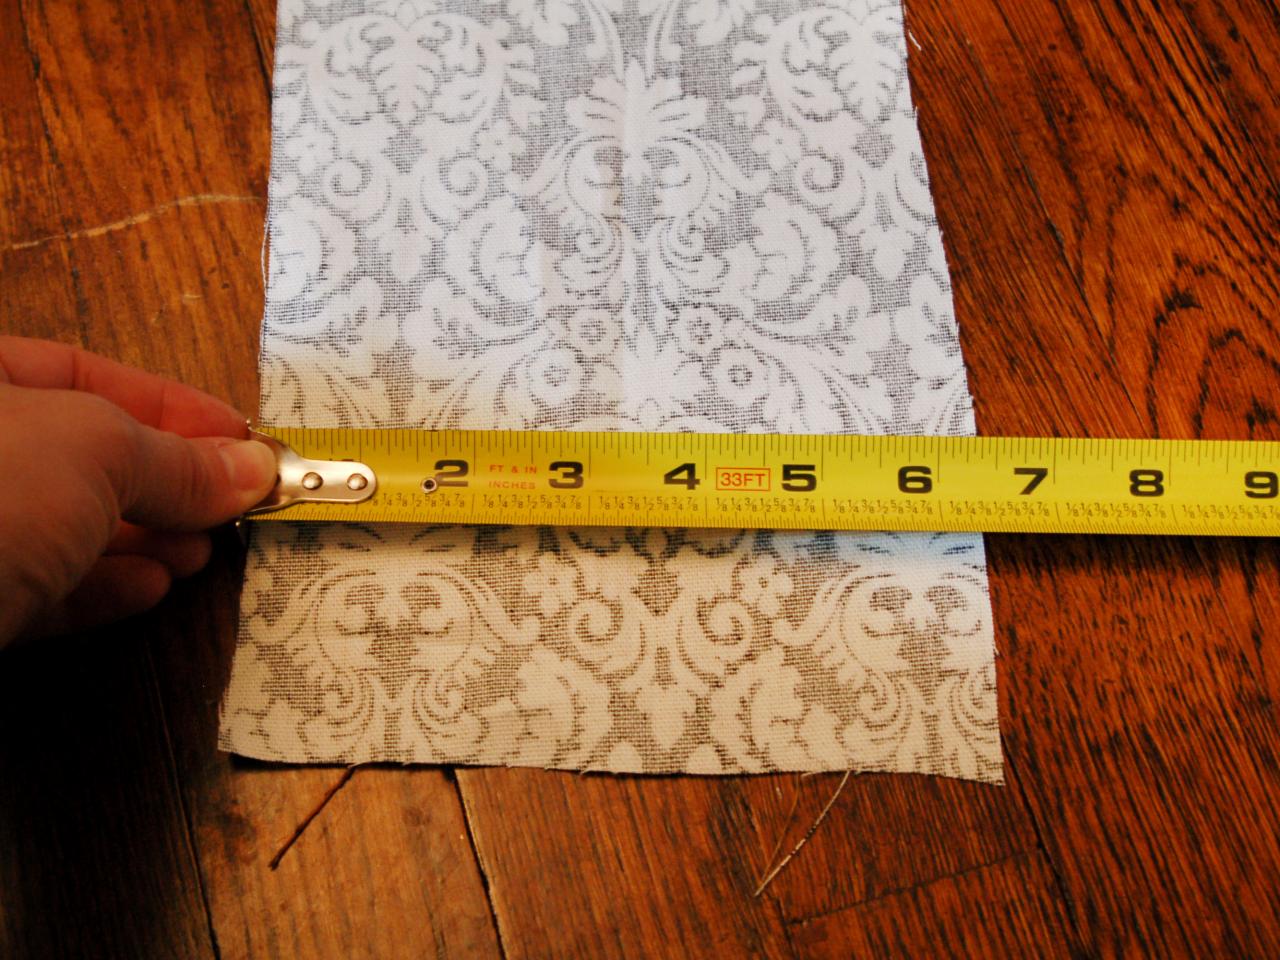
Measure and Cut Fabric

Measure the height and width of sink. Measure and cut three pieces of fabric to the length of the sink height plus 5 inches for seam allowance and hem. Position two fabric panels with right sides together, and pin and sew right edge. Pin and sew third panel in the same manner. (Example: If using 48-inch wide fabric for a sink that's 31 inches high, the fabric panel should measure 144 inches by 36 inches.) Tip: If a machine washable skirt is desired, pre-wash fabric.
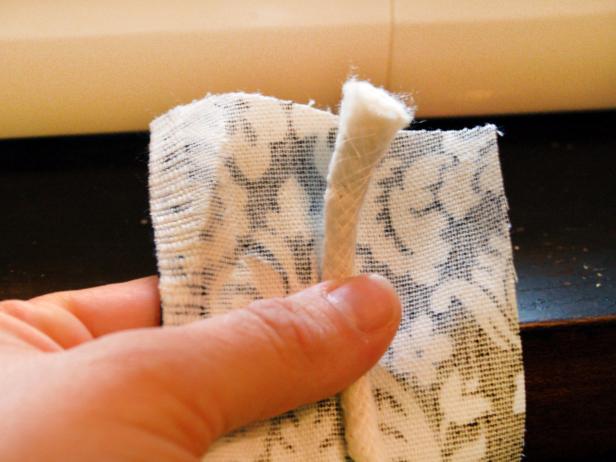
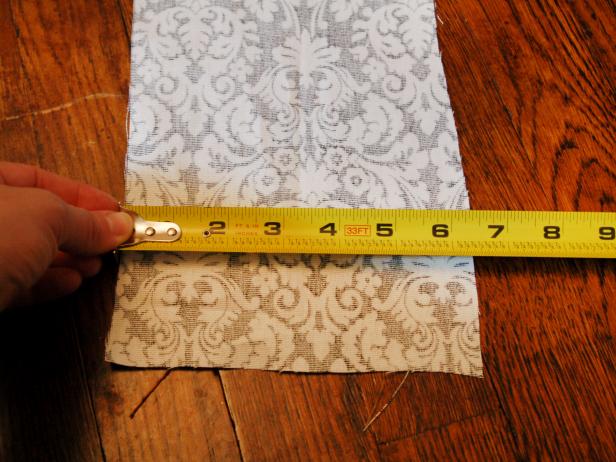
Tape Measure Measuring Height of Sink

Measure Height and Width of Sink

Measure the height and width of sink.

Make Piping

Cut cotton piping cord to sink width, plus 1 inch for seam allowance. Measure and cut a piece of fabric that's 2 inches wide and the length of the sink width plus 1 inch. (Example: If sink width is 30 inches, the fabric piece would measure 31 inches by 2 inches.) Wrap fabric length around piping cord and sew into place using a zipper foot.
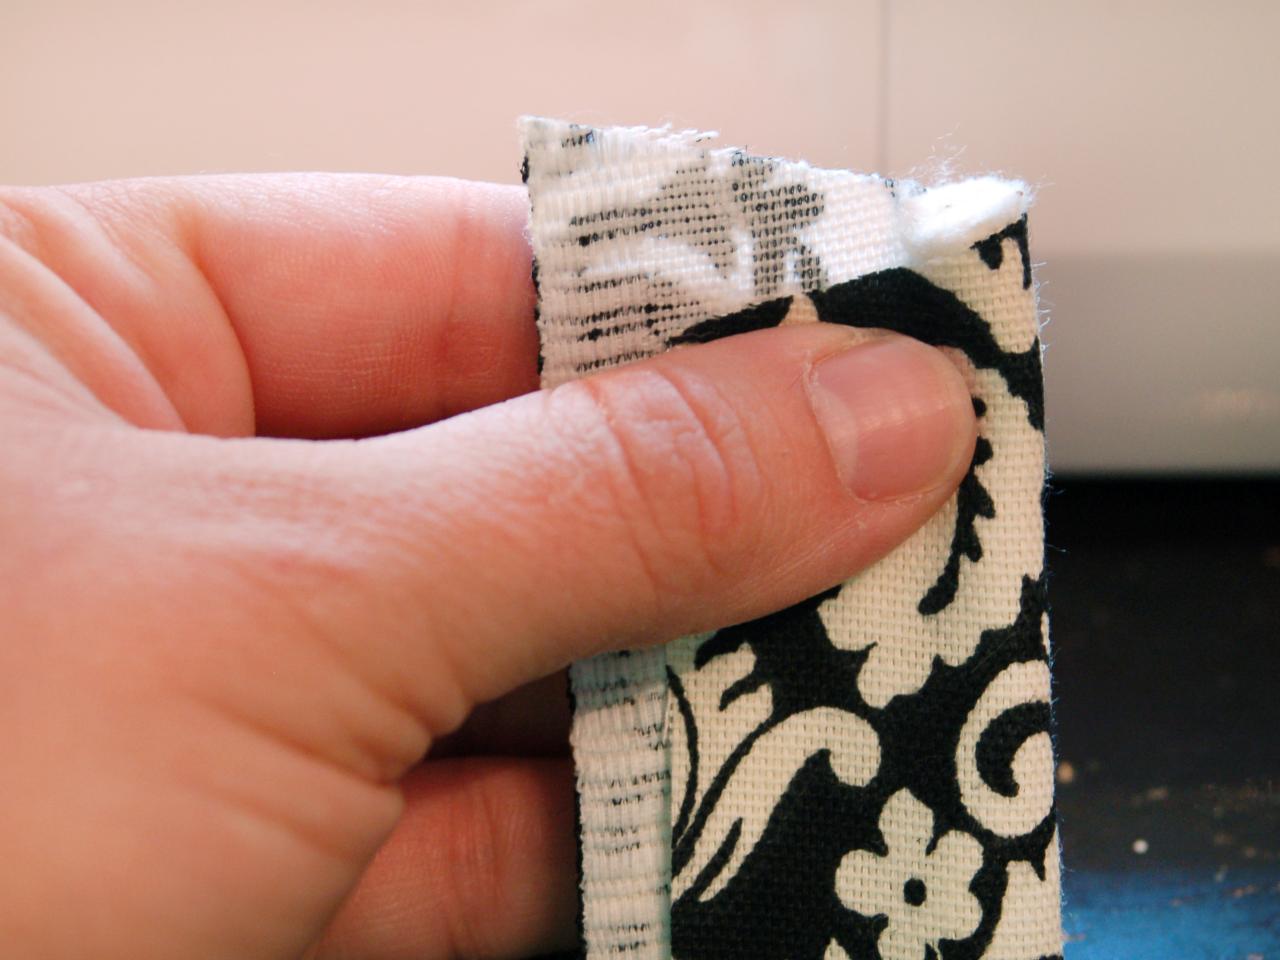
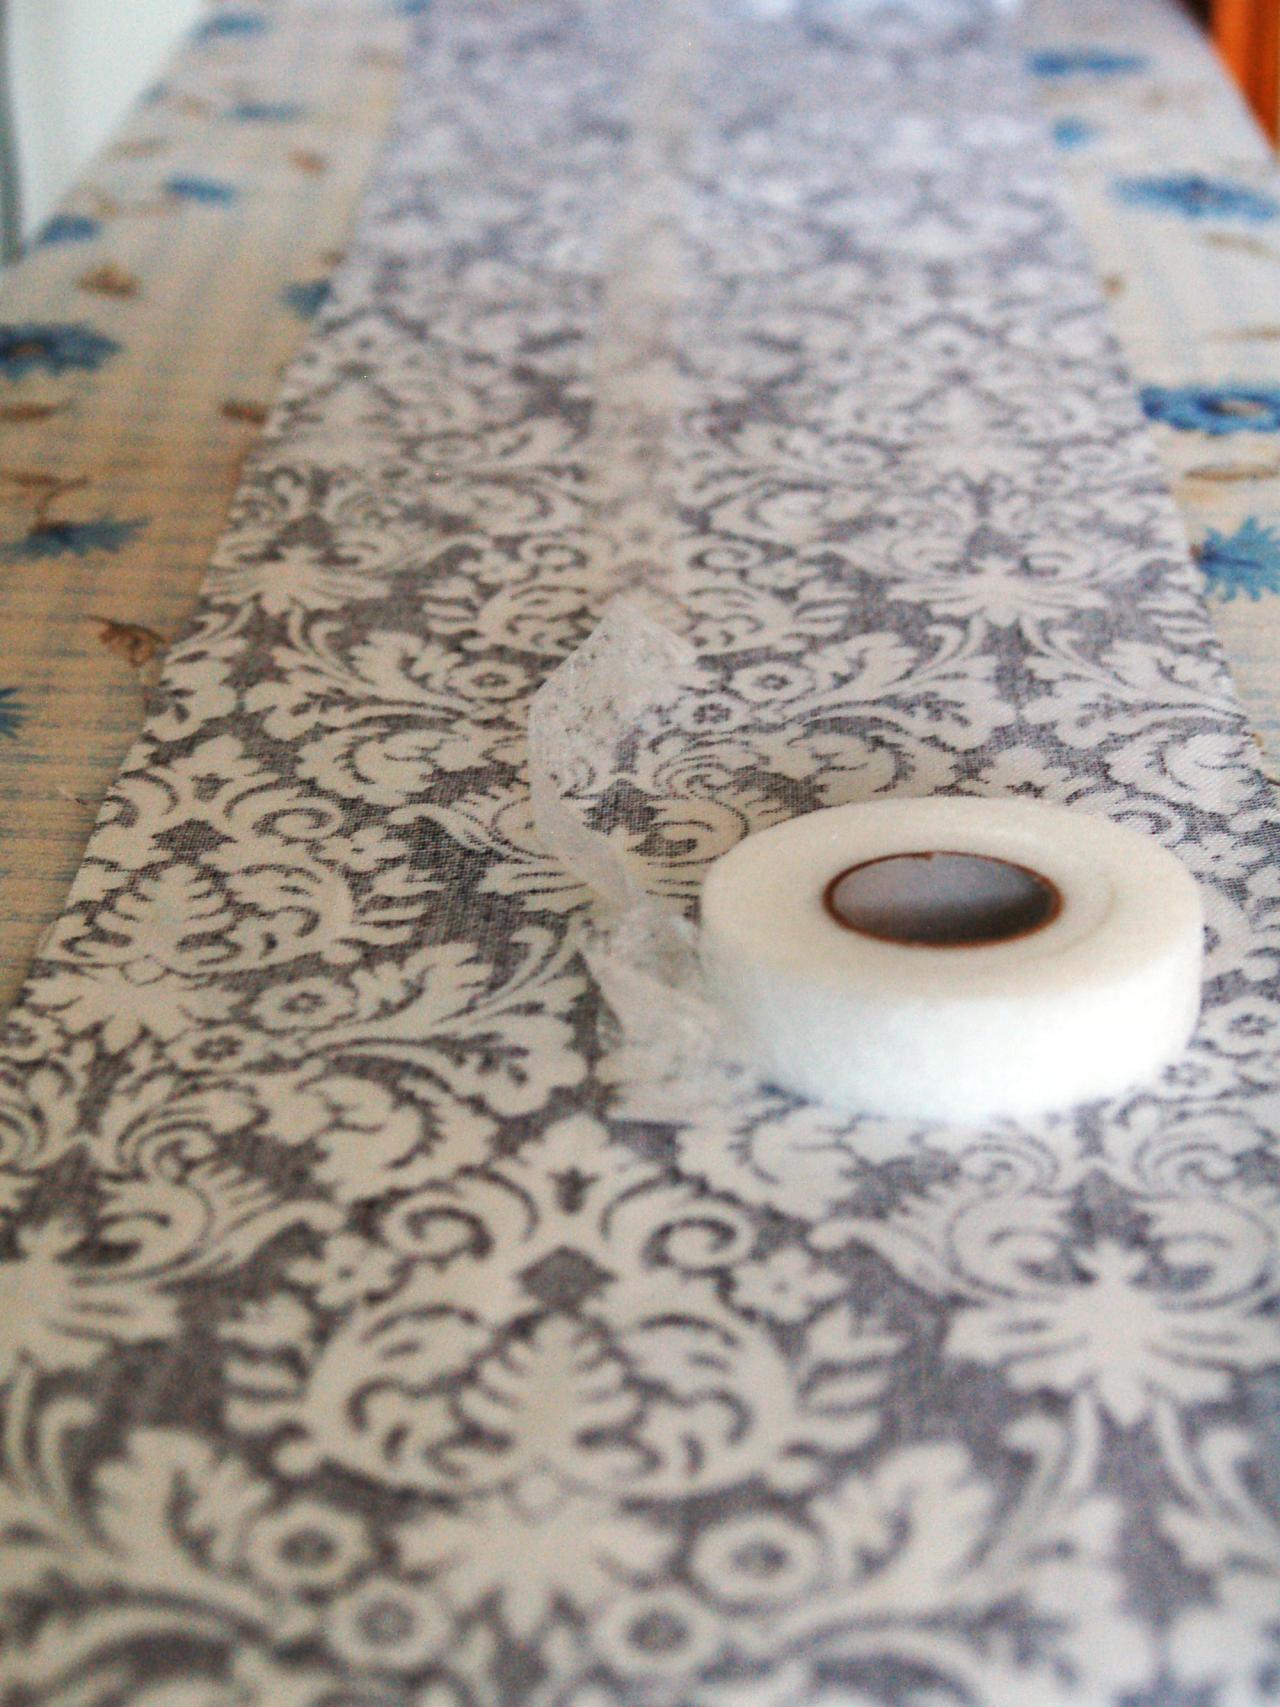
Make Header Band

Measure and cut a piece of fabric to sink width plus 1" seam allowance and 6-1/2 inches wide. Fold fabric in half lengthwise and press. Sandwich a piece of fusible webbing tape between the two layers and press again to activate adhesive.
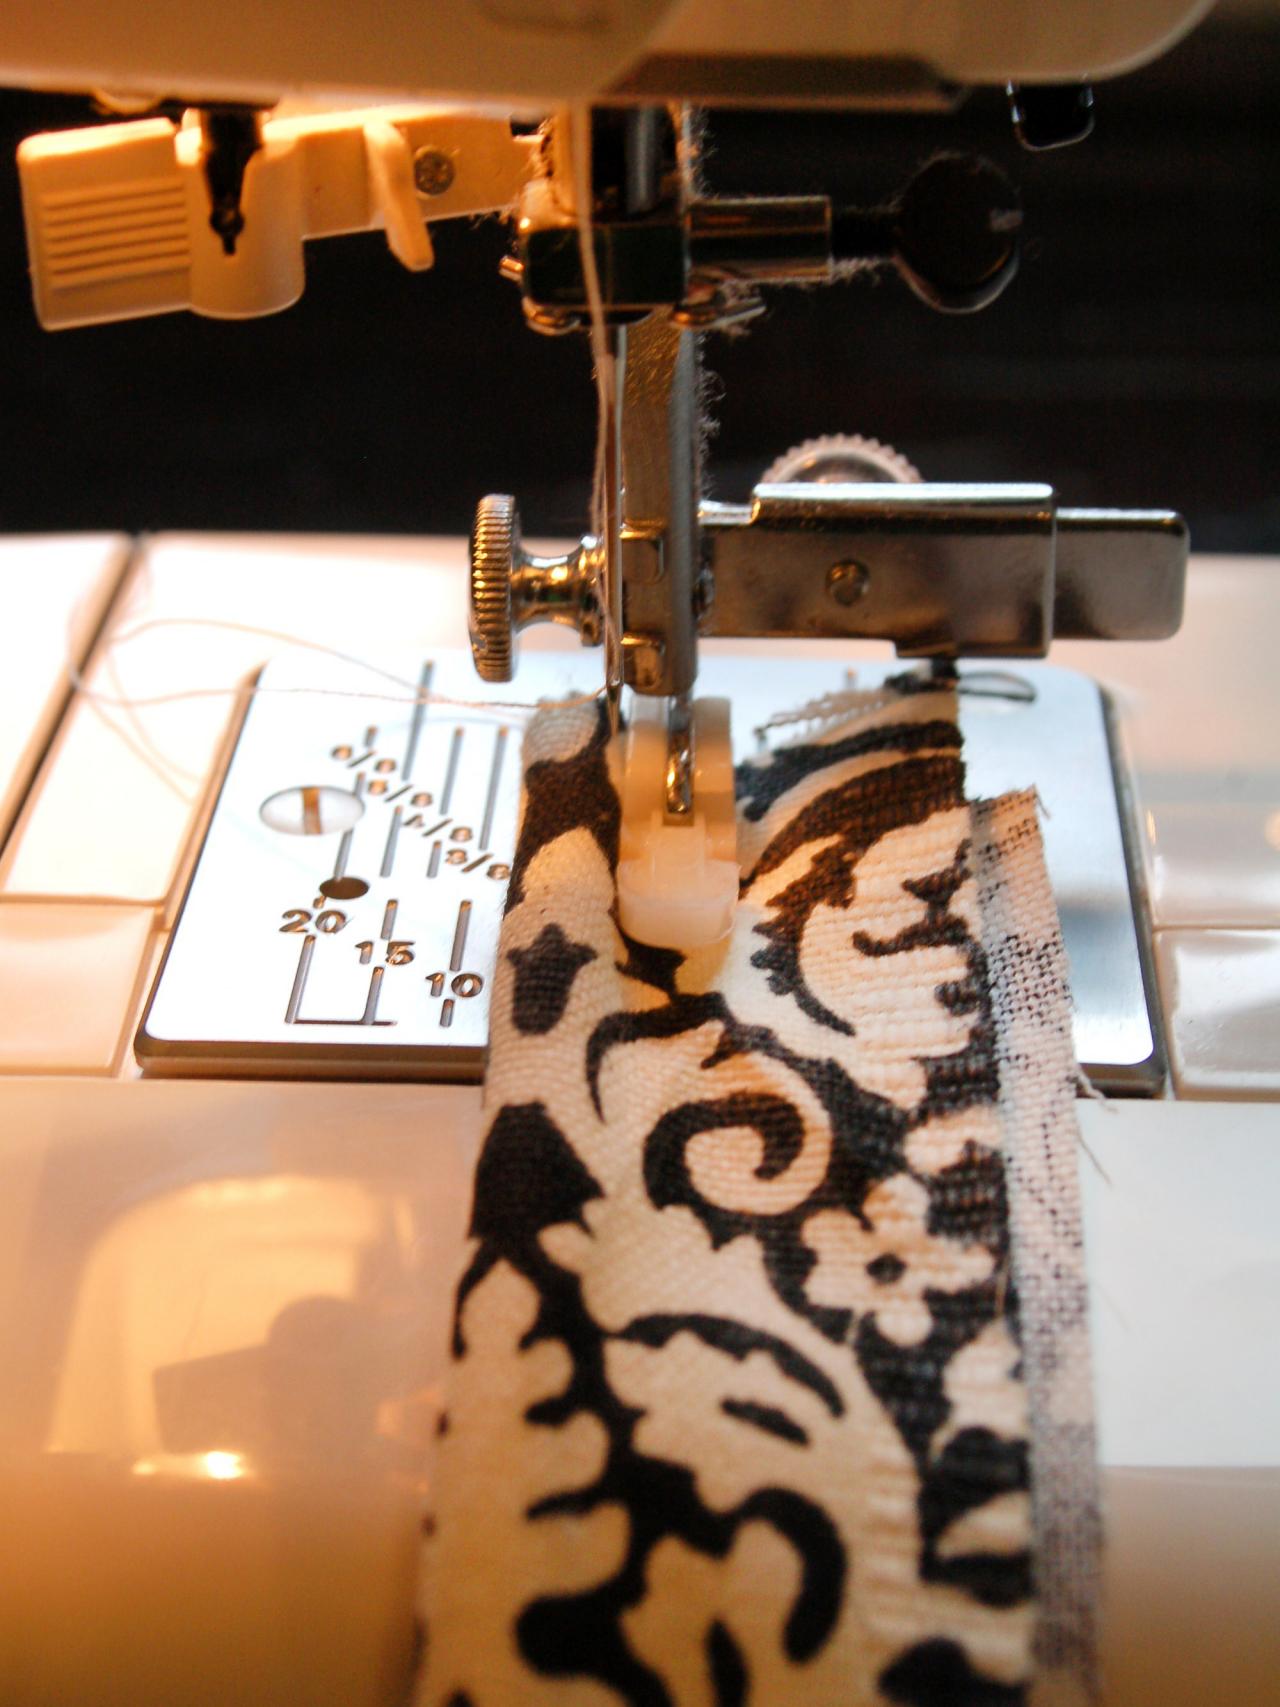
Sew Piping to Band

Position piping cord two inches below folded seam. Raw edges should face the same direction. Pin and sew into place.

Black & White Pattern Piping Pinned to Black & White Pattern Fabric

Pin and Sew Piping to Band

Position piping cord two inches below folded seam. Raw edges should face the same direction. Pin and sew into place.

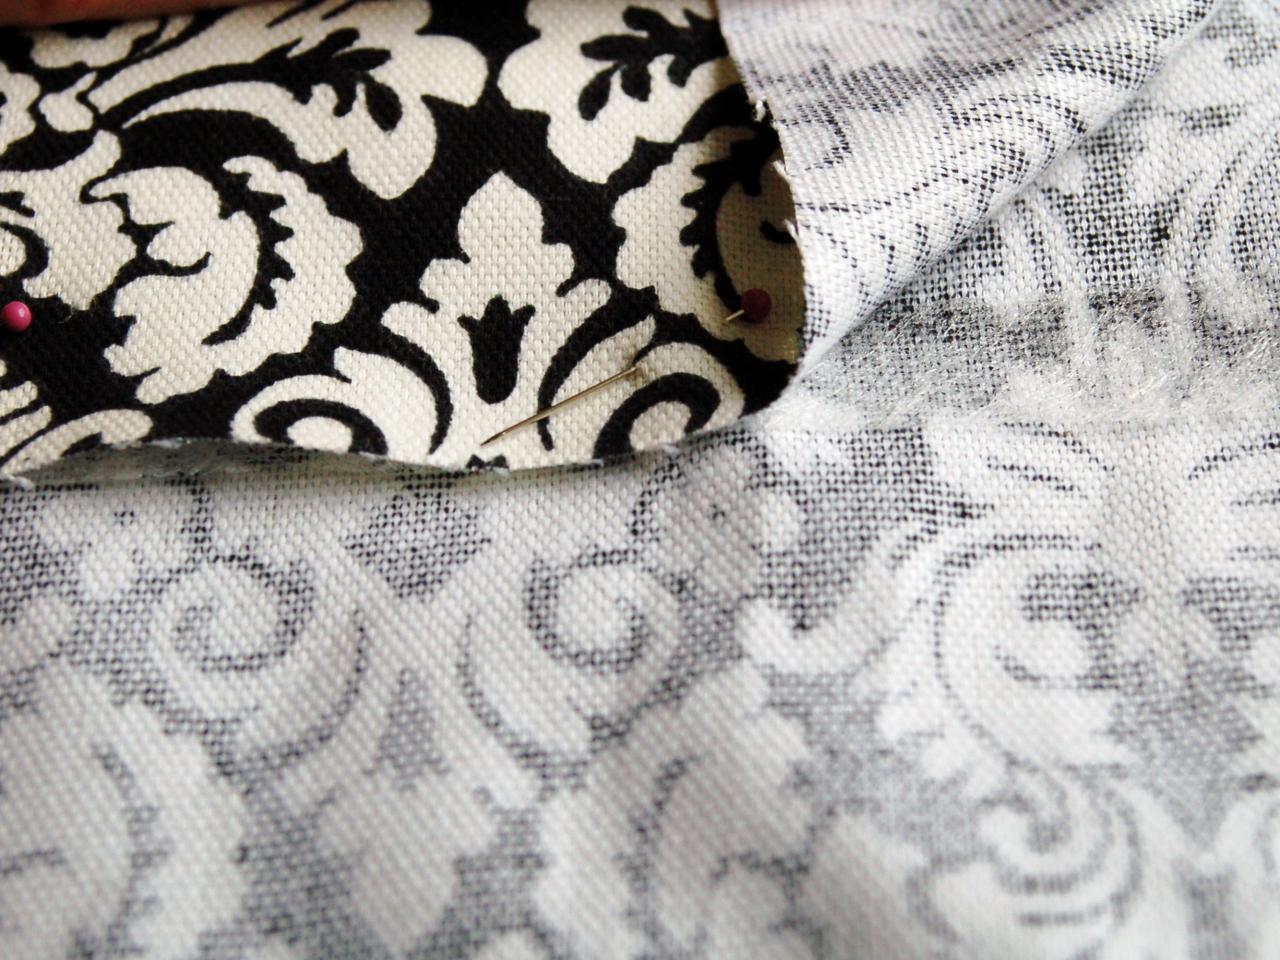
Gather and Sew Skirt

Position header band and skirt with right sides together and raw edges lined up. Pin right and left sides of skirt to band, just above piping. Pull skirt out to find the center and pin to band's center point. Gather and pin skirt from center point working out toward each side. Sew into place and remove pins. Trim excess seam allowance. Tip: For an even gather, divide skirt and header band into eighths and pin together at each eighth mark. Gather skirt between these marks.

Two Pieces of Black & White Fabric Pinned Together

Gather, Pin and Sew Skirt

Position header band and skirt with right sides together and raw edges lined up. Pin right and left sides of skirt to band, just above piping. Pull skirt out to find the center and pin to band's center point. Gather and pin skirt from center point working out toward each side. Sew into place and remove pins. Trim excess seam allowance. Tip: For an even gather, divide skirt and header band into eighths and pin together at each eighth mark. Gather skirt between these marks.

Hem and Press

Measure skirt length and double-check measurement against sink height. Fold skirt under at desired finished length, measuring to ensure an even hem. Pin into place. Insert fusible webbing tape under hem and iron to activate adhesive. Tip: Hem length is a personal preference. Have the hem just off the floor if a wet floor is common, just touching the floor for a traditional look or allow it to puddle for drama.

Pinned Black and White Damask Fabric

Pin and Hem Sink Skirt

Measure skirt length and double-check measurement against sink height. Fold skirt under at desired finished length, measuring to ensure an even hem. Pin into place. Insert fusible webbing tape under hem and iron to activate adhesive. Tip: Hem length is a personal preference. Have the hem just off the floor if a wet floor is common, just touching the floor for a traditional look or allow it to puddle for drama.

Sew Exposed Edges

For an exact fit, hold skirt to sink and place a pin to mark left and right hems. Fold fabric under to hide raw edges and pin. Sew into place. Tip: Fusible webbing tape can be used here, but it isn't strong enough to hold down the piping trim and band. Those sections need to be hand- or machine-stitched together.

Black and White Patterned Fabric Edges Folded Over and Sewn

Sew Exposed Edges

For an exact fit, hold skirt to sink and place a pin to mark left and right hems. Fold fabric under to hide raw edges and pin. Sew into place. Tip: Fusible webbing tape can be used here, but it isn't strong enough to hold down the piping trim and band. Those sections need to be hand- or machine-stitched together.

Apply Hook and Loop Tape

Remove paper to expose adhesive back on loop tape. Apply to clean, dry sink just under the lip. Cut excess. In the same manner, apply hook tape to inside top of skirt band. Adhesive tape isn't intended for fabric use, so apply hot glue to ensure proper adhesion. (Follow manufacturer's instructions for adhesive dry time before applying skirt to sink.) Tip: Moisture and humidity may cause adhesive to relax over time. Add a bead of hot glue or super glue to reattach.

Hot Glue Gun Attaching Hook and Loop Tape to Black & White Fabric

Hot Glue Hook and Loop Tape to Fabric

Remove paper to expose adhesive back on loop tape. Apply to clean, dry sink just under the lip. Cut excess. In the same manner, apply hook tape to inside top of skirt band. Adhesive tape isn't intended for fabric use, so apply hot glue to ensure proper adhesion. (Follow manufacturer's instructions for adhesive dry time before applying skirt to sink.) Tip: Moisture and humidity may cause adhesive to relax over time. Add a bead of hot glue or super glue to reattach.

Next Up

How to Turn a Cabinet Into a Bathroom Vanity

Turn a flea market cabinet into a stylish bathroom vanity with antique charm.

Modern Bathroom Vanity Update

Give an old vanity a fast makeover with fresh paint and repurposed door knockers.

Update a Vanity With Wallpaper

Give an old bathroom vanity a fresh new look with vinyl wallpaper.

Update a Bathtub Surround Using Beadboard

Use beadboard and trim to give a contractor-grade bathtub a designer update.

How to Swap Out a Bathroom Faucet

A budget-friendly way to customize your bathroom is by replacing a builder-grade or dated faucet with a shiny, new model that's better suited to your taste. This plumbing project may seem intimidating, but it's actually an easy DIY project that can be done, in most cases, in less than an hour.

Embellished Bath Towels

Customize and liven up the look of ordinary bath towels with the addition of colorful bands of ribbon.

How to Frame a Mirror

Transform the look of a bathroom by installing decorative trim around a plain plate-glass mirror.

Cottage Bathroom Storage Cabinet

Create stylish storage for your bathroom: This build-it-yourself shelving unit is a perfect way to make unused wall space functional.

Replace Recessed Light With a Pendant Fixture

Add instant style to a room by replacing a recessed light fixture with a stunning pendant fixture.

Build a Storage Ladder

Create stylish, freestanding storage for your bathroom with this simple project.

More from:

Fast Fix: Bathrooms

Go Shopping

Get product recommendations from HGTV editors, plus can’t-miss sales and deals.

Follow Us Everywhere

Join the party! Don't miss HGTV in your favorite social media feeds.