


Make a Modern Paper Wreath

Liz Gray, © 2013 HGTV/Scripps Networks, LLC. All Rights Reserved

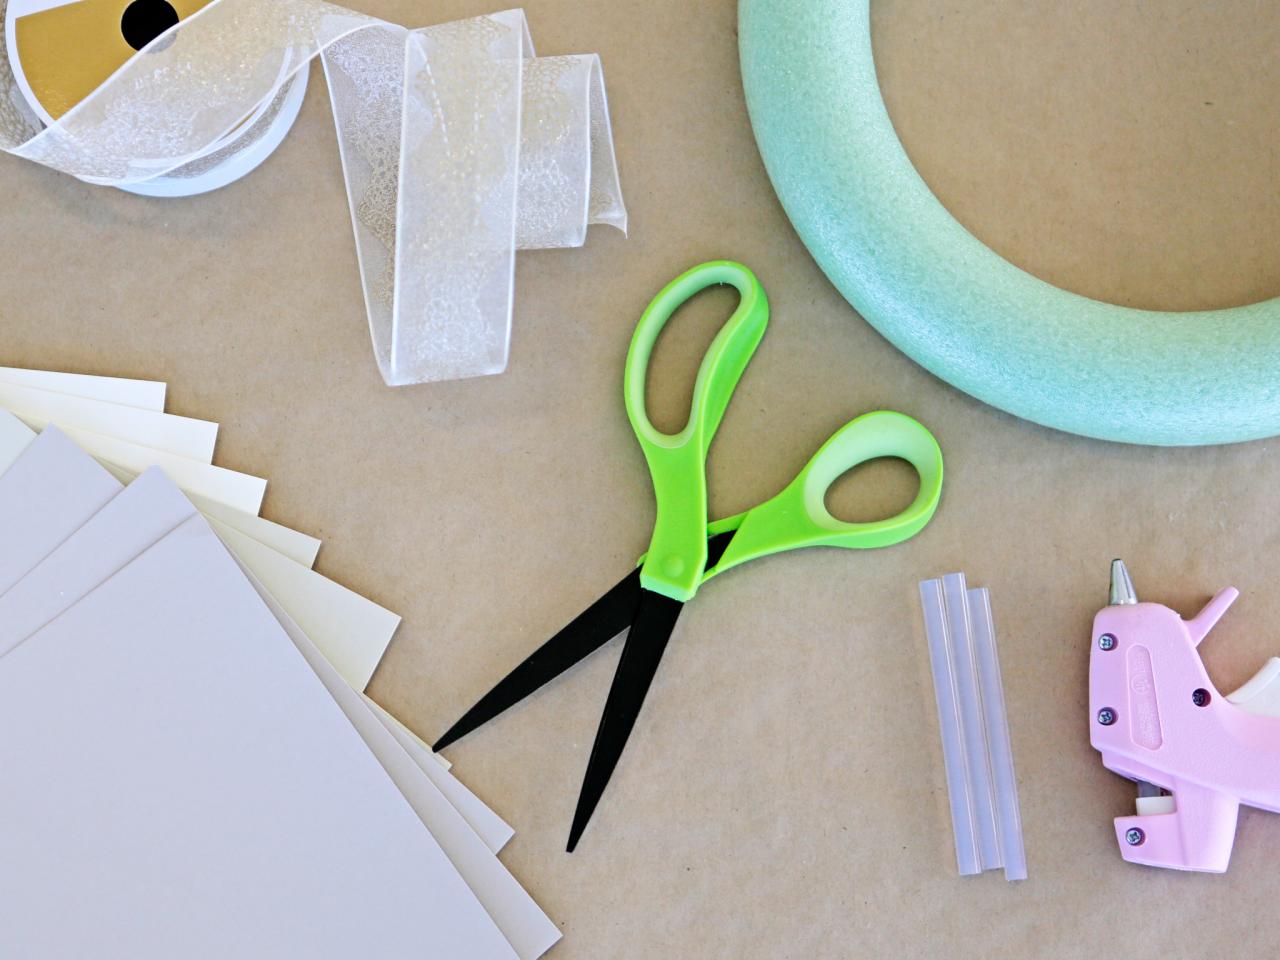
Materials Needed:
- 12" foam wreath form
- card stock (we used about 10 pieces of letter-size card stock)
- scissors
- low-temperature glue gun + glue sticks
- ribbon
- bone folder (optional)

Kayla Kitts, © 2014 HGTV/Scripps Networks, LLC. All Rights Reserved
Instructions:
Step 1: Choose Your Color Palette
First, choose a color palette. Go monochromatic with one color, or choose varying shades of the same hue for an ombre look.
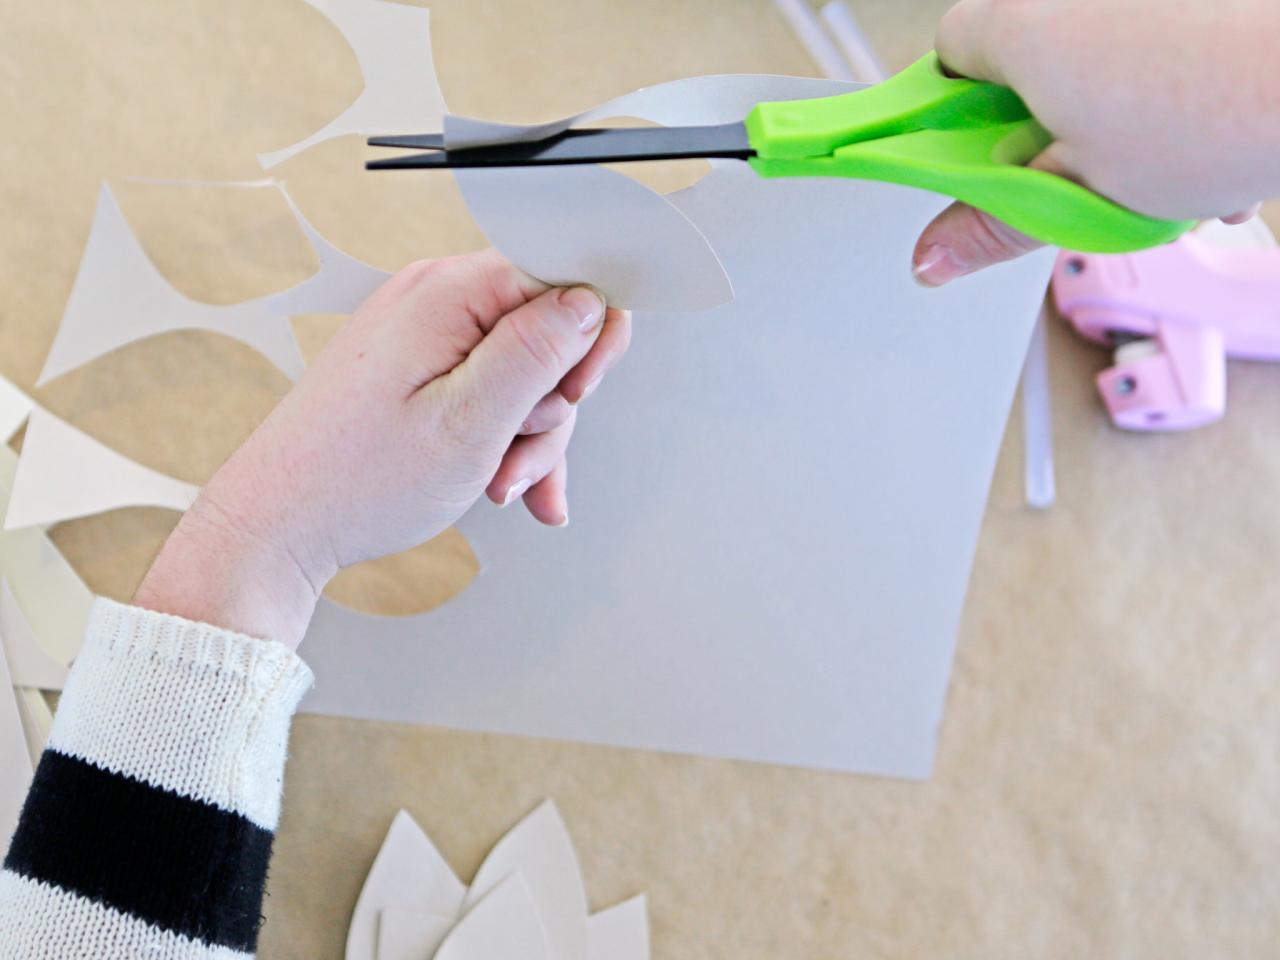
Step 2: Cut Out Leaves
Plan to cut out about four rows of leaves per sheet of card stock and four to five leaves per row. You can visually divide the paper, or measure out four equal rows and mark with a pencil. Don't worry too much about making each leaf the same exact size and shape -- a bit of irregularity will make it look more natural. For an ombre look, cut about the same number of leaves for each color.

Kayla Kitts, © 2014 HGTV/Scripps Networks, LLC. All Rights Reserved
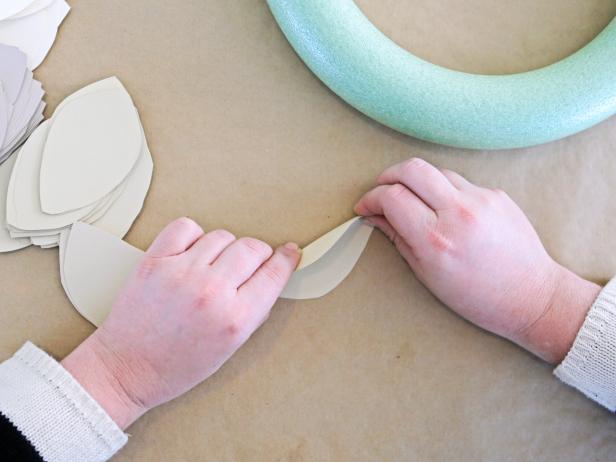
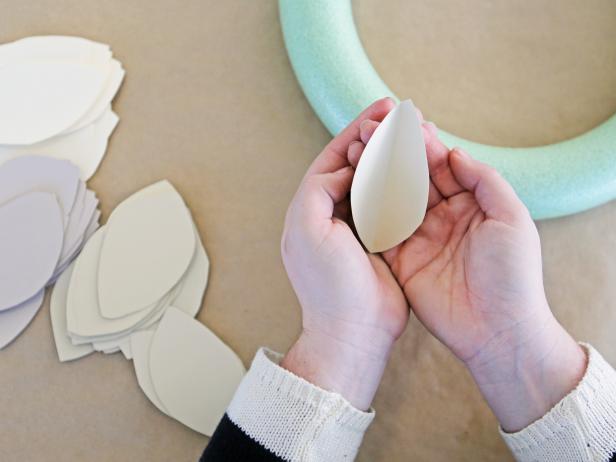
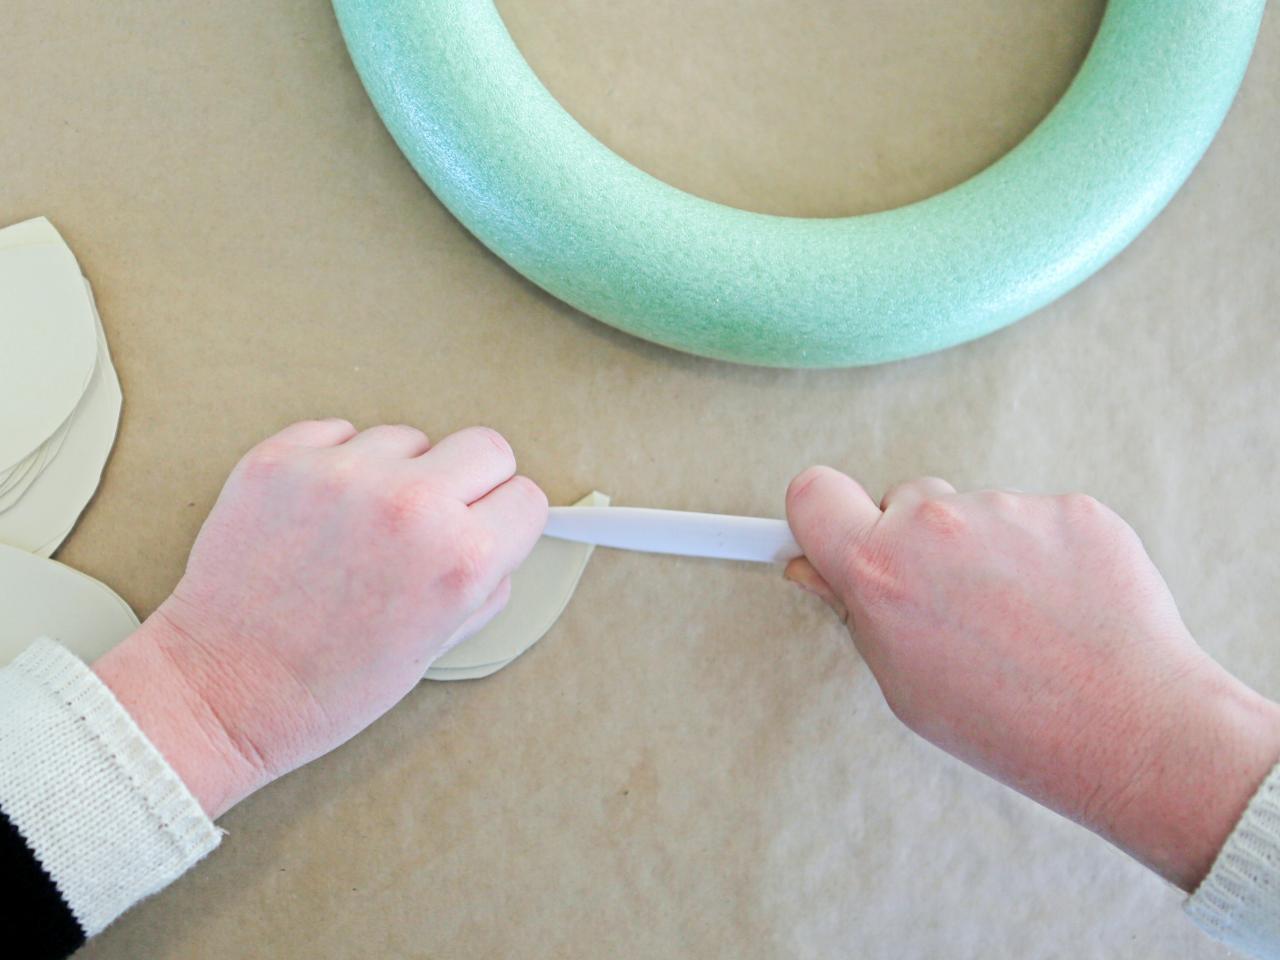
Step 3: Fold Leaves
Fold each leaf in half lengthwise, using the bone folder or scissors to create a crisp crease. This will add dimension to the finished wreath.
Kayla Kitts, © 2014 HGTV/Scripps Networks, LLC. All Rights Reserved

Kayla Kitts, © 2014 HGTV/Scripps Networks, LLC. All Rights Reserved
Kayla Kitts, © 2014 HGTV/Scripps Networks, LLC. All Rights Reserved
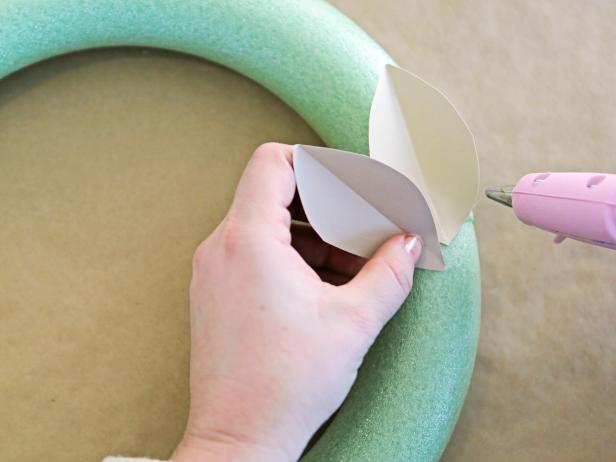
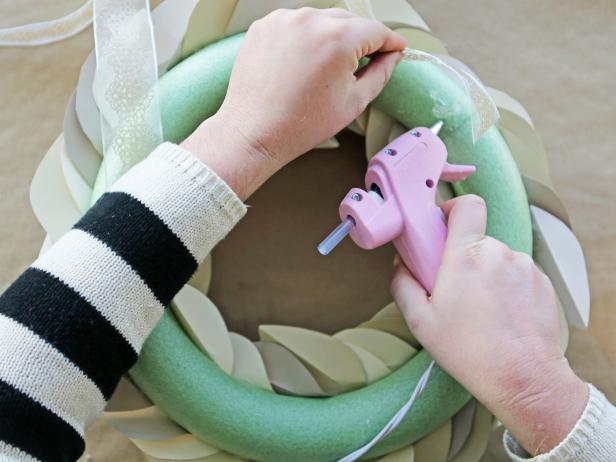
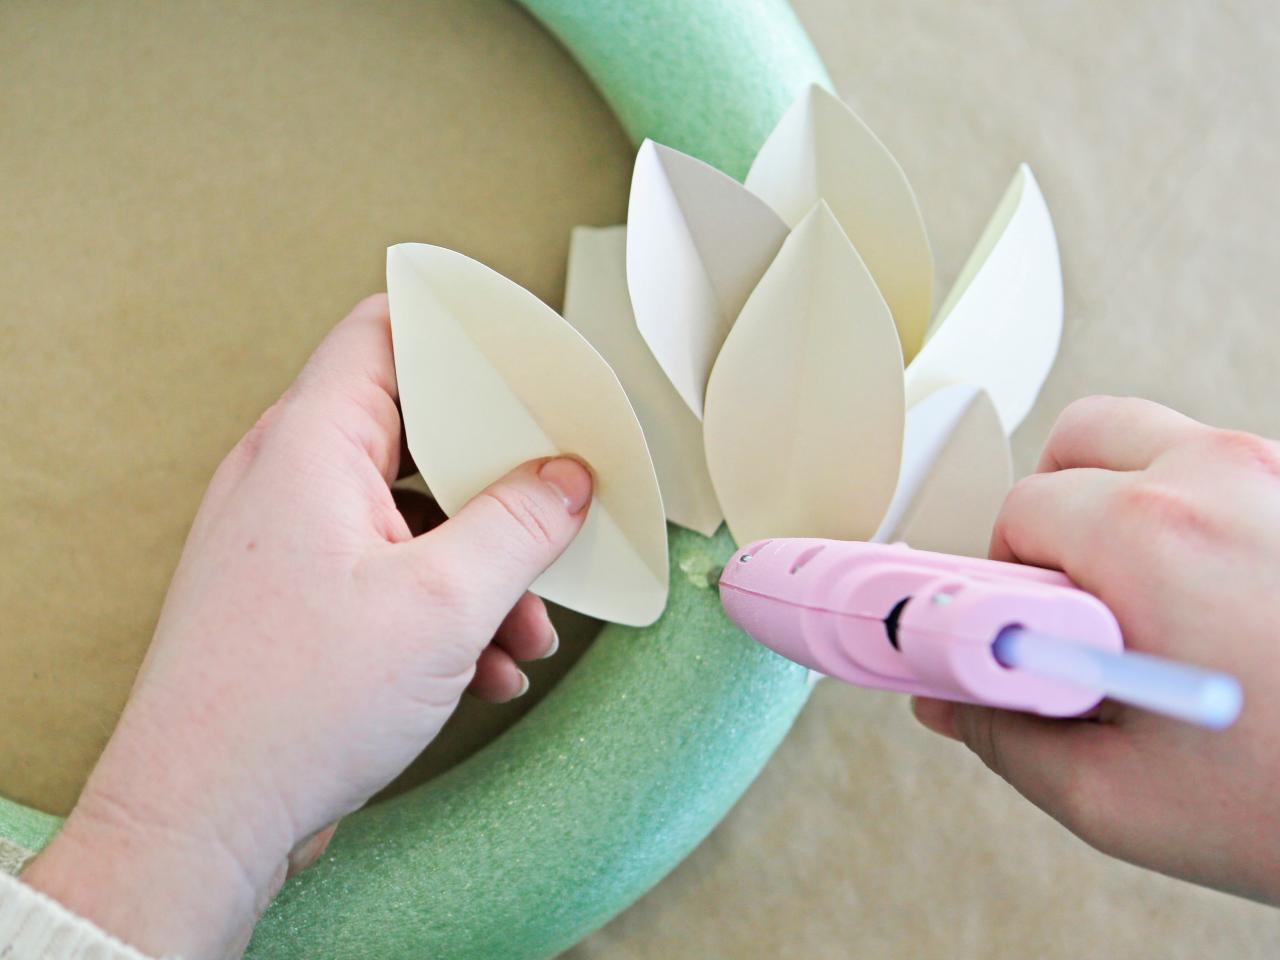
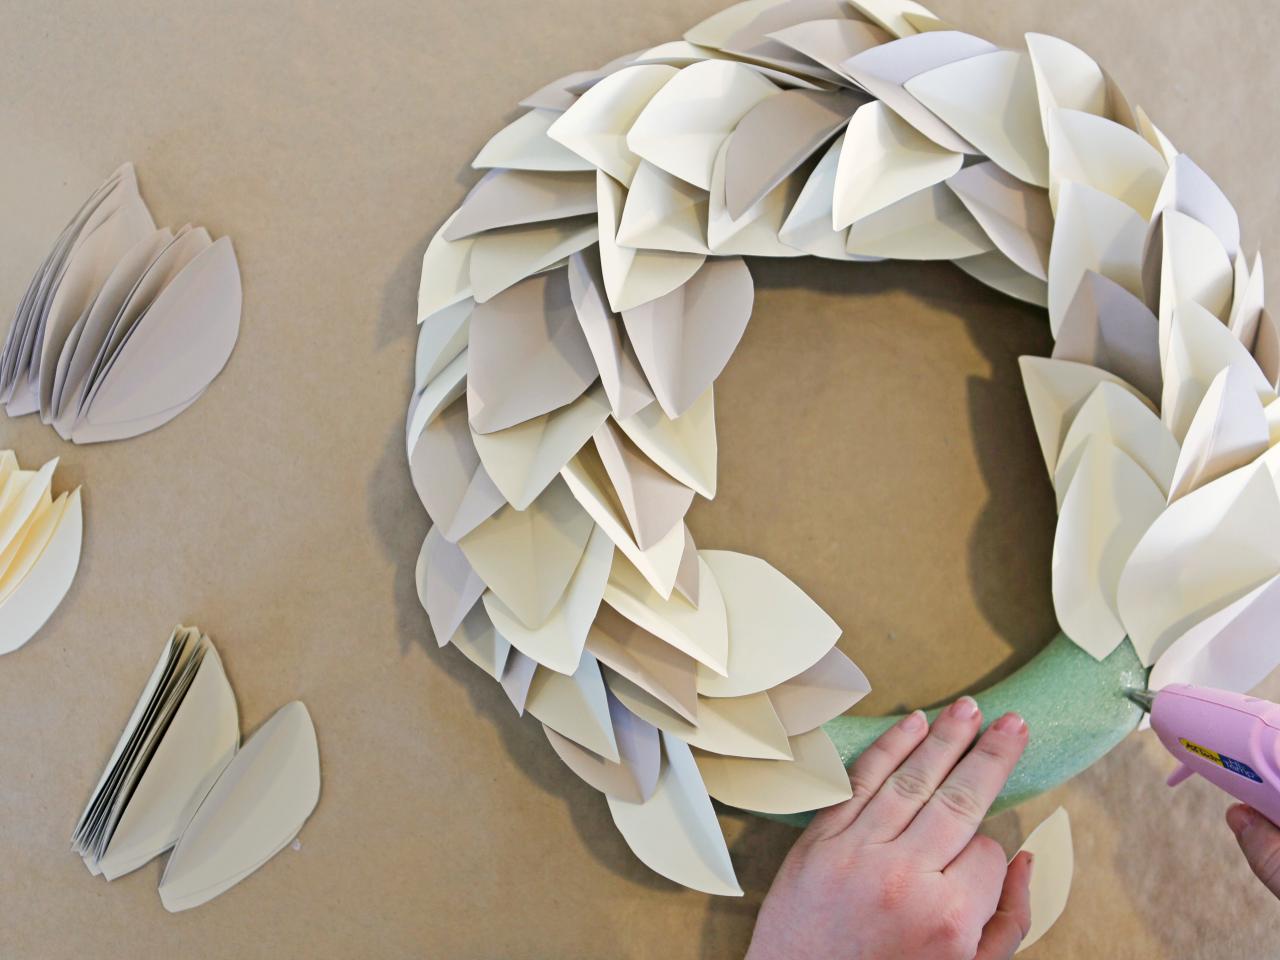
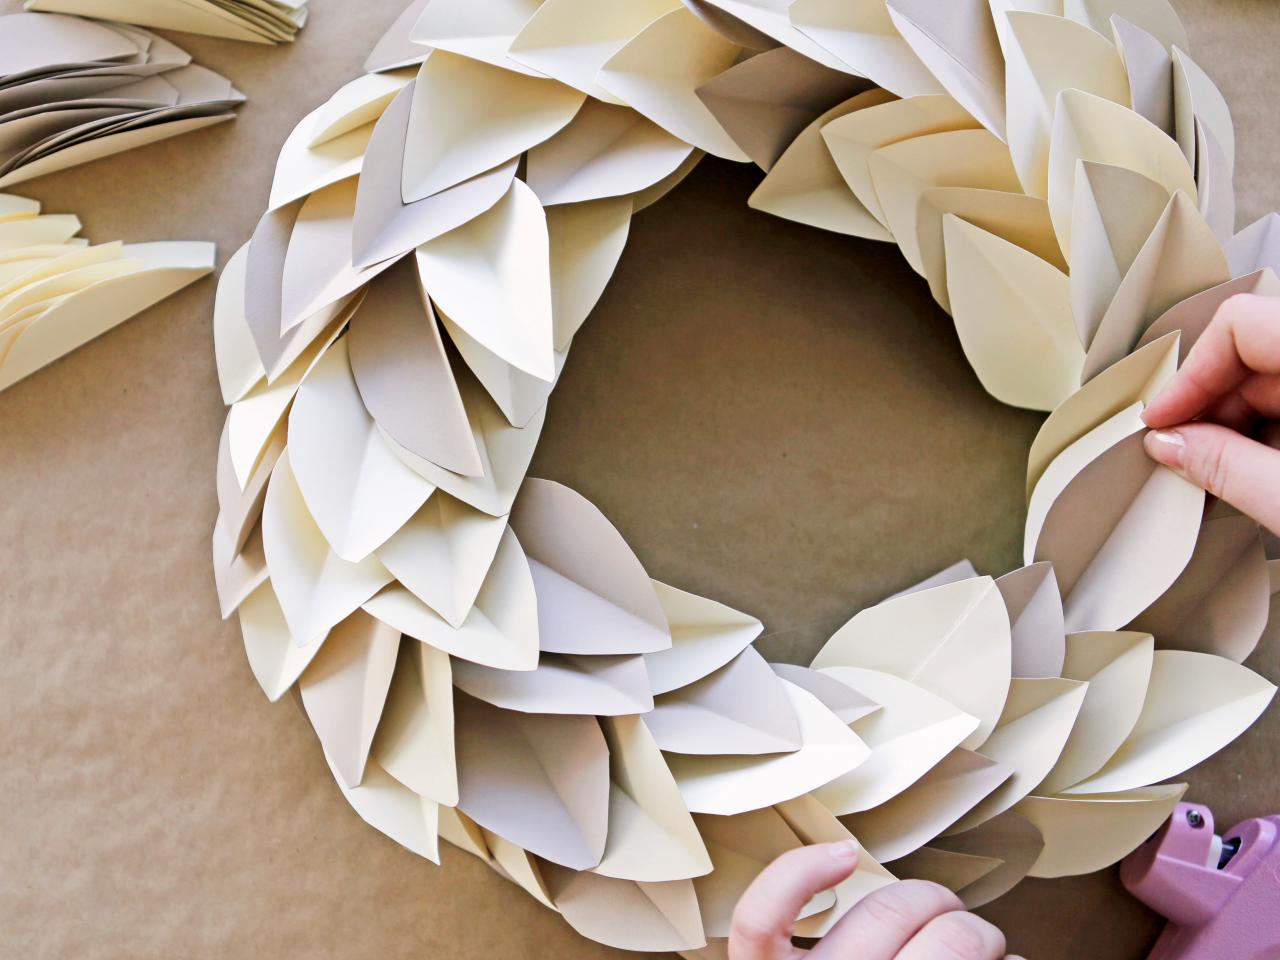
Step 4: Assemble Wreath
With the hot glue gun, attach one end of the leaves to the wreath form to create the first row. Wrap the leaves to completely cover the top and sides, fanning them out from the center and alternating leaf colors. Start a second row that slightly overlaps the base of the first. Continue around the wreath until the two ends of leaves meet.
Kayla Kitts, © 2014 HGTV/Scripps Networks, LLC. All Rights Reserved

Kayla Kitts, © 2014 HGTV/Scripps Networks, LLC. All Rights Reserved

Kayla Kitts, © 2014 HGTV/Scripps Networks, LLC. All Rights Reserved

Kayla Kitts, © 2014 HGTV/Scripps Networks, LLC. All Rights Reserved
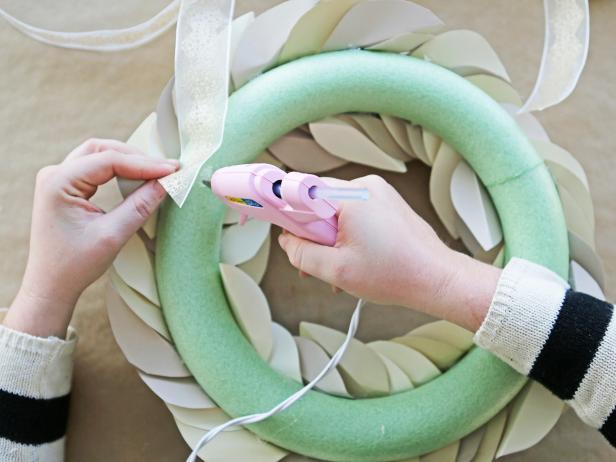
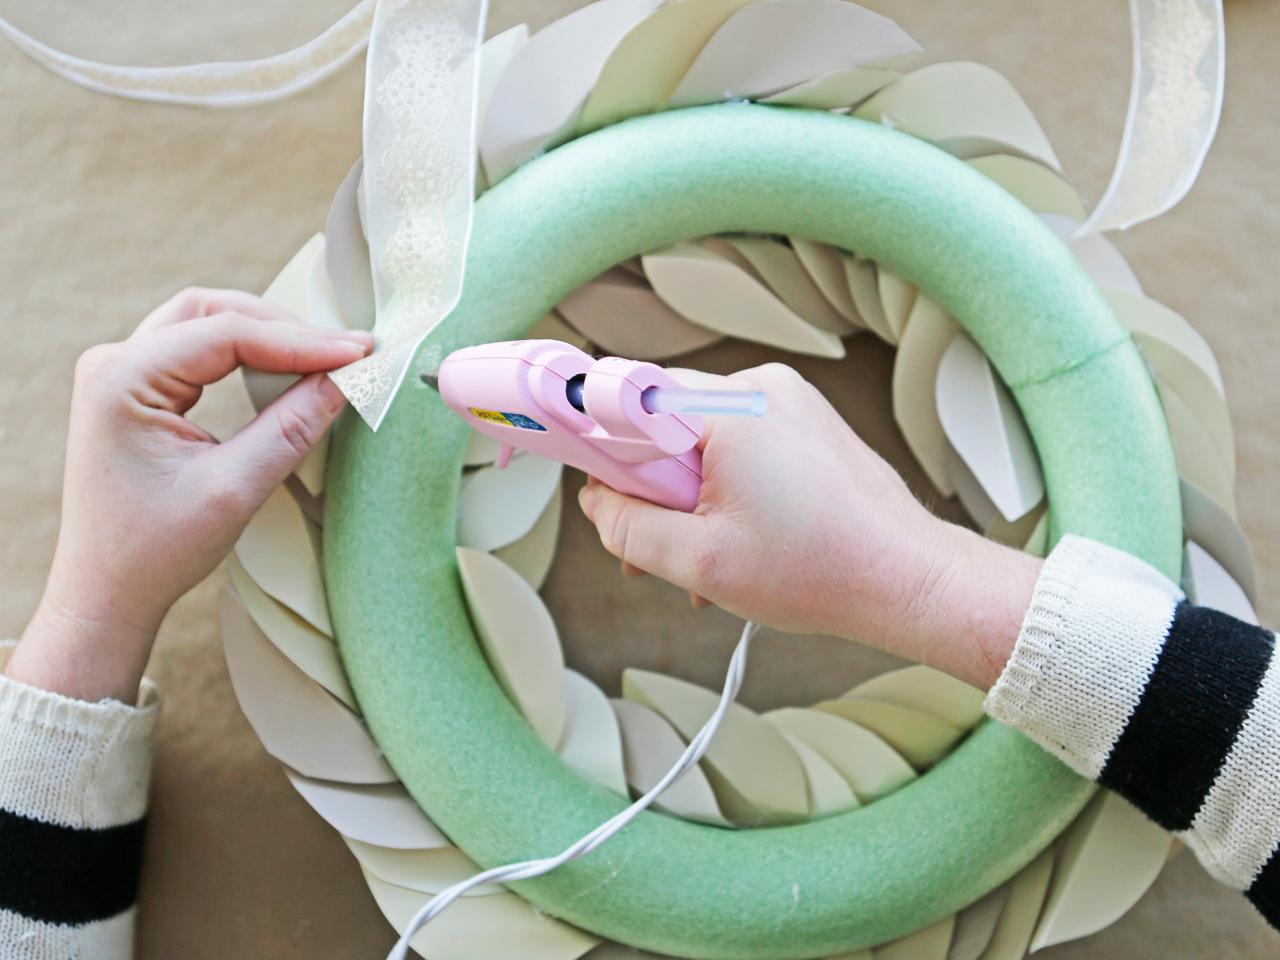
Step 5: Add Ribbon
Cut two lengths of ribbon and attach to the back of the wreath with hot glue.

Kayla Kitts, © 2014 HGTV/Scripps Networks, LLC. All Rights Reserved
Kayla Kitts, © 2014 HGTV/Scripps Networks, LLC. All Rights Reserved
Kayla Kitts, © 2014 HGTV/Scripps Networks, LLC. All Rights Reserved
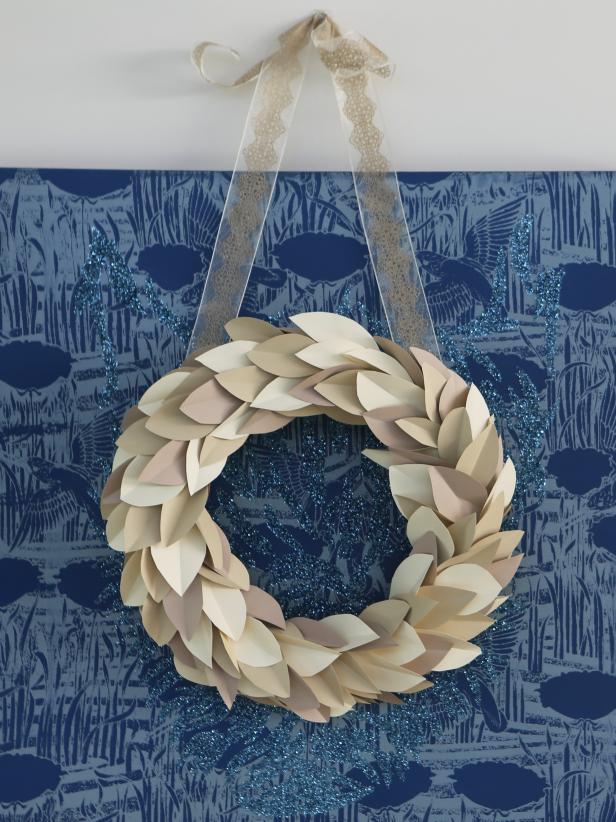
Step 6: Hang Your Wreath
Tie the ends of ribbon together and hang your wreath indoors all winter long. Instead of simply hanging your wreath on an interior door, try layering this modern beauty on a bold work of art to make both pieces stand out. Learn More >>
Liz Gray, © 2013 HGTV/Scripps Networks, LLC. All Rights Reserved

Liz Gray, © 2014 HGTV/Scripps Networks, LLC. All Rights Reserved


