


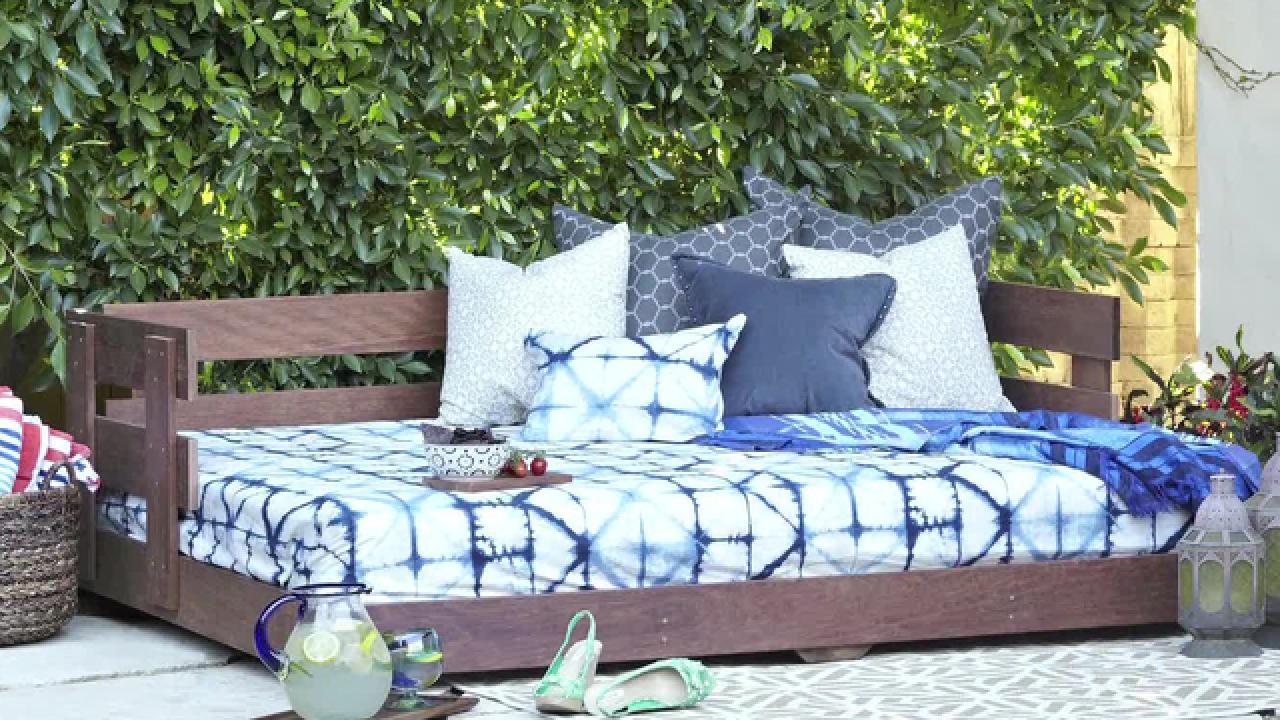
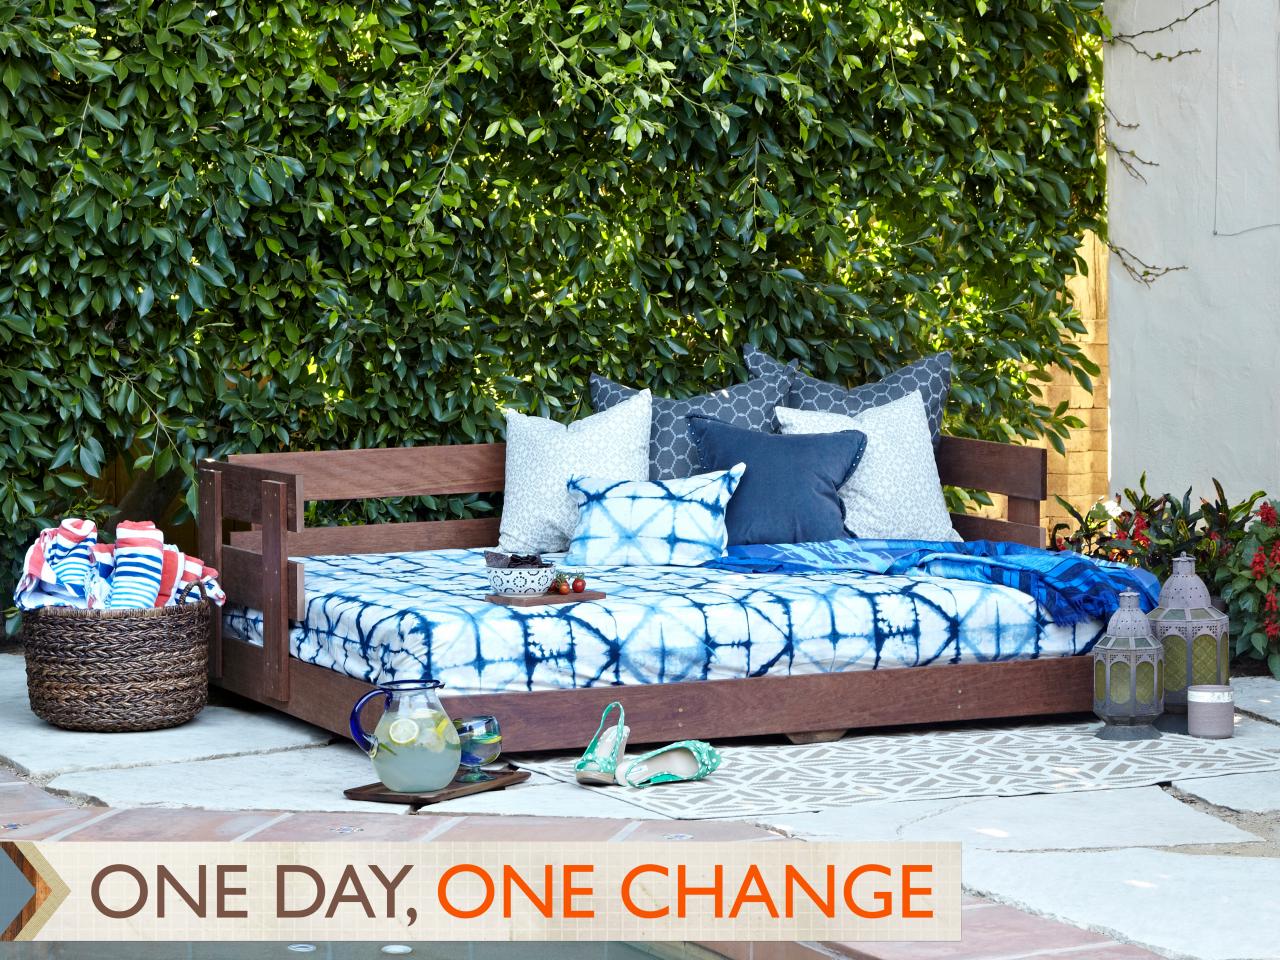
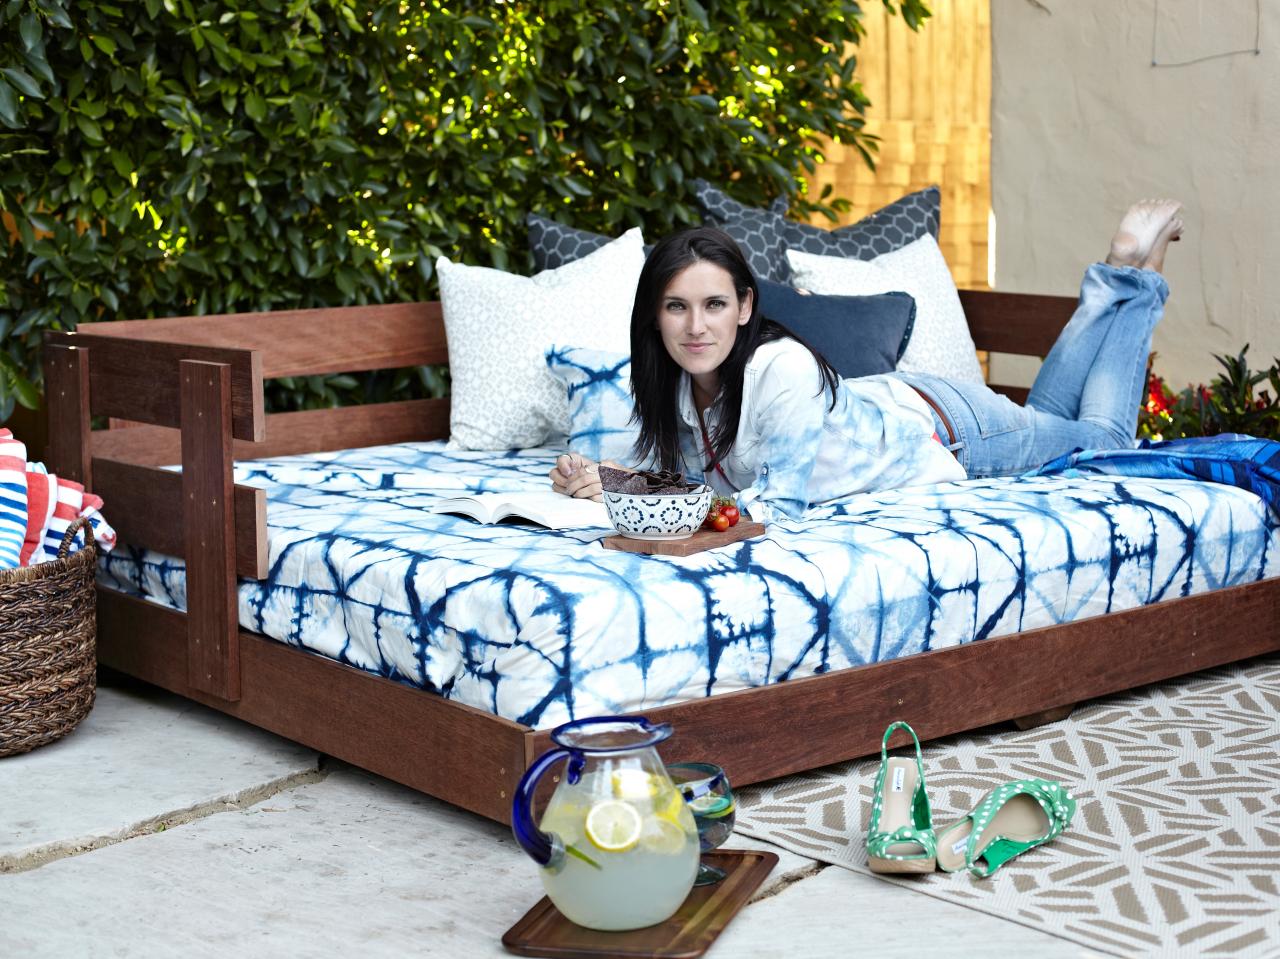
Create a Lounge-Worthy Daybed
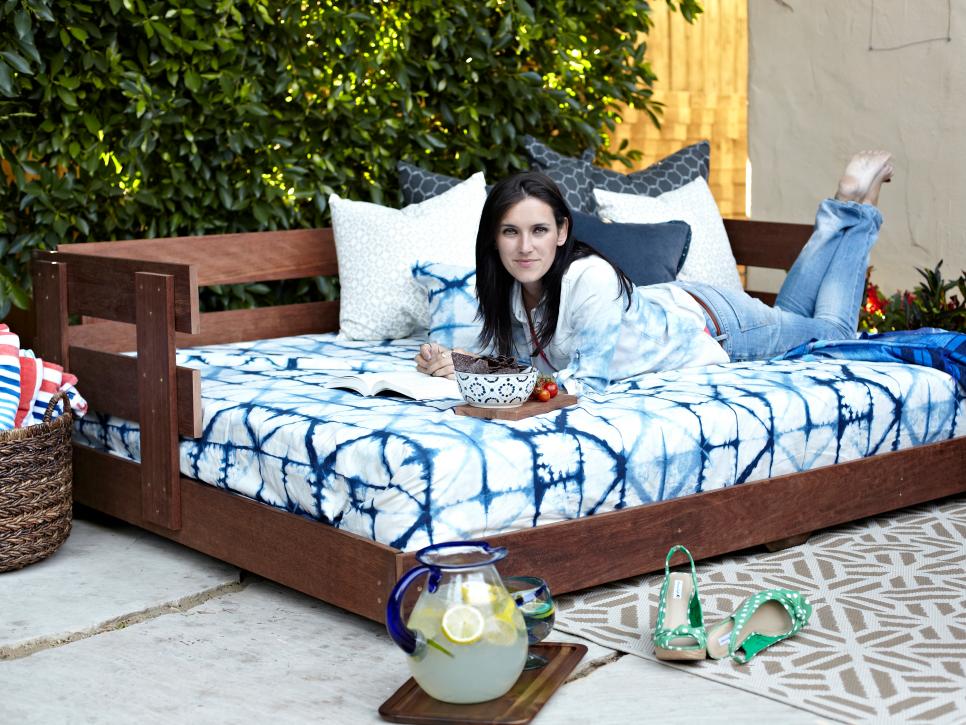
Enjoy every inch of your outdoor space with a custom built outdoor daybed.

An outdoor daybed is a great place to curl up with a book and a glass of tea, or to take a nap. Whether you want to spread out in an open backyard space or tuck away in an empty corner on your deck, the outdoors can provide the perfect setting to gather your thoughts and chill in the breeze. In eight hours and with $325 we created the perfect outdoor spot for lounging.
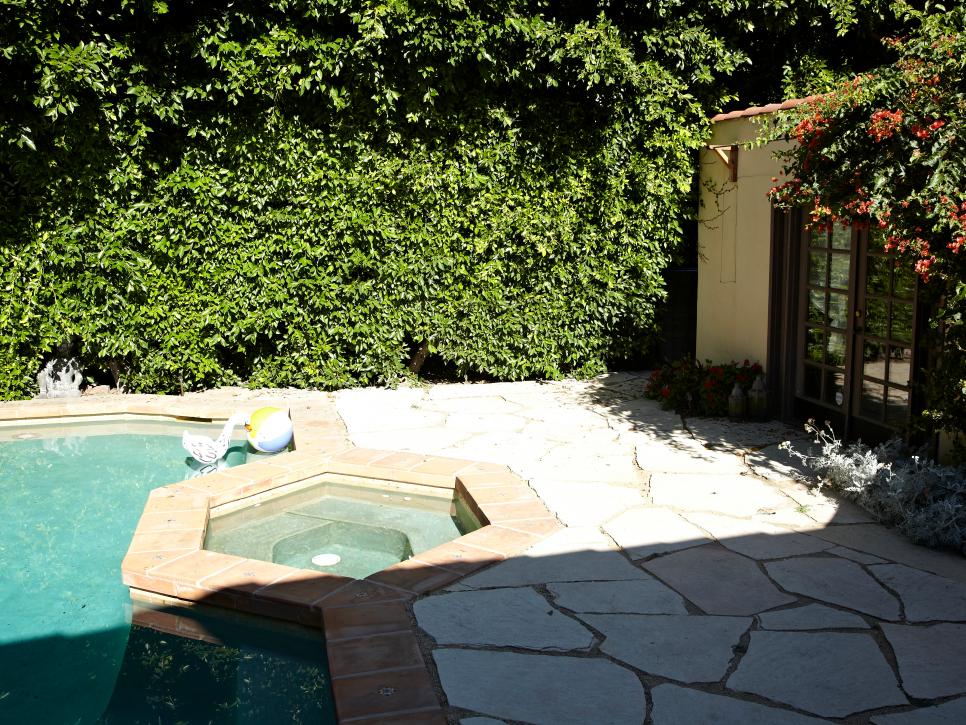
Get Started: Pick a Location, Measure and Cut
Got a corner of unused space on your deck or a nice sunny corner of the backyard? We built a daybed to accommodate a queen-sized mattress, but you can adapt the measurements of this project to correspond with mattresses of all sizes.
Save time and energy by having the wood pre-cut when you by buy it.

Cut 2x3" boards. A standard queen size bed is 60" x 80". Allowing for an extra inch on all sides for bedding, the outside frame for this project is made up of 2x3" boards that are 62" and 82". A third 82" 2x3" board installed down the long center will add more support.
Cut sixteen 1x4" boards at 62" each, to create slatted support for the mattress, which will be installed 3" apart.
Cut 1x6" boards to form the frame and the sides of the bed. Cut two boards at 62" long, and two boards at 83 ¼" long for the sides.
Use extra pieces from the 2x3" boards to make legs for your daybed. Longer pieces can be cut for the middle, mitered on each side. The shorter pieces can be cut to form the legs for each corner, with one straight edge and one mitered cut. These do not have to be any exact length, so use what's left over.

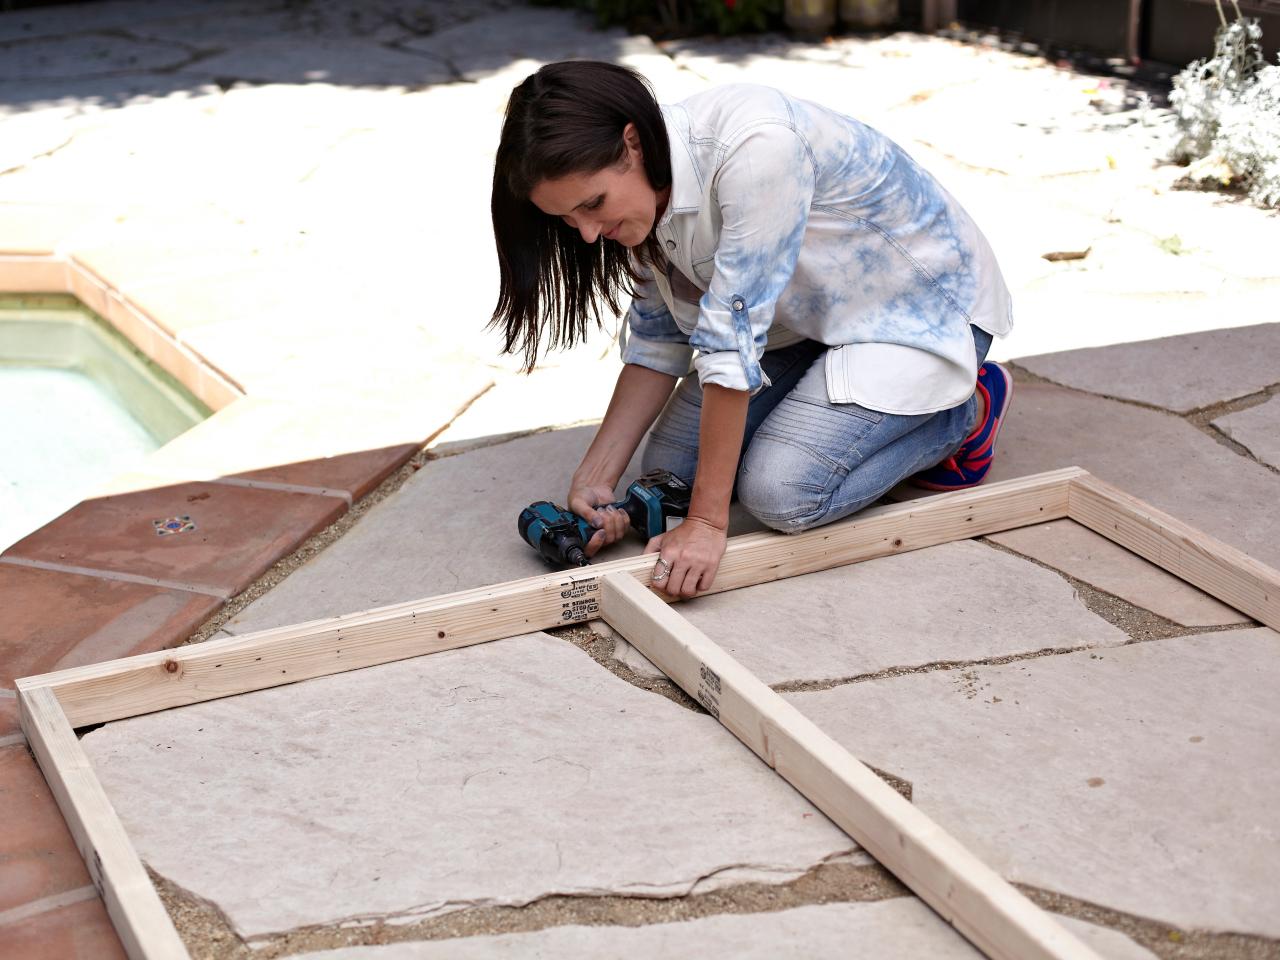
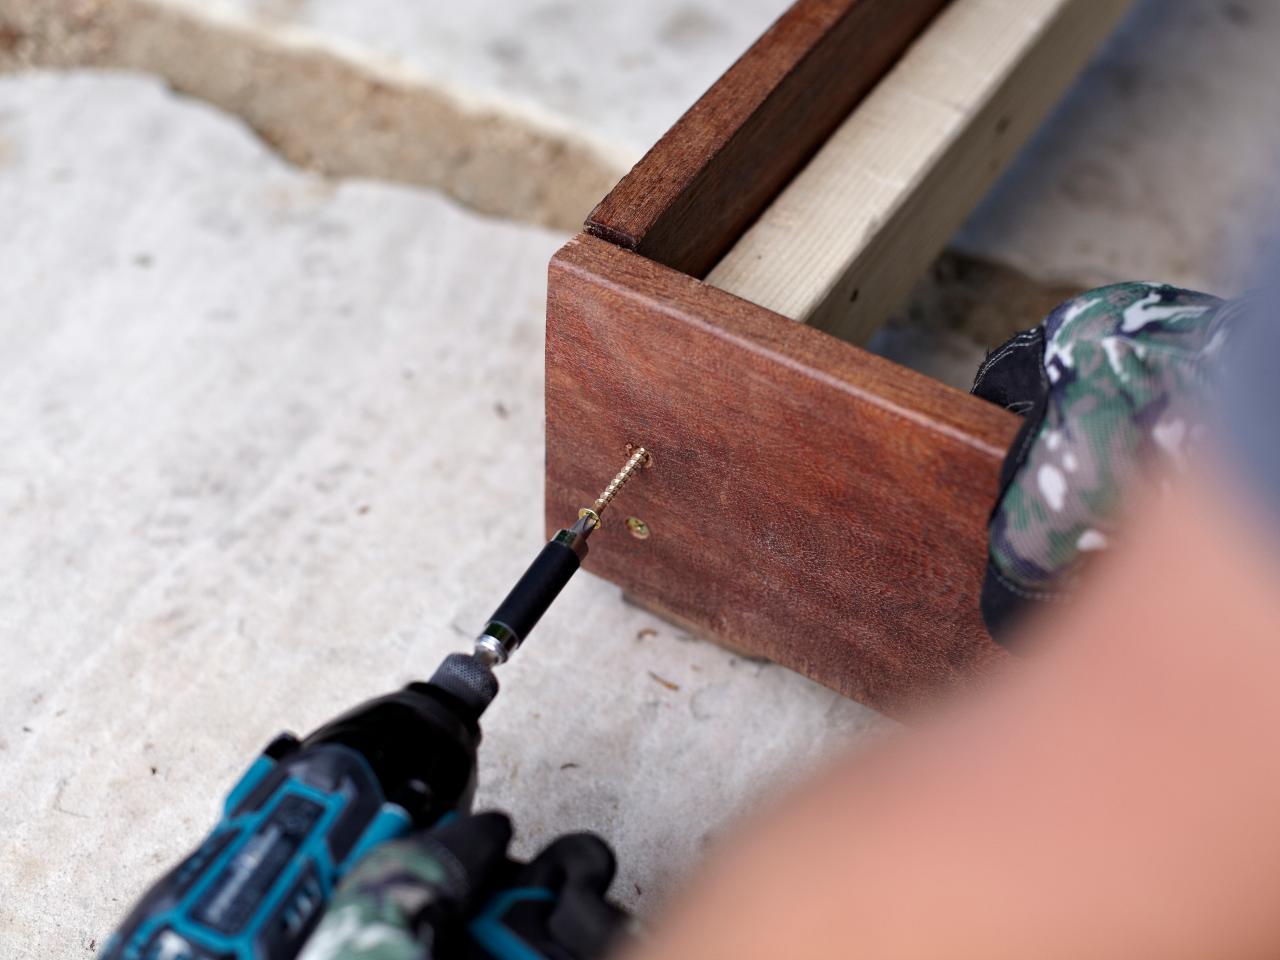
Build the Frame
Lay out two 82" boards, and place two 62" boards, one on either edge, to form a rectangle, with the 62" boards on the outside. Screw 62" boards into 82" boards with two screws at each corner.
Drop third 82" board in the center of the rectangle and install with two screws on each end. This will add additional support down the middle of our day bed.
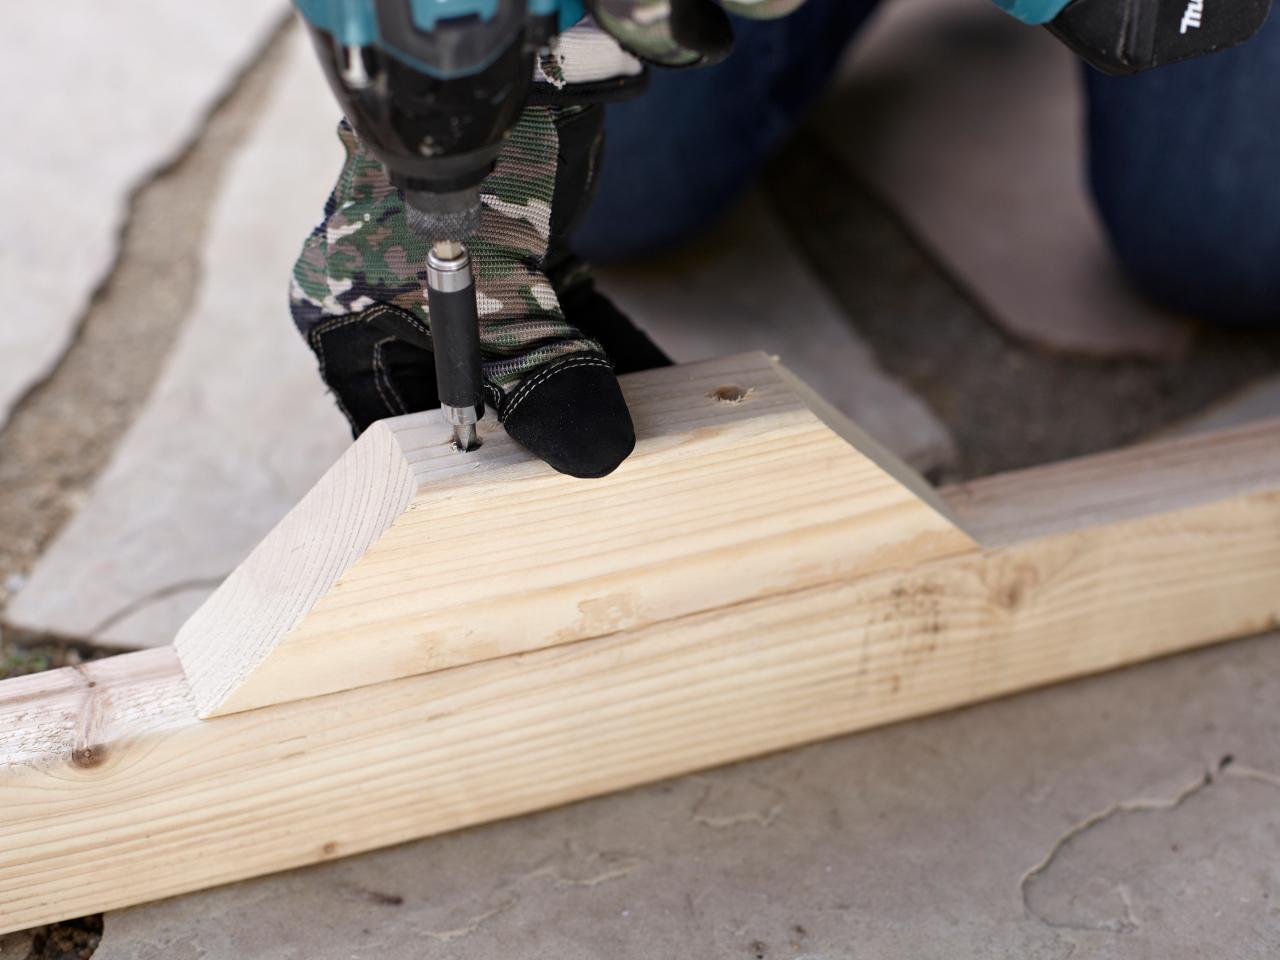
Attach legs to bottom of frame to raise daybed off the ground. Longer cuts with two diagonal angles support the middle of the frame.


One Day, One Change Projects
See All Photos


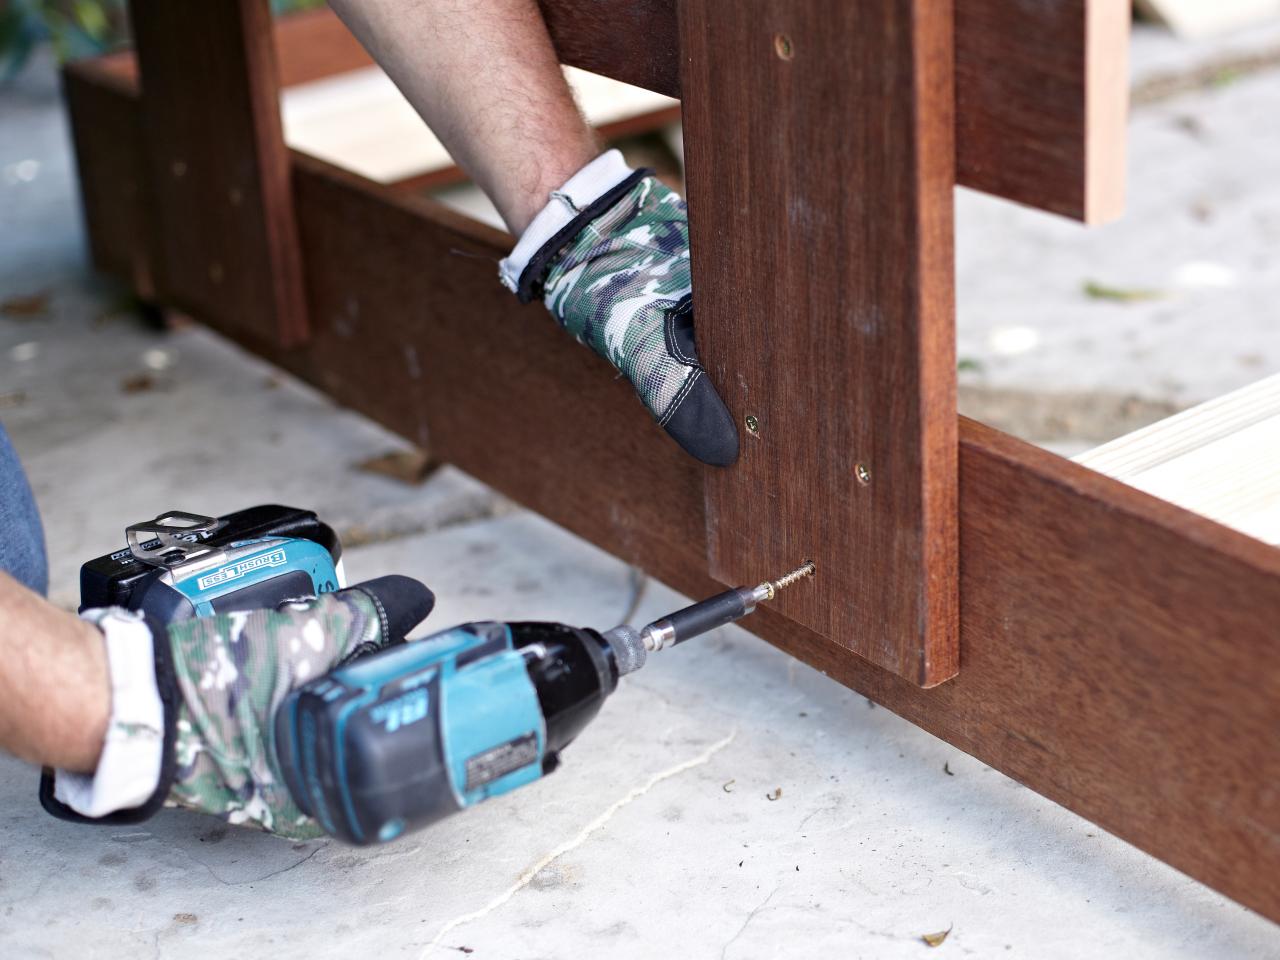
Attach 1x6" mahogany boards with screws to the outside of the 2x3" frame. Start with the 62" boards on the shorter sides, installing with two 1 1/4" screws on each corner. Then install 83 ¼" boards on the longer sides of the daybed frame.

Add the Arm and Back Rests
Construct daybed armrests with two vertical mahogany support pieces at 21" length, and two horizontal slats of mahogany at 31" each. For simple spacing, the upper horizontal slat should be installed two inches down from the top of the 21" boards. Allow for a three inch gap between the two 31" slats and install the second board. Attach them all together using glue and 1 1/4" screws, then attach to the outside of the daybed platform with same screws. Repeat these steps for other side.

To create the backrest, lay out two 74" boards horizontally with a three inch gap between them. To keep the backrest and the armrests aligned, the upper horizontal slat should be installed two inches down from the top of the 21" boards. Lay 21" boards on top of the horizontal pieces 5" in from each end and one directly in the center.
Attach the shorter pieces to the horizontal boards using wood glue and 1 1/4" screws. Once dry, screw to the rear of the daybed platform.

Finish It Up
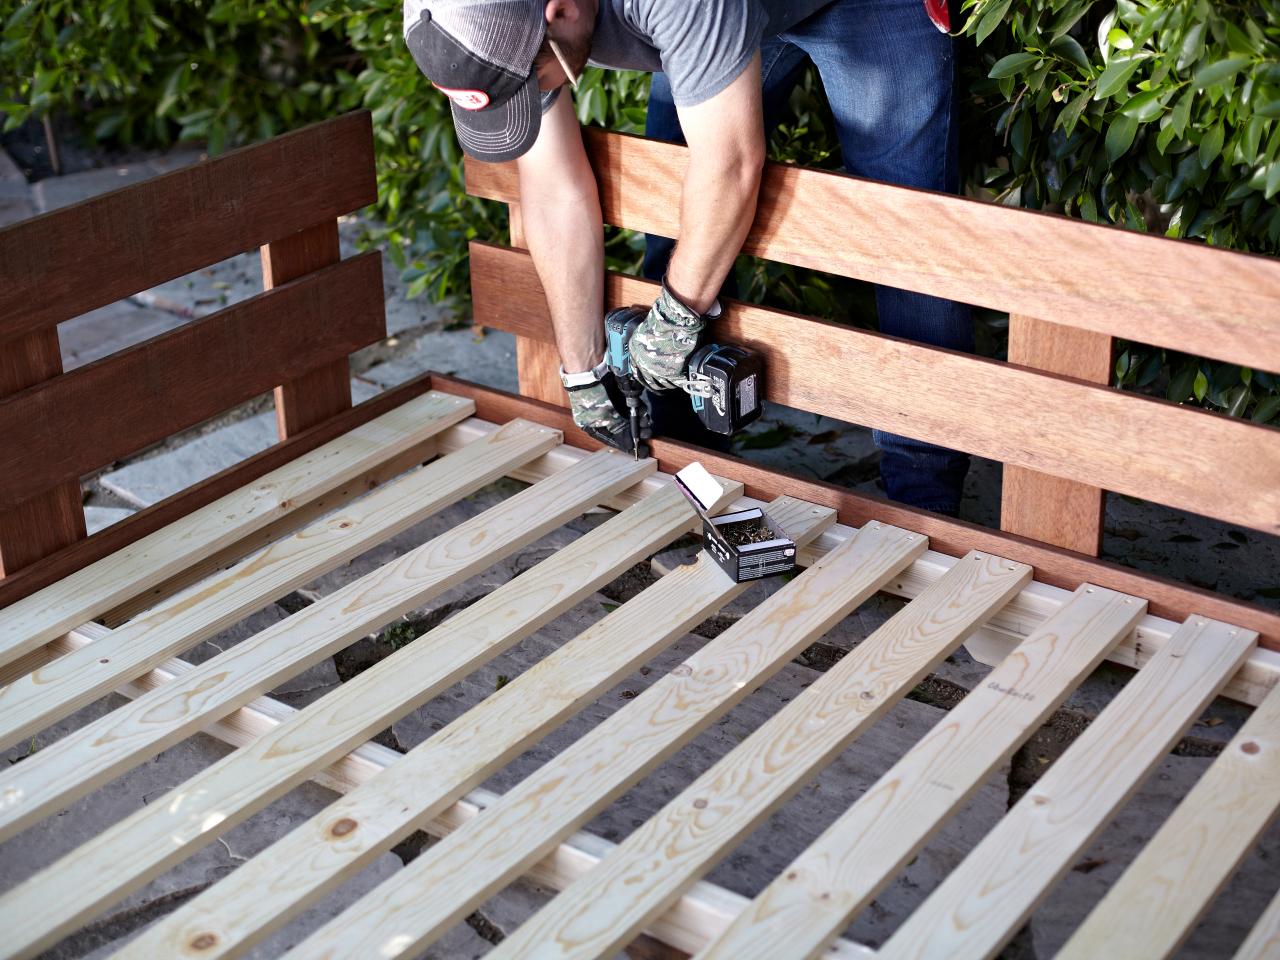
Secure the 1x4' boards to the frame to support the mattress. Lay out the 1x4' pine, leaving 3" of space between each one, and attach with 1 1/4" screws two on each end.

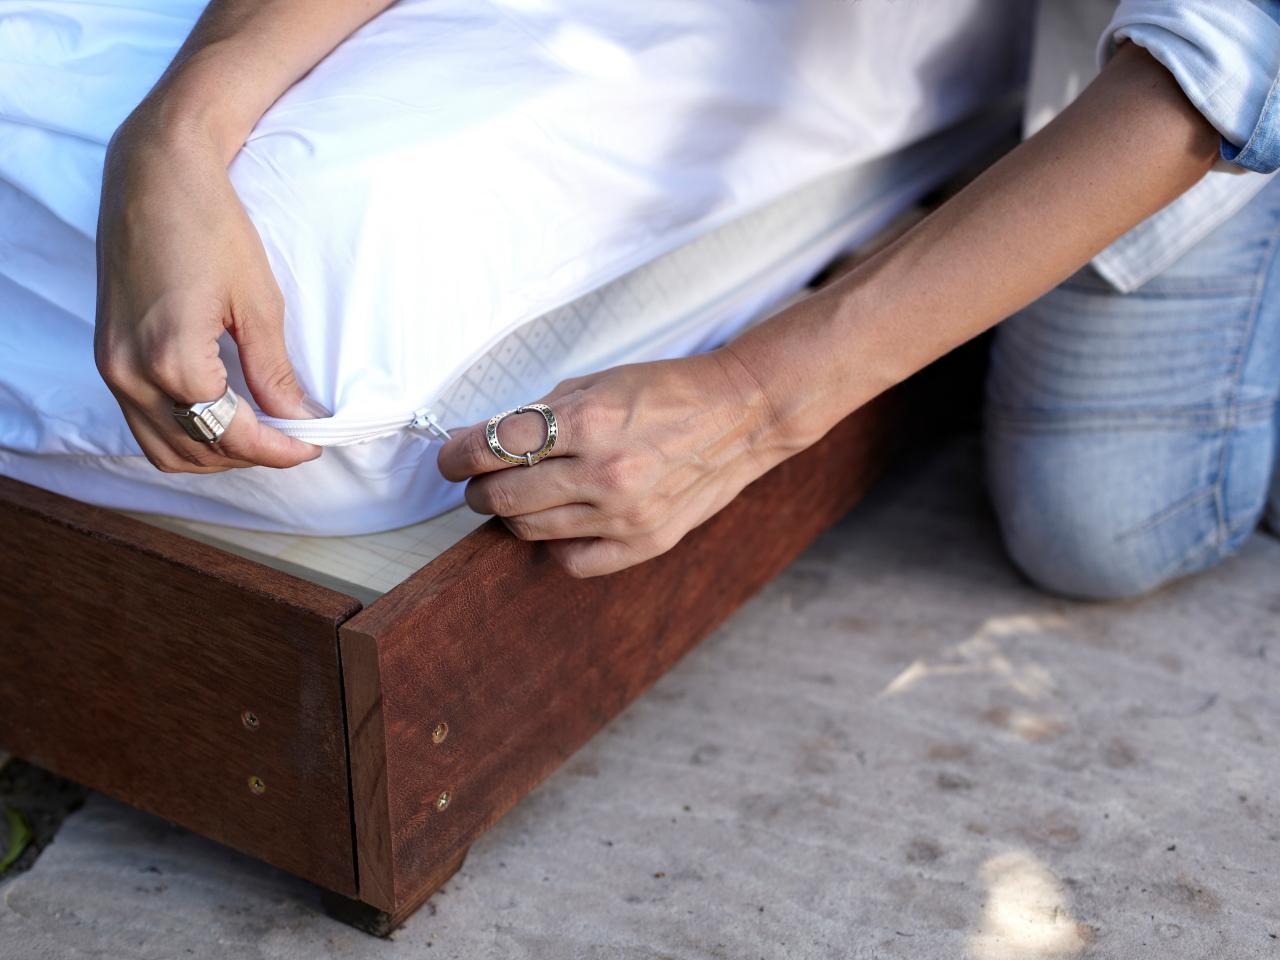
For this project, we used a Queen bed in a guest room that was unused. Slipping it into a waterproof mattress cover will protect it from outdoor elements. As with any outdoor furniture, consider taking it inside in extended inclement weather.

Tuck a heavy quilt or a beautiful sheet around your waterproofed mattress and some larger throw pillows to lean back against. Relax and enjoy the fruits of your labor.


