


How to Braid Garlic for Storage
Learn to braid garlic for storage and have flavorful — and beautiful — homegrown garlic at your fingertips well into winter.


Derek R. Trimble
A bumper crop of garlic in summer can mean homegrown garlic for cooking through winter and beyond. Braiding is a traditional method of storing garlic that's both functional and decorative. It's easy once you get the hang of it, and it works for onions, too. Note: Braiding works best using softneck garlic varieties instead of hardneck varieties. Properly dried, cured and stored bulbs can last for about six months.
Materials + Tools
- softneck garlic, leaves intact
- stiff-bristle brush, such as a vegetable brush
- scissors or pruners
- twine
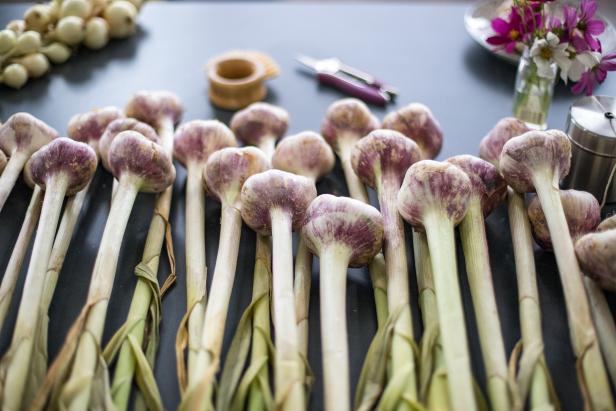
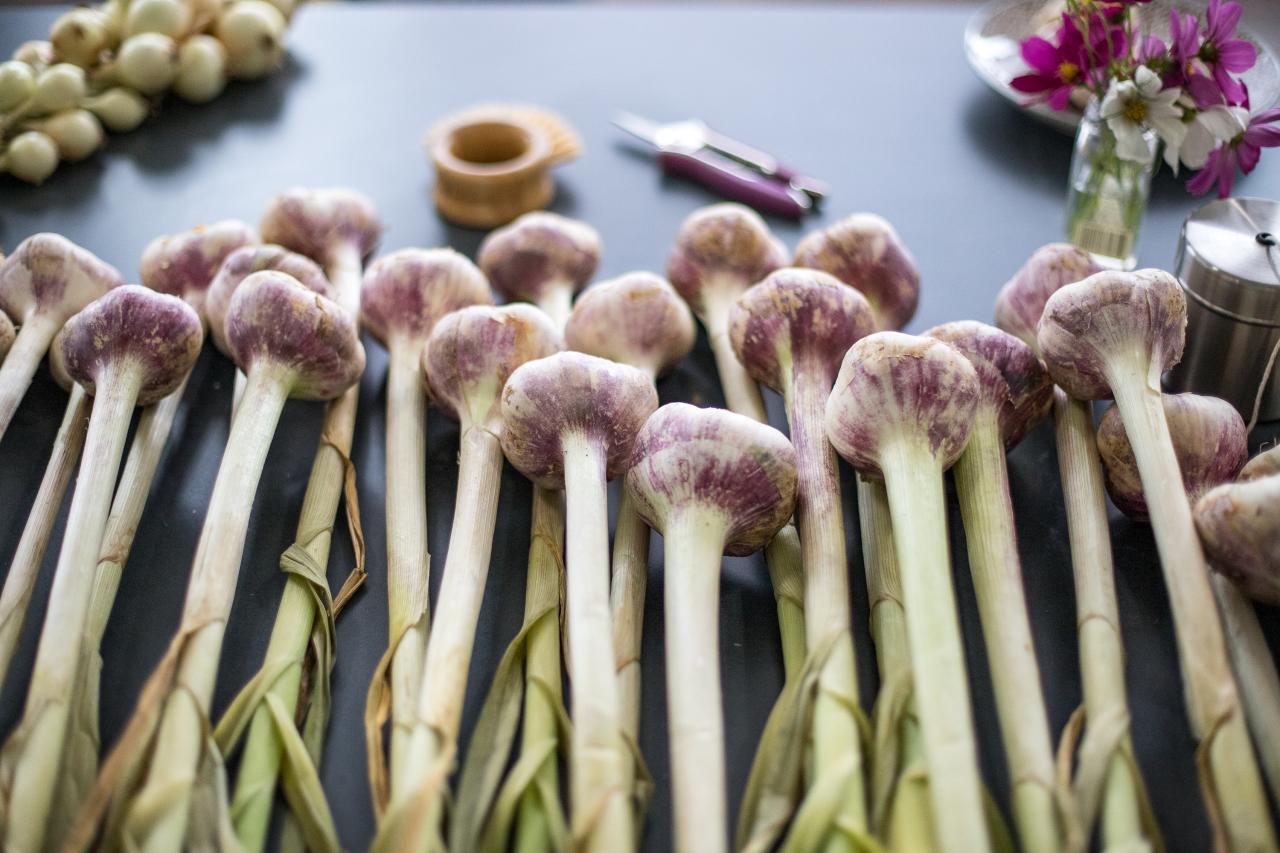
Dry Garlic
After harvesting your garlic in midsummer, set it in a cool, covered, well-ventilated spot out of direct sunlight to dry for several days. A shed, garage or covered deck or patio are good options. Tip: Before drying, remove large clumps of dirt, but don’t fully clean the garlic, and be sure to leave the papery exterior intact.
Derek R. Trimble
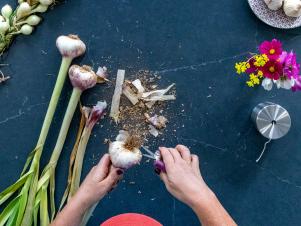
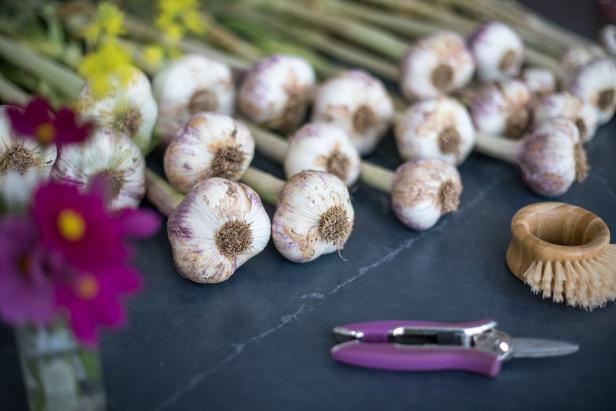
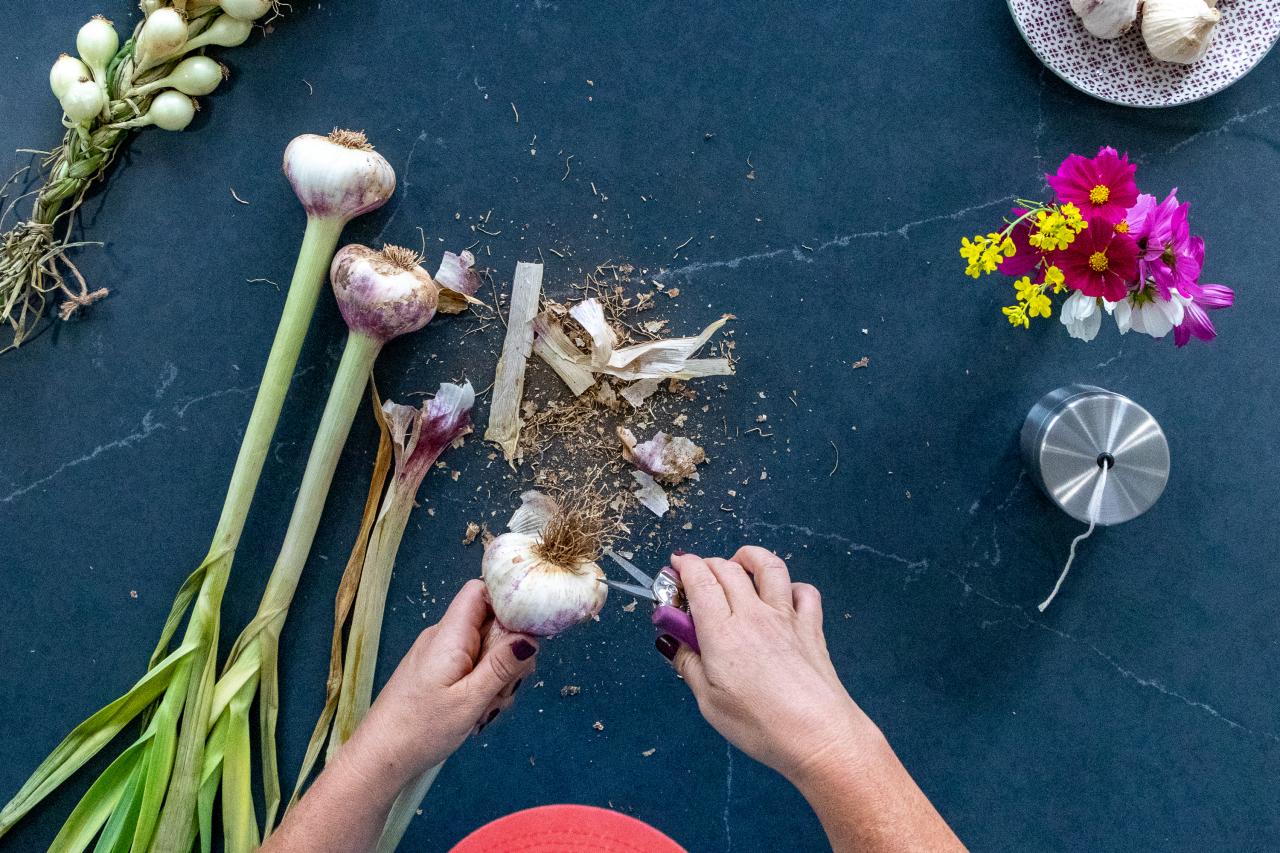
Clean Dried Garlic
After drying for several days, before braiding or any other method of curing, brush off excess dried dirt and clip back the roots. Keep skin and bulbs intact. Note: Do not store any bulbs with cloves that look damaged; instead, use those quickly instead of storing for later.
Remove Loose Dirt
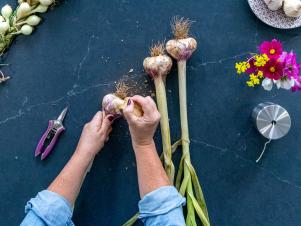
Clip Off Roots
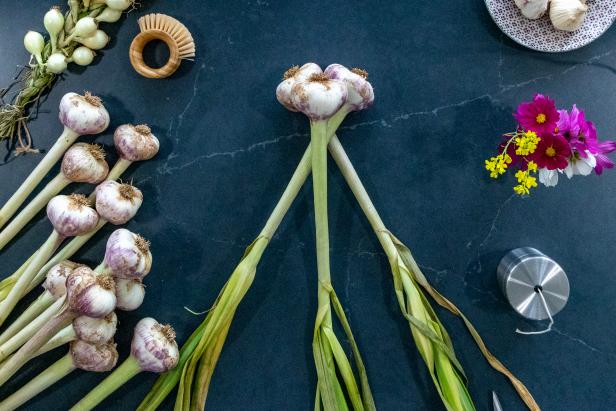
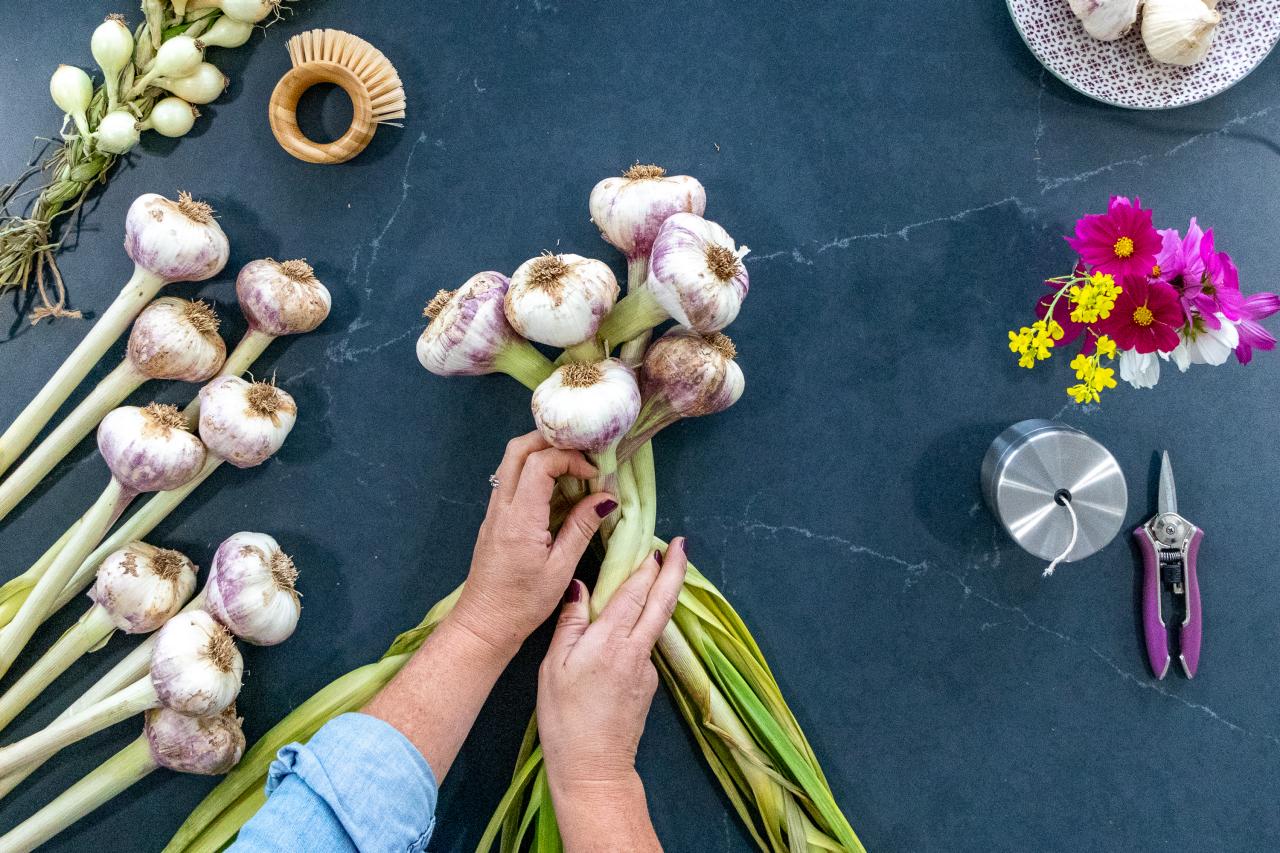
Prepare to Braid
Working on a flat surface, lay the garlic with the bulbs away from you and the leaves toward you; start with the largest bulbs first, working up the braid to the smallest.
Derek R. Trimble
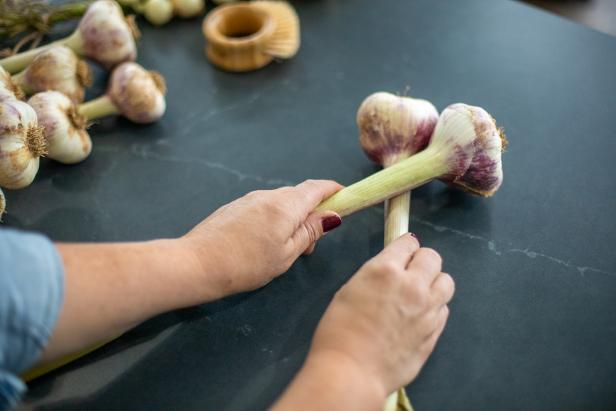
Make an X With Two Bulbs
To start your braid, lay two bulbs across one another, with the leaves making an X just above the bulbs. For these instructions, place the leaves from the bulb on the left under the leaves from the bulb on the right.
Derek R. Trimble
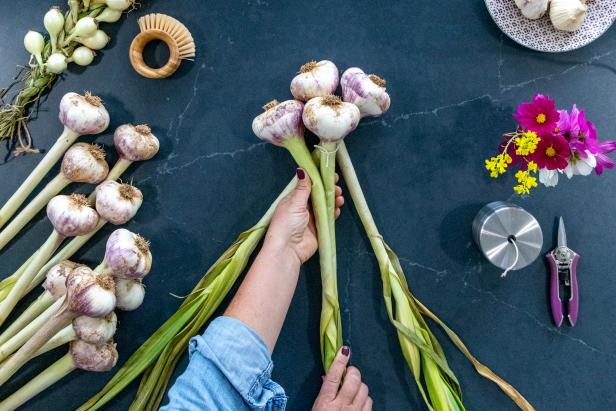
Add a Third Bulb
Lay a third bulb on top of the first two, with the leaves coming down the center of the X.
Derek R. Trimble
Tie Three Together
Tie the first three bulbs together with a piece of twine just above the bulbs. Trim off excess twine.

Derek R. Trimble
Add a Fourth Bulb
Now, lay a fourth bulb over the first three on the left side. Places the leaves of the fourth bulb over the leaves already in the center.
Derek R. Trimble
Start Braiding
Take the leaves on the bottom of the stack — they will be on your right — and braid them over the leaves in center, replacing them as the center leaves and moving the previous center leaves to the right.

Derek R. Trimble

Derek R. Trimble
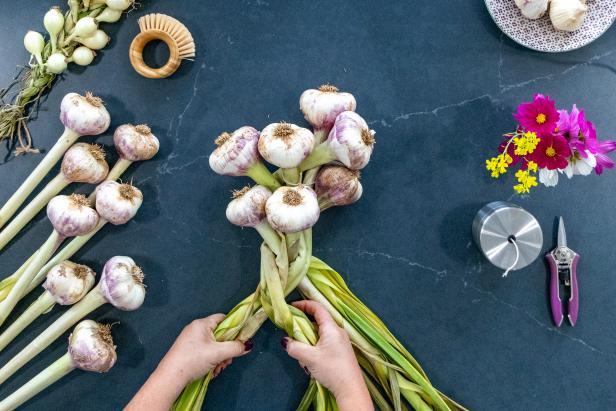
Braid In More Bulbs
Continue this method of adding garlic bulbs, always placing the new leaves in the center, then taking the leaves from the bottom of the stack to braid over the ones in the center, making them the new center leaves.

Derek R. Trimble

Derek R. Trimble

Derek R. Trimble
Keep Braiding
This sounds more complicated than it is — once you get the hang of it, it’s as easy as braiding hair or rope!
Derek R. Trimble

Derek R. Trimble

Derek R. Trimble
Braid Leaves and Hang to Cure
When you’ve braided all your bulbs together — or as many as you’d like in this particular braid — continue braiding the remaining leaves. Create a hanging loop with the leaves and then secure it with twine; or, secure leaves with twine and create a hanging loop with the twine. Hang in a cool, dry place out of direct sunlight to fully cure for long-term storage. Pick bulbs off the braid as you need them.
Braid Leaves

Secure With Twine


Derek R. Trimble
This view shows the back of the braid, which should lie fairly flat against a wall when hanging.

Edible Garden FAQs 91 Photos
How do you prevent blossom end rot? Why won't my zucchini plant get with the production? Kelly Smith Trimble answers all your burning questions to get your vegetable garden on the right track for a bountiful harvest.

Can You Freeze It? 35 Photos
Find out how to freeze a host of fruits and vegetables as well as some surprising things you maybe didn't know you could freeze.

How to Make Sun-Dried Tomatoes 10 Photos
This quick and easy tutorial will make the quintessential summer flavor of tomatoes last all year long.

How to Grow Onions From Scraps
Don't throw those scraps away! We've put together easy and effortless ways to regrow onions and save $$ on groceries.


