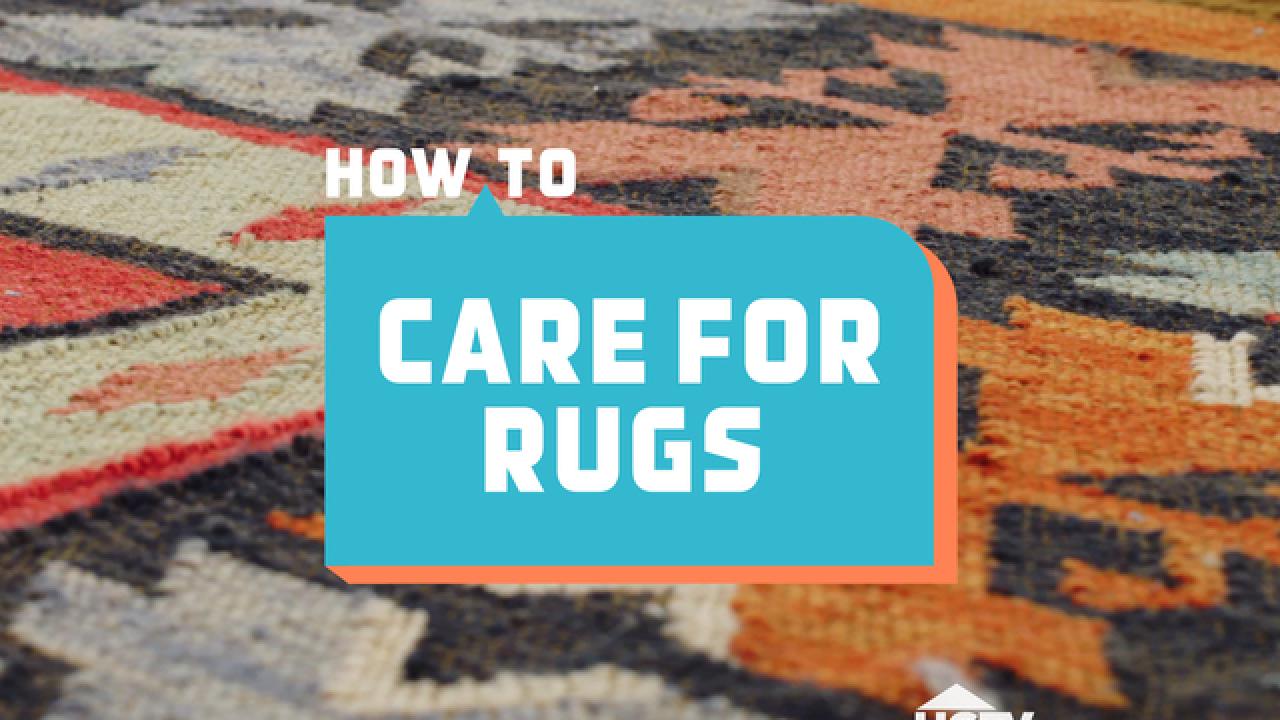
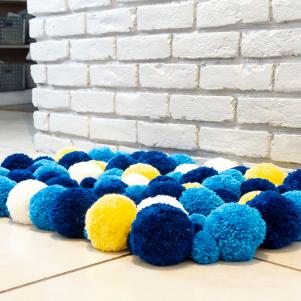
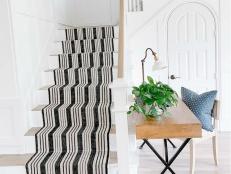
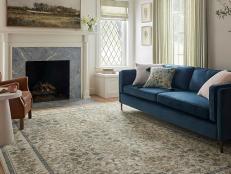
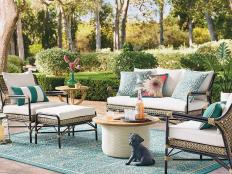
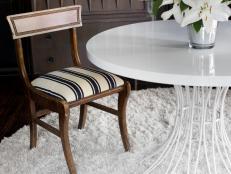
How to Layer Rugs Like a Pro

Exuberant 1875 Maximalist Mansion Juxtaposes Old and New Design Styles

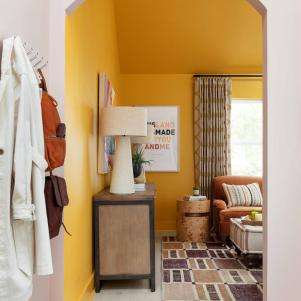
Sleek and Modern Home Features Pops of Blue
Shop Area Rugs

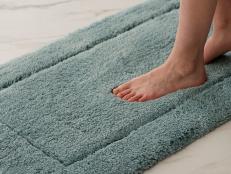
Here's What We Thought After Testing Ruggable's Washable Rugs
Find out how well Ruggable washable rugs actually stand up to stains, dirt and pet accidents. Plus, find out where you can buy one for your home.
More on Rugs

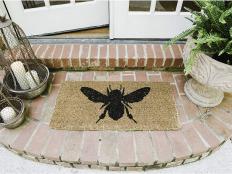
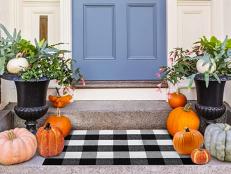
42 Cute Doormats You Need for Summer May 8, 2024
Make a statement for the season ahead with these fun and fabulous doormats.

20 Dining Room Rugs for Every Style, Size and Budget Apr 12, 2024
See which type of area rug goes best with your dining table, and shop our favorites.

49 Beautiful Outdoor Rugs for Every Style and Need Apr 3, 2024
Make your outdoor space an inviting place to lounge by adding a pretty and practical rug.
28 Cute Doormats for Welcoming Spring Mar 13, 2024
Celebrate warmer temps with these adorable outdoor mats.
The Best Rugs for Every Room in 2024 Mar 1, 2024
Ground your space in style and function. Bring our know-how underfoot to discover which rugs to put where in your home.
The Best Places to Buy Stylish, Affordable Rugs Online Feb 2, 2024
Snag gorgeous, on-trend area rugs, runners and mats for a fraction of the cost of high-end sites.

The Best Kitchen Rugs for Style and Function Jan 29, 2024
Get the best of both worlds with our favorite kitchen rugs that are comfortable, practical and good-looking.
8 Best Bath Mats of 2024, Tested and Reviewed Jan 24, 2024
We stood and spilled on 20 bath mats to find the softest, most absorbent and slip-resistant options that keep your toes dry and el …

How to Layer Rugs Like a Pro 15 Photos
These genius tips are sure to add interest and texture to any space. Here are our best tips for how to pull off a designer look by …
16 Cute Outdoor Doormats to Welcome Fall Dec 22, 2023
From punny messages to colorful designs, refresh your front door with one of these outdoor mats perfect for ushering in cooler tem …
Need a New Rug? You Can Save 20% Off Washable Rugs During Ruggable's Annual Birthday Sale Jul 20, 2023
These washable rugs have a cult following, and right now you can snag one for so much less!

The Magnolia Home by Joanna Gaines x Loloi Collection Is Back + Better Than Ever With New Machine-Washable Rugs May 19, 2023
Available on Amazon, the collaboration features three rug collections, two of which are machine-washable.
45+ Stylish Outdoor Rugs on Sale Right Now Apr 26, 2023
Put the finishing touches on your patio, just in time for summer, with an outdoor rug that's affordable and on-trend.

Everything You Need to Know About the New Barbie x Ruggable Collection Apr 12, 2023
Say hello to the collection of easy-to-wash rugs that will bring your Barbiecore dreams to life.

The Best Outdoor Rugs You Can Buy on Amazon Mar 22, 2023
Transform your porch or patio with the help of these pretty outdoor rugs and Prime shipping.

24 Best Machine-Washable Rugs Under $500 Feb 22, 2023
Machine-washable, on-trend and less than $500, these area rugs and runners are basically magic carpets.
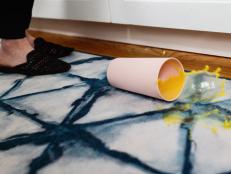
Here's What We Thought After Testing Ruggable's Washable Rugs in 2024 Jan 16, 2024
Find out how well Ruggable washable rugs actually stand up to stains, dirt and pet accidents. Plus, find out where you can buy one …

10 Beautiful Playmats That Get Our Design Stamp of Approval Jan 19, 2023
Baby's nursery just got a major style upgrade.
Ruggable Just Launched Bath Mats and We Want Them All Sep 15, 2022
The fan-favorite washable rug brand released a line of bath mats that are some of its most affordable rugs yet.

Exuberant 1875 Maximalist Mansion Juxtaposes Old and New Design Styles 17 Photos
This historic Italianate-style mansion features mirrored walls, crushed velvet sofas, matte black home bar, gold drapes, an all-wh …

Save Up to 80% on Indoor + Outdoor Area Rugs From Wayfair for 48 Hours Only May 9, 2022
Score stylish rugs for your indoor or outdoor space at a serious discount during Way Day.

We're Obsessed With Erin Napier's Rug and We Found a Look-Alike For Less Than $300 Feb 3, 2023
The cozy, colorful accessory is so versatile! Plus, we found more affordable boho-cool rugs.

This Rifle Paper Co. Sale Will Bring a Taste of Spring to Your Home Feb 24, 2022
Spruce up your space with a new desk calendar, notebook, journal, area rug and more on sale right now.
Our Favorite Laundry Room Rugs and Mats Feb 24, 2022
Turn your boring chore center into a stylish space with a brand-new rug.
How to Re-Cover a Dining Chair With a Flat-Weave Rug Jan 10, 2022
Update seat cushions for little money by re-covering them with a pretty, patterned flat-weave rug.
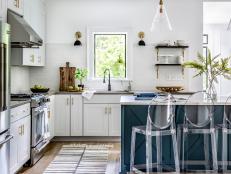
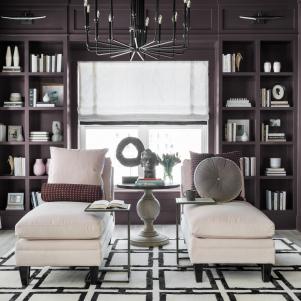
Sleek and Modern Home Features Pops of Blue 9 Photos
Check out this open-plan home with modern style and pops of blue expertly designed by Terracotta Design Build.
24 Budget-Friendly Rugs Perfect for Your Dorm Room 26 Photos
Dorm living may be temporary, but that doesn’t mean it can't be beautiful. Instantly transform college living quarters into your h …

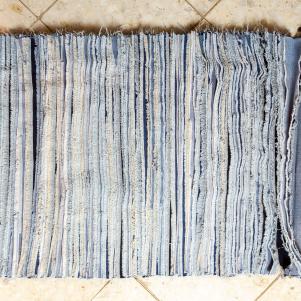
How to Make a Bathmat From Upcycled T-Shirts Jun 15, 2021
Spruce up your bathroom decor with this easy, inexpensive no-sew rag rug.

How to Pick the Perfect Area Rug for Your Living Space Jul 26, 2022
Scale. Style. Function. Let us help you select the perfect area rug for your living space with these helpful tips, and find some g …

This Is Not a Drill: Overstock's Biggest Rug Sale of the Year Is Happening Right Now Aug 5, 2020
Get up to 70 percent off our favorite pieces in stock, plus free shipping, and make your home feel way cozier.