


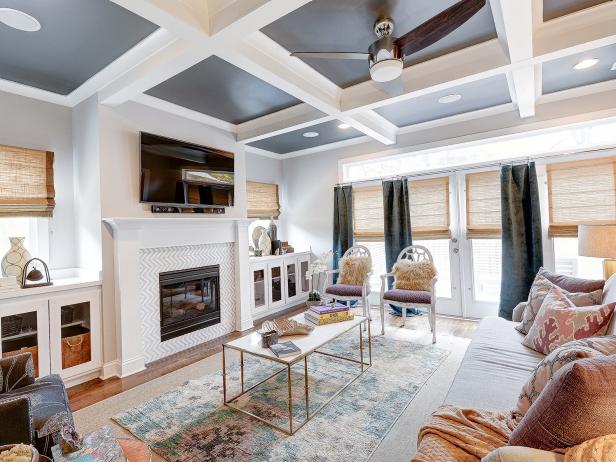
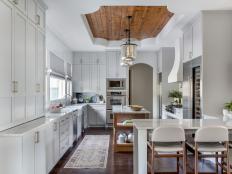
Coffered Ceiling Design Ideas 15 Photos
An architectural feature that dates back to ancient Rome is trending now — and installing your own can add serious value to your home.
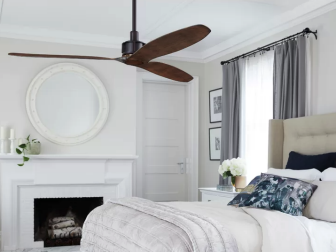
15 Stylish Ceiling Fans Under $500 to Keep You Cool
Whether you're shopping for an outdoor ceiling fan or a low-profile option for your tiny home office, we share our top ceiling fan picks for every space, need and budget.
How-To Advice

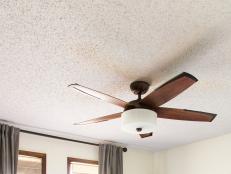
How to Remove a Popcorn Ceiling
Follow these steps and avoid making a mess.

How to Install a Planked Wood Ceiling
This is a great way to cover up dated ceilings.
The Latest on Ceilings

Spanish-Style Home Has a Cozy, Contemporary Charm 31 Photos
When it came time for this 1930s Spanish-style home to undergo an extensive renovation, architectural details and historic element …
Texas Cottage Transformation Preserves 100-Year-Old Details 30 Photos
Rustic details meet refined elegance in this reimagined Texas cottage. The space’s thoughtful redesign preserves original 100-year …
1920s Spanish-Style Home Gets a Modern Makeover 19 Photos
After 30 years in her historic 1920s Spanish-style home, this homeowner was more than ready for a complete renovation. The goal wa …

Tour Fashion Designer, Artist and Trixie Motel Designer Dani Dazey's Bold, Maximalist Los Angeles Home 30 Photos
Dani Dazey is a true Renaissance woman: She's an art apparel designer, a fashionista, a textile artist and the Trixie Motel design …

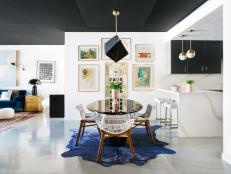
8 Reasons Designers Are Painting Ceilings 8 Photos
These interior design experts explain how the concept of painting your ceiling can elevate your home's design — in more than one w …
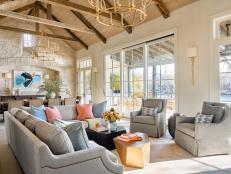
Timeless Texas Lake House With Modern Luxury and Classic Elegance 13 Photos
This new-build home feels like it’s been in place forever, thanks to thoughtful design that integrates natural materials and cozy …

Lake Austin Retreat With Serene, Contemporary Style 21 Photos
With gracious natural details, like reclaimed wood beams and limestone, this family home balances rustic elements and modern refin …
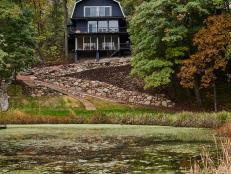
Wisconsin Lake House Marries Contemporary and Rustic Styles 15 Photos
This home was renovated to expose its gorgeous cedar and river rock architecture and create natural flow between its gracious spac …

Maui Home With Bohemian Bungalow Style 27 Photos
Soaring exposed-beam wooden ceilings, eclectic tropical art and exuberant patterns infuse this vibrant home with island personalit …
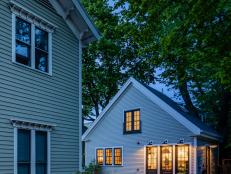
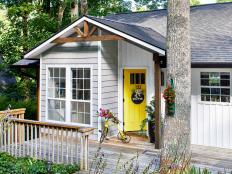
Backyard Barn Conversion With Cozy Cottage Style in Cambridge, MA 6 Photos
This once-woeful storage space shared a lot with its owner’s full-time, circa-1846 home. When she got ready to downsize, it was hi …
Lakeside Cottage With Vintage European Farmhouse Charm 20 Photos
Boasting picture-perfect porch views of North Carolina's Lake Santeetlah, this open-plan waterfront home features Old World detail …

Rustic Meets Modern at This Texas Home 9 Photos
Blending rustic textures with modern designs, this Texas countryside retreat has panoramic mountain views, natural light and warm …
Charming Tennessee Country Home 34 Photos
A preferred, muted color palette packs a design punch on this Franklin, Tennessee, farmhouse filled with transitional style and ru …

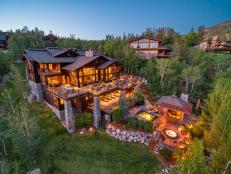
Majestic Mountain Home in the Appalachian Forest 8 Photos
What started as a simple timber-framed space for a wedding turned into a re-envisioned countryside retreat. West Virginia stone an …

How to Hang Plants From the Ceiling May 6, 2024
Learn the correct steps to securely and safely suspend plants from the ceiling.
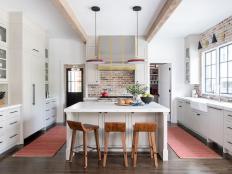
Federal Revival Kitchen With Exposed Brick and Playful Lighting 6 Photos
With a massive barstool-flanked island and an open, welcoming layout, this updated kitchen beckons guests to come on in and stay a …
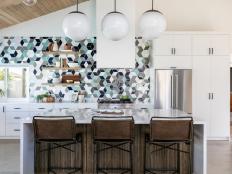
Midcentury Modern Kitchen With Glamorous, Geometric Backsplash 10 Photos
With a stunning vaulted ceiling, a dramatic trio of oversized globe pendants, floating shelves and an artistic array of tiles, thi …
Chic Kitchen With One-of-a-Kind Paneled Ceiling 7 Photos
With fluted edges that call to mind picture-perfect patisserie crusts, the wood-paneled tray ceiling in this transitional kitchen …

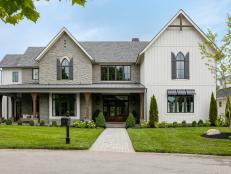
Elegant & Refined New York Country Estate 20 Photos
This New York country estate marries rustic and refined elements to create a curated and bespoke home. This stone and shingle mano …
Colorado Mountain Home is Rustic and Elegant 30 Photos
With incredible mountain views and elegantly appointed interiors, what's not to love about this Steamboat Springs retreat?
Chateau-Style Dallas Estate With Warm & Inviting Kitchen 20 Photos
Warm wooden cabinetry, a cozy breakfast nook and exposed beam ceiling come together to create this stunning Dallas estate kitchen.
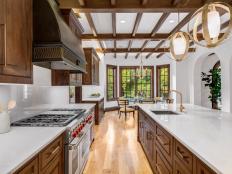
Charming Tudor-Style Kitchen in 1925 Connecticut Estate 18 Photos
This spectacular Greenwich, CT estate features a tudor-style kitchen with both modern appliances and orignal details. Check out th …

Upper East Side Limestone Beaux-Arts New York Mansion 18 Photos
This sprawling, Beaux-Arts Blum Mansion is clad in limestone on the outside and offers elegant, modern interiors. Step inside the …

Jacobean Brick Mansion on Lake Michigan 21 Photos
Step inside this spectacular Milwaukee mansion through wrought iron gates and be greeted by traditional interiors with plastered c …

Modern Florida Mansion With Lighthouse Backdrop 23 Photos
This posh, modern home in Florida's exclusive Jupiter Inlet Colony features an acre of pristine grounds and more than 7,000 square …

Big Island Living at Sunset-Drenched Mansion 26 Photos
With beautiful views on every side of this Big Island home, indoor outdoor living is the only way to go. This gorgeous estate feat …
How to Remove a Popcorn Ceiling in 7 Simple Steps Aug 21, 2023
Learn how to remove a textured ceiling without creating a mess using these simple steps.
Neutral Home With Gold Accents 11 Photos
Neutral is by no means simple here — there’s beautiful detail in every room, from floating wood shelves to stunning gold pendant l …

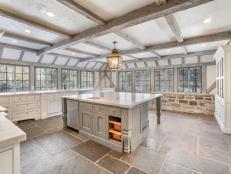
Chic & Timeless Ivory Retreat Features Beamed Ceilings 14 Photos
Take a virtual scroll through this pristine home, complete with a marble kitchen island, brick fireplace, golden pendant lights an …


