


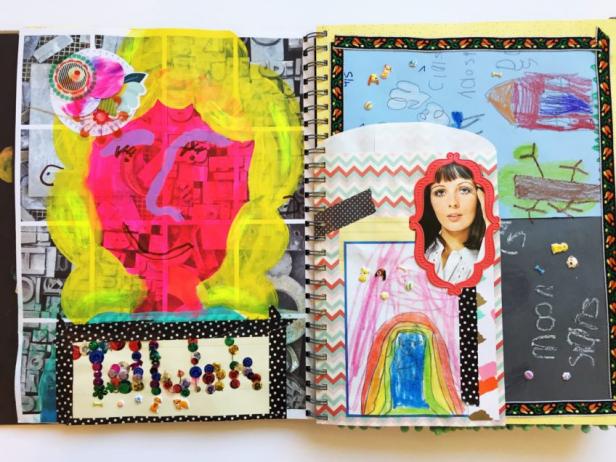
Art Journaling With Kids: A Fun Way to Use Children's Artwork
Display your children's artwork in journals and scrapbooks to preserve their artistic endevours. Have the kids help putting the journals together to make it a family project.
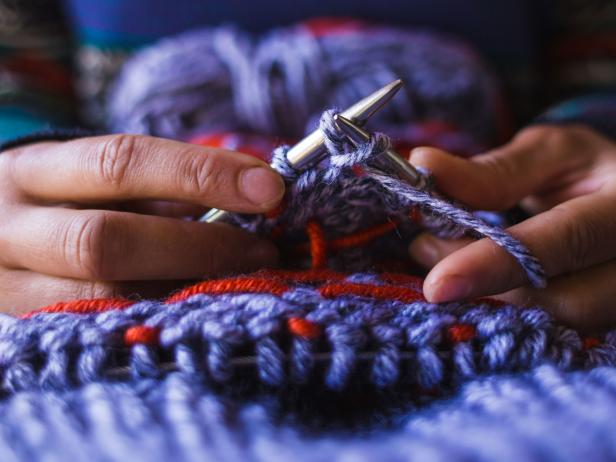
Why Crafts Are a Great Way to Practice Self Care
Sure crafting is relaxing and creative, but did you know it can also improve your mental health and well-being? Learn more about how scrapbooking and knitting may be a form of self-care. Some of our ideas may surprise you.

How to Knit a Handspun Yarn Journal
Keep track of knitting projects currently on needles with this knit-inspired yarn journal.


