


How to Freeze Green Beans
Preserve your green bean harvest or farmers' market haul with this easy step-by-step tutorial from farm-to-table experts on how to freeze green beans.

Shutterstock/Kamila i Wojtek Cyganek

Freezing your excess green beans is a great way to store them for future meals. With basic supplies that you already have in your kitchen, you can freeze and store as many or as few beans as you have on hand. Read on for a quick and foolproof method for freezing your green beans for up to a year.

How to Freeze Vegetables, Fruit and Other Surprising Things
Sun-ripened flavors and healthy nutrients can be prolonged with freezing. But there's an art in knowing what — and how — to freeze fruits, veggies and everything from milk to herbs to eggs.
Materials Needed
- 1/2 lb or more fresh green beans
- colander
- medium-sized stock pot
- slotted spoon
- glass bowl or dish for ice
- plastic freezer bags
- non-stick sheet pan
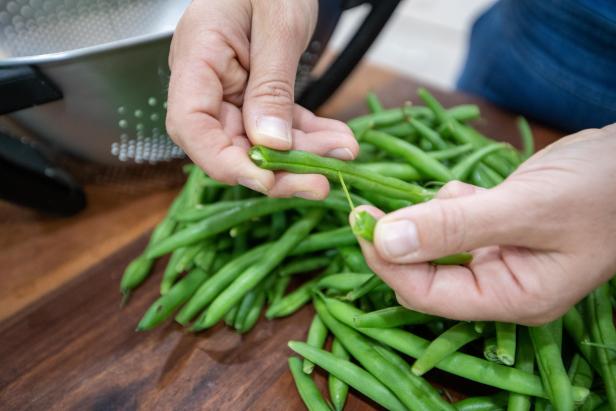
Step 1. Prepare Your Beans for Blanching
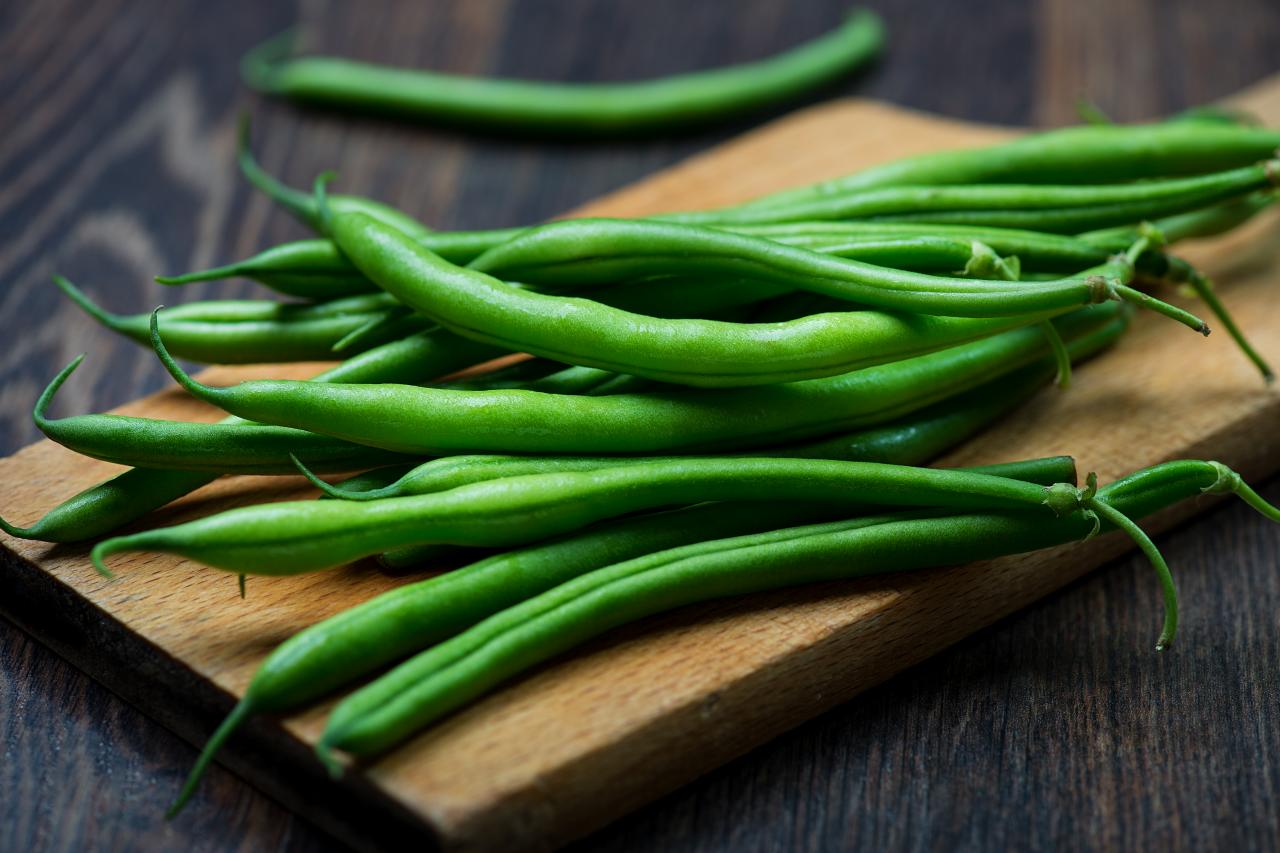
It's important that before you begin the process of blanching your green beans to maintain freshness you make sure they are scrupulously clean.

Derek R. Trimble
Derek R. Trimble

Derek R. Trimble

Derek R. Trimble
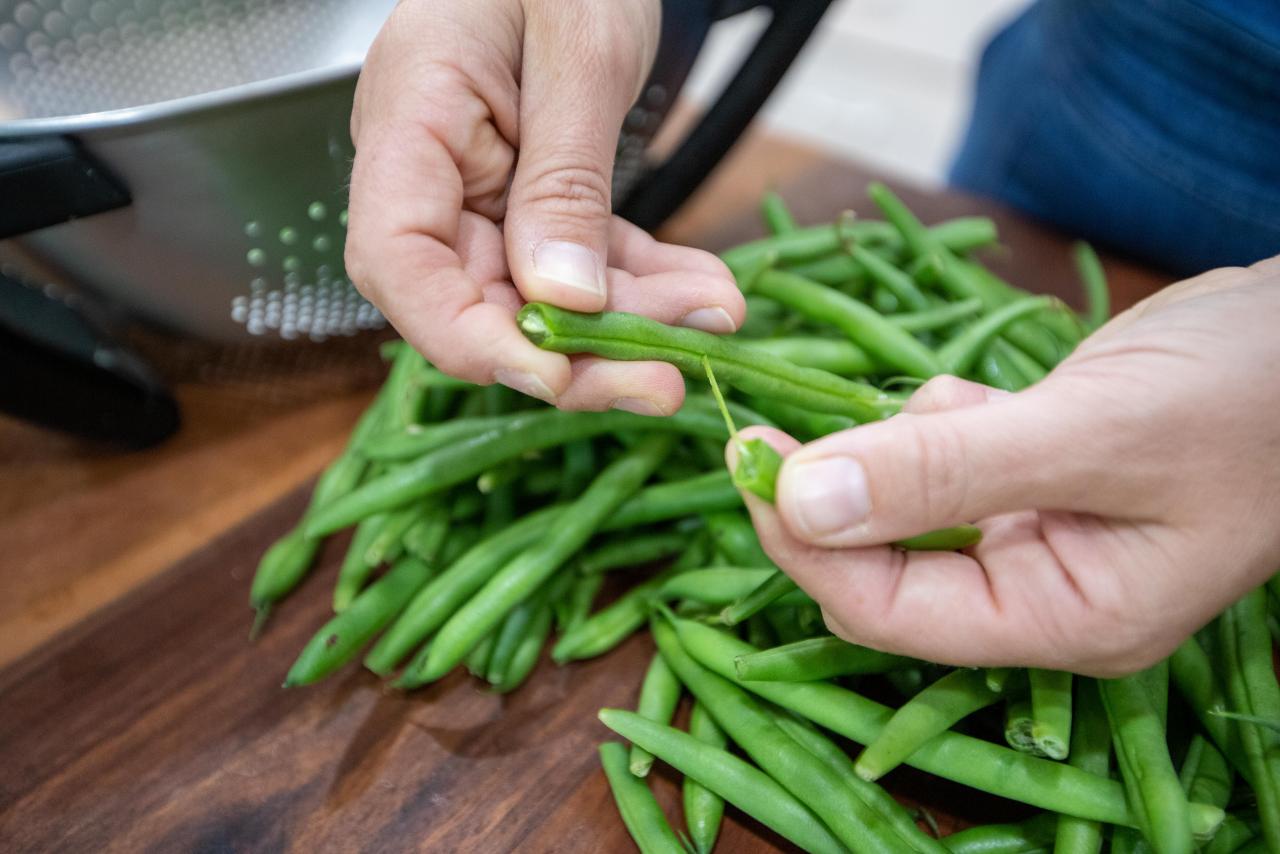
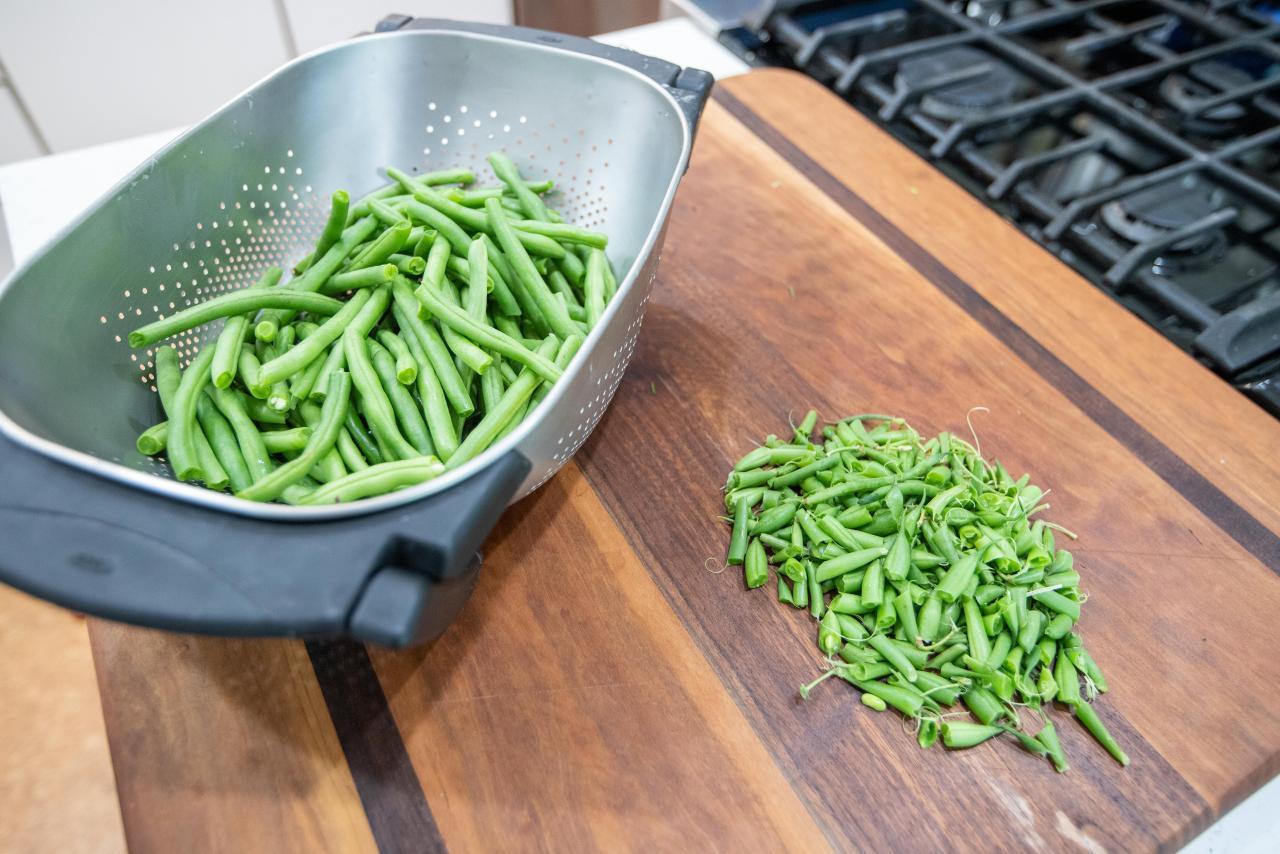
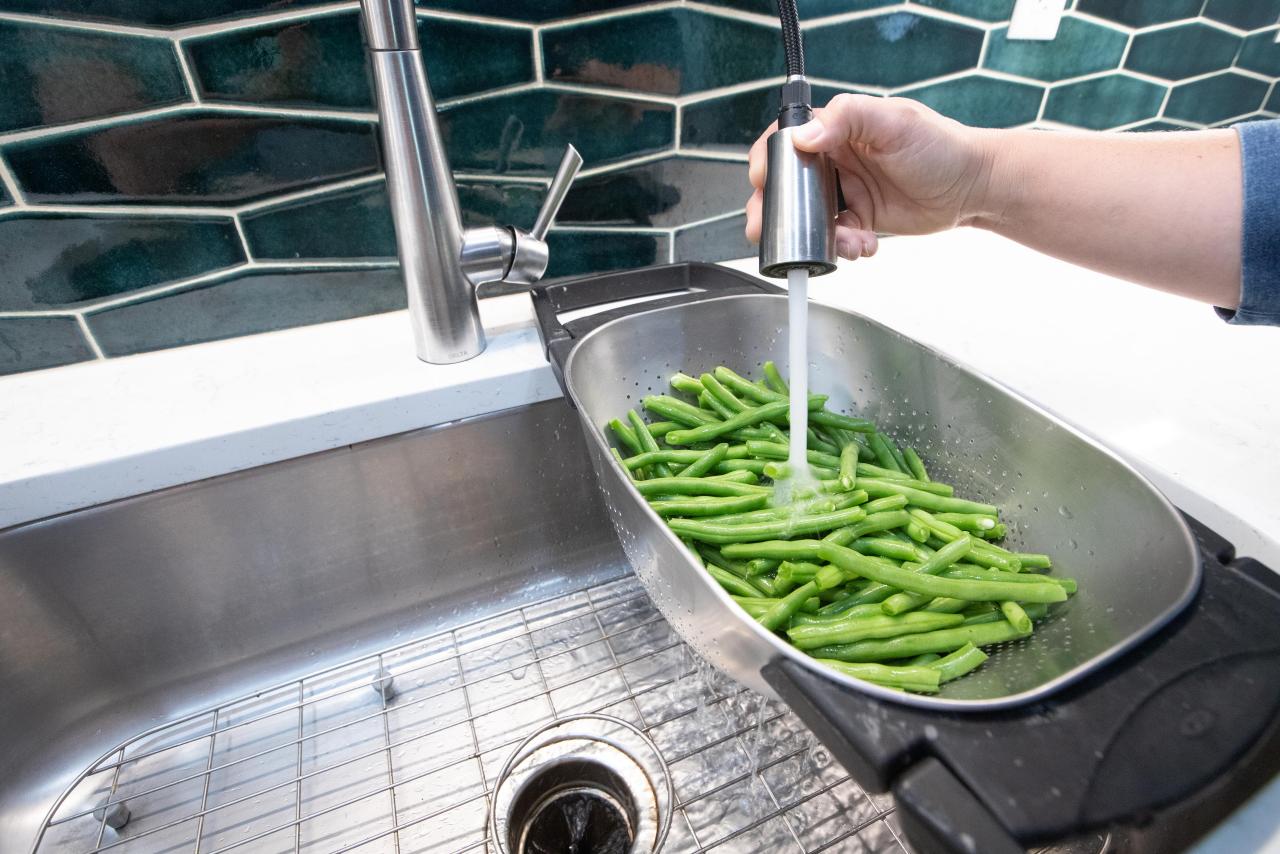
There are a number of varieties of green beans that have tough ends and a sinuous string that runs the length of the bean. For those varieties, you'll want to snap the ends off (Image 1) and pull off the strings (Image 2) before you blanch them. If you skip this step, you'll have a very hard time removing those parts when you thaw your beans for use. After you've snapped and peeled your beans place them in a collander (Image 3) and give them a thorough washing with room temperature water (Image 4). Make sure your beans are nice and clean before moving on to the next step.
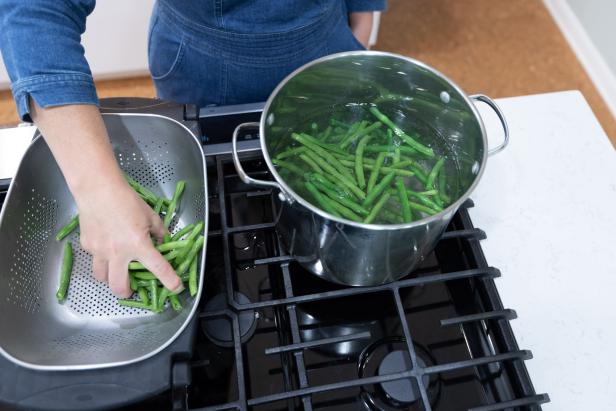
Step 2. Blanch Your Beans

Derek R. Trimble
Derek R. Trimble
Derek R. Trimble
Derek R. Trimble
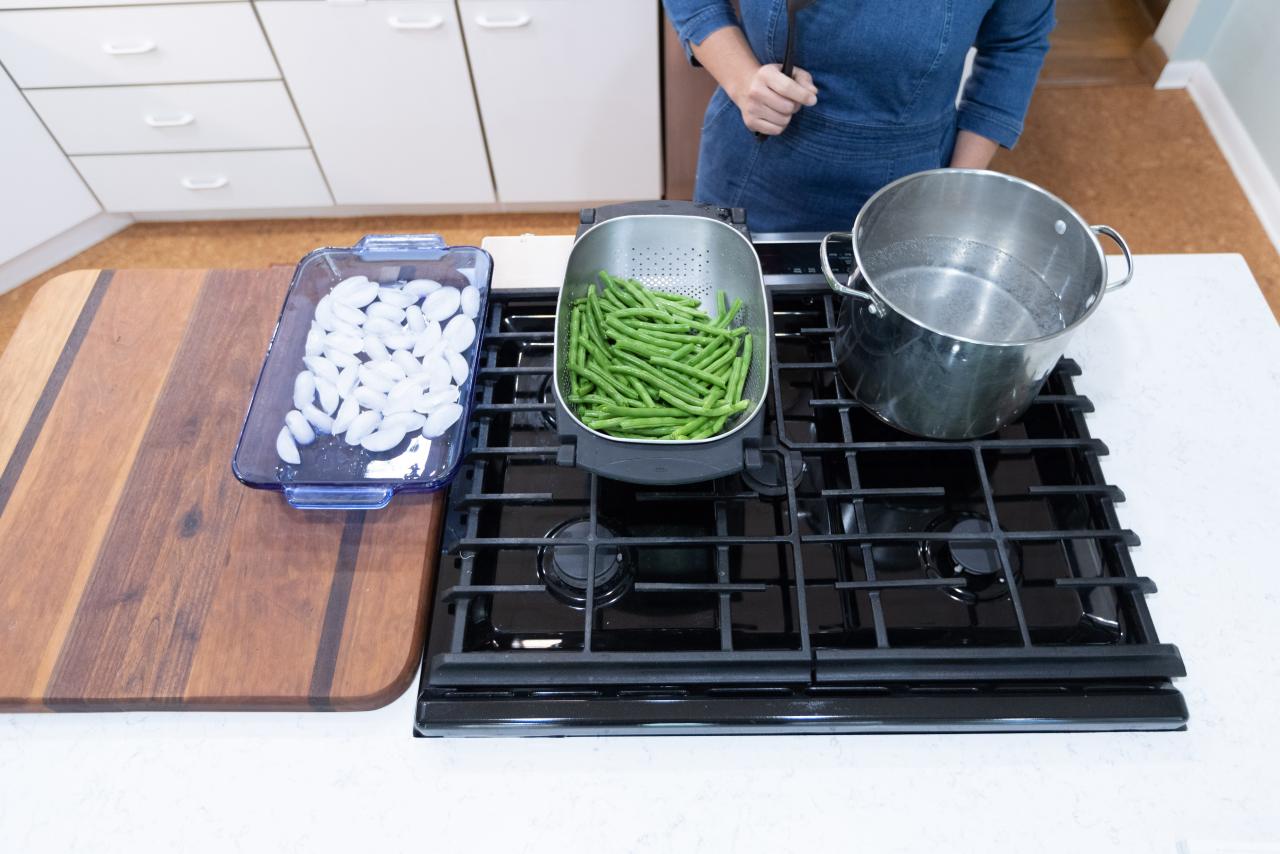
Blanching is the process of lightly scalding your vegetables in boiling water for a short period of time and is a crucial step for properly freezing your green beans. Blanching your beans will help them retain color, vitamins and clean them of excess dirt and bacteria. The objective when blanching is to soak your green beans in the water bath just long enough to achieve those objectives without cooking them.
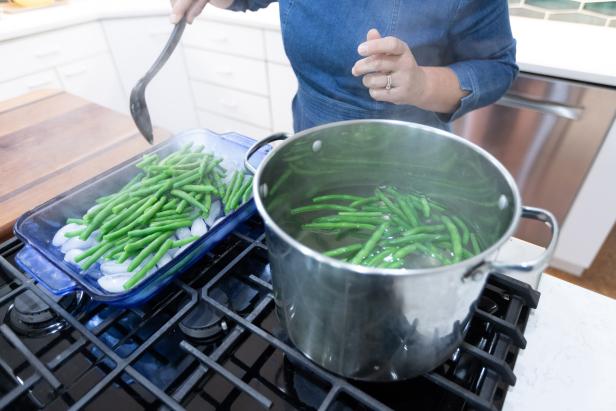
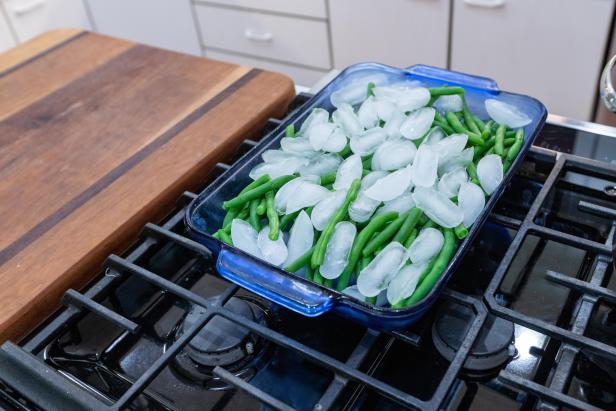
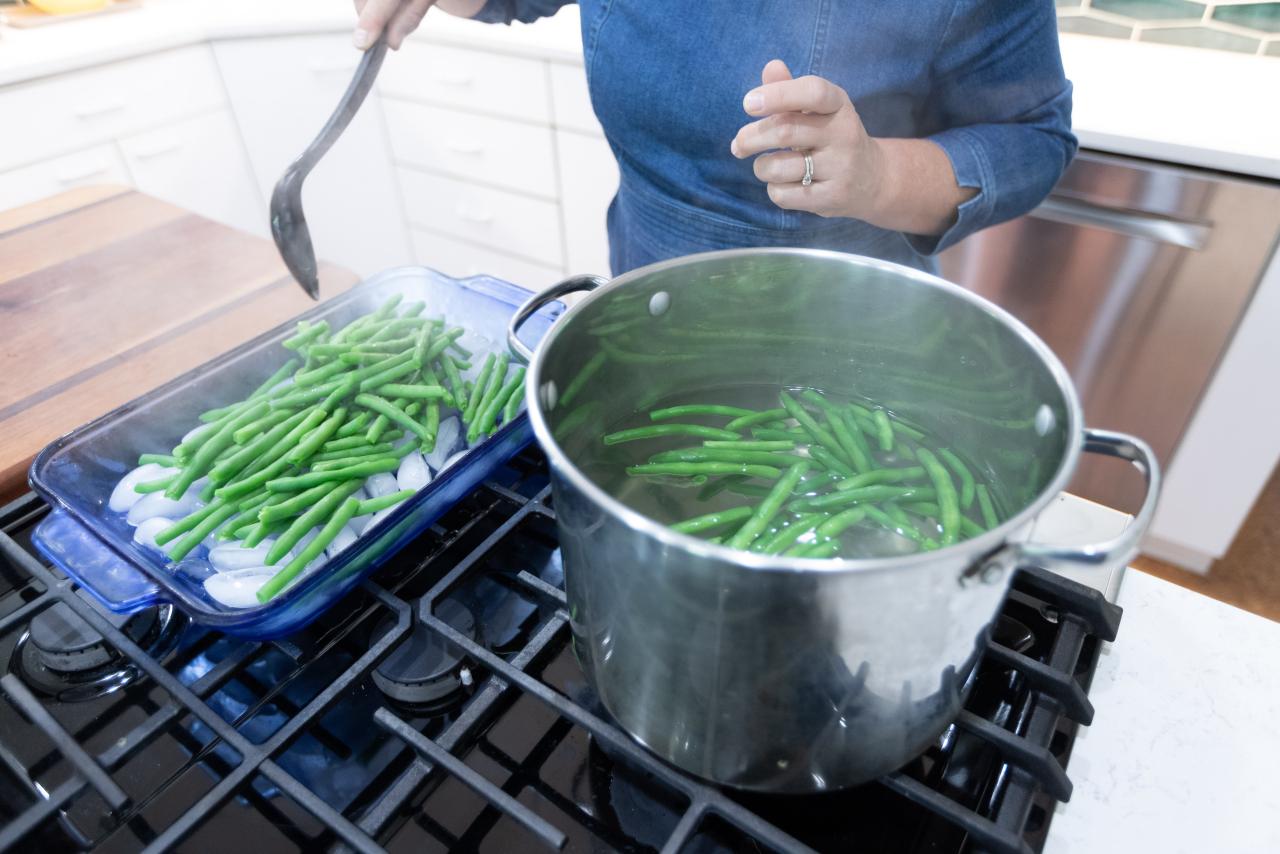
Bring a large stock pot with water to a rolling boil — we recommend using about a gallon of water per pound of beans. Next, prepare your ice bath and get it close to your work area (Image 1). Add your beans to the boiling water, and once the water returns to a boil, begin a timer for 3 minutes (Image 2). After 3 minutes has elapsed, remove your green beans from the boiling water using a slotted spoon, and immediately transfer them to your bowl or pan full of ice (Image 3). Add more ice if needed, and make sure your beans are thoroughly cooled before moving to the next step (Image 4).
Derek R. Trimble

Derek R. Trimble

Derek R. Trimble

Derek R. Trimble
Derek R. Trimble
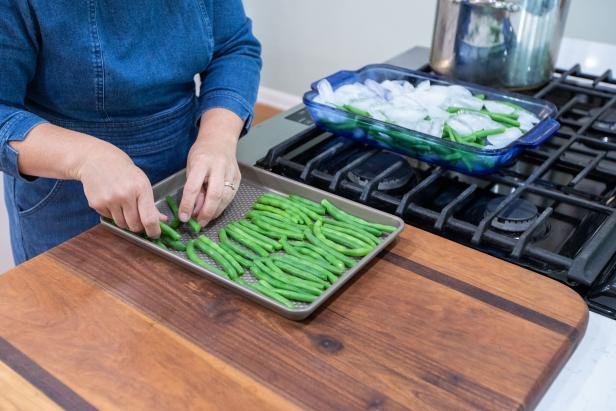
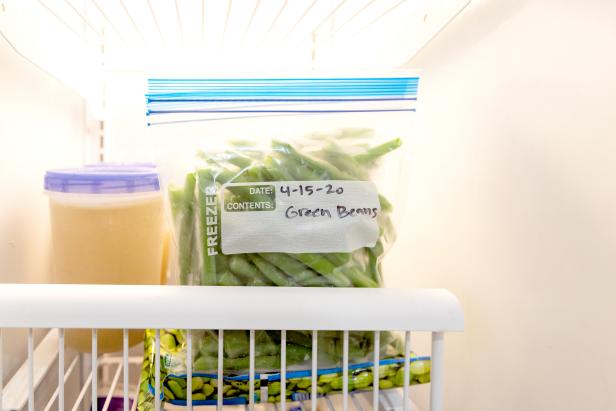
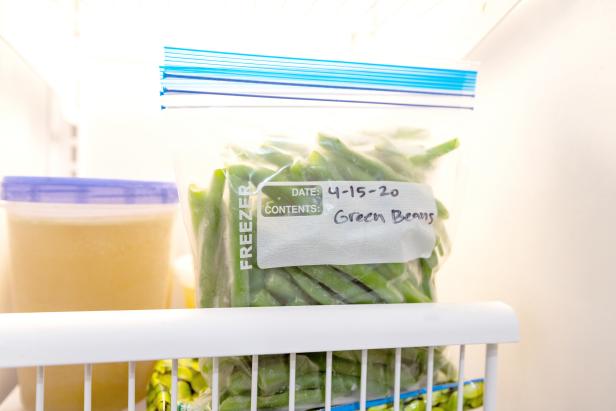
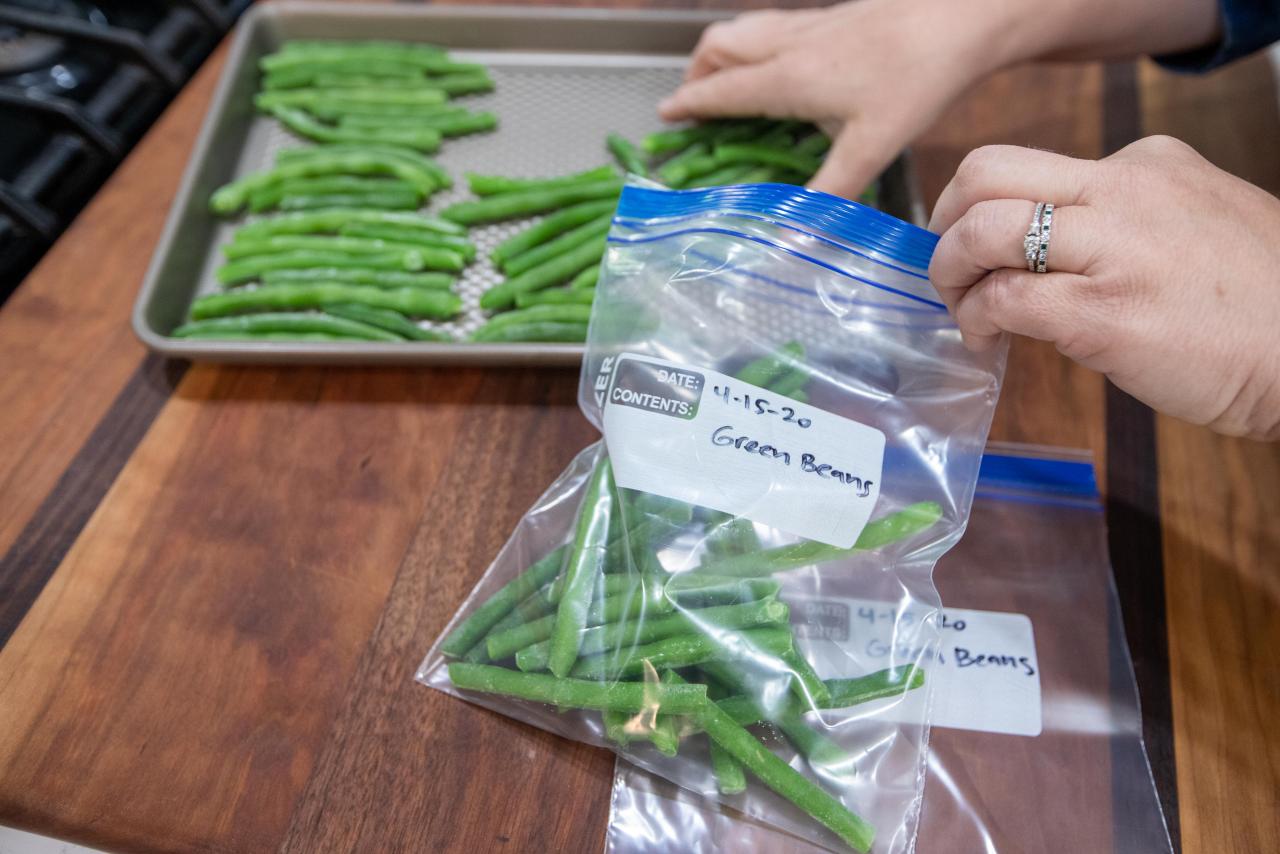
Step 3. Freeze and Pack Your Beans
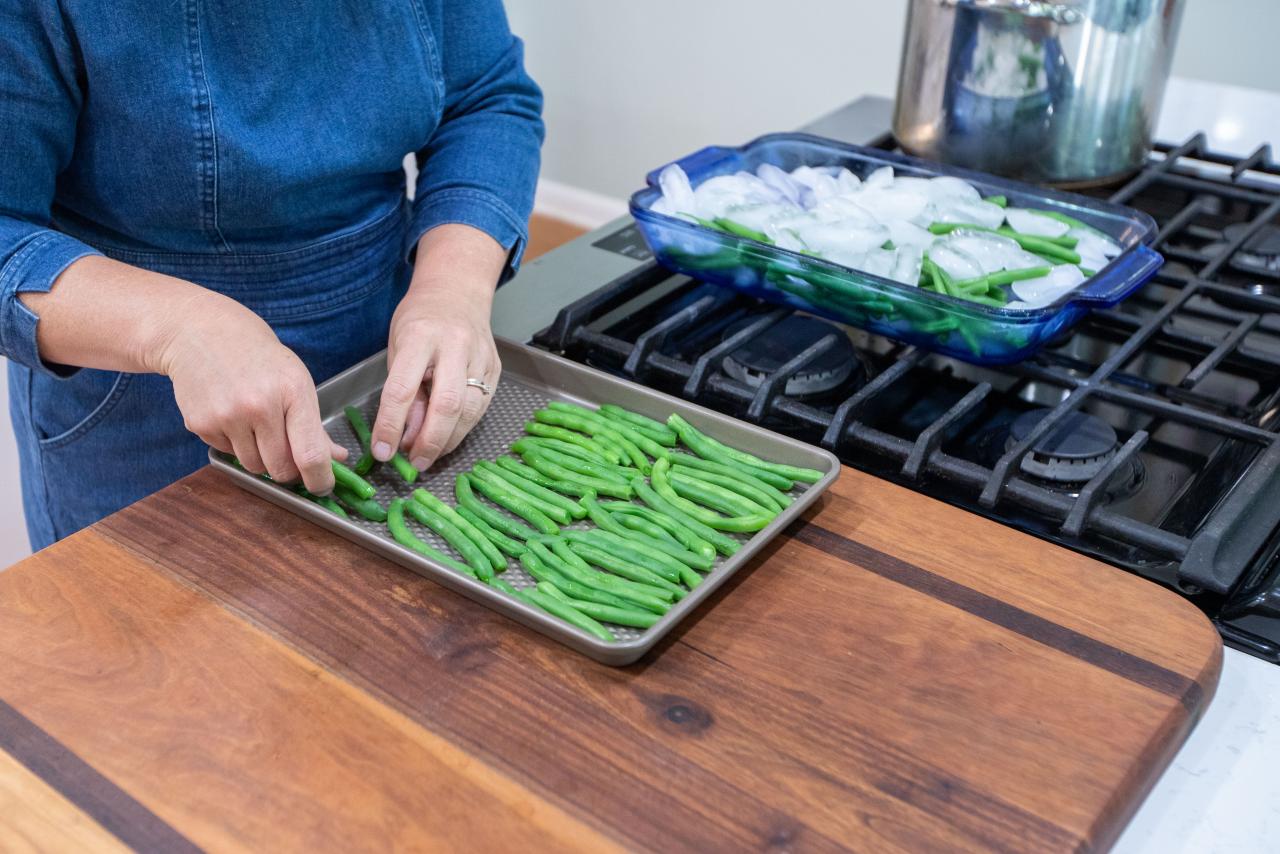
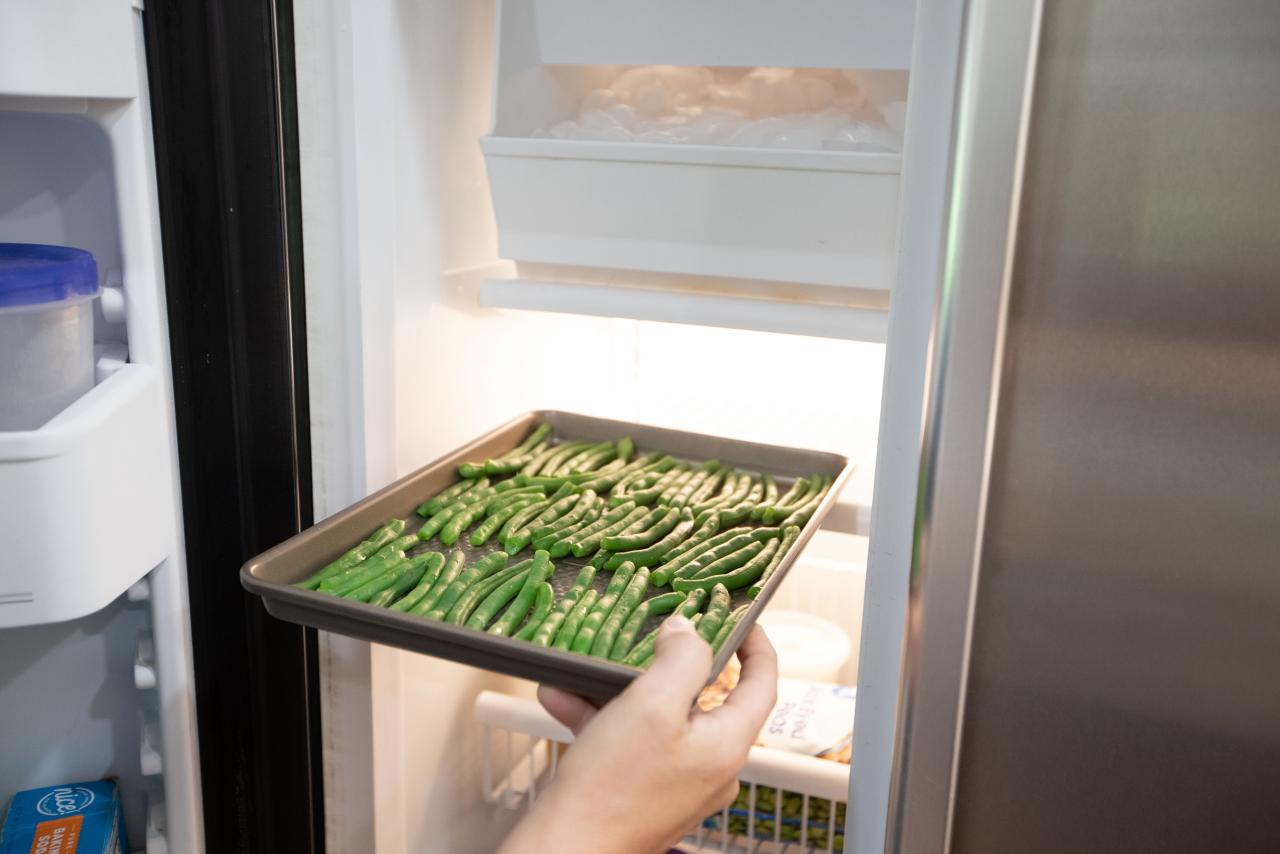
Freezing your green beans is an ideal way to lock in freshness, flavor and vitamins. Now that your beans have cooled, remove them from the ice bath and drain them thoroughly. Arrange them on a baking tray so that they're not touching and in a single layer (Image 1). Place the baking tray into the freezer until your beans are frozen solid, about an hour to an hour-and-a-half (Image 2). Once your beans have frozen remove from the freezer (Image 3), label your freezer bags, then pack them with your desired quantity of beans (Image 4). Quart-sized bags are a great size for green beans and make for the perfect two-person portion to then keep on hand in the freezer (Image 5). Make sure to put the date on your freezer bags and try to use your beans within 12 months. You can keep them longer but after a year the flavor and texture begins to degrade significantly. This process works with many other vegetables and makes it easy to fill your freezer ahead of the winter months.
Derek R. Trimble

Can You Freeze It? 35 Photos
Find out how to freeze a host of fruits and vegetables as well as some surprising things you maybe didn't know you could freeze.
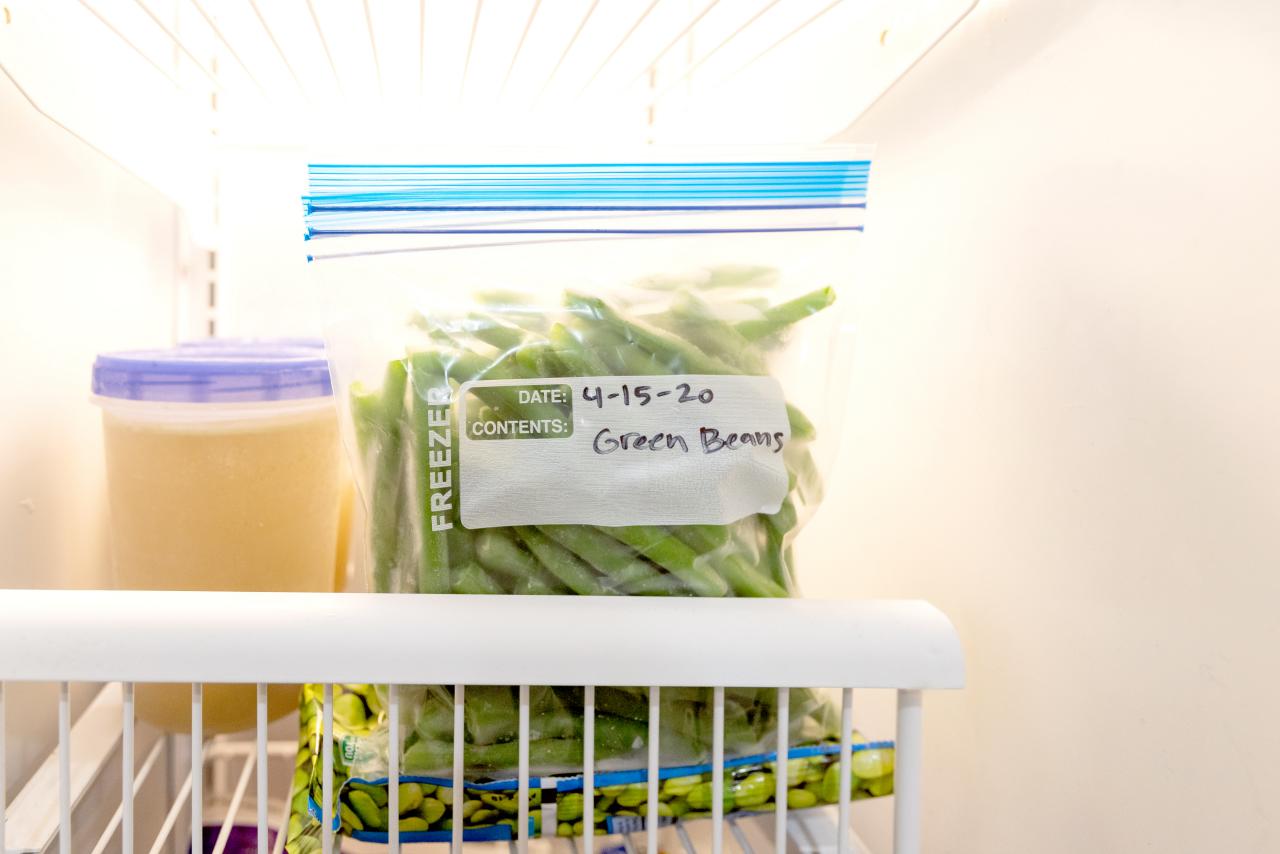
Step 4. Fresh Produce Ready When You Are
Enjoy your single-serve frozen green beans without having to make a trip to the market. Your frozen beans will be good for one year.


