Planting Bulbs in Containers
Follow these easy steps for planting bulbs in containers and you'll have a display that brings spring to your doorstep.
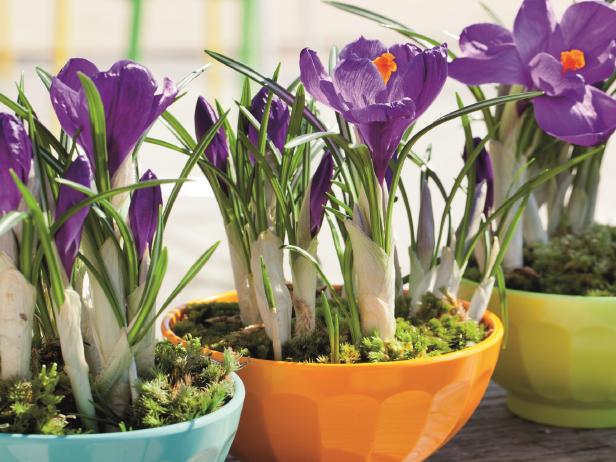
W.H. Zandbergen for iBulb.org
Materials Needed
- containers
- potting soil
- bulbs
Step 1: Choose a Container
Anything that has drainage holes and is deep enough to accommodate a few inches of soil and the bulbs works as a container. You'll need to allow a 1-inch space between the tip of the bulb and the rim of the pot. For example, for a 2-inch-tall daffodil bulb, use a 6-inch-deep pot (3 inches of soil, 2 inches for the bulb, 1-inch space at top). For a 1-inch-tall crocus bulb, use a 5-inch-deep pot (3 inches of soil, 1 inch for the bulb, 1-inch space at top). If you have containers that don't fit these sizes exactly, you can experiment with different soil depths and spacing. Just be sure the bulbs have at least 2 inches of soil beneath them.
Step 2: Choose a Potting Mix
Use any bagged potting mix labeled for general houseplant use. The mix just has to drain freely and maintain moisture. Mix some fertilizer, such as a granular 5-10-10 or 9-9-6 bulb formulation, into the potting mix at the rate recommended on the product label.
Step 3: Pot Up the Bulbs
Add 3 inches of potting mix to the container, and firm it gently. Place a bulb on the soil, and twist it a quarter-turn to give it some grip in the soil. Add the rest of the bulbs, spacing them no more than 1/2-inch apart. Add more potting mix around the bulbs, firming it into place with your fingers. The tips of the bulbs should barely show through the soil surface. Water well until some moisture leaks from the drainage holes. If channels or holes develop in the potting mix, fill them with moistened potting mix.You can plant various bulbs in a single container, but be sure to select varieties that are timed to blossom simultaneously (for example, don't pair late-season daffodils with early crocuses). Plant bulbs in layers in deeper containers, with large bulbs deeper and small bulbs closer to the surface. Space bulbs so they aren't planted on top of one another. You can extend the bloom period by planting separate containers with varieties that have various bloom dates (early, mid-, and late season).
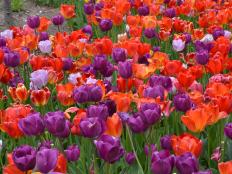
Tulip tip: Face the flat side of tulip bulbs outward toward the wall of the pot. When the leaves and blossom stalks emerge, they'll grow up and outward, instead of crowding toward the center.
Step 4: Time to Chill
In order to flower, spring-blooming bulbs require a chilling period of 8 to 14 weeks at temperatures between 35° and 40° F. To simulate the effect of winter, place container in a cool, dark place such as an unheated, frost-free basement, garage, or porch. A spare refrigerator is an ideal spot, but keep bulbs away from fruits or vegetables; they give off ethylene gas, which can cause the bud inside a bulb to abort.
Step 5: Check Pots Regularly
During the chilling phase, the bulbs are growing roots, so it's important that the potting mix not dry out. Check regularly for moisture by sticking your finger into the potting mix. If it feels dry an inch deep, fill the pot to the rim with water, and allow it to drain. Be careful not to overwater; excess moisture can lead to rot.
Step 6: Watch for Emerging Growth
After six to eight weeks of chilling, green shoots should begin to emerge. If you live in a mild climate, this should coincide with the emergence of bulbs in outdoor beds. If you live in a cold-winter region, keep the containers in their cool place until you wish to encourage growth.
Step 7: Place Containers in Proper Light
Temperatures over 75° F push bulbs to grow too quickly, resulting in floppy, leggy top growth. A location in light shade should provide the right balance of light and moderate temperatures. To ensure that your bulbs stand erect, you can support top growth with flower rings or stakes and twine. As your bulbs grow larger and bloom, check soil moisture daily, and water as needed to keep the soil moist but not soggy. As the bulbs start to bloom, you can move them to a prominent place for best viewing.
Step 8: Post-Bloom Care
If you want to save these bulbs, water regularly after the blossoms fade. The leaves will eventually start to turn yellow and dry up. When the leaves have completely turned dry and brown, empty the pot onto your compost pile. Retrieve the bulbs and allow the soil that clings to them to dry. Remove dead foliage, brush off dry soil, and store the bulbs in a cool, dry place. In the fall, plant these bulbs (except tulips, which don't rebloom well) in a garden bed and purchase new bulbs to pot up in containers.


