


20 Crown Molding Ideas
From traditional to contemporary, there's a crown molding profile to fit your style.
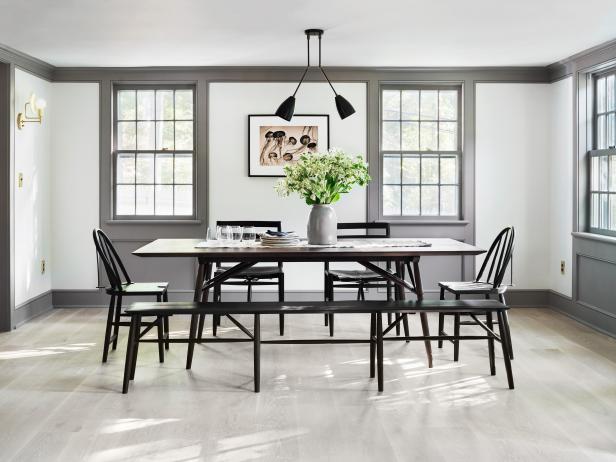
18 Painted Trim Ideas to Spruce Up Any Space
Want to know a top designer trick? Add color to molding, baseboards and door and window frames. It has the power to take any room from average to awe-inspiring.

Dark Craftsman Dining Room Facelift (Without Painting the Woodwork)
In a light makeover, designer Patti Wagner curated a look that suits a young couple while retaining an old home’s charm. Simple design choices make a big difference for the overall feel in this episode of Rentfluencer.


