How to Install Wallpaper in a Bathroom
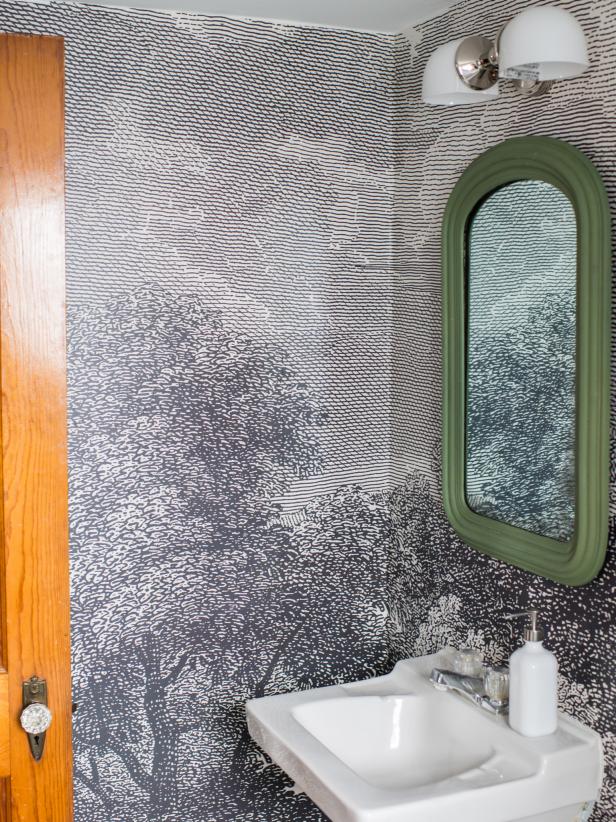
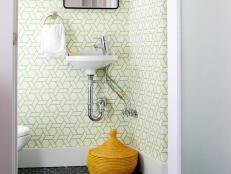
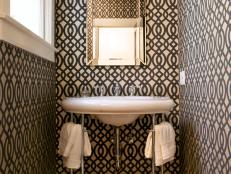
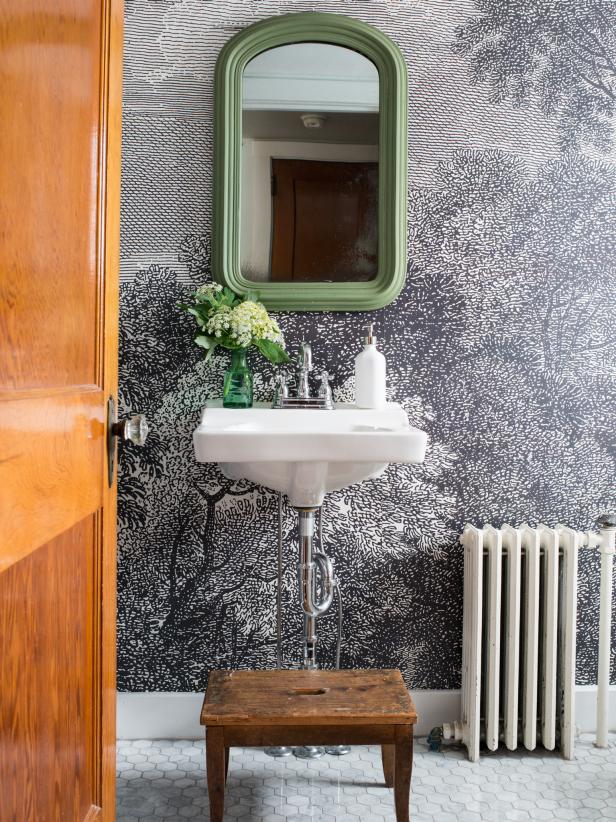
All bathrooms -- but especially small baths or powder rooms -- can be a challenge to decorate. But they're also a great place to be bold and add a lot of drama in a small space with a graphic wallpaper.

Materials Needed
- vacuum
- rag or cloth
- spackle or patching plaster
- putty knife
- drywall sanding block
- pre-pasted wallpaper
- wallpaper primer
- 3/8" nap paint roller
- 2-1/2" sash brush
- step stool
- paint tray (and optional liner)
- 3'- 4' spirit level
- measuring tape
- clear quilting ruler or square
- pencil
- scissors
- plastic tub (or bathtub)
- water
- metal straight edge
- sharp utility knife and extra blades
- wallpaper sponge or cotton towel/cloth
- wallpaper smoother or brush
- 1 or 2 old towels
Clean and Prime Walls
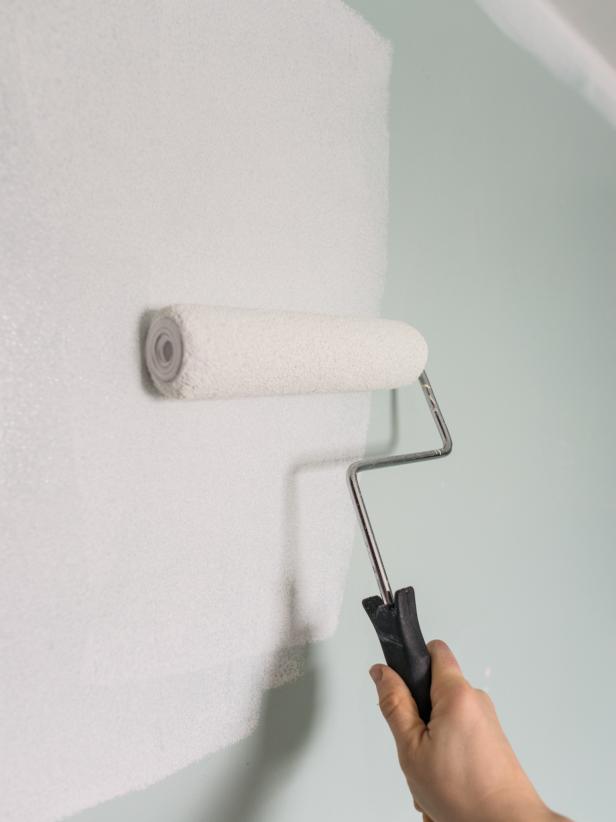
Vacuum and wipe down walls to make sure they are clean and free from splatters, toothpaste, etc. Remove all nails, mirrors, screws, wall light fixtures and switch plates. Patch holes with patching plaster or spackle and a putty knife. Allow spackle to dry and sand smooth with a drywall sanding block. Once wall is clean and smooth, use a roller and sash brush to apply wallpaper primer to walls. This will ensure good adhesion and easy removal down the road.
Measure Wall and Paper
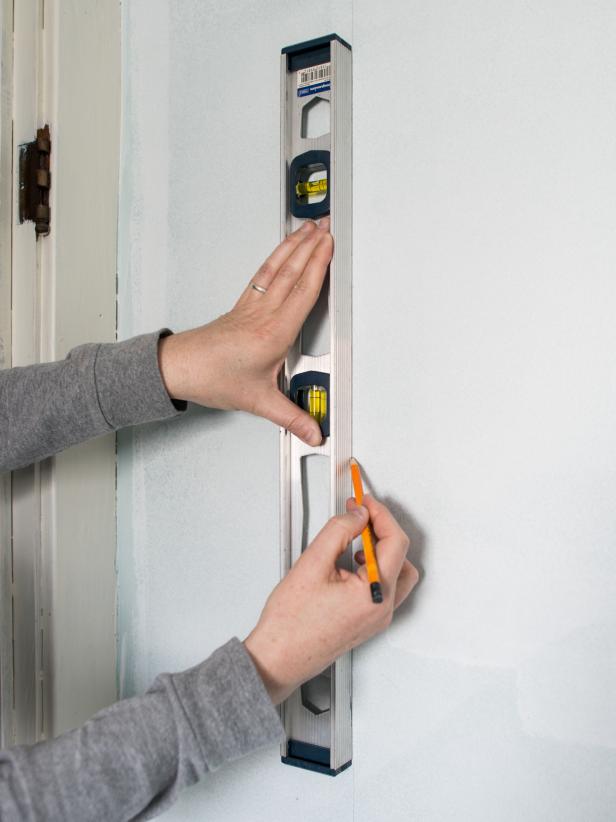
Using a measuring tape, measure wall from ceiling to top of baseboards. Transfer this measurement to first panel of paper, adding about an inch allowance at the top (Image 1). Draw a straight cut-line with a pencil and a clear quilting ruler or square (to ensure a straight line.) Cut along line with sharp scissors. Determine start point of first wallpaper panel on the wall. Mark with a pencil. Then, draw a straight vertical (or plumb) line using a pencil and level (Image 2). Since most walls and ceilings aren't level or square, use this plumb line as a guide when hanging the first piece of paper. Tip: When working with a repeating pattern, this starting plumb line can be in the center of the main wall, a corner, up against cabinetry, etc. If hanging a mural, like this one, start from left to right (or however the mural comes off the roll.)

Soak and Hang Paper
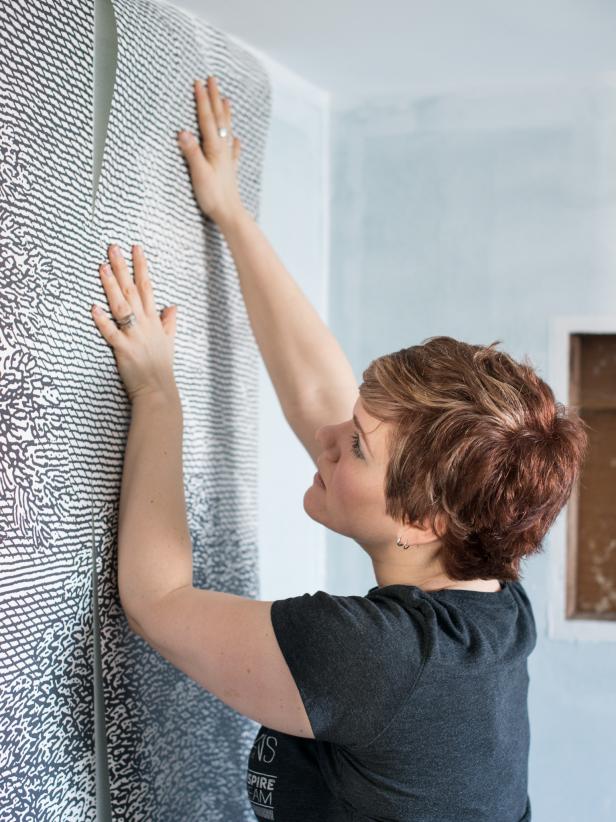
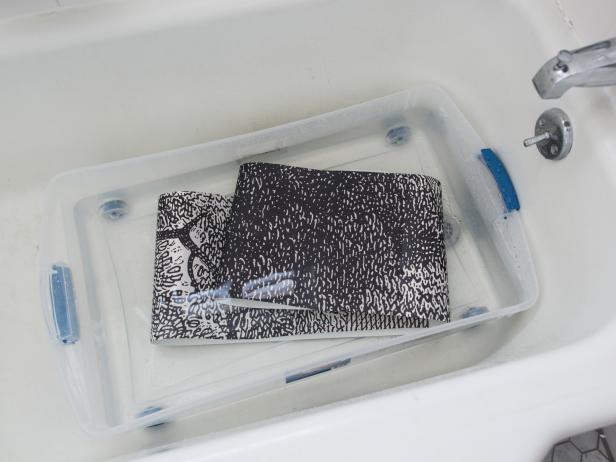
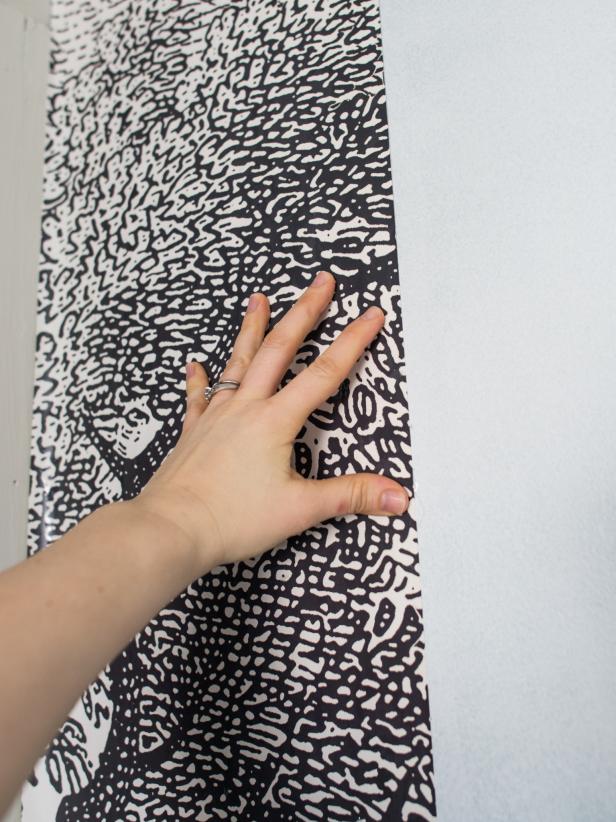
Fill plastic tub or bathtub with enough clean water to submerge wallpaper completely. Grab top and bottom sides of wall paper panel and fold each end length-wise to meet in the middle with glued sides together. Then fold each end into the center again to "book" the paper. Push booked paper into water until throughly covered (Image 1). Follow manufacturer's instructions for duration that paper should be submerged. Once instructed time has passed, remove paper from water and allow excess to drip off into tub. Unfold paper and press onto wall, lining up one edge with the penciled plumb line (Image 2). Most wallpaper paste allows for shifting once applied to wall, in order to ensure proper placement and removal of bubbles and wrinkles. Tip: If working in a room with high walls, this is definitely a job that's easier with two people.
Smooth Wallpaper
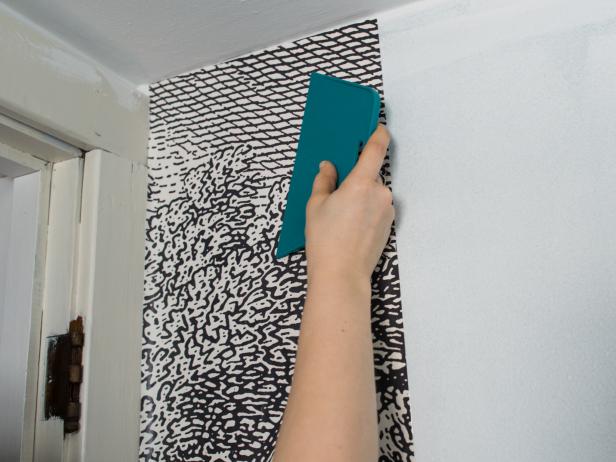
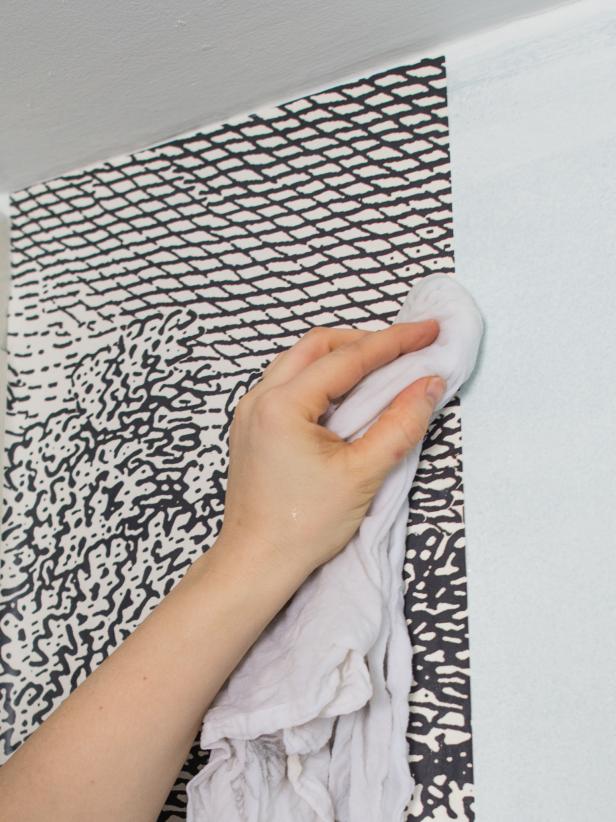
Once paper is properly placed, smooth out bubbles and wrinkles with a rubber smoother or wallpaper brush (Image 1). Smooth from the center of the paper out toward the edges, pressing out extra glue and air bubbles as you go. The squeeze-out will drip down the walls, so it's a good idea to have an old towel on the floor to catch it. Once smoothed, wipe paper's surface with a clean, damp cotton cloth or wallpaper sponge (Image 2). Rinse cloth or sponge and wring out regularly to keep it clean. Note: At this point, wallpaper will feel wet, but shouldn't be dripping or have visible glue on the surface.
Trim Wallpaper
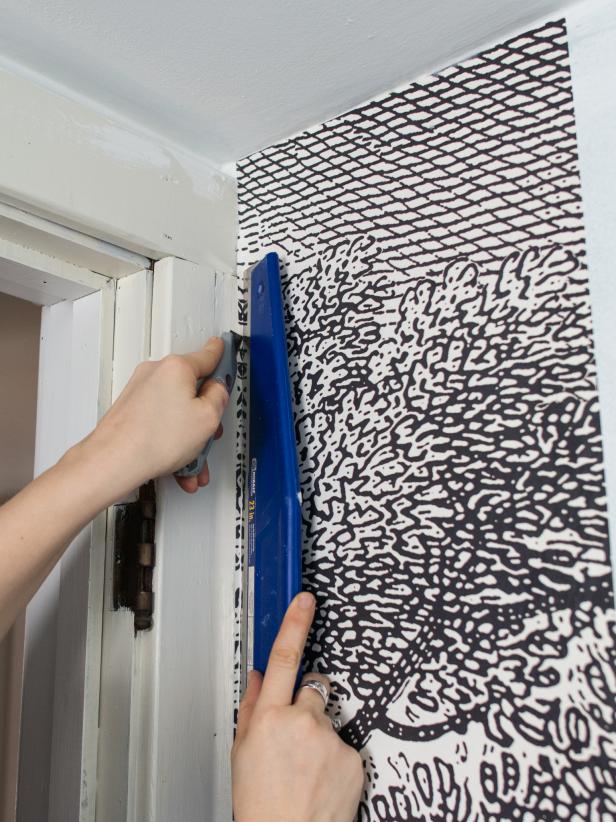
In corners and against ceiling and baseboards, press a metal straight edge into corner and trim wallpaper to size using a sharp utility knife. Tip: If knife is pulling paper against the paper instead of cutting it, the blade is dull and needs to be replaced. Have several sharp blades on hand for this project. When hanging wallpaper over a light switch plate, light fixture, outlet, sink, medicine cabinet, etc., "dry fit" the paper prior to soaking in water to activate paste. Mark where fixture is located with a small cut or pencil mark. Double check marks with measurements taken from the wall and cut out shape of fixture with sharp scissors. Be conservative with the cuts and work carefully to ensure accuracy. Tip: There is a danger of shock when working with wet hands around a live electrical outlet or switch, so make sure power is turned off at the junction box when smoothing paper around those areas.
Continue to Hang Paper
Repeat steps 2-5 with next piece of wallpaper. It's even a good idea to measure from the baseboard and ceiling again, since walls and ceilings are usually not level, square or plumb. There can be inches in difference from one side of the room to another, especially in old homes. When cutting subsequent pieces of wallpaper, keep the pattern or repeat in mind as well (Image 1). It's better to give a generous allowance to work with, since the paper can always be trimmed, but cannot be pieced back together without creating a seam. When hanging around an interior or exterior corner, press paper into or around the corner with rubber smoother. Make sure paper contacts the curves of the wall completely. Allow paper to dry before replacing switch plates and fixtures (Image 2). Note: Most modern wallpapers are removable when used over wallpaper primers. Simply wet and peel off. Some can even be reused in another space.
