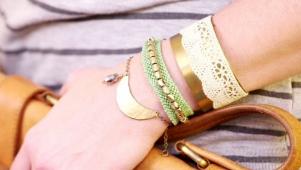
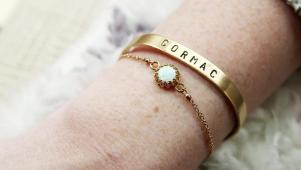
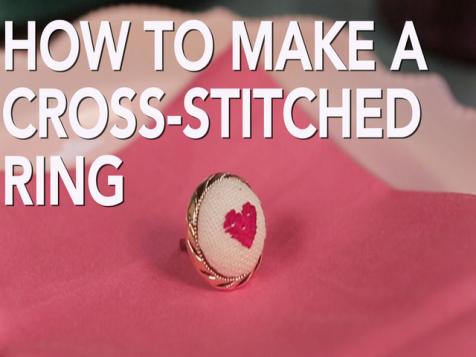
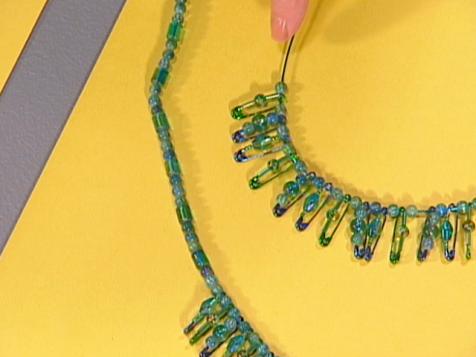
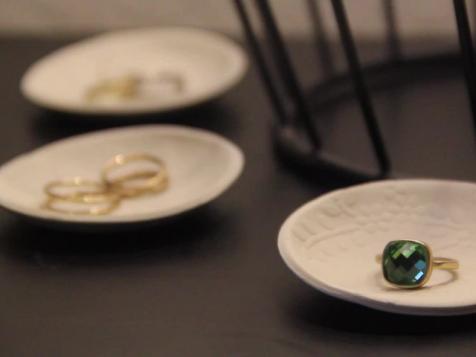
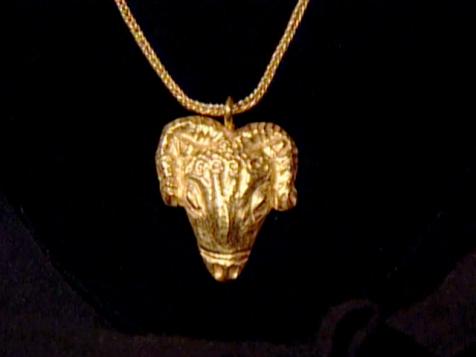
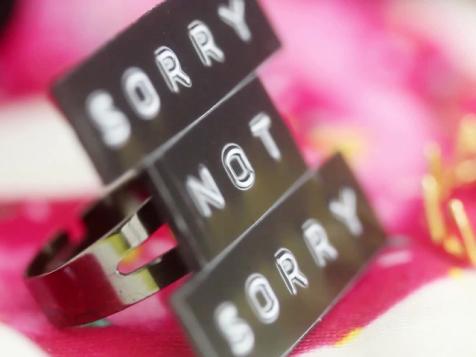
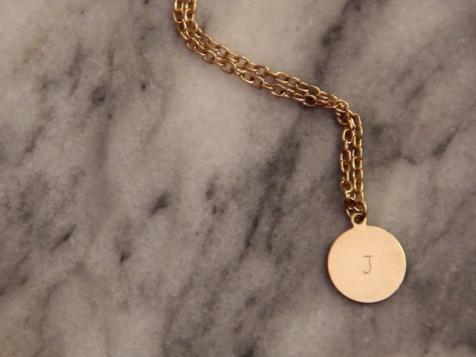
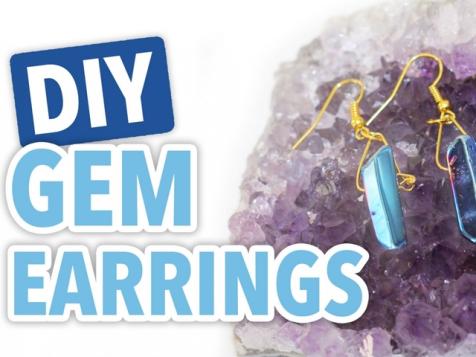
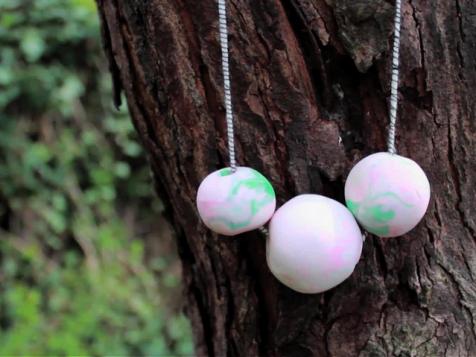
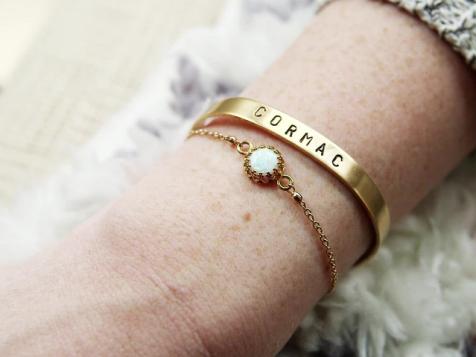
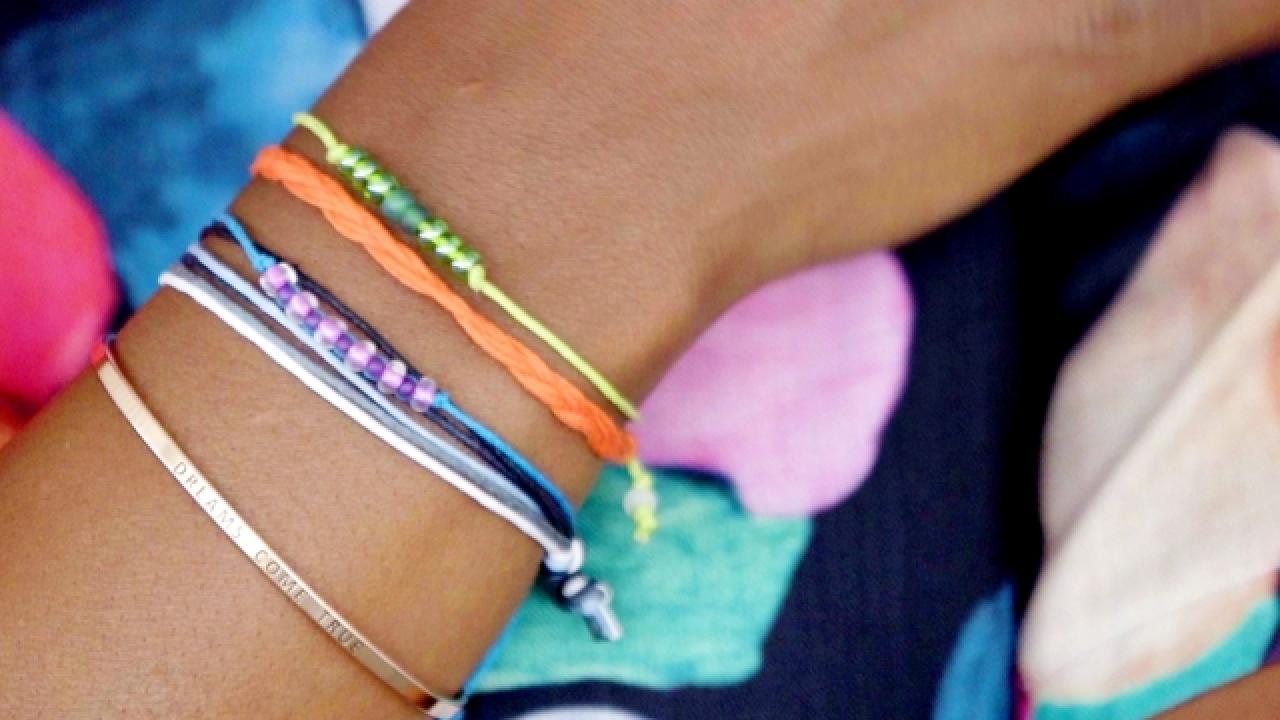
Our Favorite Jewelry Geniuses
From woven bracelets to quirky, kid-friendly necklaces, jewelry lovers of all ages are sure to enjoy, take a look at some of our favorite jewelry geniuses.
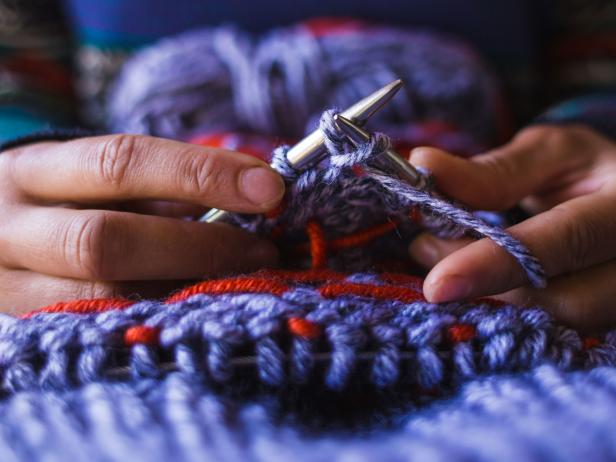
Why Crafts Are a Great Way to Practice Self Care
Sure crafting is relaxing and creative, but did you know it can also improve your mental health and well-being? Learn more about how scrapbooking and knitting may be a form of self-care. Some of our ideas may surprise you.
Loading Video...