


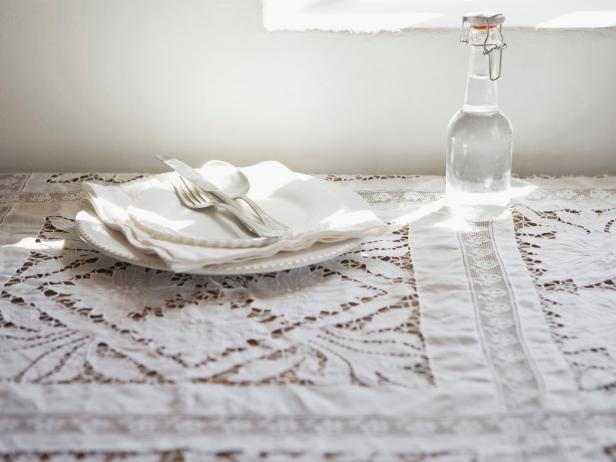
Vintage, Shabby Chic Tablecloths
Shabby chic tablecloths lend themselves to various design styles. Lace materials with a vintage vibe look great in cottage, country and traditional homes.

Patterned Tablecloths
Giving depth and texture to any tabletop, these patterned tablecloths make dining a delight.
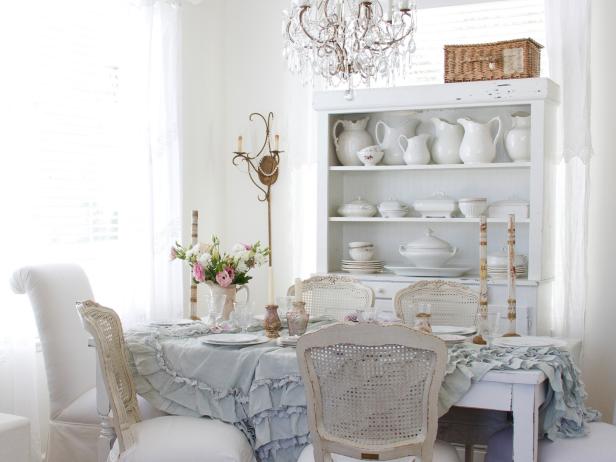
Versatile, Neutral Tablecloths
Neutral tablecloths in oatmeal, khaki, tan and white are the perfect backdrop for interchanging accessories and tableware. These linens make it easy to create beautiful tablescapes.


