


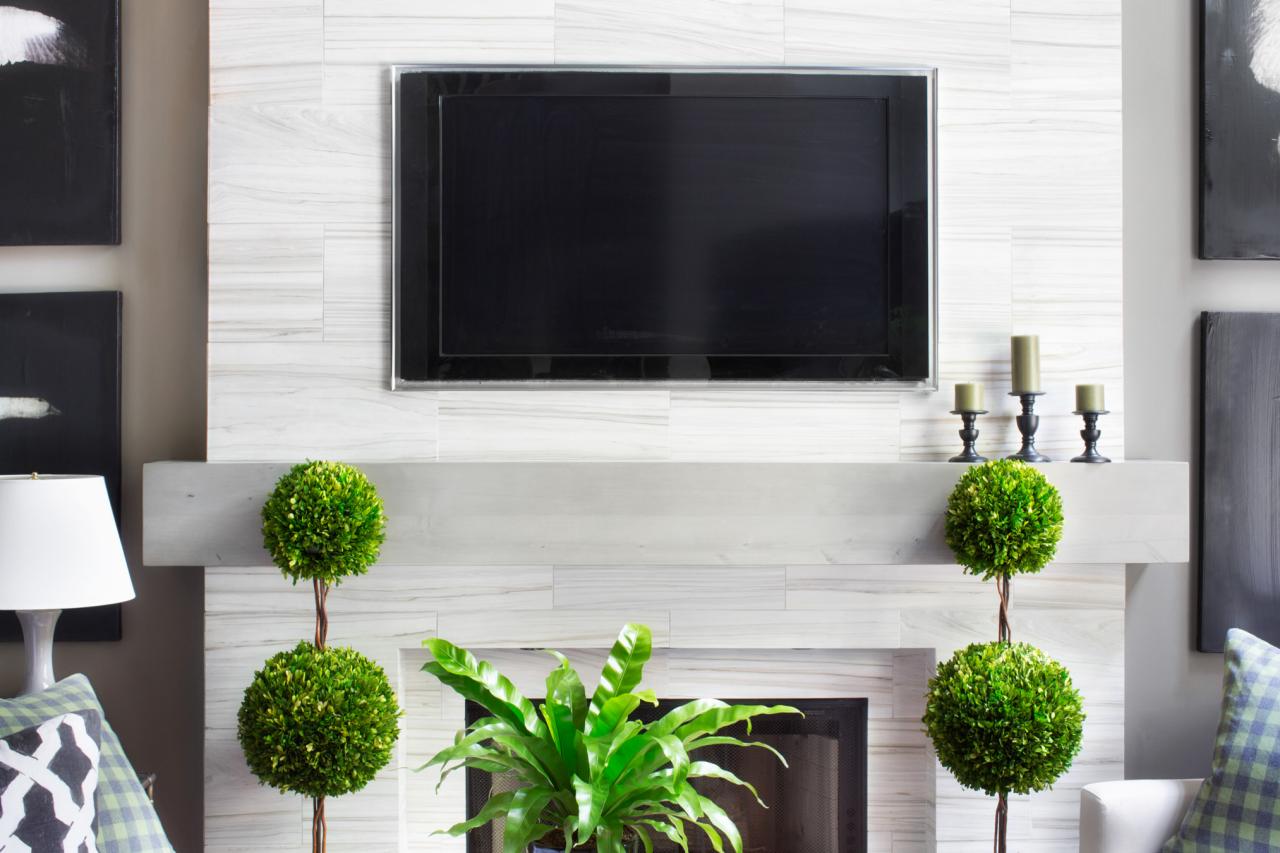
Make a Floating Wood Mantel


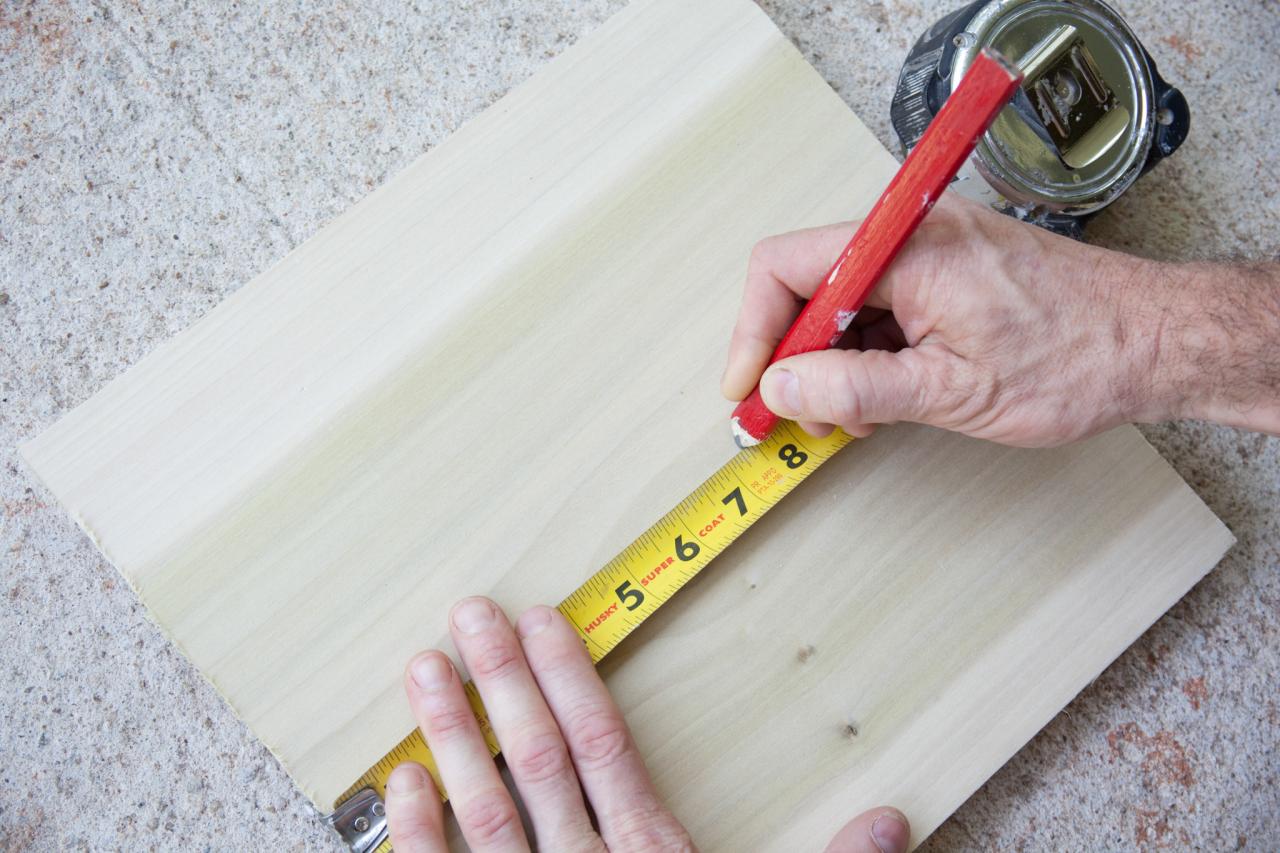
Step 1: Measure Fireplace Width
Use measuring tape to determine the exact width of the fireplace. Once measurements are taken, consider adding an overhang by adding an additional 8x12 inches along each end.

Photographer: Christina Wedge
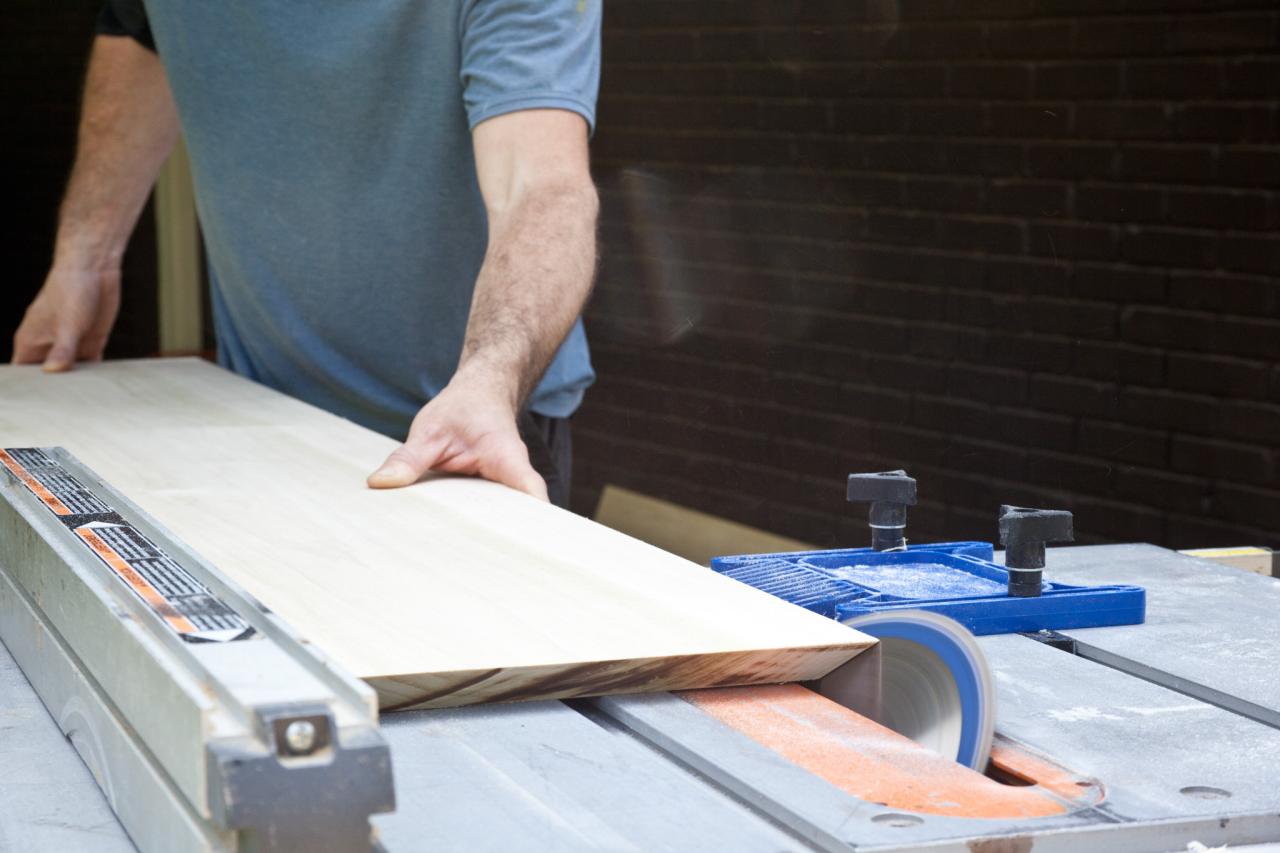
Steps 2: Measure, Mark and Miter Fascia
Use a measuring tape and pencil to measure and mark 1x12-foot wood planks to the desired width of fireplace and any additional overhang. Next, cut the fascia to size, mitering each end with a compound miter saw. Finally, place the fascia board on a table saw and miter the entire front edge at a 45-degree angle.

Photographer: Christina Wedge
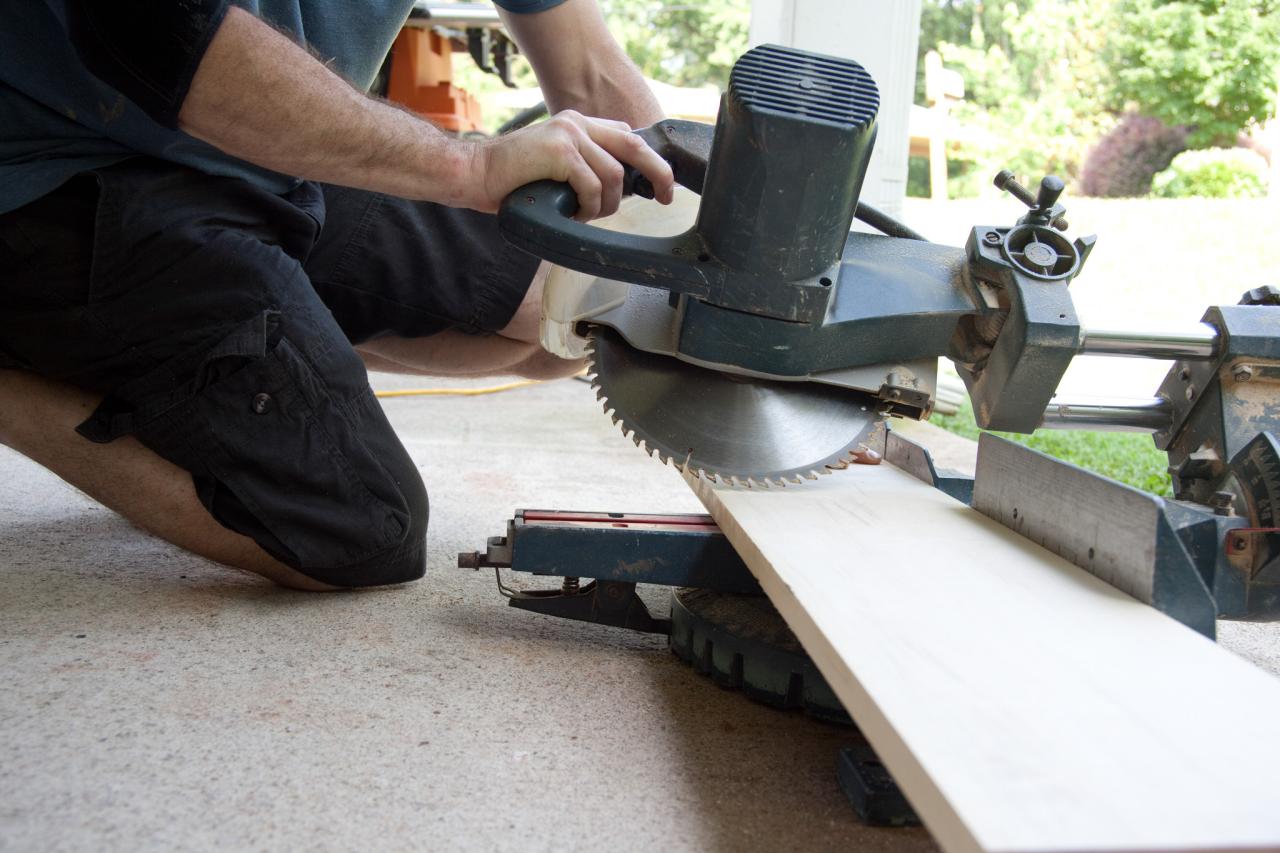
Step 3: Measure, Mark and Miter Top
A depth of 7 inches is ideal for most mantels, as it allows plenty of room to accommodate decorative objects. Keep in mind that the top and the sides of the mantel should be the same depth. First, use a measuring tape and pencil to measure and mark the mantel top to size. Next, use the table saw to cut a 1x12-foot plank of wood to the proper depth, using the miter setting to miter the front at a 45-degree angle. Lastly, use the compound miter saw to miter both ends of the top at a 45-degree angle.

Photographer: Christina Wedge
Step 4: Measure, Mark and Miter Sides
The fascia and top will connect to two side pieces, which you'll construct from scrap fascia lumber. The side pieces should be the same depth as the top. Using a measuring tape and pencil, measure and mark the scrap wood to size. Next, cut the mantel's side pieces to size using a compound miter saw, mitering the front edge of each piece at a 45-degree angle.

Photographer: Christina Wedge
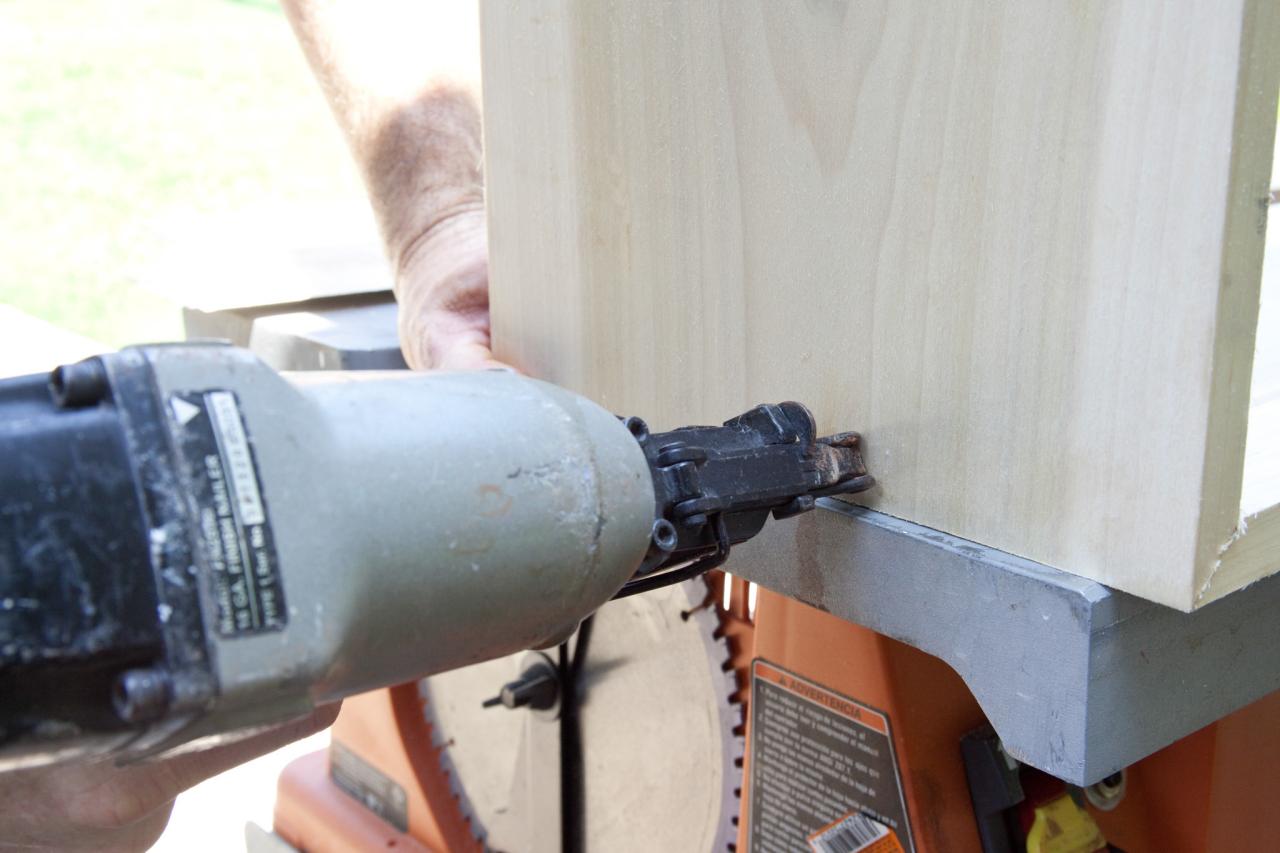
Step 5: Attach Fascia, Sides and Top
Once the fascia, top and side pieces have been cut to size and mitered, they'll need to be assembled to create the boxy form of a modern mantel. Attach these components by adding wood glue along the surface of each mitered edge, then fit the fascia, sides and top together. Next, use a nail gun to secure all pieces to one another. Employ woodworking clamps to hold each piece securely to the work surface until the glue dries, adding extra structural support.

Photographer: Christina Wedge
Step 6: Cut and Attach Reinforcement Blocks
Create mitered reinforcement blocks from scrap wood by running them through the table saw, cutting each at a 45-degree angle. Next, add wood glue along each mitered edge and add one reinforcement block to each 12-inch span of mantel.

Photographer: Christina Wedge
Step 7: Spackle and Sand
To achieve a polished, smooth finish, all nail holes and raw edges on the mantel should be filled and sanded before a stain is added. First, fill all holes and imperfections with spackle using a spackle knife. Once the spackle is dry, use a fine-grit sanding block or orbital sander to smooth down the spackle, as well as the wood surface. Wipe away all dust using damp cloth.

Photographer: Christina Wedge
Step 8: Stain and Seal
Add stain to all surfaces using a dry staining cloth, staining pad or paintbrush. Once dry, use a sealant to protect the surface.
TIP: Many manufacturers offer self-sealing stains that require only one step. It's wise to invest in this type of stain to save time.

Photographer: Christina Wedge
Steps 9: Cut and Attach Mounting Blocks
In order to secure the mantel to the wall and fireplace front, you'll need to cut mounting blocks from scrap pieces of 2x4" lumber and install them along the wall. Using a compound miter saw, cut the 2x4" lumber into 4x6-inch strips. Next, use a measuring tape to determine where the top edge of each side of the mantel will meet the wall. Then, use a stud finder to determine the nearest stud to the edge. Finally, place each mounting block approximately 1/2 inch in from the mantel's edge and attach to the wall with 3-inch drywall screws.

Step 10: Secure Mantel to Mounting Blocks
With the help of an assistant, slide your new mantel box over the mounting blocks, then use a drill to secure it with 3-inch drywall screws.

Step 11: Caulk Crevices
Using a caulk gun, apply a bead of caulk along the area where the back of the mantel meets the wall. Then, smooth out the caulk with a small brush or fingertip.


