


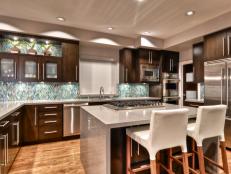
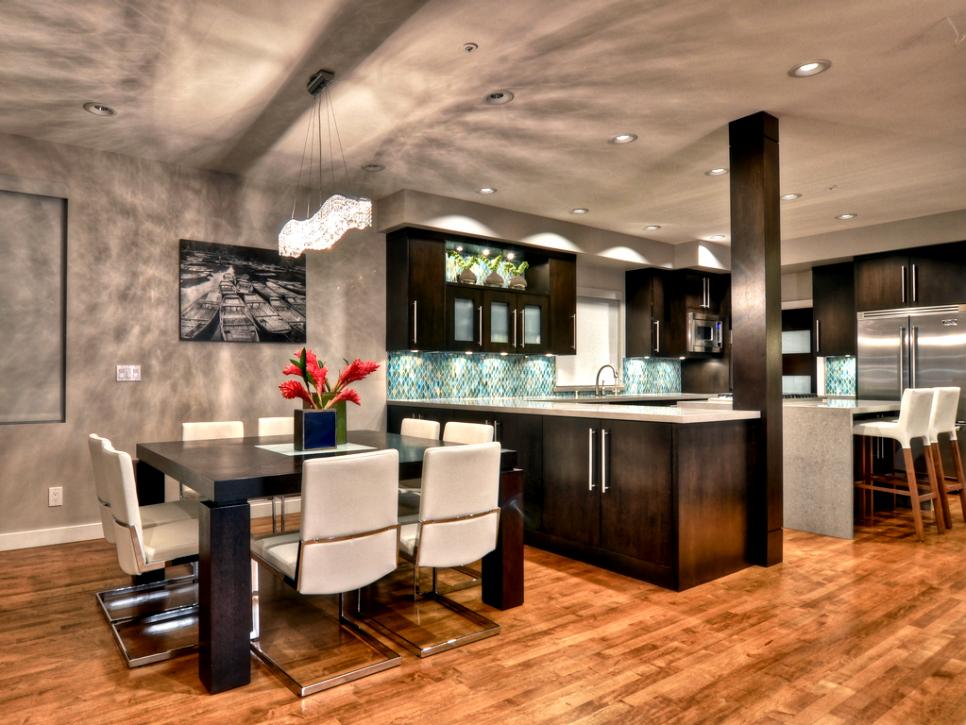
Open Concept Modern Kitchen

Stunning Contemporary Kitchen
Designer Shirry Dolgin embraced the existing layout, but completely transformed the look of the kitchen. Dark oak cabinets in a sleek, contemporary style are combined with the clean lines of the Caesarstone countertops, giving the tired kitchen a new modern feel.


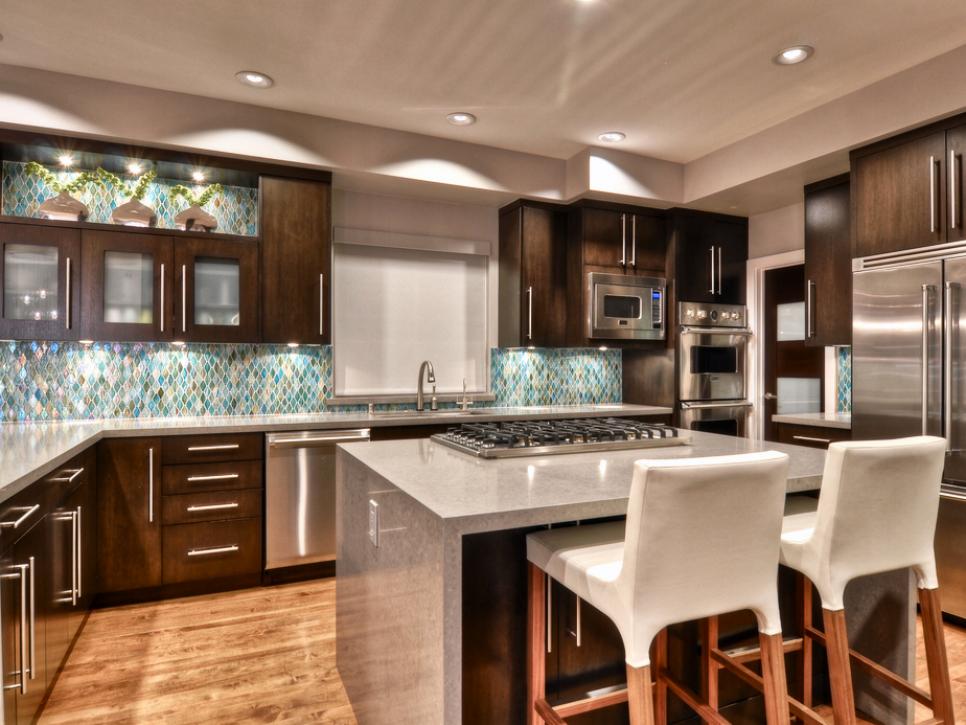
For this Manhattan Beach, Calif., remodel, designer Shirry Dolgin worked with a budget of $42,000 to create a beautiful kitchen that mixes streamlined, contemporary lines with deep wood tones. Her finishing touch is a striking ocean glass backsplash that truly steals the show.
We caught up with Dolgin to learn how she transformed a ho-hum space into the homeowners' dream kitchen.
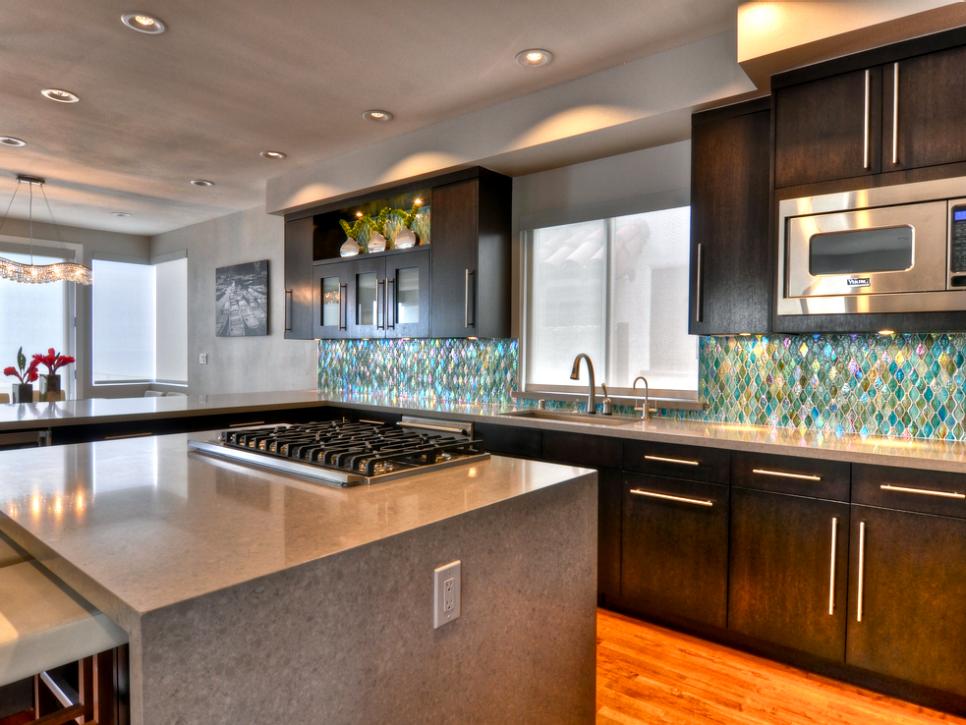
Gorgeously Dark Modern Kitchen
See All Photos

Describe the homeowners' wishlist.
The homeowners wanted an updated, more contemporary space, but the only thing on their actual wishlist was to use colors of the ocean as inspiration. Other than that, they told me to do whatever would look great to modernize the outdated space.
What were the homeowners' design problems?
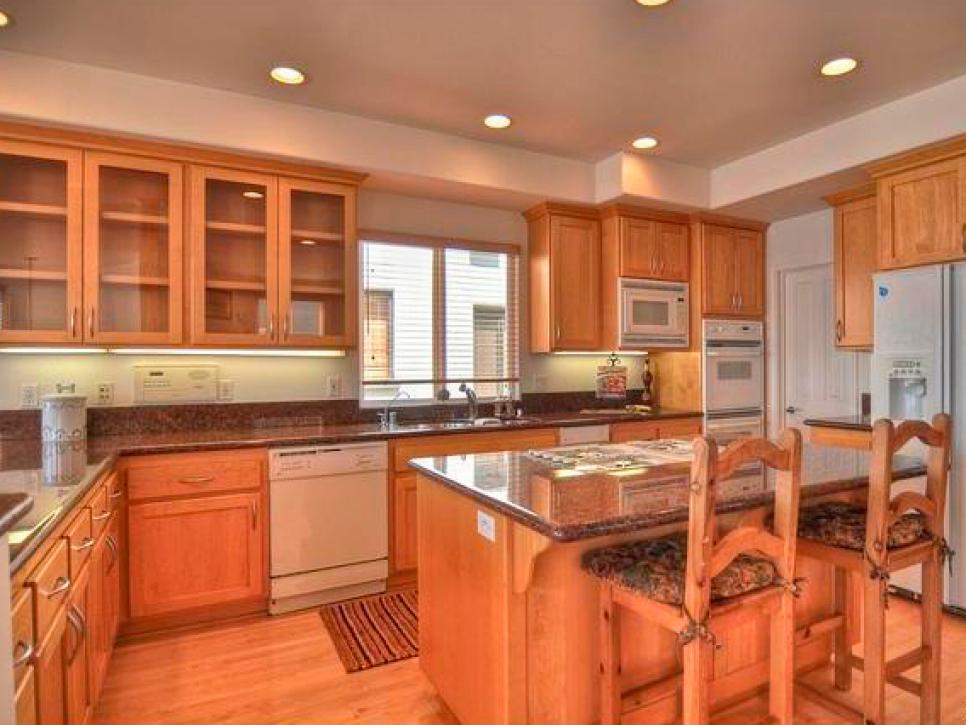
Luckily, the previous kitchen was a nice large size, so storage was not an issue, as it is in so many cases. The main obstacle here was a large column that used to block the flow of traffic into the kitchen and also obstructed the view. Thankfully, the contractor and structural engineer were able to get rid of it and open up the space entirely. Once the column was removed, it was smooth sailing.
What was your biggest obstacle in this space?
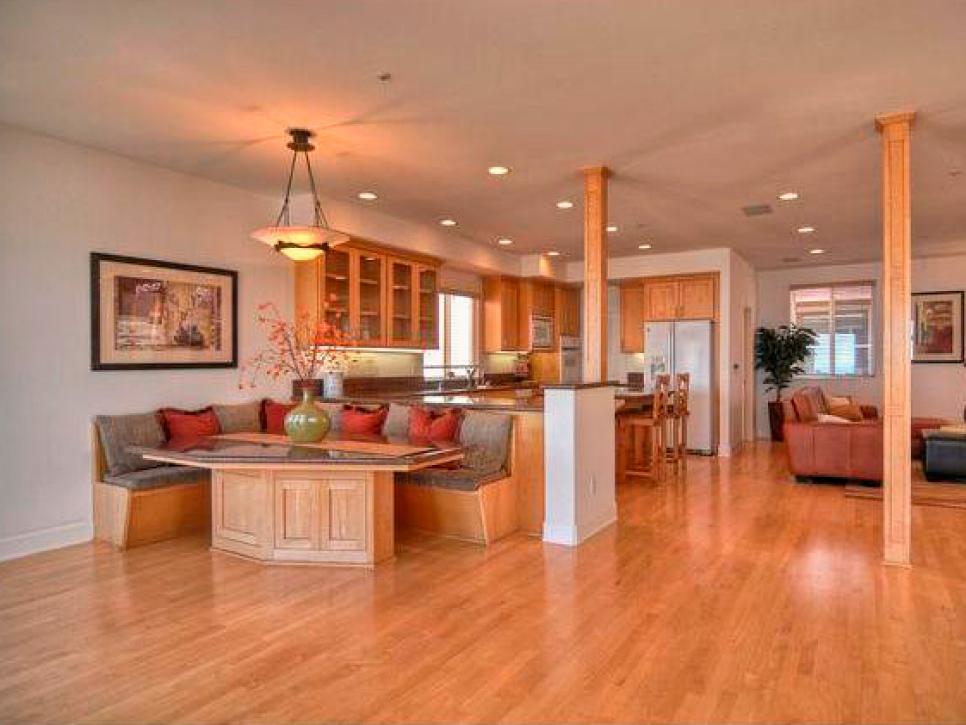
One of the biggest obstacles in this kitchen was the original breakfast banquet seating area, which was connected to the outside of the peninsula. It had a large, triangular-shaped granite tabletop and was a huge road block in the open space plan. We debated keeping a similar plan or removing it all together, and in the end, decided to get rid of it. In return, the peninsula now has storage where the banquette once was, and the family has the flexibility of a freestanding dining table.
How does the end result match up with your original vision?
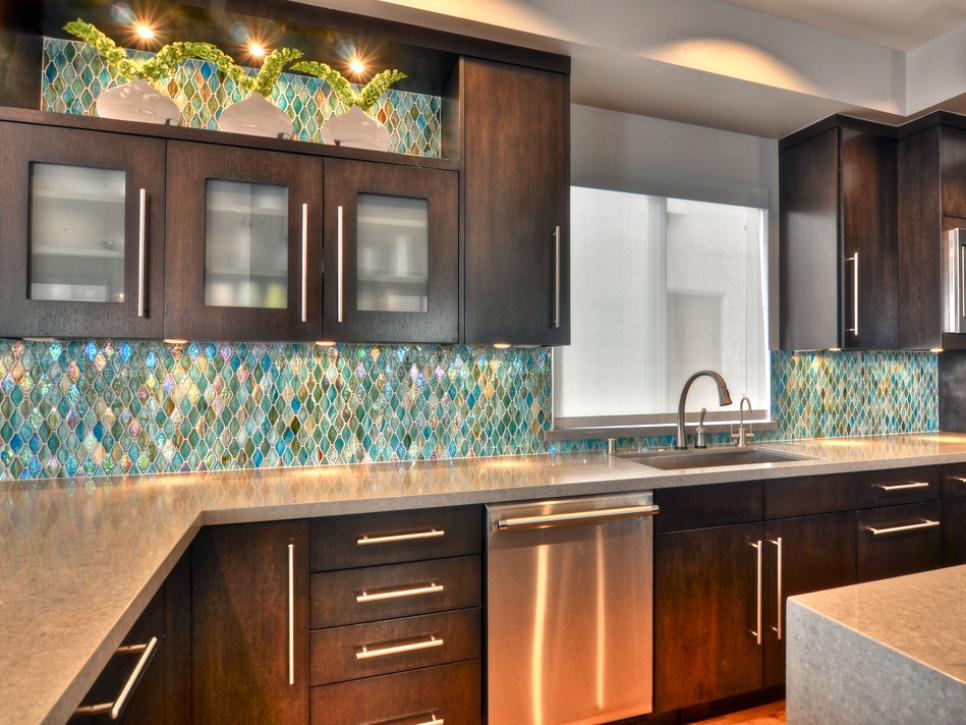
Part of my job is to try to avoid any problems that may come up by having a complete set of plans before work starts. The only issue we really dealt with was where to end the upper cabinets. The old upper cabinets in the kitchen stopped a little short of the peninsula, but the contractor and I both thought the kitchen would have visual continuity by extending the upper cabinets further. I also installed the backsplash, which is the featured material in this kitchen, to go all the way up the main wall instead of stopping short at the upper cabinets.
What lessons did you learn?
It's what I learn in every project. With a good set of plans and a good team of people working together, you will always end up with what you wanted and more.
What are the "hidden gems"?
One of the most important tips I could give to a homeowner who is investing in a beautiful backsplash, like my client did, is to move all the electrical plugs off the wall and place them underneath the upper cabinets. This is the only way to maintain a clean, beautiful look for the decorative backsplash without having a bunch of "wall acne."


