Patch Rotted Porch Slats
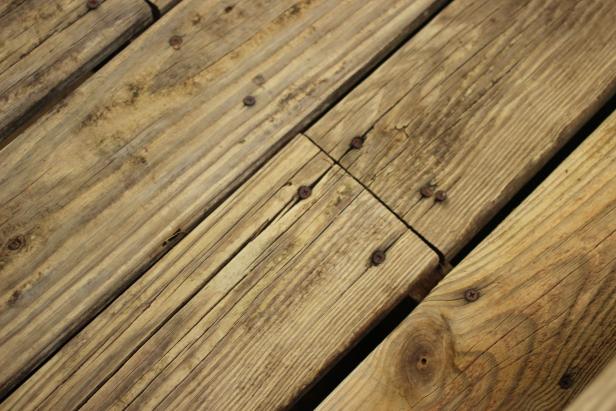
Photo by Mick Telkamp
Home repair expert Henry Harrison shows a homeowner how to patch a bad section at the end of her porch slats. The slats go under the door and into the house and the repair will stand out like a sore thumb if not done correctly. On his elbow grease scale of one to four, Harrison gives this repair a two.
Materials and Tools:
vacuum
plastic container
caulking gun
mirror
spring clamps
tape
plastic bag
wood shim
putty knife
five-in-one painter’s tool
metal brushes
plastic knife
disposable paintbrush
carbide-tipped scraper
80-grit sandpaper
plastic gloves
work towel
dust mask
safety glasses
wood hardening solution
repair kit with two-part wood filler and hardener
caulk
Steps:
1. Put on safety glasses and dust mask and use painter's tool and scraper to scrape all paint and caulk off damaged porch slat to see how extensive the damage is. Remove carefully to leave as much non-damaged wood as possible.
2. Vacuum work area clear frequently so you can see what you're doing.
3. Once the paint and caulk is removed, use a metal brush to thoroughly clean surface.
4. Mask off area around damaged slat with a plastic bag. Paint on wood hardening solution with a disposable paintbrush. If necessary, use a mirror to make sure that even the underside of the slat is saturated. Allow the solution about two hours to dry.
5. Mix together wood filler with hardener. Cut small pieces of wood out of the shims to help fill gaps. Cover the wood pieces with filler and place in the hole. Fill and pack the hole with wood filler.
6. Cover a piece of wood with plastic and clamp in place to help the patched slat hold the desired shape.
7. Cover entire area with wood filler. Let dry and release clamps. Sand excess wood filler away using 80-grit sandpaper. Vacuum the area as you go so you don't grind residue into the new surface.
8. Fill any remaining grooves with wood filler and repeat the process of drying and sanding. Once all of the excess has been sanded off, fill any small depressions with caulk to help smooth out the area. Smooth caulk bead with a damp towel.
9. Allow the repair at least a day to dry and cure, then come back and prime and paint area.


