


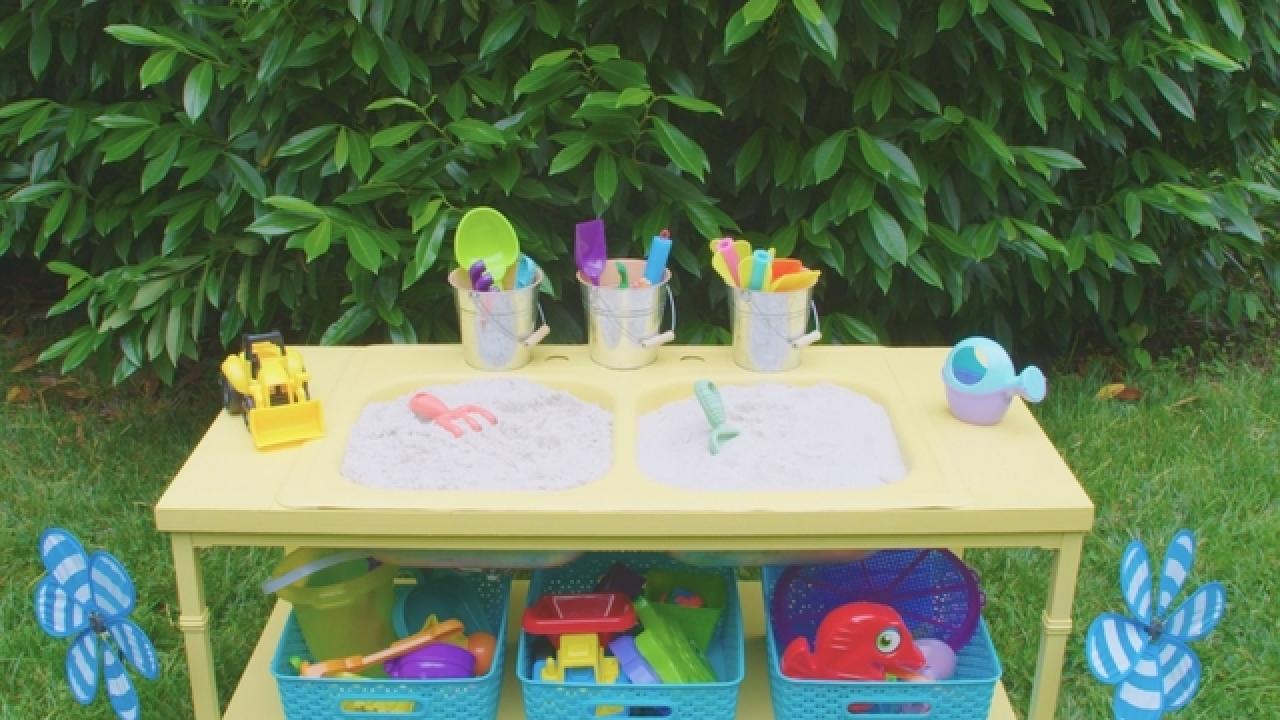
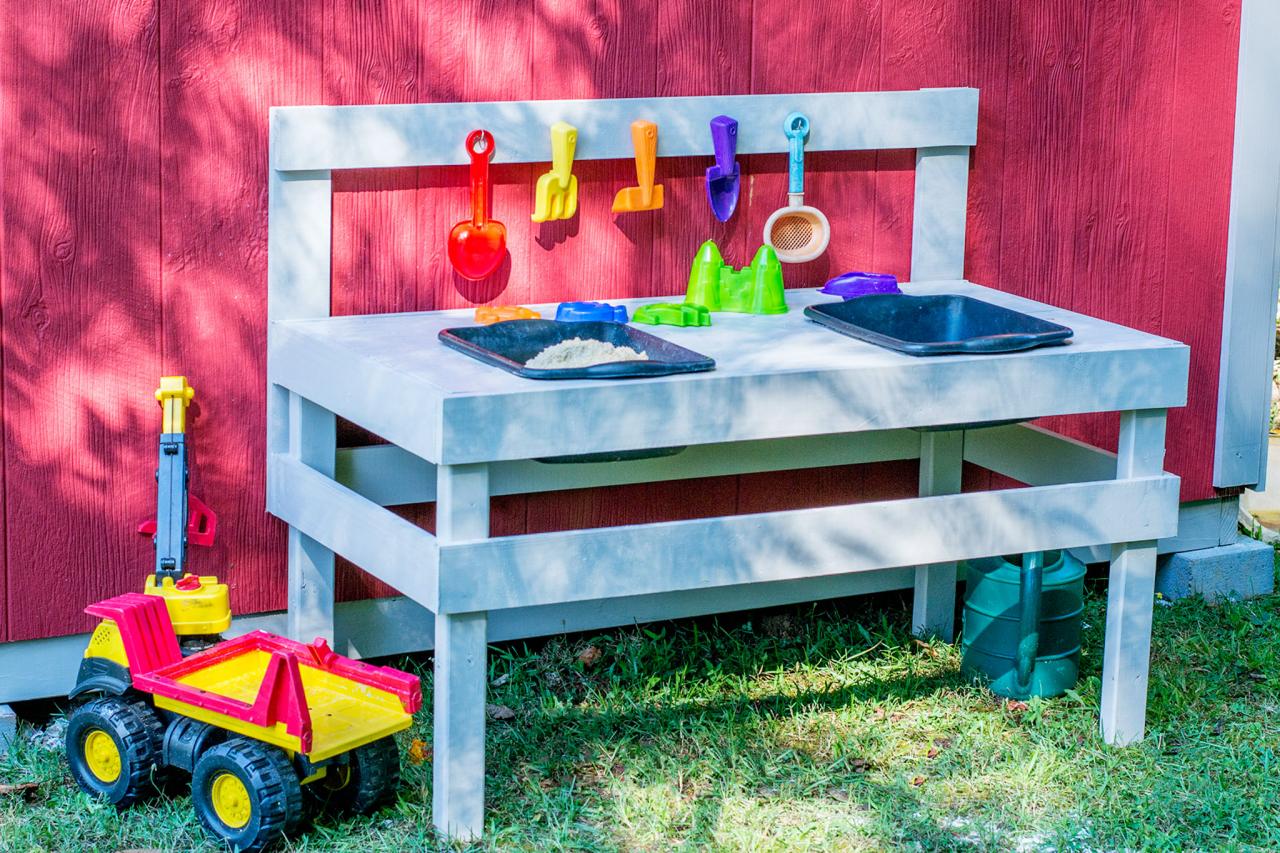
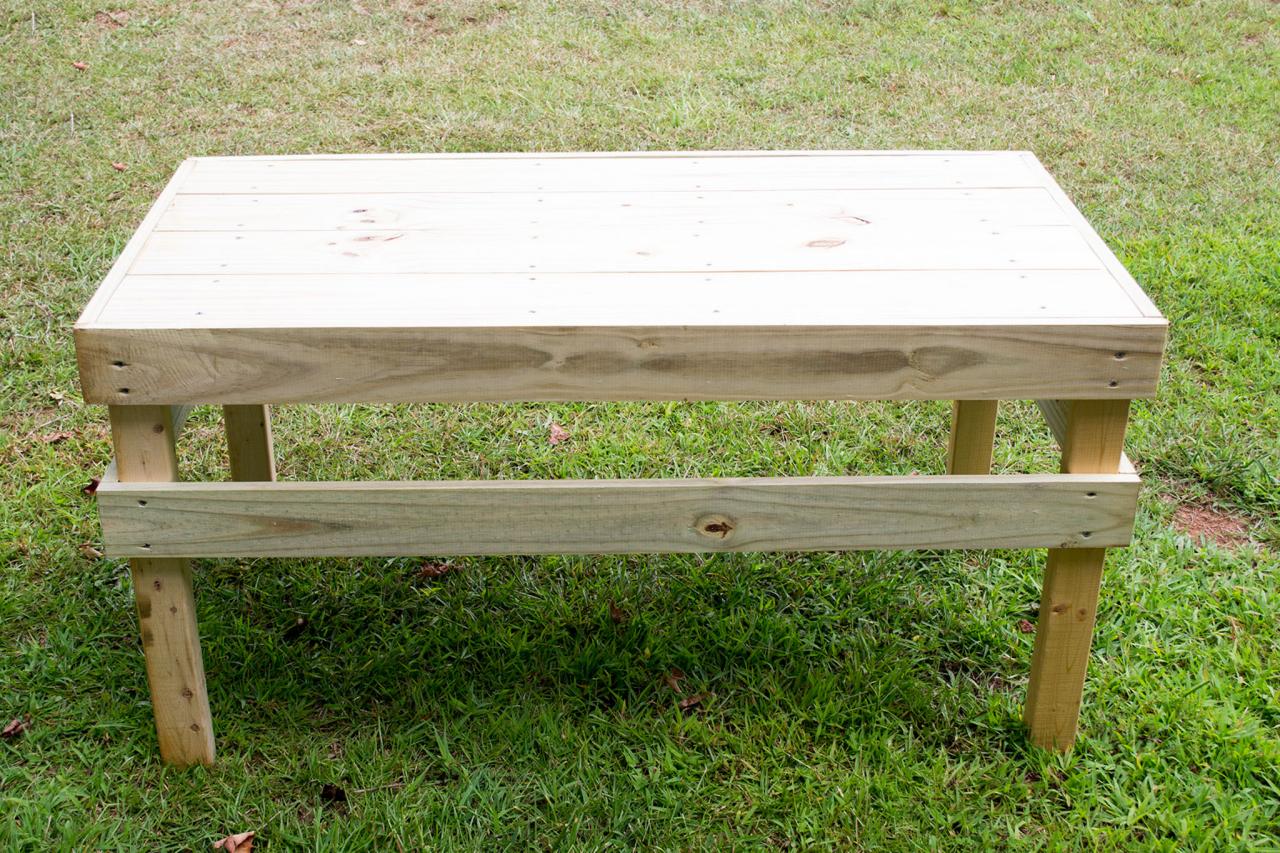
How to Make a Kids' Mud Kitchen + Activity Table
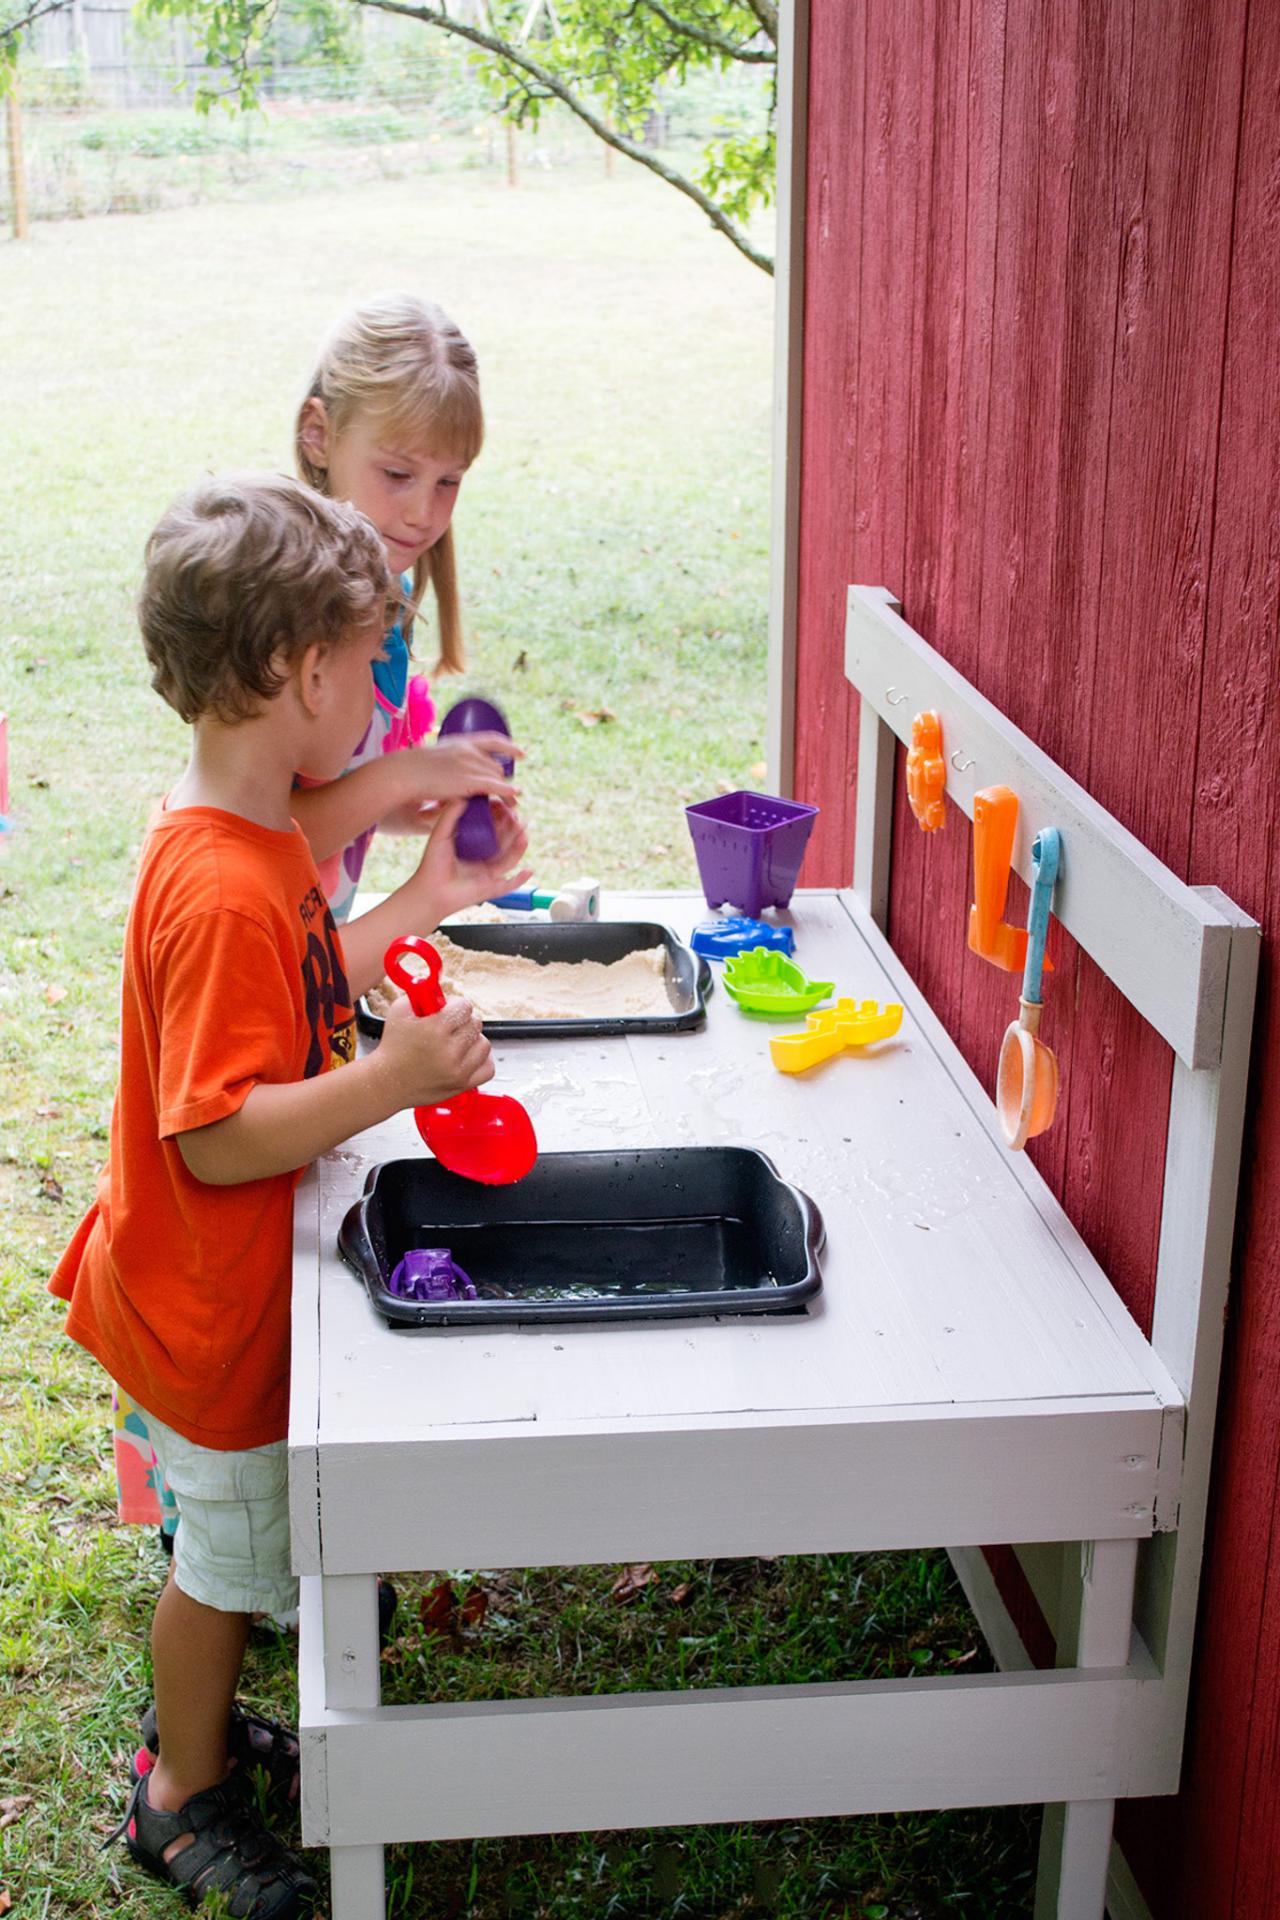
Keep the kids entertained for hours with this outdoor play bench where they can cook up muddy creations, build sand castles or play with tractors all day long.

An activity table is a great way to improve fine motor skills and encourage creativity. We built an outdoor table with two recessed bins – one filled with water and the other filled with sand. If you have an old sink with a stopper, that will work too. We then added sand toys, utensils and vessels like buckets and strainers so the kiddos can while away the hours having fun and getting a little messy.

Debbie Wolfe
Tools and Materials:
- legs: (4) 2x3 @ 23"
- leg supports: (4) 1x4 @ 48" and (4) 1x4 @22-7/8"
- table top: (4) 1x6 @ 46-1/2"
- cross pieces: (4) 1x4 @22-3/4"
- tool rack: (2) 1x4 @ 24" and (1) 1x4 @ 48"
- mitre saw
- jigsaw
- drill with bits and accessories
- 2" and 1-1/2" exterior screws
- (2) plastic bins or an old sink
- primer and exterior-grade paint
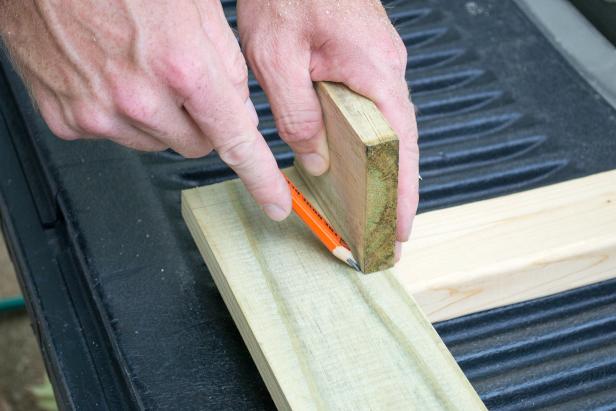
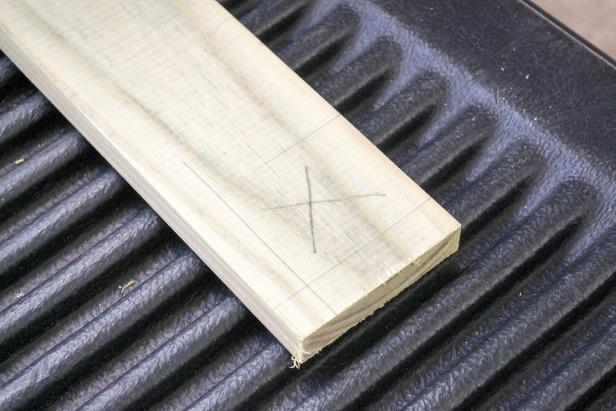
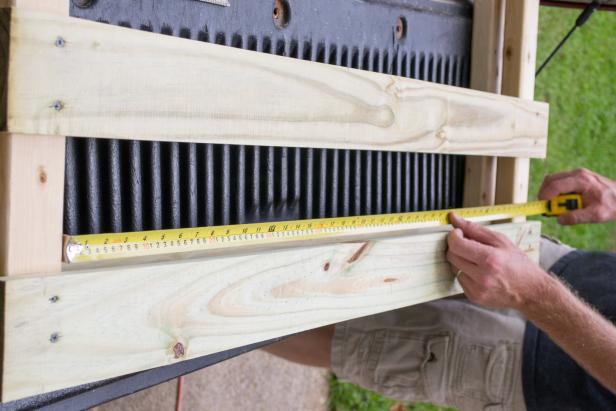
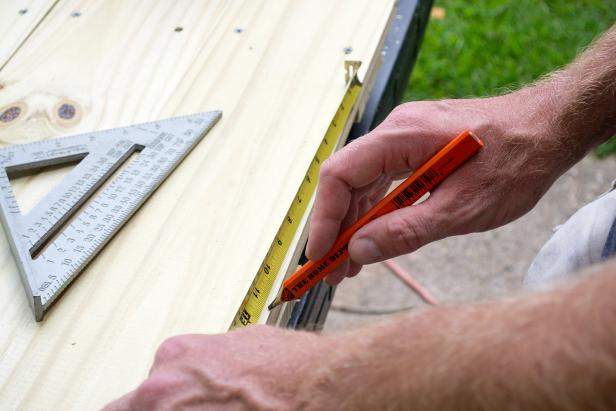
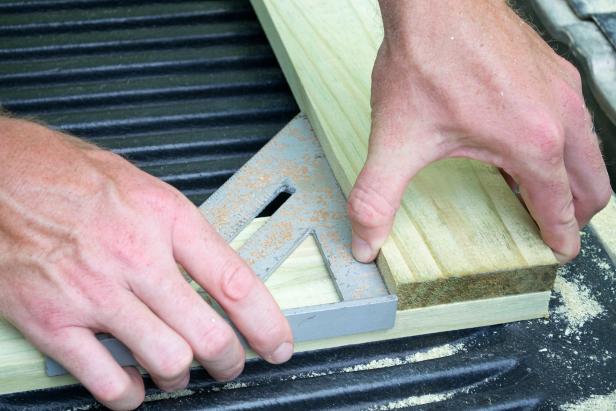
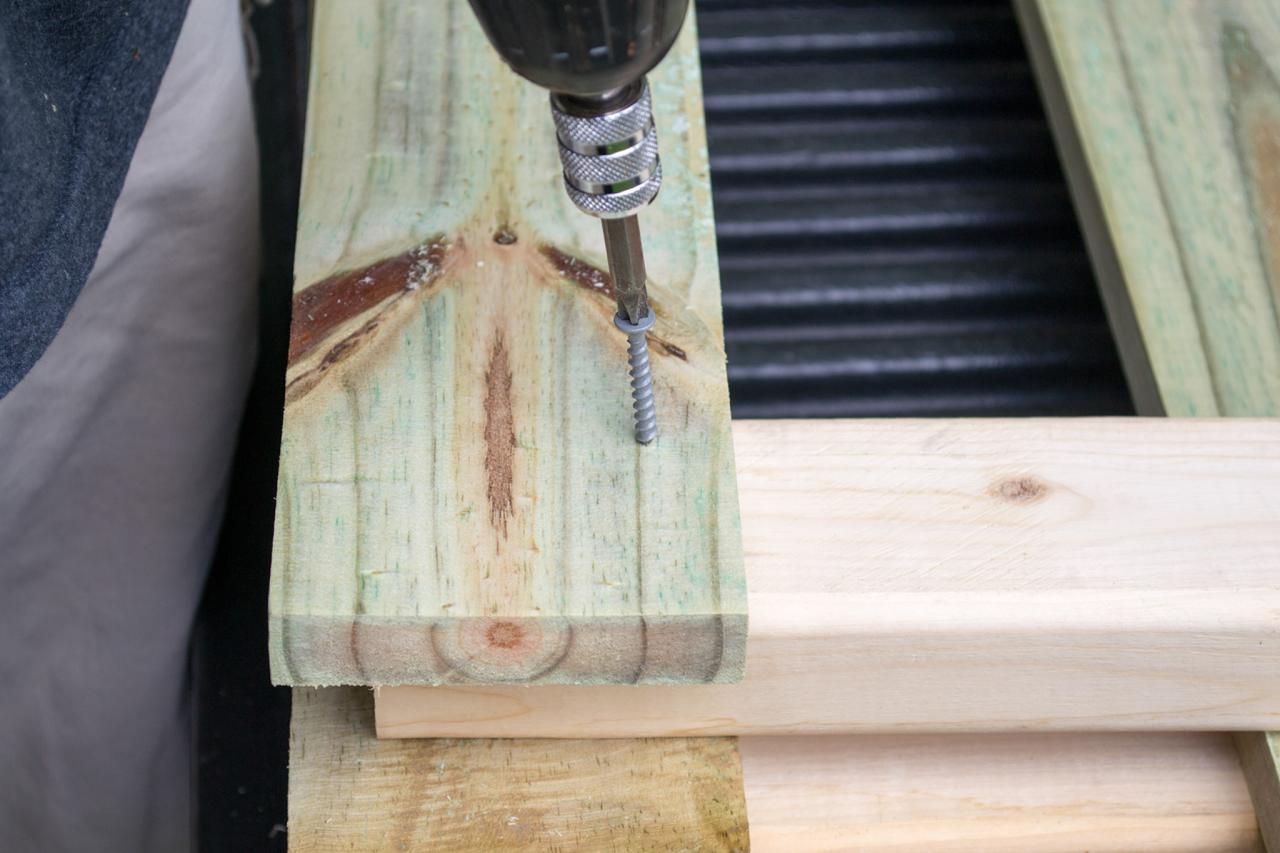
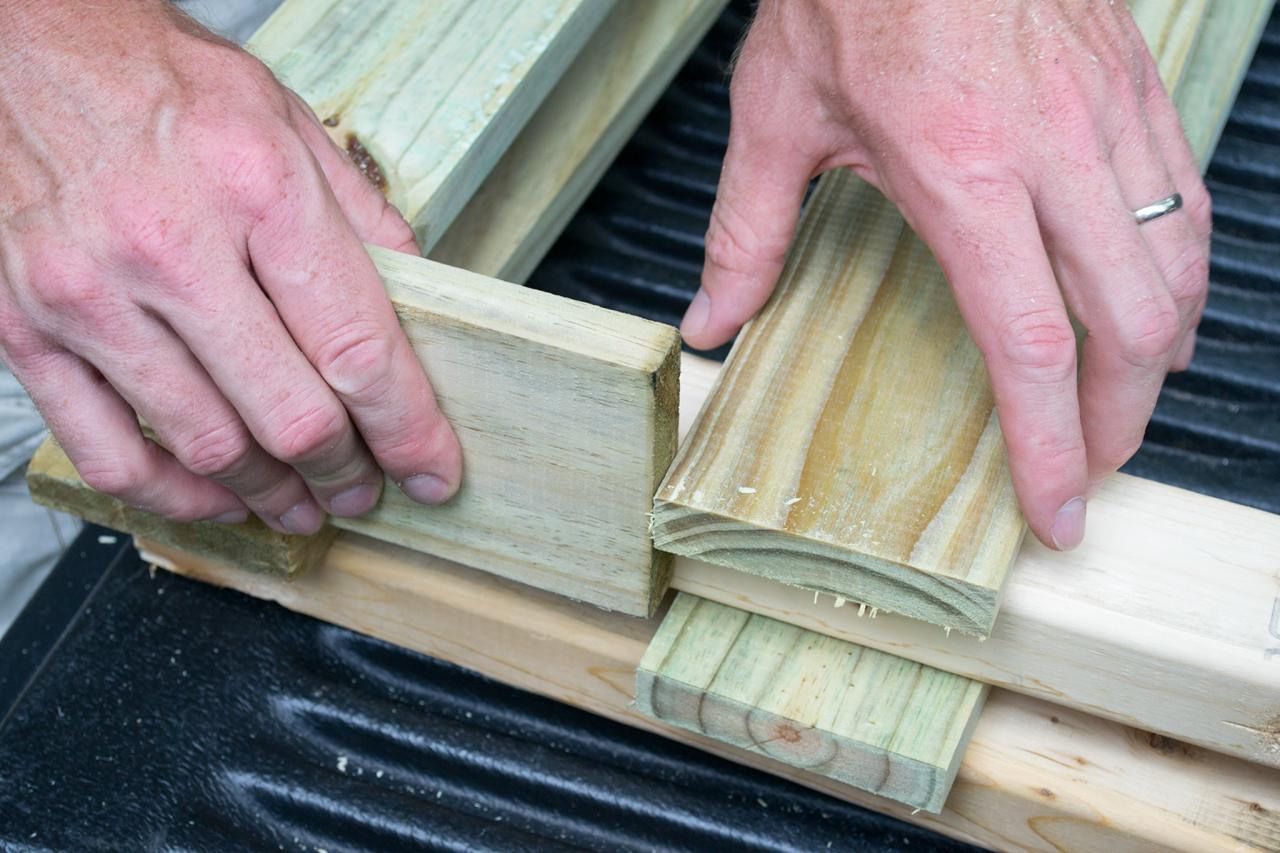
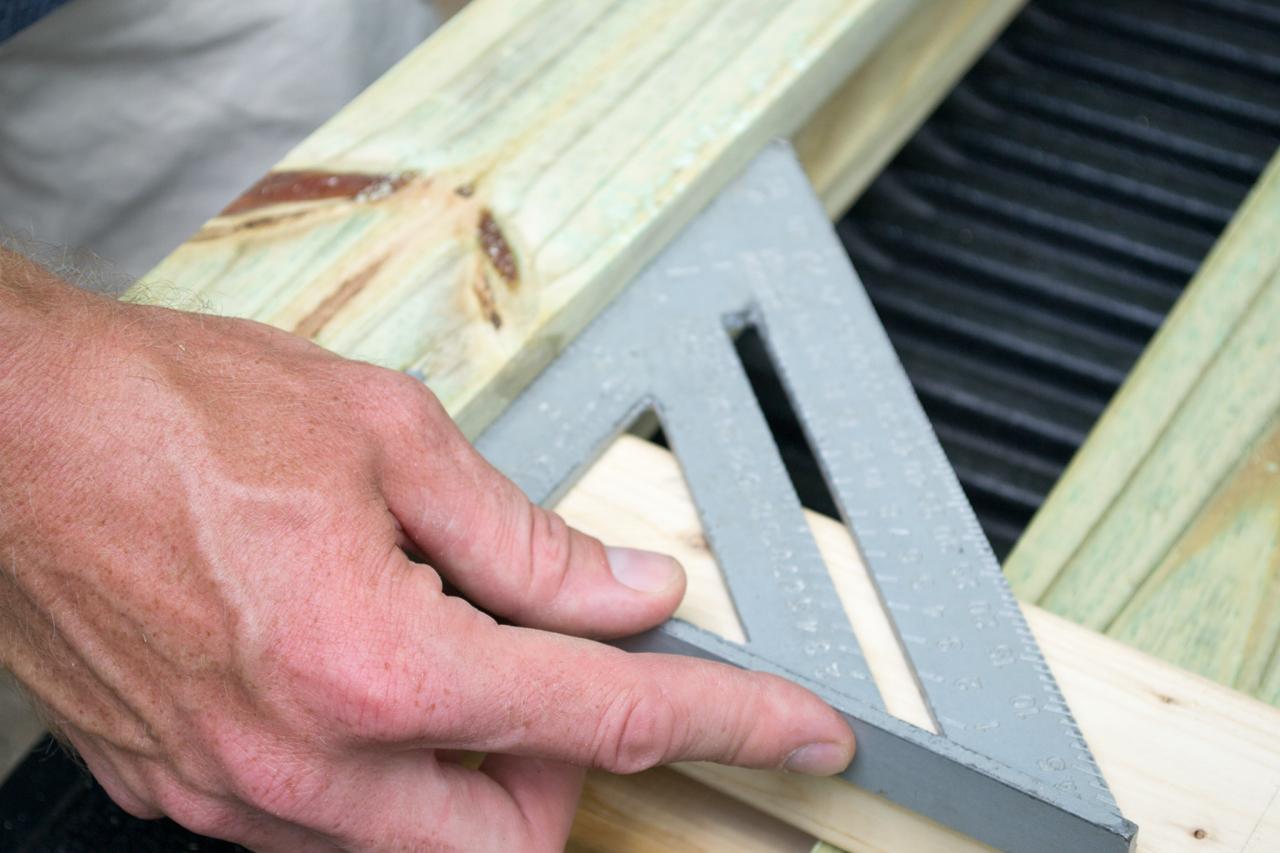
1. Mark Leg Placement on Crosspieces
Mark the location of the legs on the front and rear upper (48") horizontal crosspieces (Image 1). Mark a 3/4" margin at each end, and along the top edge from the ends inward 4" (Image 2). Using these marks for the leg placement will allow the crosspieces to overlap the end supports and for the top to sit recessed in the leg assembly (Images 3 and 4).

Debbie Wolfe
Debbie Wolfe
Mark the location of the legs on the front and rear upper (48 inch) leg supports. Mark a ¾ inch margin at each end, and along the top edge from the ends inward 4 inches.
Debbie Wolfe
Debbie Wolfe
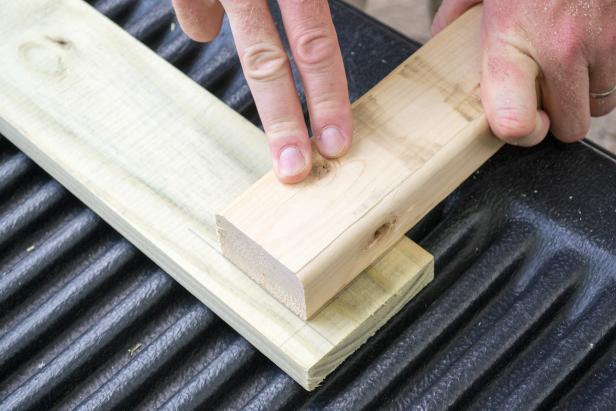
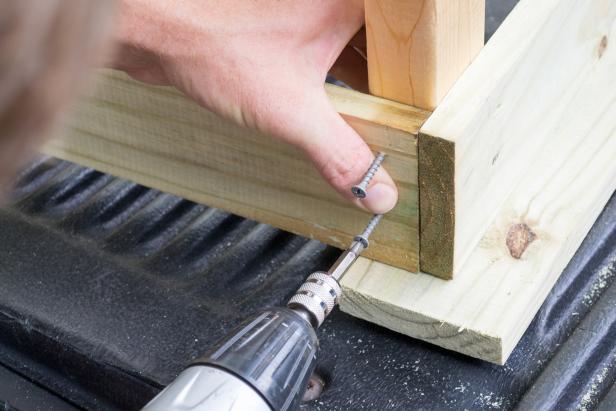
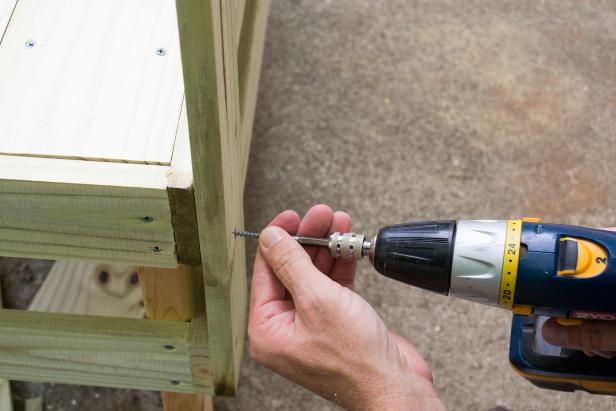
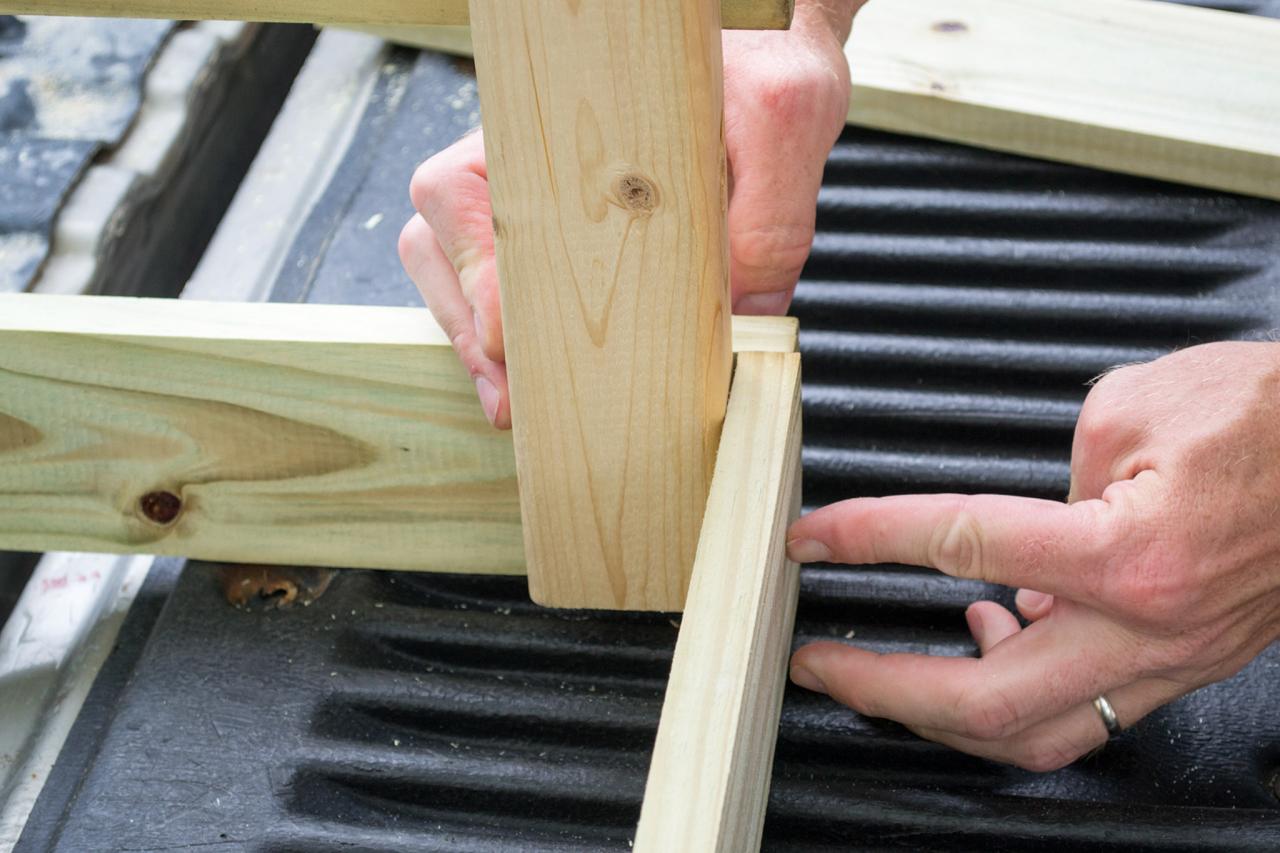
2. Attach Legs to Front Horizontal Crosspiece
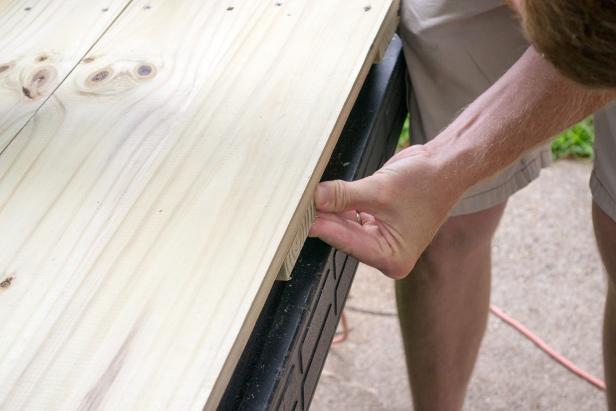
Attach two legs to the front upper crosspieces using 2" exterior screws. The legs should be lined up on the marks allowing a margin at each end and at the top (Image 1). Make a mark on each leg 4" from the bottom of that crosspiece. Attach the lower (48") crosspiece with the top of the mark that you just made. The end margins should be the same size as those on the upper crosspiece (Image 2).

Debbie Wolfe
Debbie Wolfe
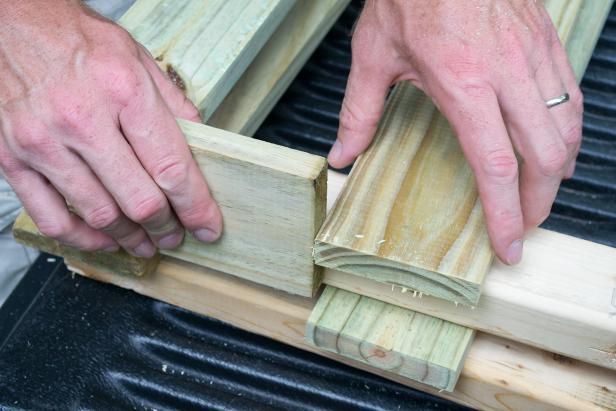
3. Attach Legs to Rear Horizontal Crosspieces
Assemble the rear legs with their upper and lower (48") crosspieces, mirroring the front assembly (Image 1). Measure to ensure the distance between the legs is the same (Image 2).
Debbie Wolfe

Debbie Wolfe
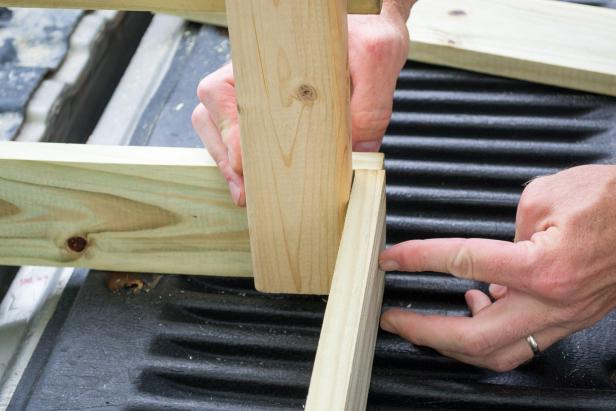
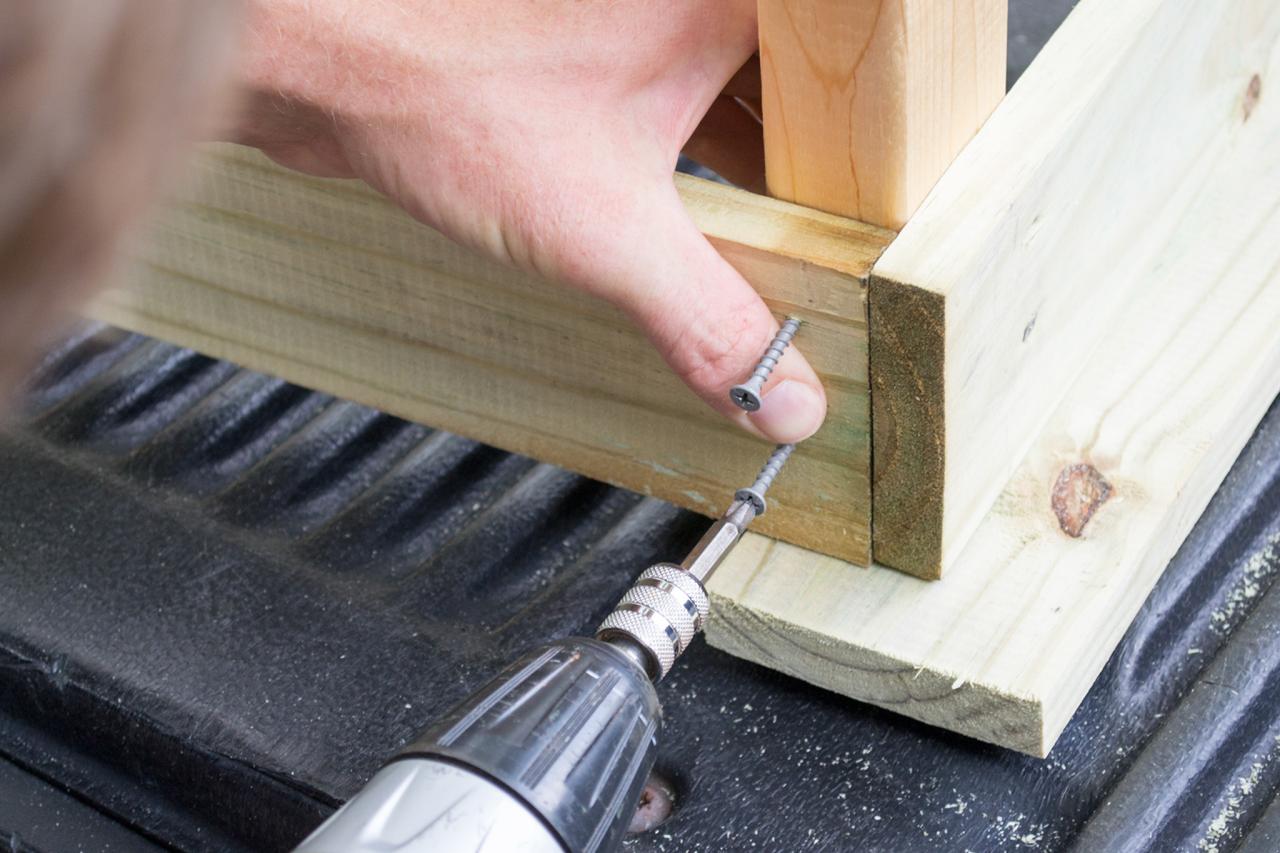
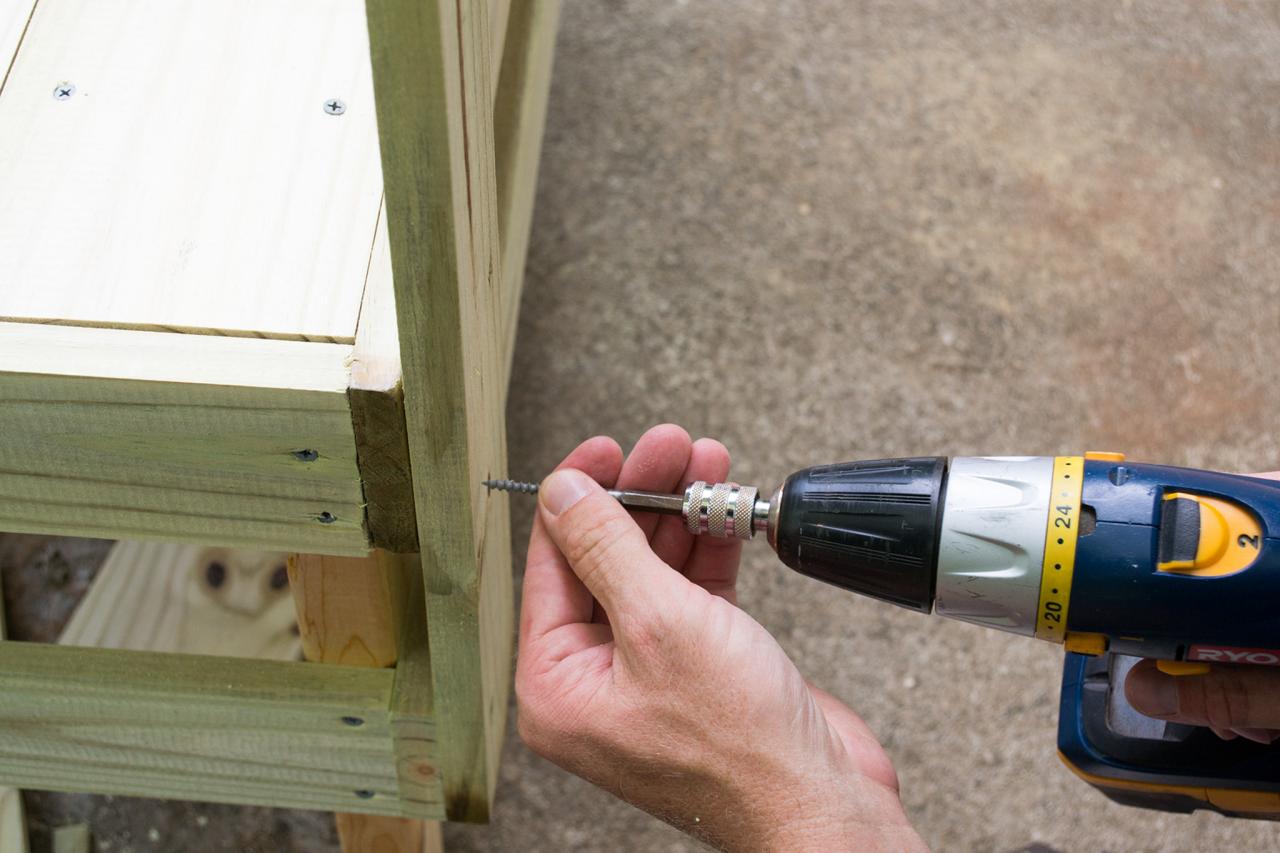
4. Attach the Side Crosspieces
Complete the leg assembly by installing the upper and lower (22-7/8") crosspieces on each end (Image 1). Use 2" exterior screws to attach them to the legs, lined up inside the margins of the front and rear leg assemblies (Image 2).
Debbie Wolfe
Debbie Wolfe
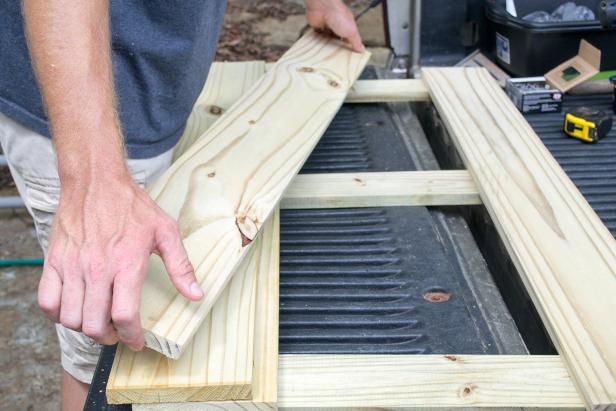
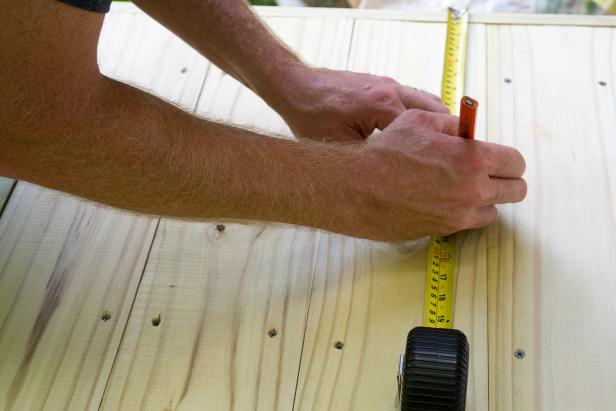
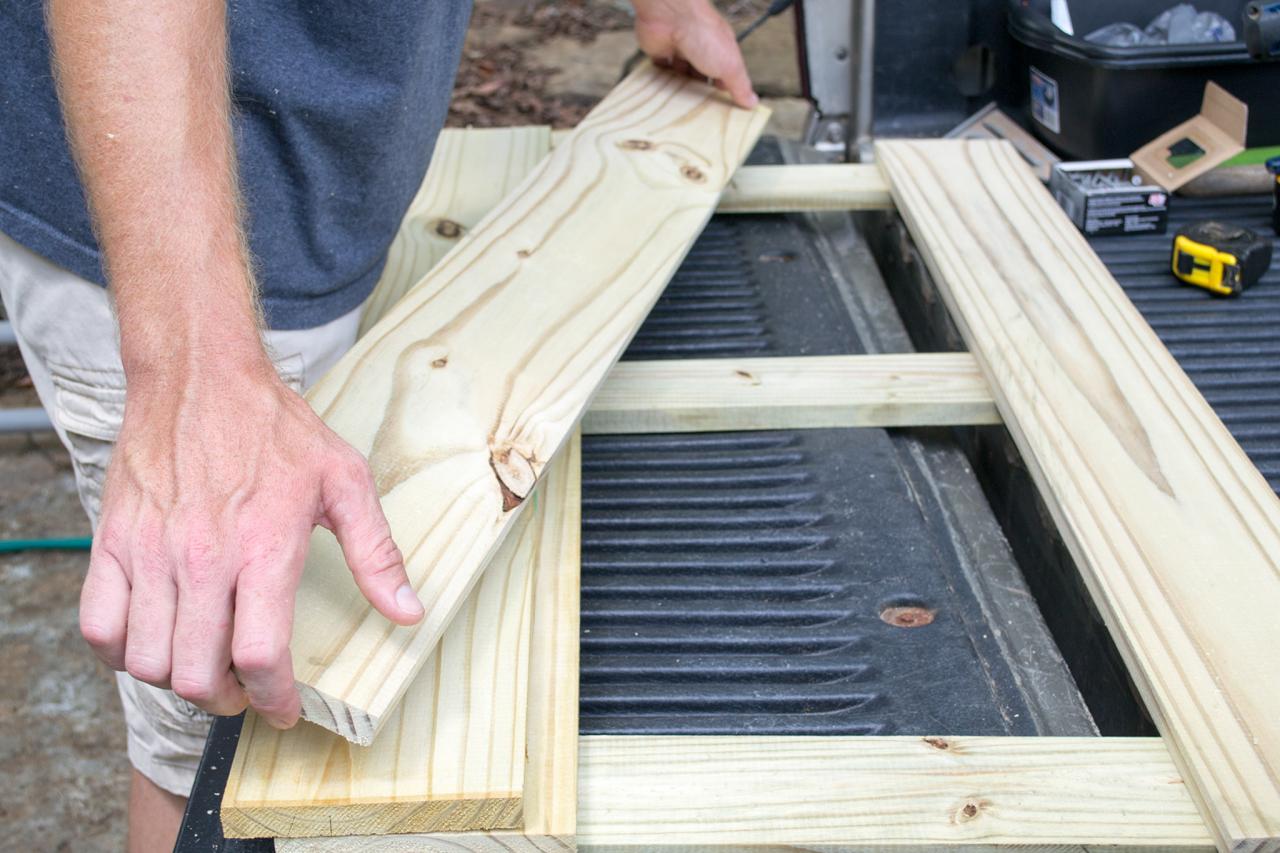
5. Make the Tabletop
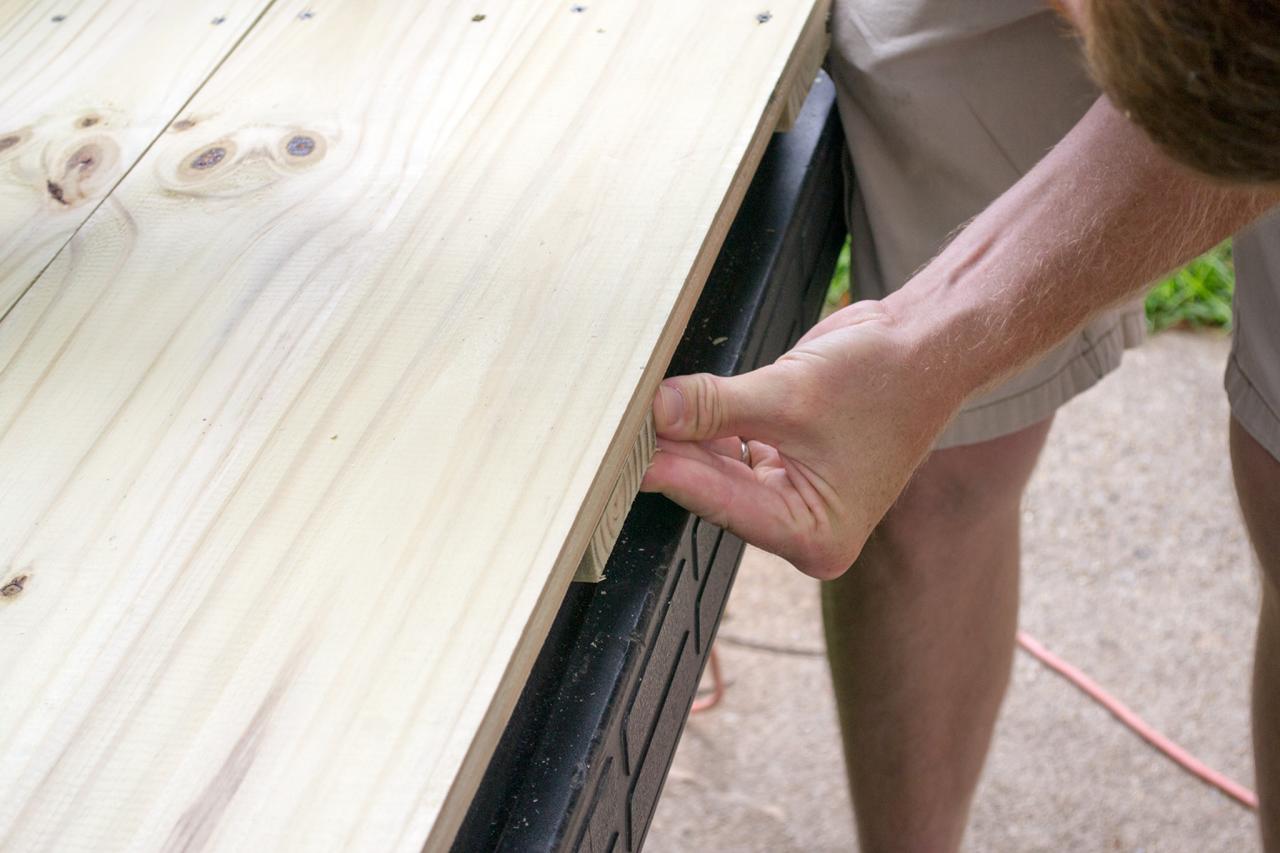
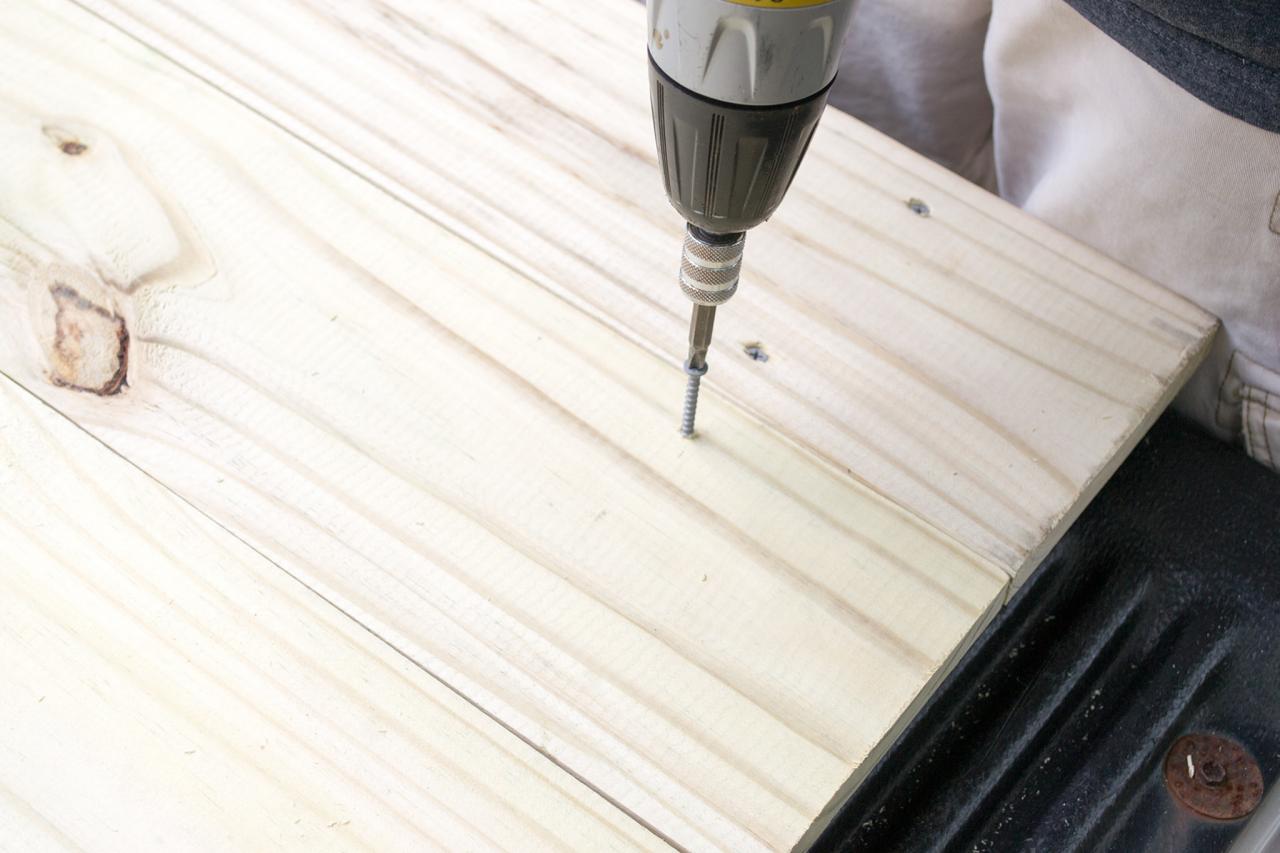
Lay the four 48" 1x6 boards side by side, with their ends even with one another (Image 1). Determine where your bins or sink is going to be placed. We placed two bins 2" from the front of the tabletop and 14" in from each end (Image 2). Before you on the tabletop supports, determine the placement of your bins and sink and draw it out accordingly. We lined up the 22-3/4" 1x4s to the inside of the 2" and 14" lines (Image 3). Then we used 1-1/2" screws to secure the tabletop planks on the crosspieces (Image 4). Then the tabletop was inserted into the top of the leg assembly (Image 5).
Debbie Wolfe
Debbie Wolfe
Debbie Wolfe

Debbie Wolfe

Debbie Wolfe
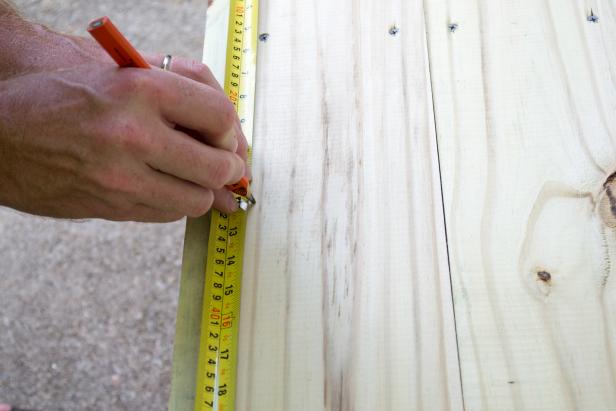
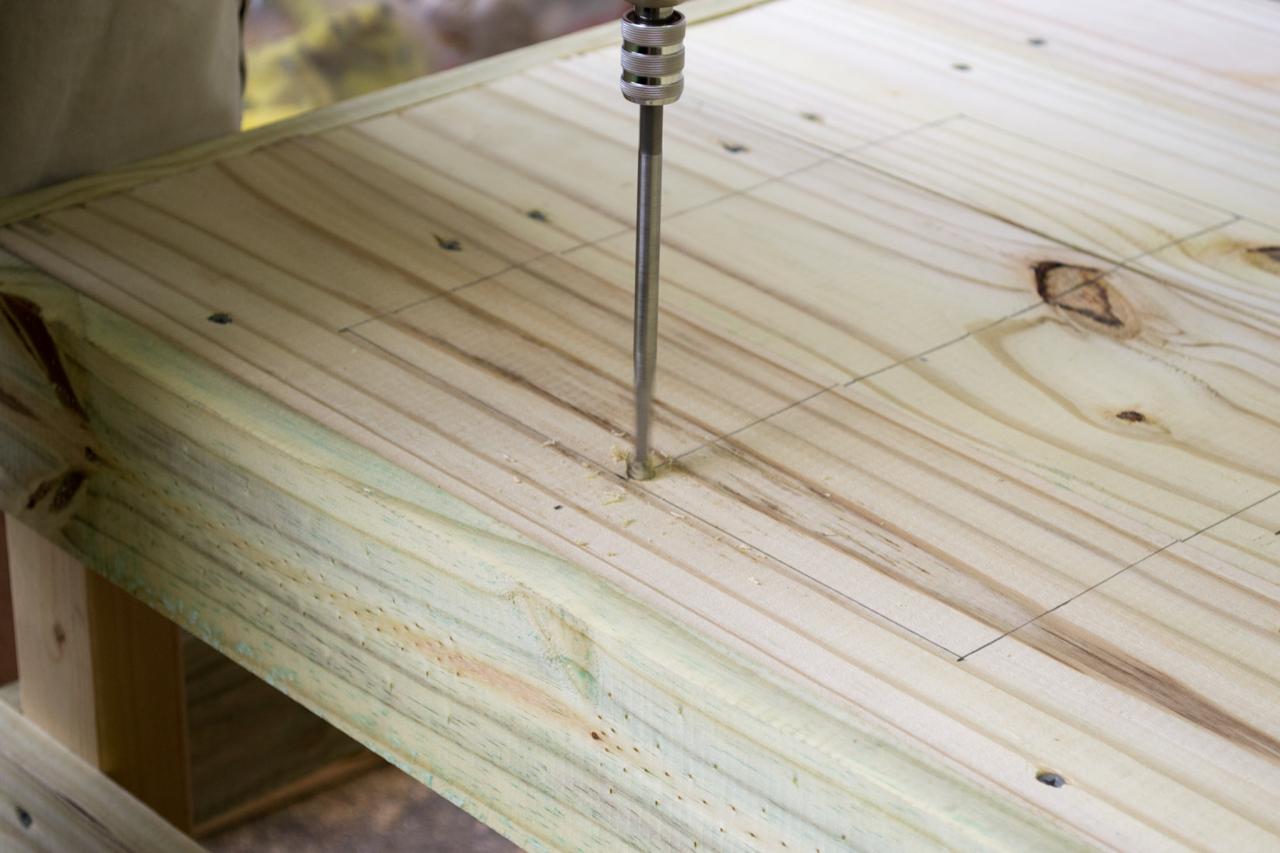
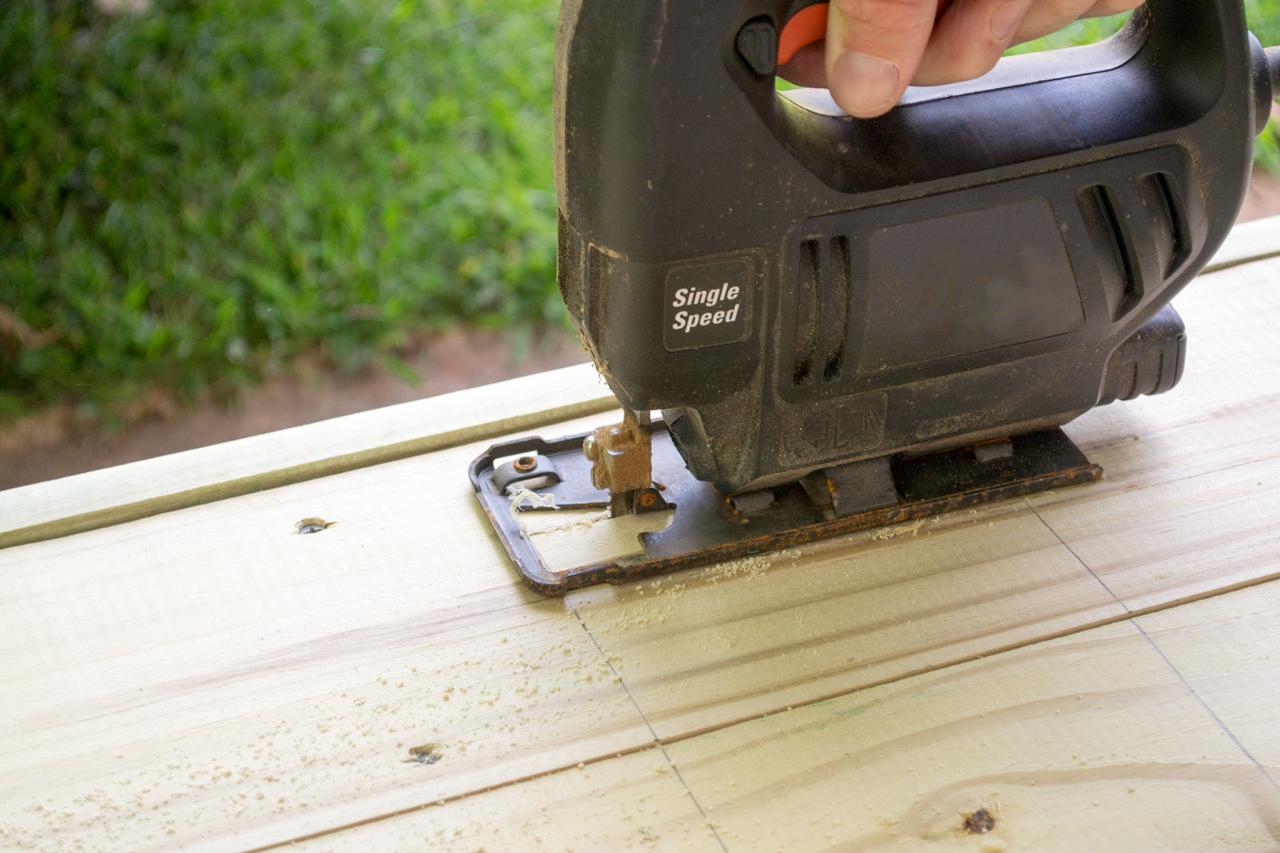
6. Cut Holes for Bins
Mark the placement of your plastic bins, (ours measured 10-1/2" x 12-1/2") on the tabletop between the crosspieces (Image 1 and 2). Use a drill fitted with a bit that is bigger than your jigsaw blade to make a starter hole in the tabletop. Then use a jigsaw (Image 3) to cut out the bin holes (Image 4).
Debbie Wolfe
Debbie Wolfe

Debbie Wolfe

Debbie Wolfe
7. Make Utensil Rack
Attach the 48" arm of the tool rack to the ends of the two 24" uprights using 1-1/2 screws (Image 1). Attach the tool rack to the back legs, through the crosspieces, with the bottom of the uprights lined up with the bottom edge of the lower crosspieces using 2" screws (Image 2).
Debbie Wolfe
Debbie Wolfe
8. Paint and Enjoy
Finish with exterior paint. Insert plastic wash basins into the rectangular holes. Fill one with sand and one with water and let the kids play.

Debbie Wolfe
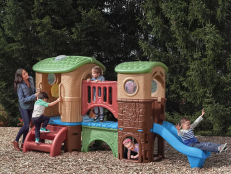
More Kid-Friendly Projects


