


Make a Pet or Baby Gate Inspired by Modern Art


Materials Needed:
- 4'x8' sheet of 3/4" paint-grade plywood
- T-square
- circular saw
- table saw
- dado blade
- newspaper or roll of kraft paper
- painter's tape
- measuring tape
- pencil
- quart of white latex paint in gloss finish
- can of black spray paint in gloss finish
- can of red spray paint in gloss finish
- can of yellow spray paint in gloss finish
- can of blue spray paint in gloss finish
- 3" drywall screws
- drill
- roller handle
- roller sleeve
- paint pan
- 6' strips of 2x2" pine
- 6' planks of 1x3" pine
- nail gun
- brads
- wood glue
- 8' strip of 1/2" thick by 1 1/2" wide pine trim
- 8' strip of 1/2" thick by 1" wide pine trim
- gate latch
- stud finder
- level
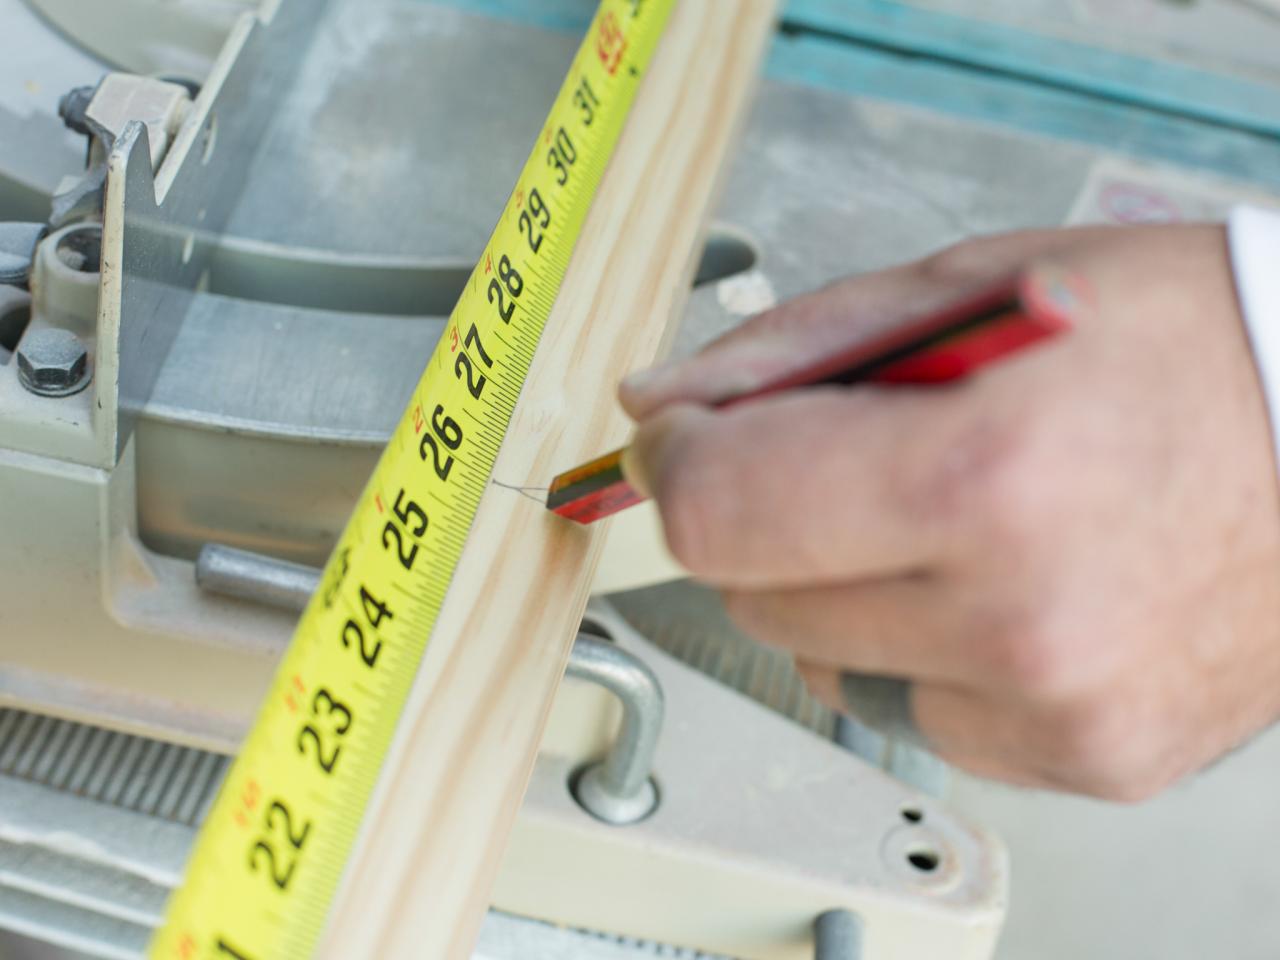
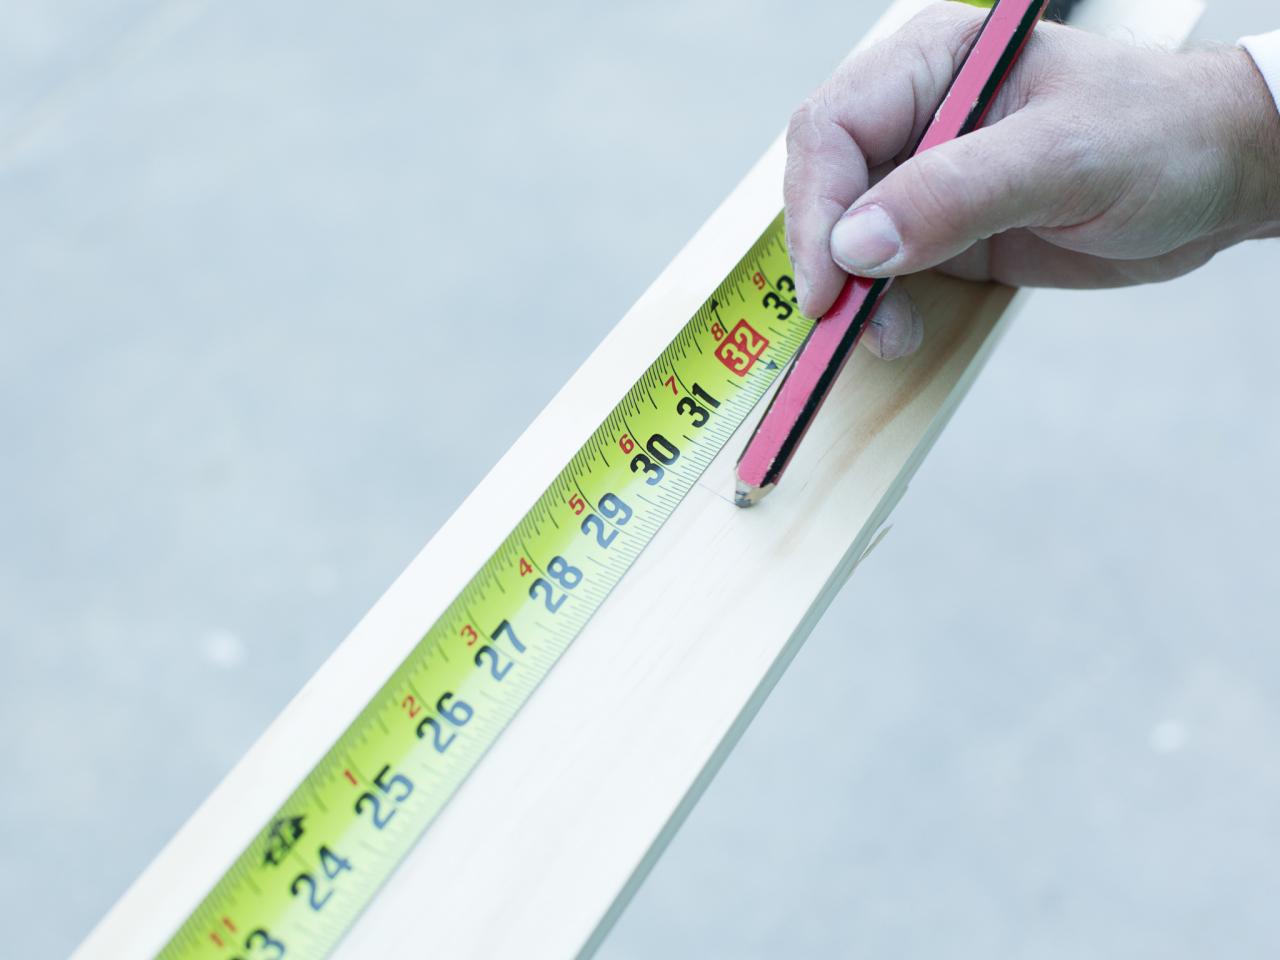
Determine Proper Measurements
Use a measuring tape to determine the proper width and height of hallway, door or staircase opening. This measurement will account for the gate itself as well as one 2x2" wall support strip, one 1x3" wall support strip and hinges that will attach the gate to the support strips. Tip: Write down the gate dimensions; you'll need them to cut the support strips later on.
Referring to these dimensions, mark 4x8’ sheet of 3/4"-thick paint-grade plywood to size with pencil. Note: Deduct 3" for the combined width of the two support strips, 1/8” per side for hinges and 2” all the way around to account for gate frame.
Next, use T-square to draw perfectly straight lines atop the marks that denote the edges of the gate. Cut the gate to size along the lines using a circular saw.


Paint Plywood, Then Mark Pattern
Once plywood is cut to size, paint sides and edges with glossy white latex paint using roller handle and roller sleeve. Allow at least one hour for paint to dry, then use T-square and pencil to mark a Mondrian-style pattern on both sides.
Tip: Piet Mondrian was known for abstract pieces that included a white background and a grid of vertical and horizontal black lines that were filled in with the three primary colors. Research his paintings and find a favorite, or make his style your own with an original arrangement.


Tape Off and Paint Pattern
After white paint has thoroughly dried, decide proper placement for red, yellow and blue accent colors.
Next, use newspaper or a roll of kraft paper and painter’s tape to section off the portion of the pattern that will be painted the first accent color. This will protect the rest of the surface from any overspray. Once surfaces are protected, spray on the first accent color, keeping can at least 8” from surface, moving back and forth in a slow, controlled manner. Allow at least 30 minutes for spray paint to dry before removing, then repositioning, painter’s tape and paper.
Repeat for all three accent colors and all sections of the pattern.


Cut Support Strips and Frame
Measure, mark and cut one wall support strip using 2x2” pine and one wall support strip using 1x3” pine. Refer to the gate's dimensions; each strip should be the same width and height as the gate.
Next, cut the frame pieces. You'll need two side strips cut from 2x2” pine as well as a top and bottom strip of 2x2” pine.


Add Notch With Dado Blade
In order for the 3/4” piece of plywood to fit snugly into the 2x2” frame pieces, each piece will need to be notched along its inside edge with a dado blade. Place each piece along table saw, then add notch with dado blade.

Spray-Paint Support Strips, Frame and Fascia
Lay support strips and frame pieces out on paper placed along a flat, level surface. Keeping spray can 8” from the surface of the support strips, fascia and frame pieces, move back and forth in a slow, controlled manner until all pieces are thoroughly coated. Allow to dry for about 1 hour before assembling gate.
Tip: Although fascia has not been cut to size, it’s best to go ahead and pre-paint it along with the other pieces to save time.

Attach Frame Pieces to Plywood
Slide each of the four frame pieces around the edges of the plywood panel. Next, use nail gun to secure frame pieces to the plywood.


Measure, Mark, Cut and Attach Fascia
To add graphic separation between each of the painted portions of the design, 1/2” strips of 1 1/2”-wide and 1”-wide trim will be cut to size and attached as fascia.
First, use measuring tape to determine the proper length and width for each fascia, then mark it to size using pencil. Next, cut fascia strips to size with circular saw.
Add wood glue to the back of all fascia pieces, then firmly position them into place, allowing at least one hour for glue to dry before moving onto the next step.


Attach Hinges
Use drill to attach hinges to left and right sides of frame, with the center of each hinge sitting approximately 6” from the top and bottom edges.

Install Support Strips
Place support strips into proper position along wall, then use stud finder to determine proper location of studs. Next, secure support strips into studs using drill and 3” drywall screws.

Attach Gate and Latch
Hold gate up to support strips, then secure tightly with hinges using drill and screws. Place level on top of gate to ensure a perfectly straight fit. Next, use drill to attach latch.


Enjoy Your Functional Art Piece
Now you can enjoy a handmade art piece evoking the iconic style of Piet Mondrian while still keeping kids and pets safe.


