


How To: Creating a Magnetic Backsplash

Materials and Tools:
magnetic dry erase board, large enough to cover the area of your backsplash
large sheets of paper or cardboard to use as a template
tube of construction adhesive (available at home improvement centers)
laminated photos
flexible sheet magnets (available at arts and crafts stores)
contact cement (available at arts and crafts stores)
pencil with eraser
scissors
tape measure
circular saw with carbide blade
digital camera (optional)
Steps:

1. Measure the dimensions of your backsplash. Using a large sheet of paper or cardboard, transfer the measurements to the paper, then use scissors to cut a template. Set the template in place and tweak it until it fits the backsplash area perfectly.
2. Use the template to transfer the shape of the backsplash onto the dry erase board. Use a circular saw fitted with a carbide blade to cut the dry erase board to fit the backsplash. (Always follow safety precautions when using a saw.) If you'd prefer not to cut the board, take the measurements to your local hardware store where it can be cut to fit.
3. Apply construction adhesive to the back of the dry erase board, according to the manufacturer's directions. Glue the board onto the wall. If necessary, anchor the board in place by stacking books or other heavy items against it. Let it dry.
4. To make magnets, use existing photographs or take photos of your favorite things with your digital camera.

5. Print out the images and have them laminated at your local copy-supply store.
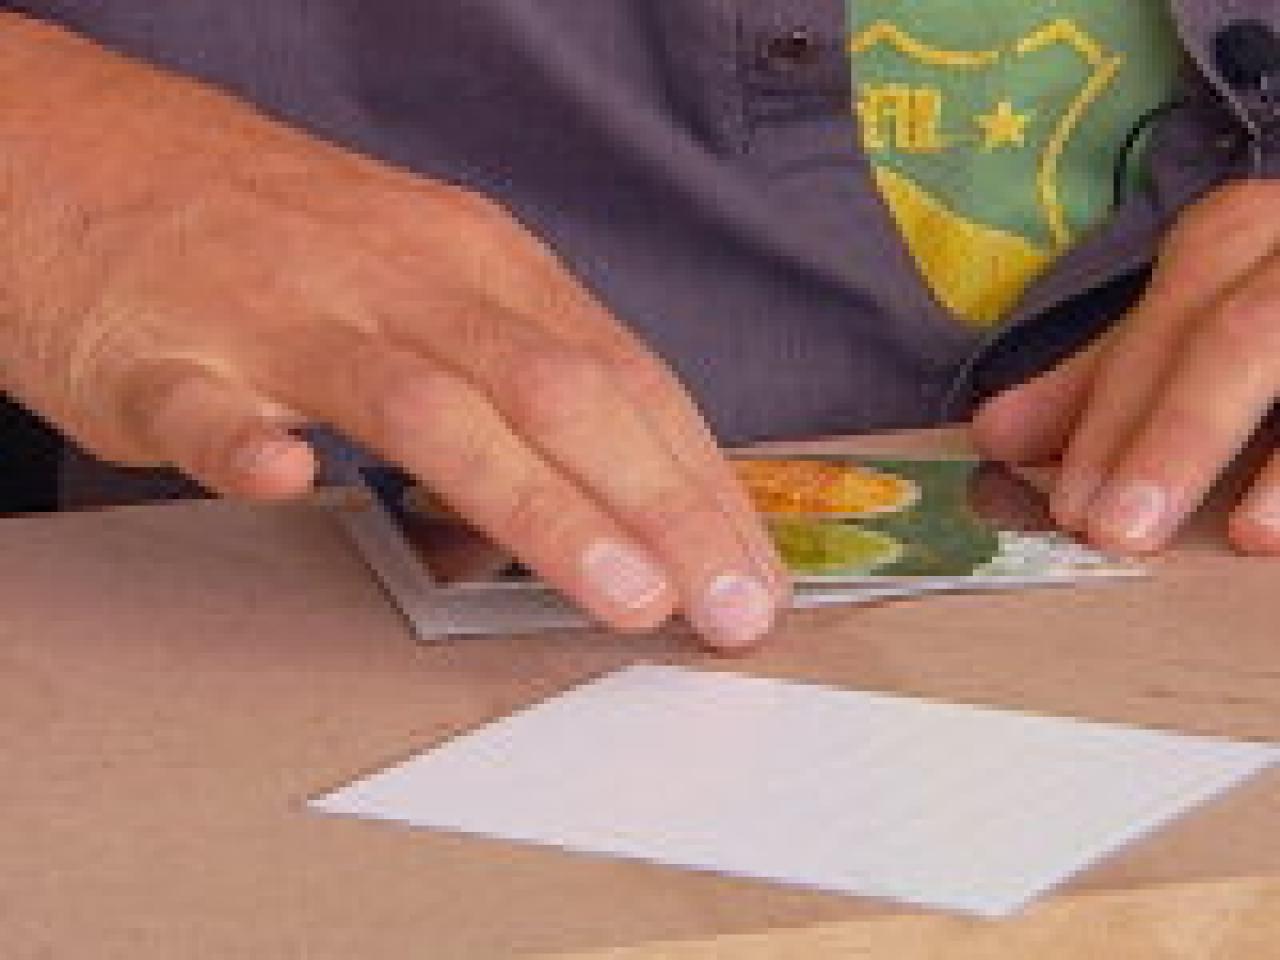
6. Cut pieces from the flexible sheet magnets to fit your photos. Apply the photos to the magnets with contact cement, following the manufacturer's instructions. Use them to hang lists, messages or anything else you can think of. To avoid the risk of fire, do not use paper with the magnets on a backsplash behind a cooktop or range.


