Improve Caulking Practices
Comstock
When applying a bead of caulk, the goal is to ensure a quality seal (and to stretch the time between applications as long as possible). To do this, you need to know what material to use, how to prepare the gap you need to fill, and how to lay down a fine bead.
There are two basic kinds of caulk available to builders today: acrylic-based caulks and silicone (solvent) caulks. Understanding the difference and when best to use them is the first step in mastering the art of caulking. Acrylic caulks adhere well to wood and porous surfaces and are great for filling gaps that need to be painted over. Acrylic caulks clean up with water, but this characteristic also means that they break down faster when exposed to standing water.
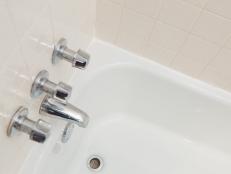
Silicone, or solvent caulks as they are sometimes called, will shrink less over time and deteriorate slower when exposed to water. Though they are a bit harder to clean up, but they work well in the kitchen and bathroom areas where water is more common. Silicone caulks don't take paint well, so they should be applied as a "top coat" or as an exposed surface.
After you've picked the right caulk for the task, it's time to inspect the seam or gap and prep it for a beading.
Never try to caulk a gap larger than 1/4". If the gap is wider than that, install a backer rod first. The backer rod allows you to use less caulk and lay down a more consistent bead.
Make sure the area you are about to caulk is clean. Usually a quick dusting with a clean paint brush is enough to remove any dust or debris from the area. A dirty surface will keep the caulk from adhering properly.
When you are ready to lay the bead, here's how:
- Cut the nozzle of the tube at a 45-degree angle about a half an inch from the end. You want to make a hole about the same size as the gap you need to fill. The farther down you cut (toward the tube), the bigger the hole and the wider the bead of caulk you'll apply.
- Before starting, check the freshness of the caulk. Most caulks have a shelf life of one to two years. To test this, lay a line of caulk on a nonporous surface and check the curing time, stickiness and how well it comes out of the tube. If the caulk comes out as a hard solid string, don't use it! (It's always a good idea to lay a test line of caulk before starting, even if the tube is brand new. Caulk is a relatively inexpensive product, much cheaper than wasting a lot of time cleaning up a mistake, so practice laying a few beads on a piece of scrap before applying it to the customer's custom kitchen!
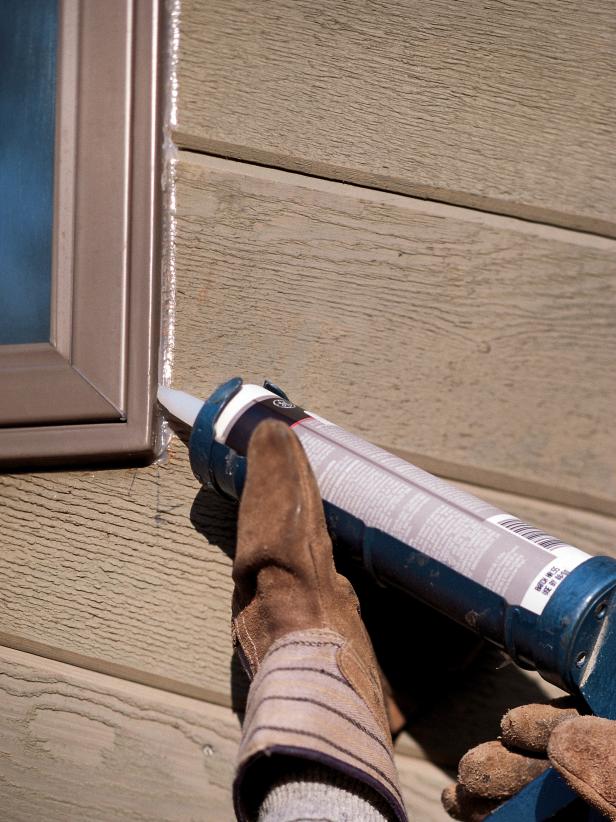
- When applying caulk to a seam, move the tube at a 45-degree angle, slowly pulling the tube toward you. You want to make sure that the bead (line of caulk) is even, adheres to both sides of the gap, and completely fills the seam.
- When finished, smooth the seam using a caulk smoother, a clean wet finger or a clean damp rag. Be sure to allow the caulk to dry adequately (per manufacturer's instructions) before painting over it.
Though caulking is often thought of as a cure-all for gap filling, don't rely on it as the only way to seal exterior surfaces from water or drafts. Caulking is an important part of the process, but the material will shrink and deteriorate over time. If you adhere to the basic principles of caulk selection, surface prepping, and proper application, laying the perfect bead of caulk can become second nature to you.


