


Make a Tailor's Tape Growth Chart


Materials Needed:
- 1/2" sanded plywood
- 1/4" plywood
- circular saw
- pencil
- carpenter's square
- orbital sander
- 120-grit sandpaper
- measuring tape
- 1" vinyl number decals
- plain black vinyl decal paper
- razor or utility knife
- 12-14" dinner plate
- 3" hole saw
- drill
- carpenter's glue
- bronze or rust metal spray paint
- 1.75" hole saw
- varnish top coat in spray can or quart
- paintbrush or mini roller
- safety goggles
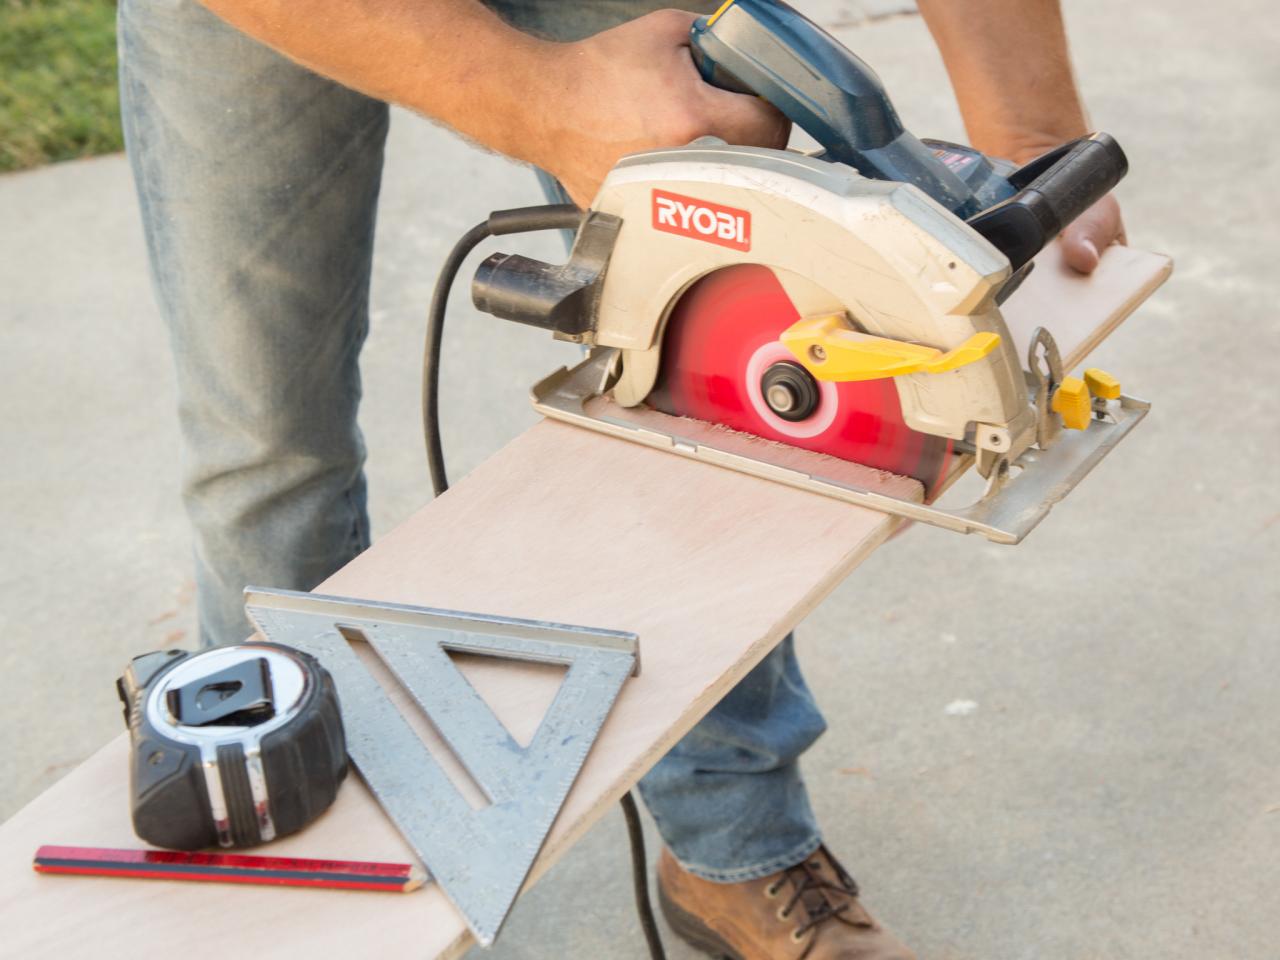
Prepare and Cut Length
Measure, mark and cut an 8-inch section, lengthwise, from a piece of 1/2-inch sanded plywood using a circular saw. Note: Always wear eye protection when operating power tools, especially those which include blades.


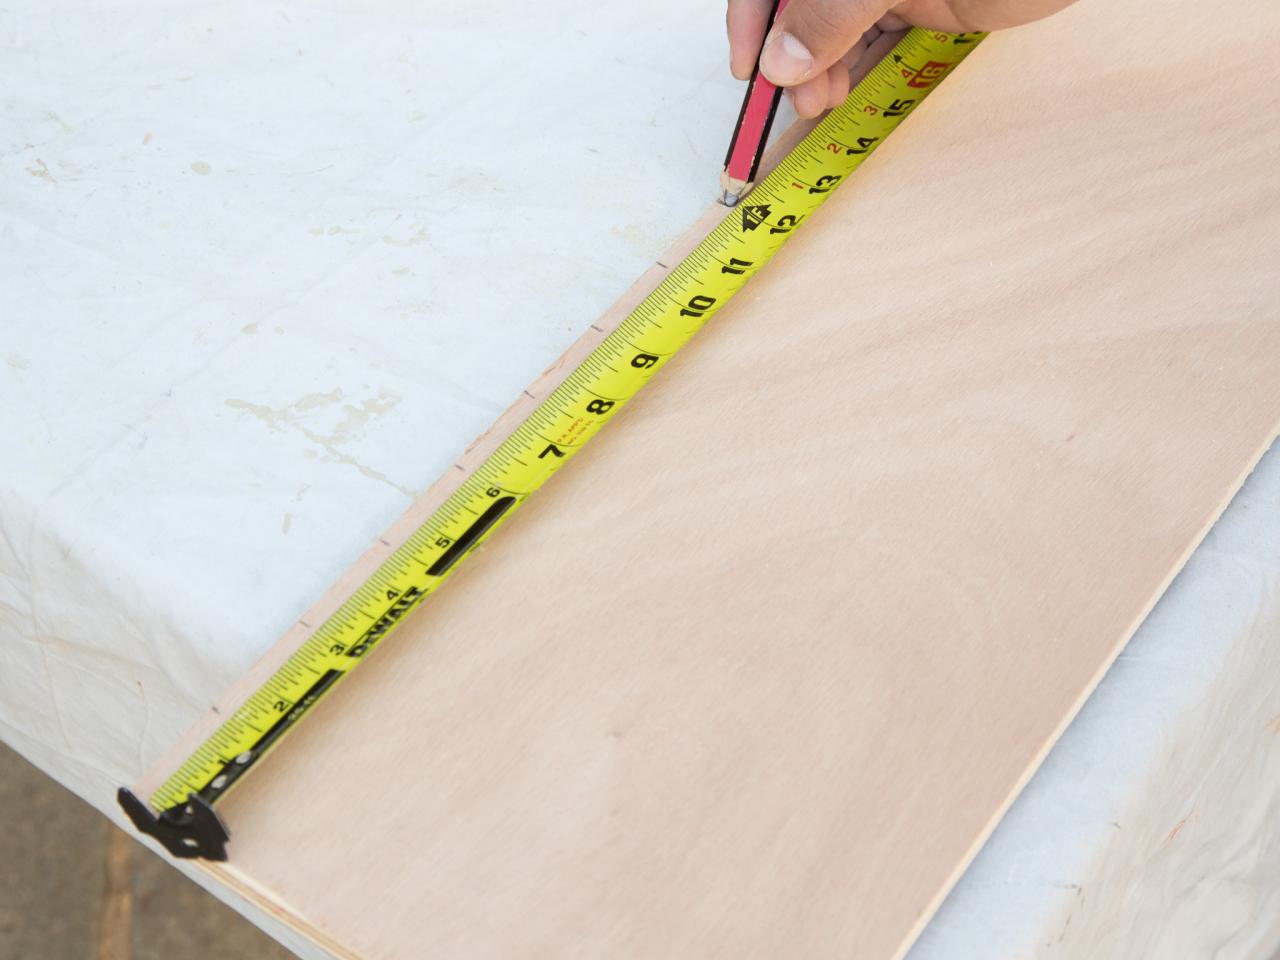
Measure and Cut Height
Use measuring tape to measure to 84 inches, then mark with a pencil and carpenter's square. Next, cut the 8-inch piece to length with a circular saw.


Sand Rough Edges
Use an orbital sander with 120-grit sandpaper to smooth any rough edges or corners.

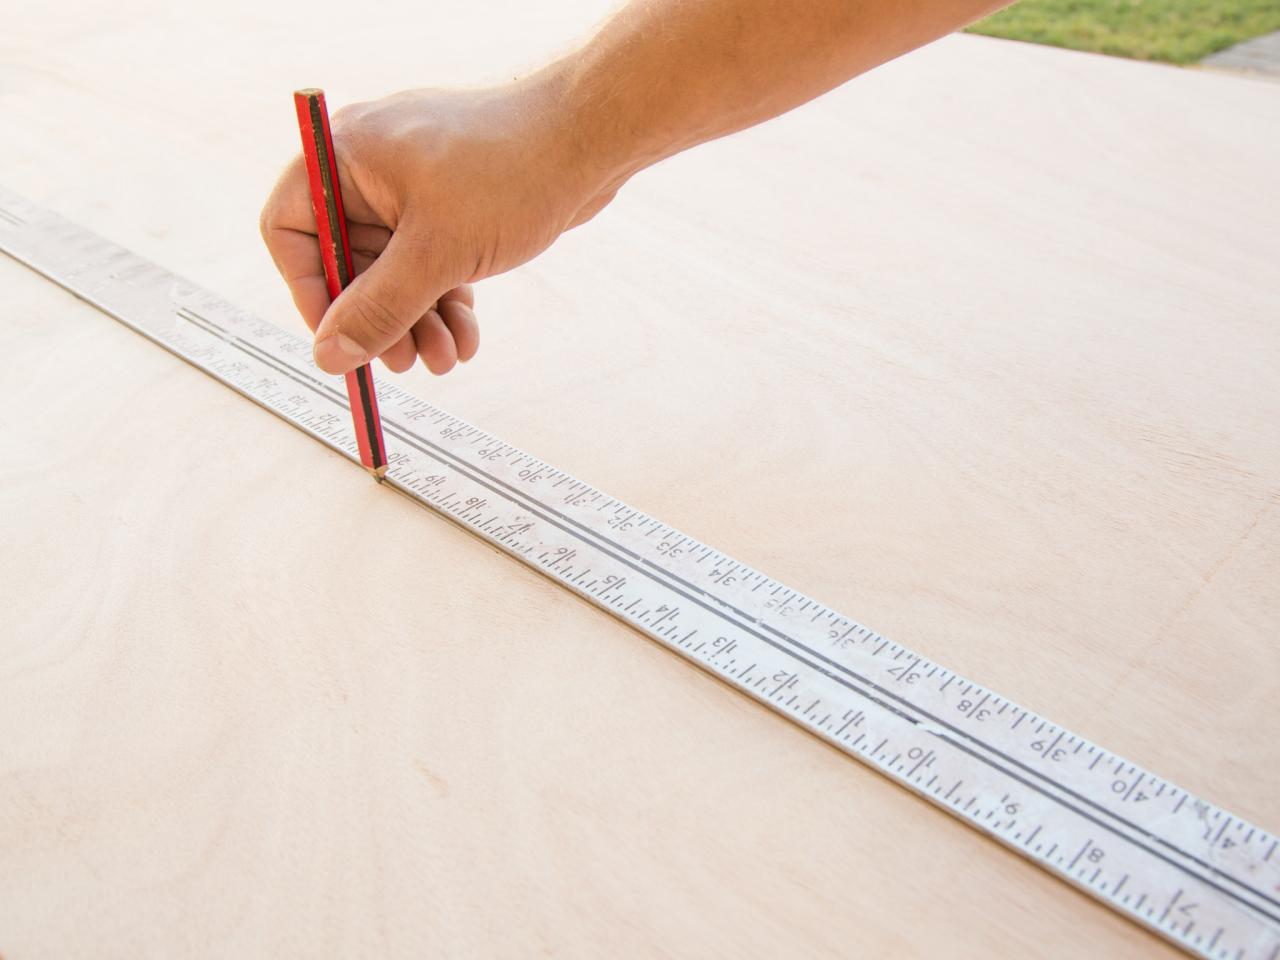
Mark for Vinyl Strips
With the piece of wood lying horizontally, start with a measuring tape on the top left edge, lightly marking the top edge every 1/2-inch with a pencil. Make a note of which marks fall every 3, 6 and 12 inches. Use a carpenter's square and pencil to make a line across the board at every 12-inch mark. Follow the same process to make a mark halfway down the board (4 inches) at every 6-inch mark, a line two inches down on the 3-inch mark, and 1 1/2 inches down on the 1 1/2-inch marks.


Add Numbers
Carefully remove the "1" vinyl number decal. Beginning with the bottom-right corner, align with the lines created in step 5, applying each number to the board. Smooth out any bubbles or wrinkles and repeat for numbers 2-6.

Make Inch Marks
Measure and cut 8 x 1/2-inch strips of plain black vinyl decal paper and install along the right side of each 12-inch line. The left edge of the decal paper should fall directly on the pencil mark.


Place Inch Marks
Lay the 3/8-inch strip to the right of each remaining mark (everything but the 12-inch marks) to the distance down marked in step 5. Then, use a razor to trim off the overhanging piece from the top. Repeat for every mark until all of the fractional marks are on the board.

Add Half-, Quarter- and Eighth-Inch Marks
Measure and cut eight 8-inch strips of plain black vinyl decal paper at 3/8 inch for the half-, quarter- and eighth-inch marks.

Repeat Step One
Follow the same directions as step 1 and make a second 8-inch piece of 1/2-inch plywood.
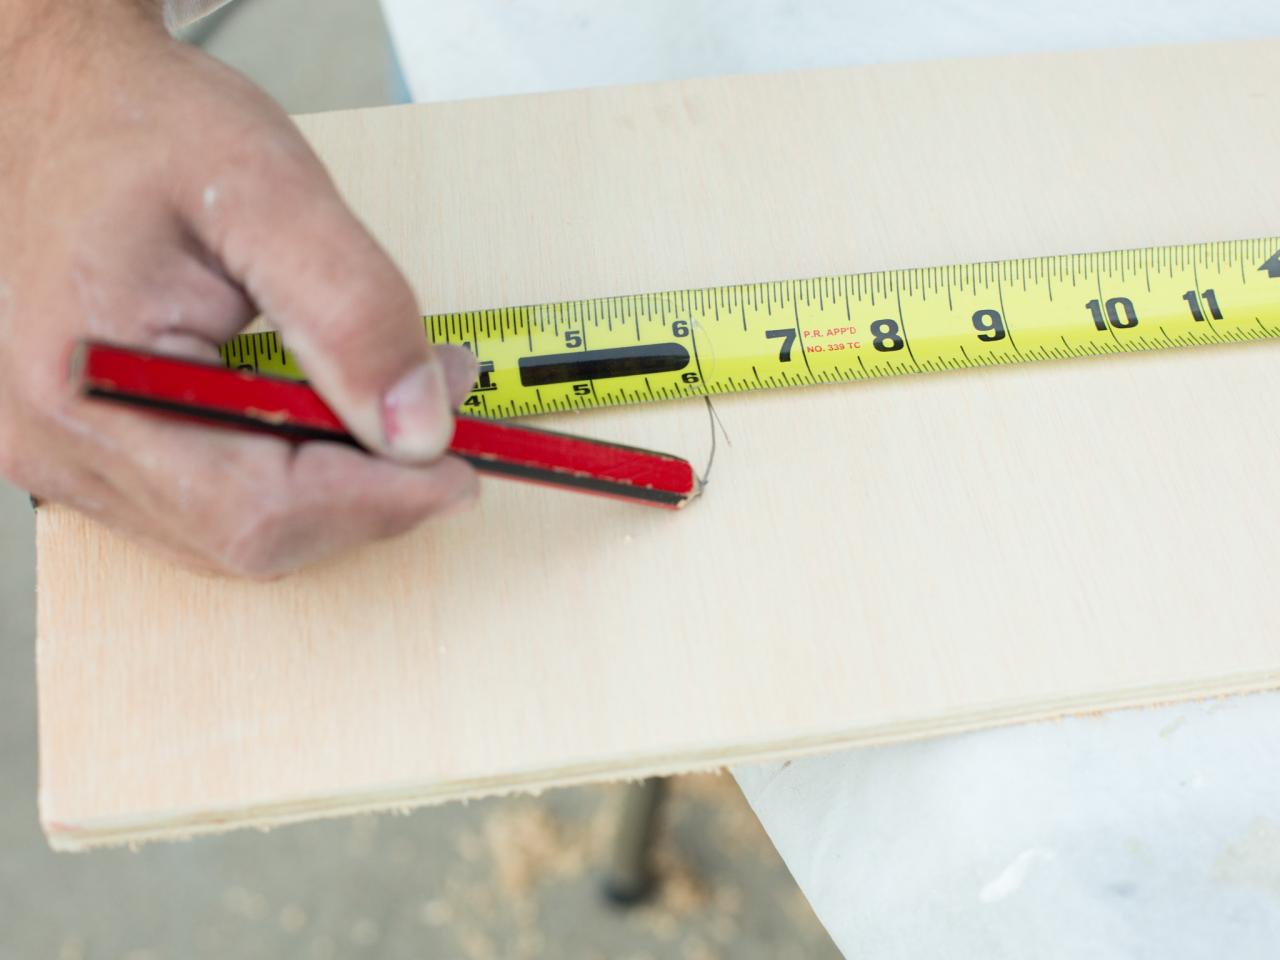
Find Center of Board
Measure 6 inches from the end of the board with measuring tape. Next, add a mark close to the center of the board (around 4 inches), which will be the total length of the decorative end piece. Repeat on the opposite end of the board to make a total of two end pieces.

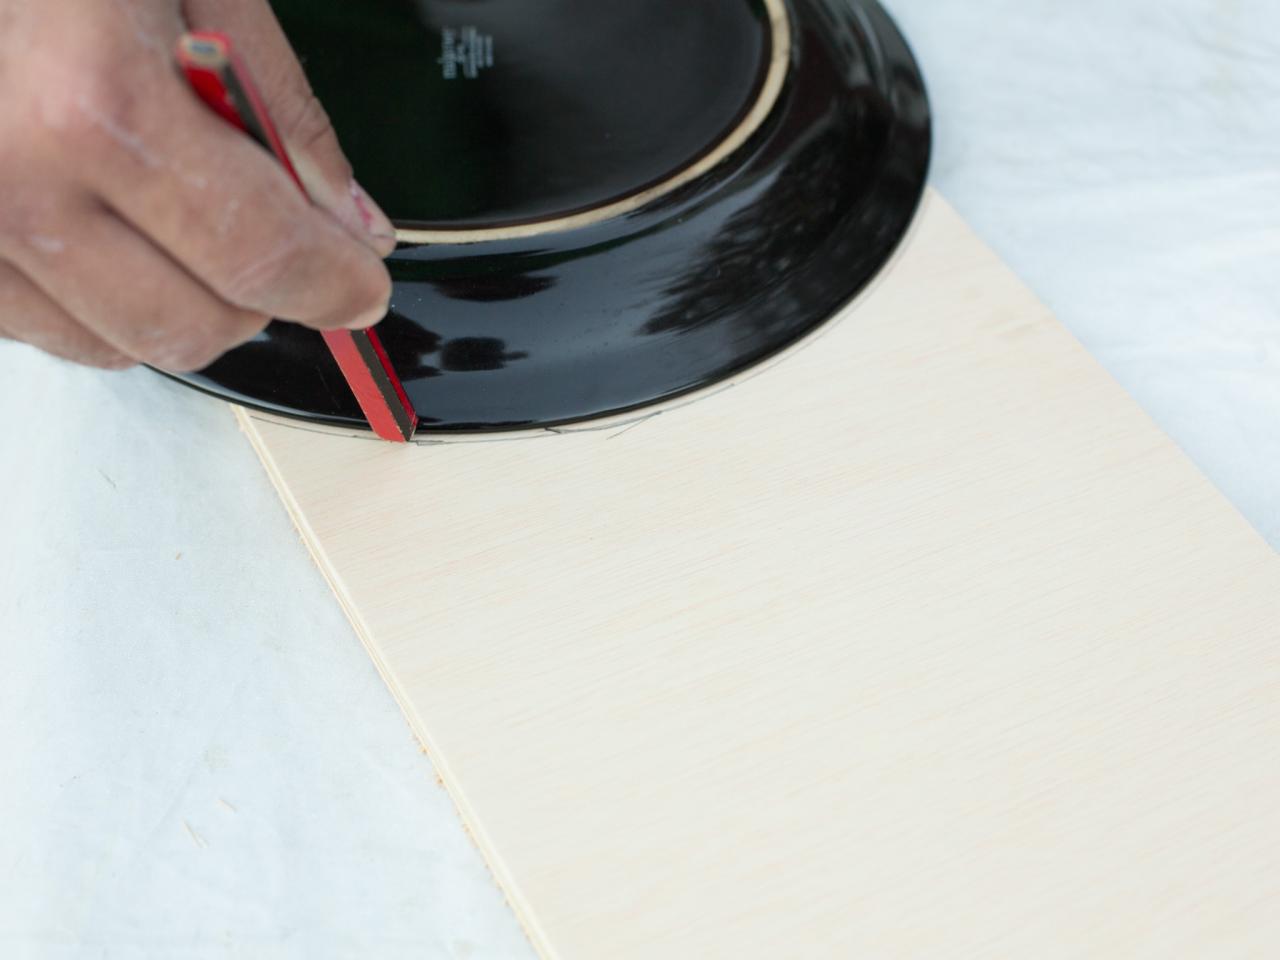
Create a Rounded Edge
Find a solid, round household object about 12-14 inches in diameter; dinner plates work best. Lay the edge of the plate (or similar round object) on the mark and align it so that both edges of the plate which cross the sides of the board are equal. Next, trace around the edge of the plate to make a semicircle. Repeat this process on the opposite end.

Create Decorative End Pieces
Cut along the curved lines to create the decorative end pieces, then smooth down the rough edges with an orbital sander.

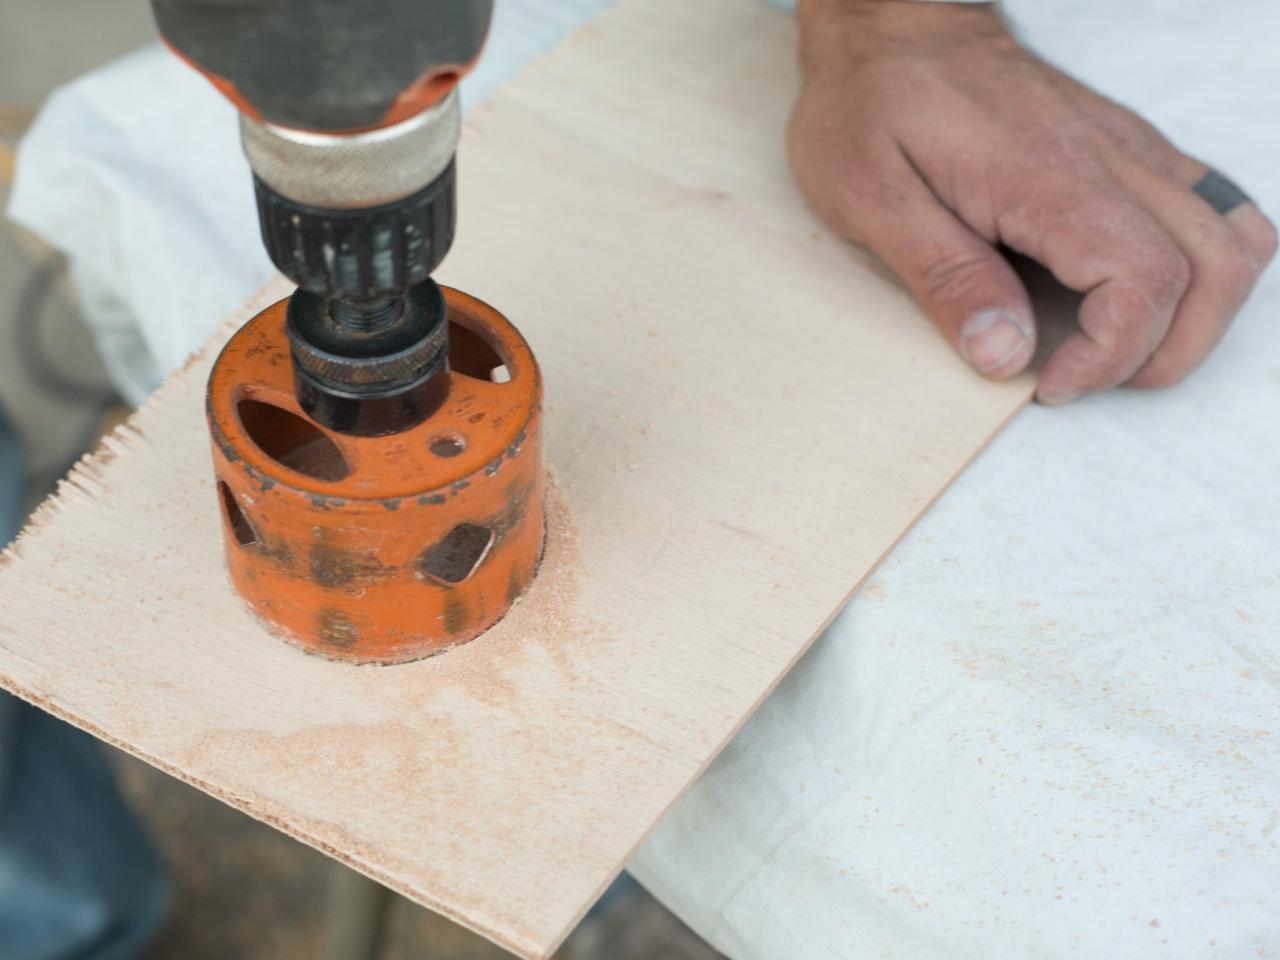
Make Two Circles From Scrap Wood
Use a 3-inch hole saw and a drill to cut to cut two circles from a piece of scrap 1/4-inch plywood. Next, smooth down the edges with an orbital sander.

Position Circle
Measure 4 inches from the edge opposite the curve cut and 4 inches from either side on both end pieces. Next, use pencil to mark center point for aligning the rivet circle. Note: Rivets are a main design element of tailor's tapes. The decorative end piece includes a detail mimicking the look and feel of a metal rivet.
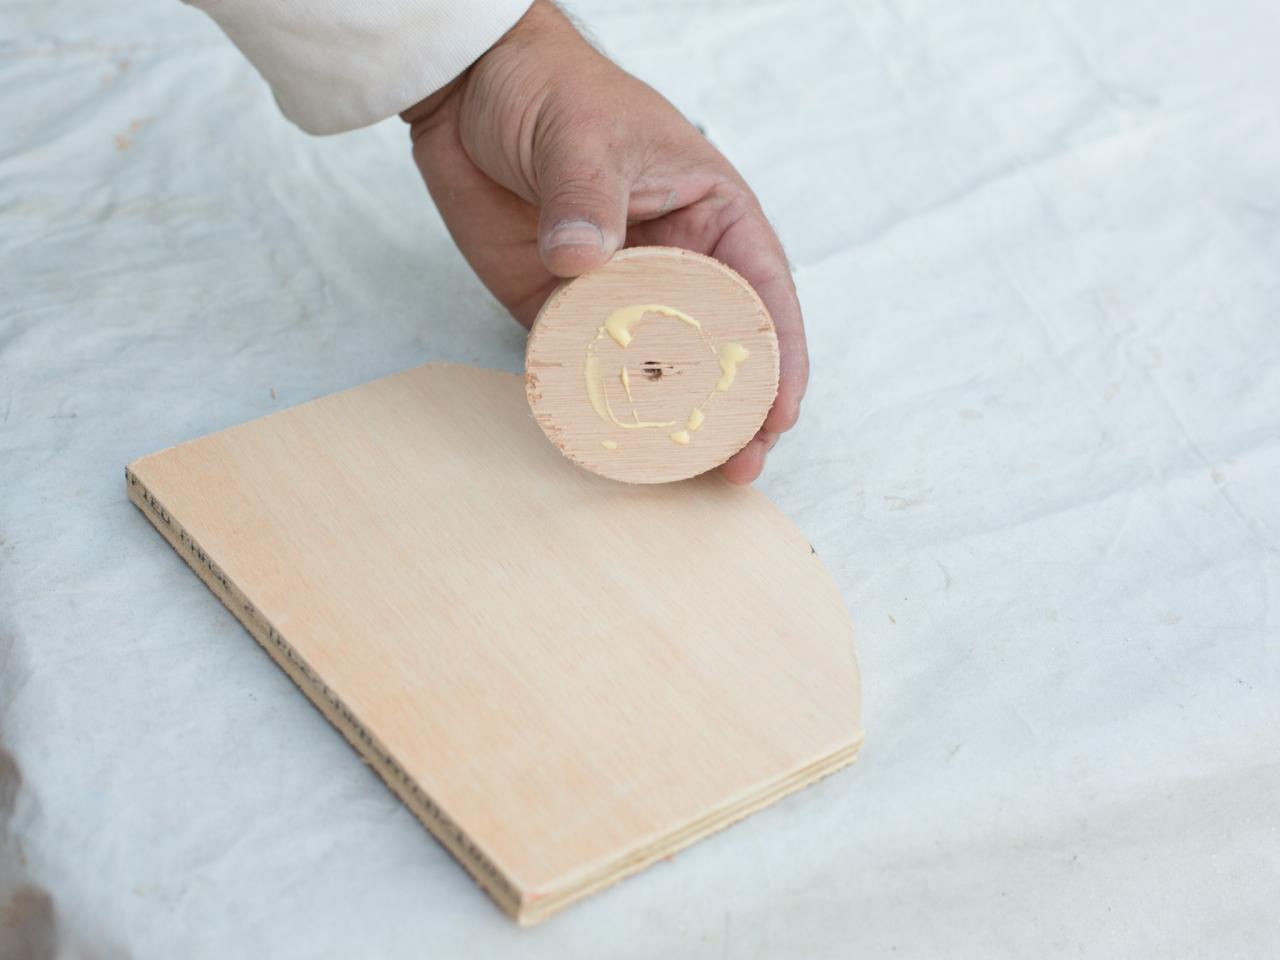
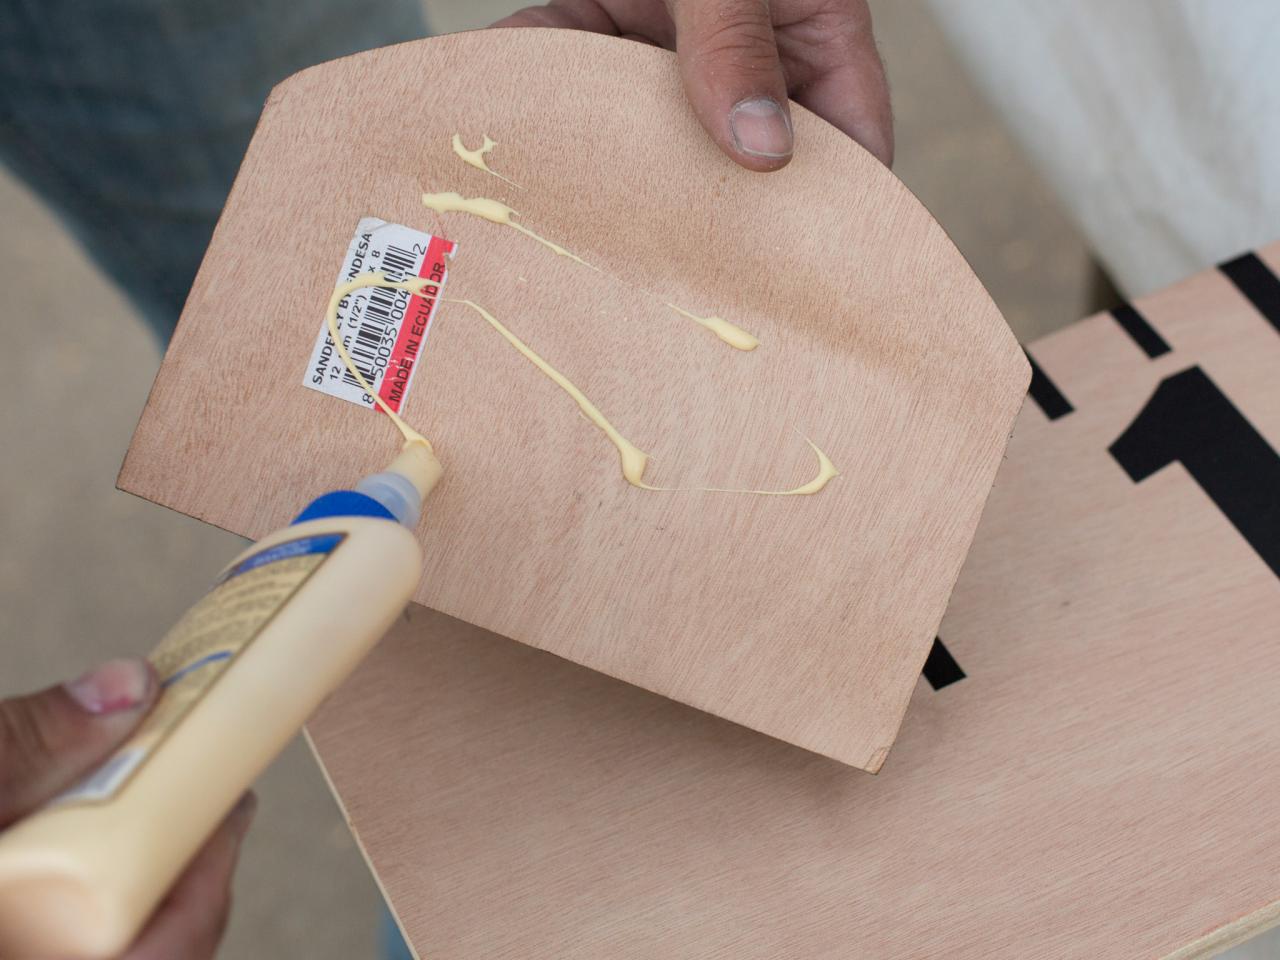
Attach Circles
Apply carpenter's glue to the backs of each of the circles. Glue one circle to each of the end pieces, aligning the center drill hole with the marks made in the previous step.

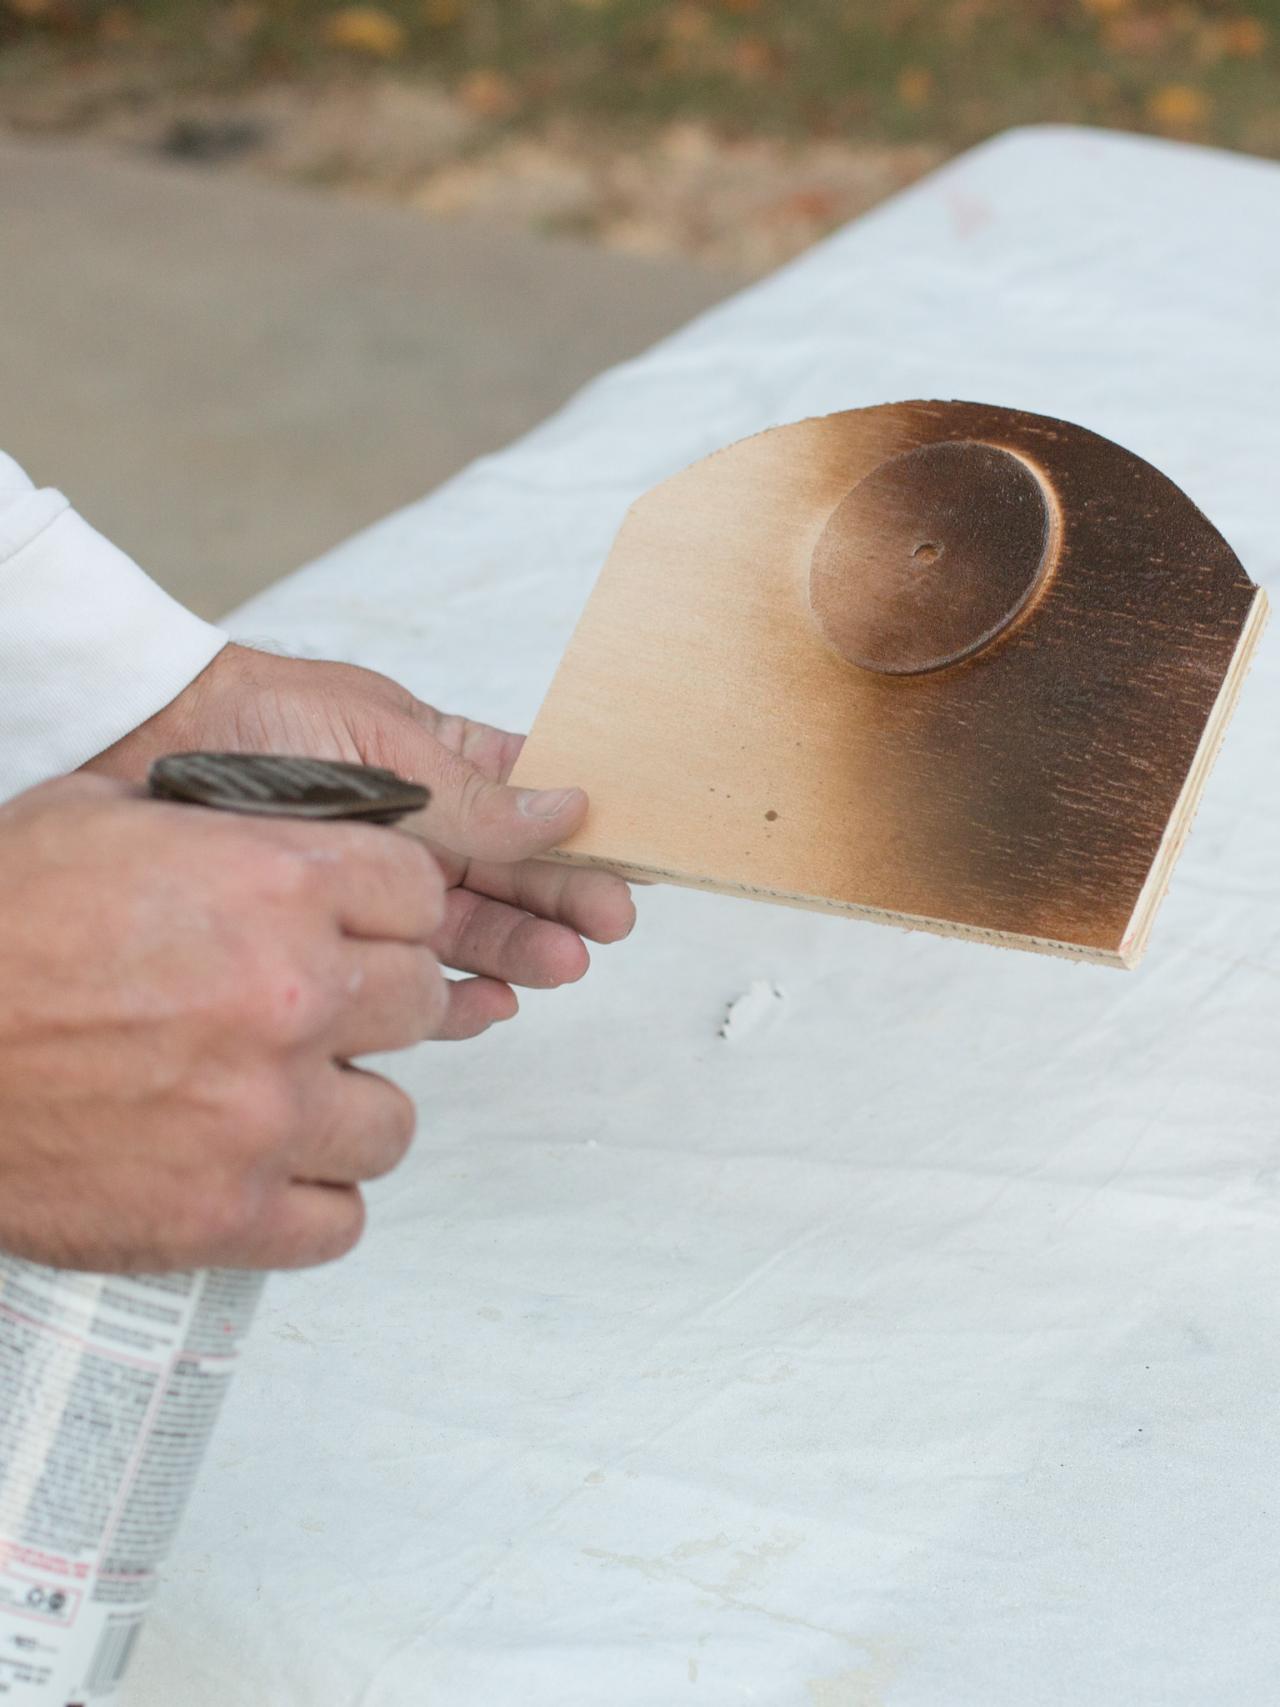
Paint Circles
After the glue has had at least two hours to dry, paint the decorative end pieces with a bronze or rusty metal spray paint. For the best finish, keep spray can approximately 8 inches from the surface, moving back and forth using spurts in a slow, controlled manner.

Install Circles
Once the paint has dried, use carpenter's glue to install each assembled decorative end piece flush with the ends of the main board. Allow glue to dry overnight for maximum durability.


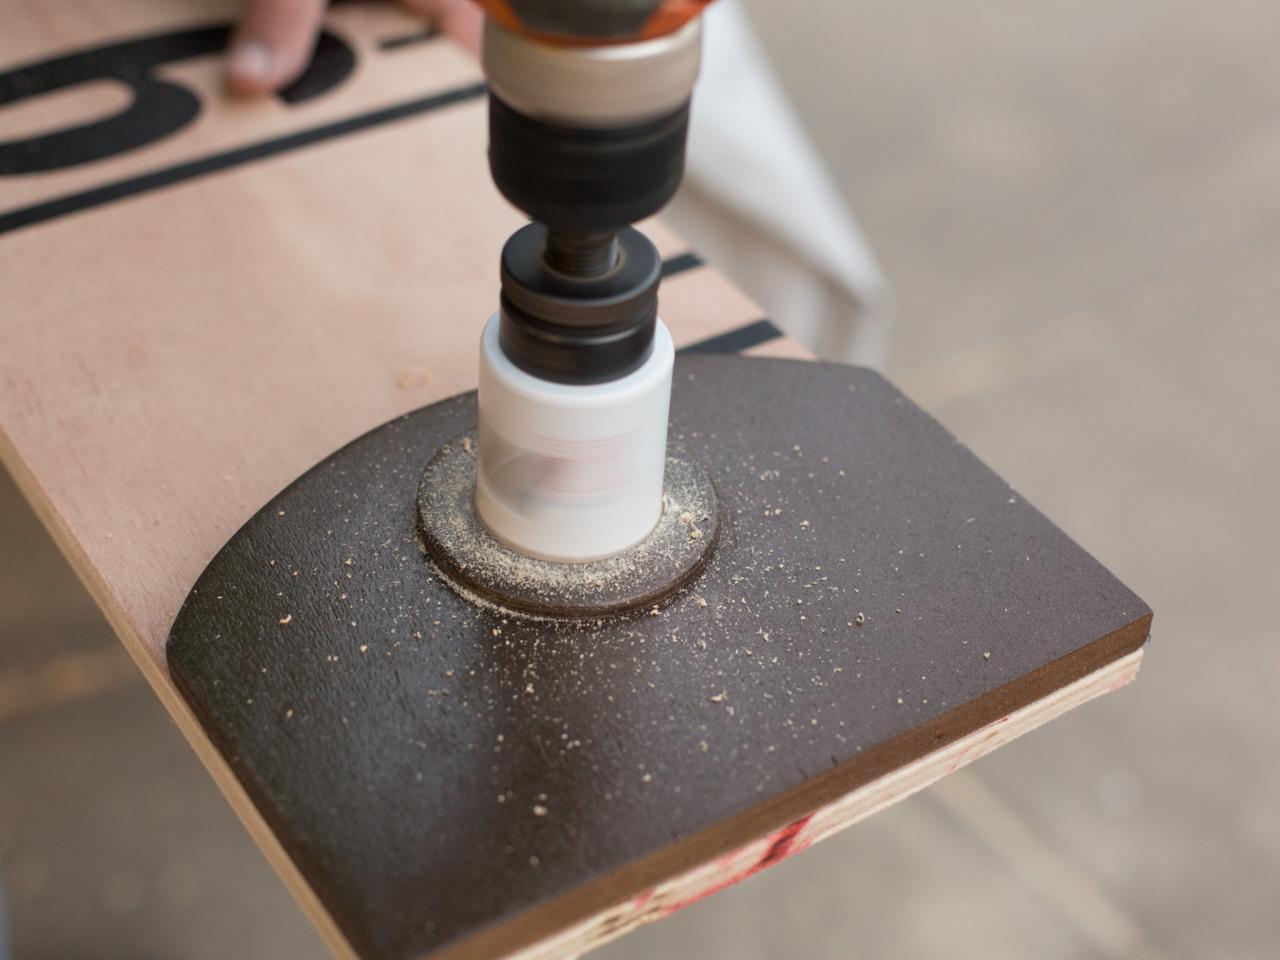
Cut Main Board at Circle Points
Using a 1 3/4-inch hole saw and drill, align pilot bit in the center hole of the circular rivet pieces, then cut a smaller hole through the circle, end piece and main board on both sides.

Apply Finishing Touches
Sand any rough edges and touch up the paint if necessary, being extra careful to keep the paint from getting onto the main tape section.

Apply Top Coat
Apply a varnish coat to seal the board and decals, allowing at least three hours' dry time. Once dry to the touch, use a hammer and nail or picture hanger to install growth chart on wall.


