


Hoodie Halloween Costume: Black Bat

Bat Hoodie Costume: Beauty 2
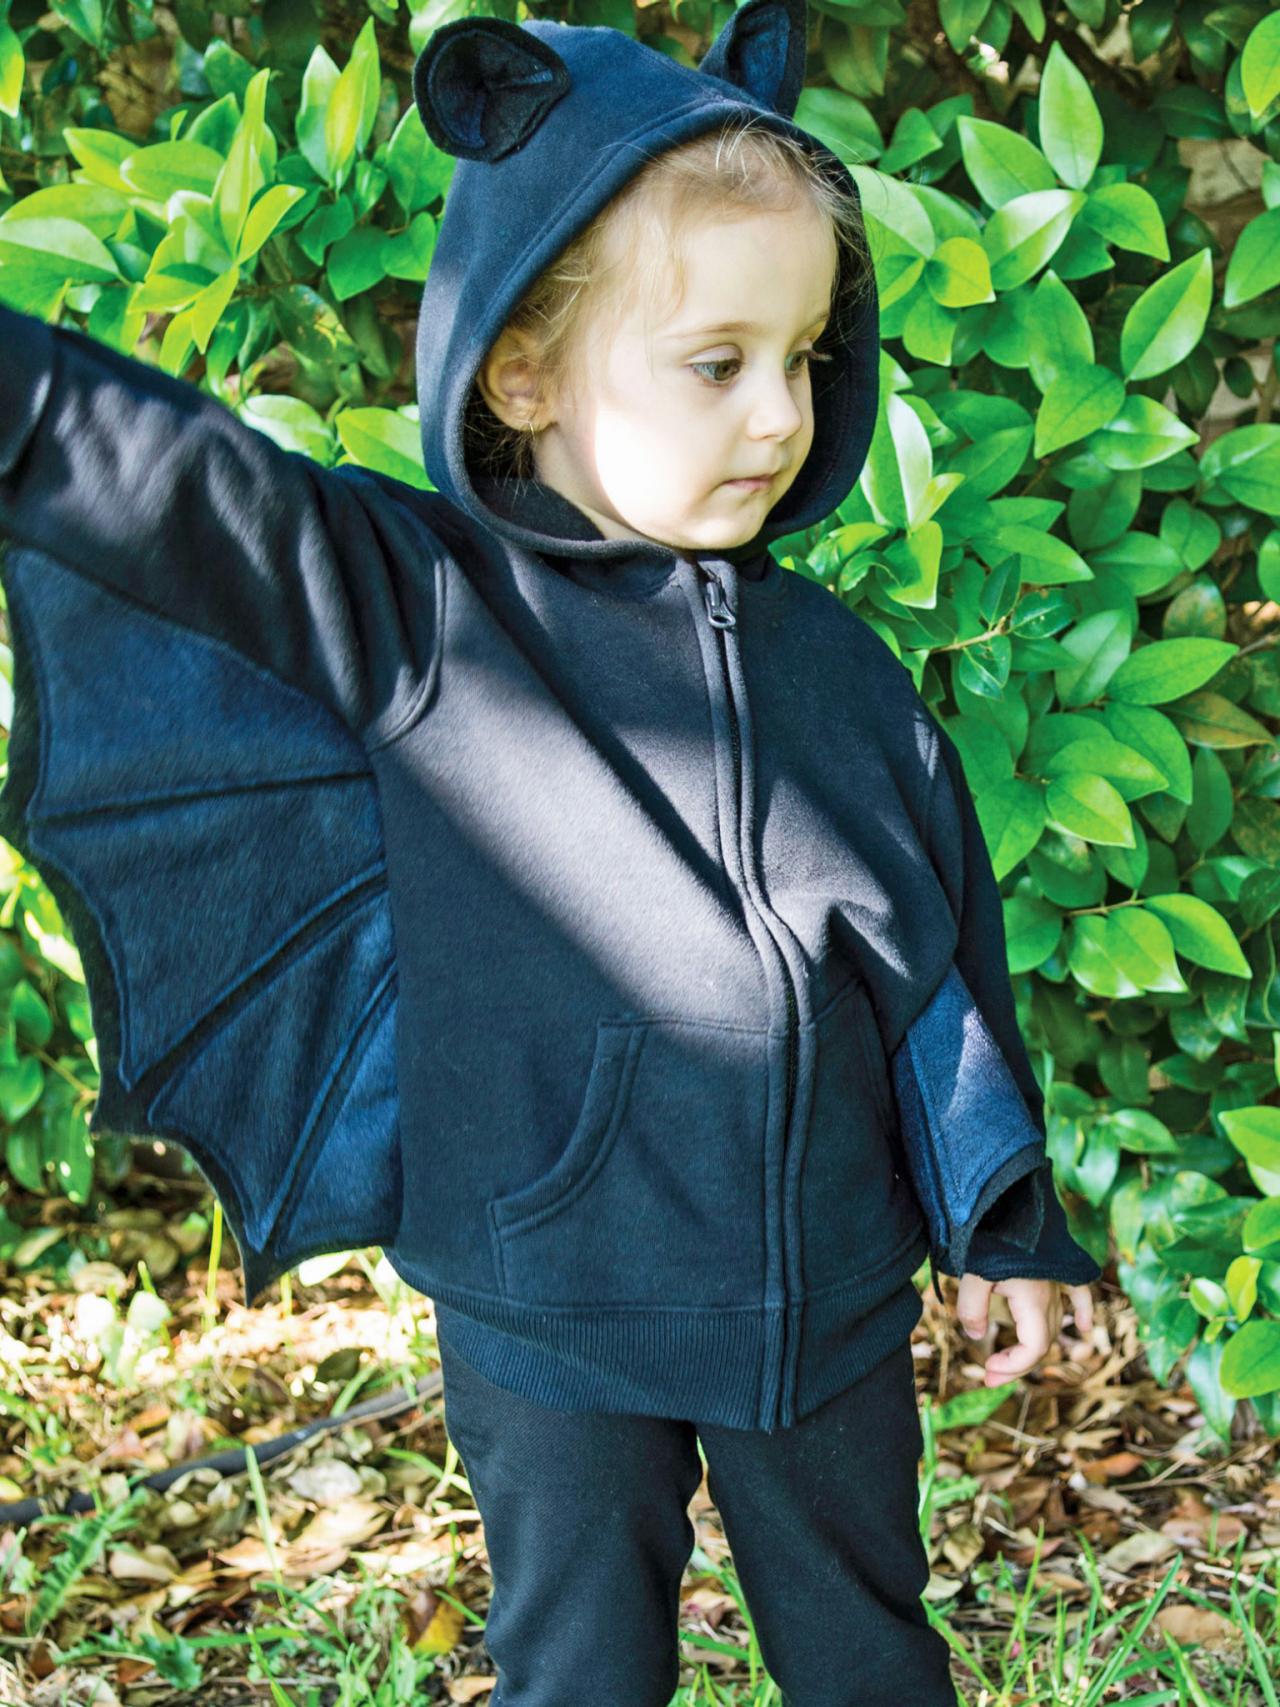
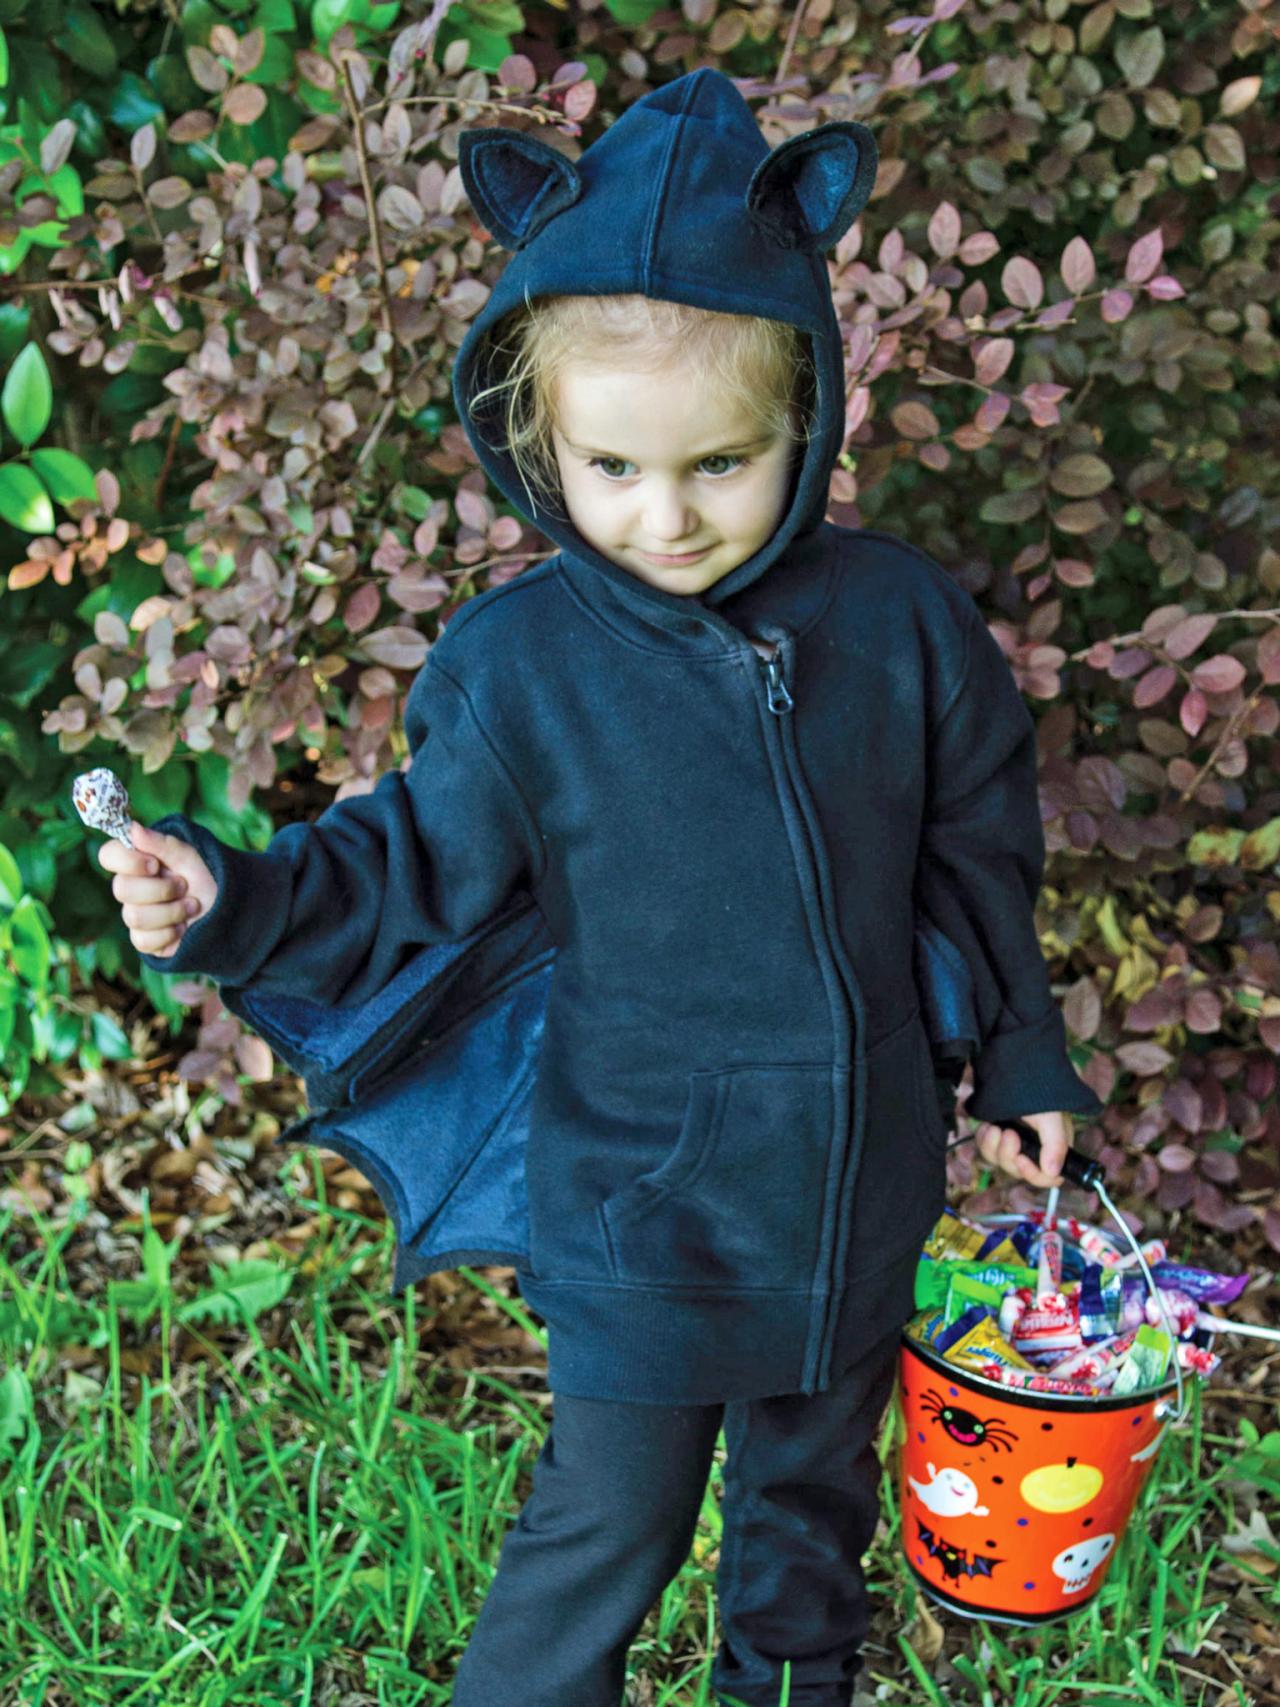
Your little one will take flight with this bat costume made from an inexpensive hoodie and felt. Pair it up with some black leggings or pants for just the right amount of spooky.

Materials Needed:
- black hoodie
- black pants, sweatpants or leggings
- black felt
- charcoal felt
- charcoal thread
- sewing machine
- scissors
- straight pins
- sewing needle
- seam remover
- iron (optional)
- Download: Bat Wing Template (legal size)
- Download: Bat Wing Template (letter size)
- Download: Bat Wing Segments Template
- Download: Bat Ears Template
Print and Cut Out Templates
Print and cut out all templates. You will need 2 sets of the bat wing templates and 1 set of the ear templates. Note: If using the letter-size bat wing template, you will need 4 copies.

Bat Hoodie Costume: Step 1
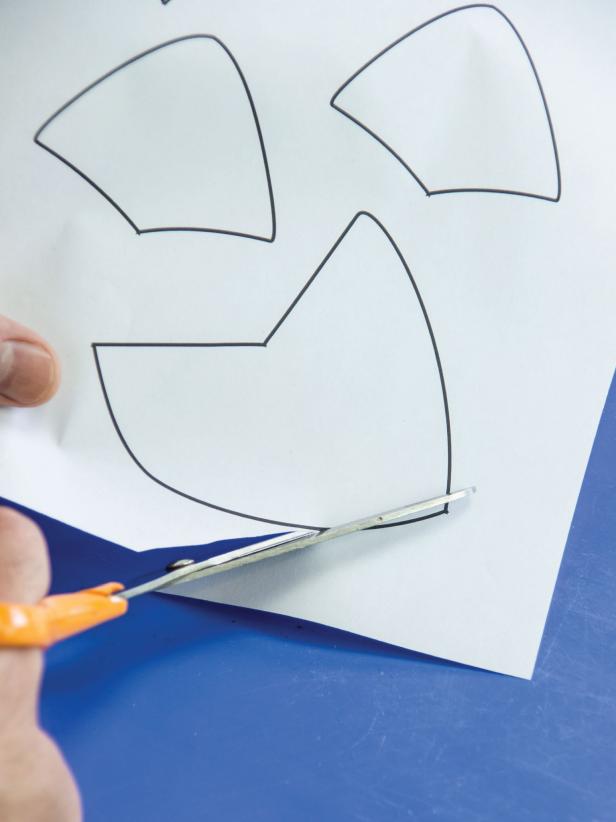
Print and cut out the templates (step1 img). You will need two sets of the bat wing templates and one set of the ear templates.
Scale Wings Then Cut Out
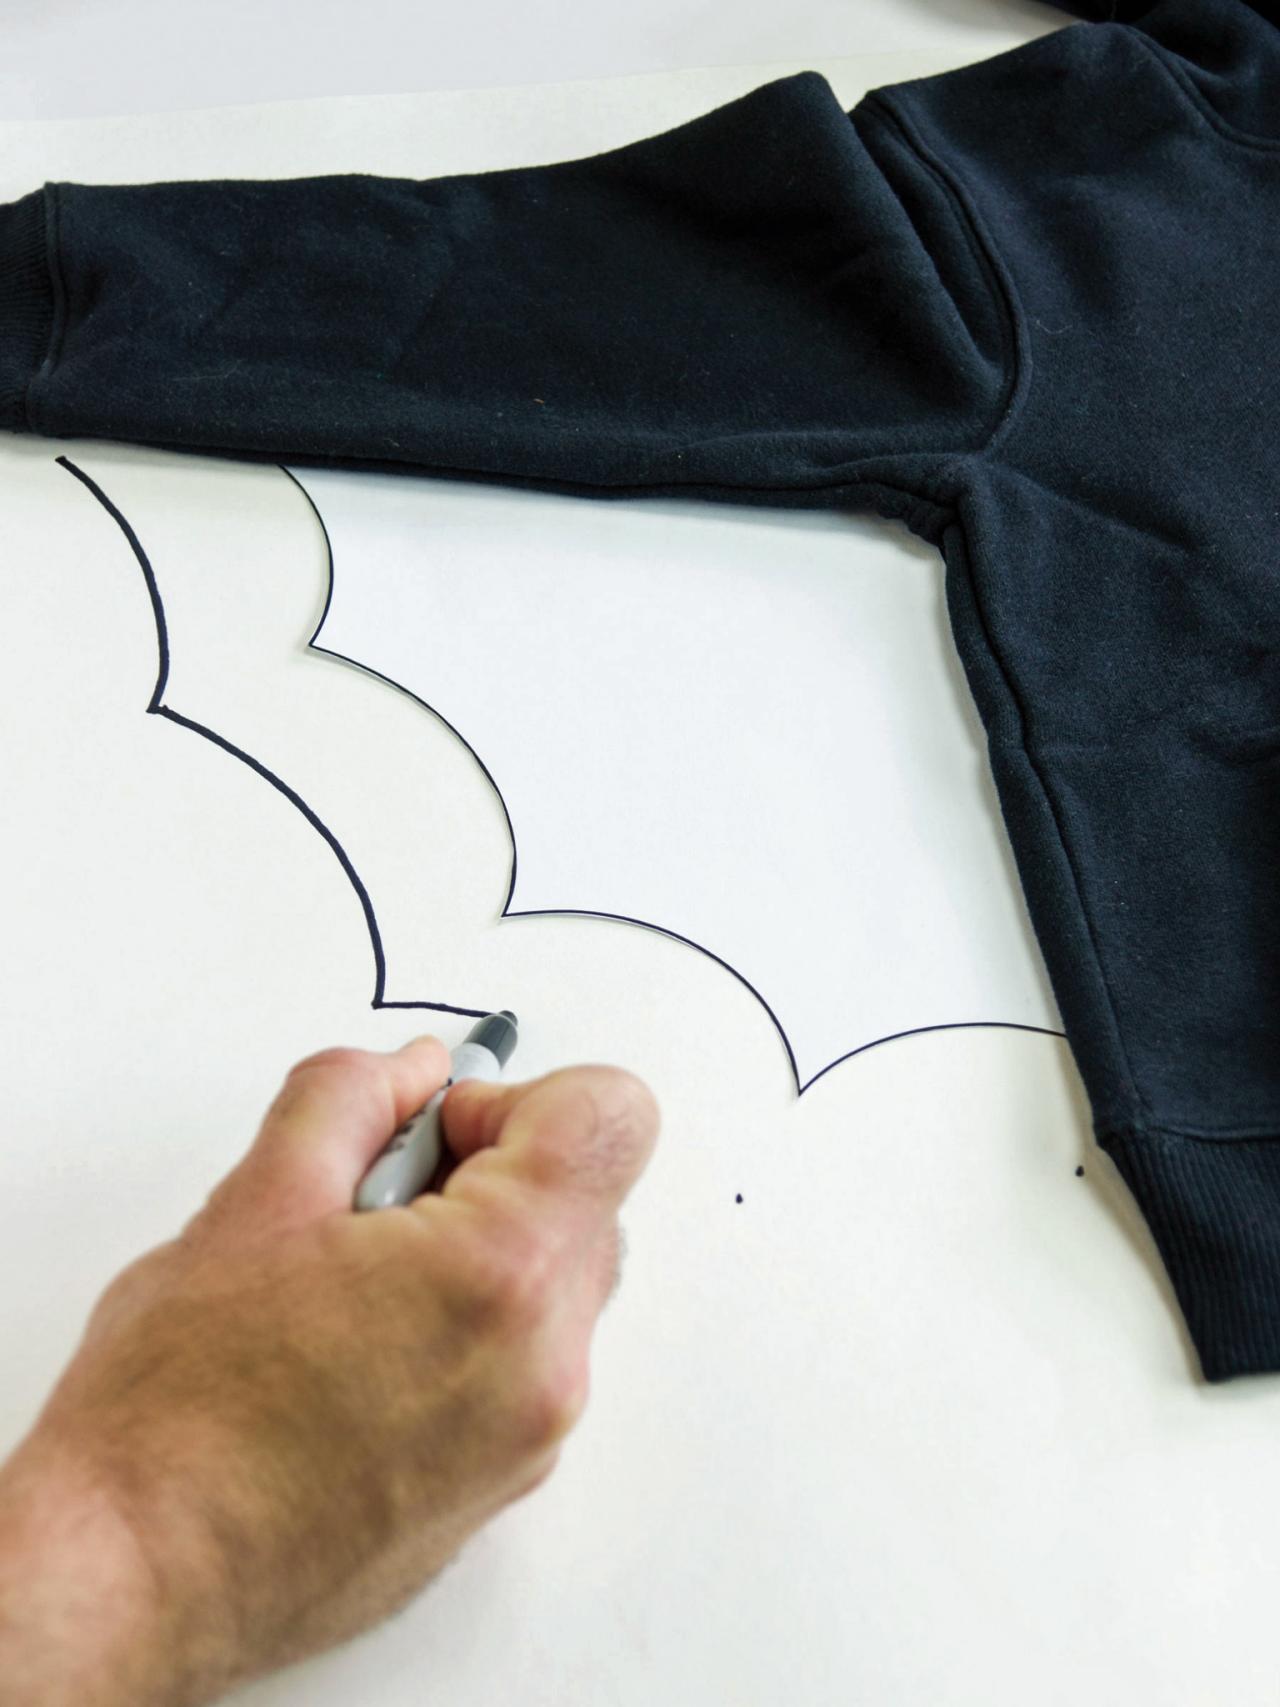
To scale the template to fit your hoodie, place the cut-out template and hoodie on top of a larger piece of paper. Make dots from the points of each arc to indicate how large your wings should be and connect the dots with simple arcs, then cut out your new template. Lay the new template on the black felt, pin in place then cut out the wings and set aside. Tip: With felt, the front and back sides of the fabric don't matter. If using a different type of fabric, be sure to turn one of the templates over so you have wings that mirror each other.

Bat Hoodie Costume: Step 2
Note: if using Full Scale Template - Small (on legal paper) you will need 4 copies. To scale the template to fit your garment, lay the cut out template on a larger piece of paper on a flat surface. Lay the hoodie on top the papers with the template in place. Make dots from the points of each arc to indicate how large your template should be. Connect the dots with simple arcs and cut out your new template (step2 img).
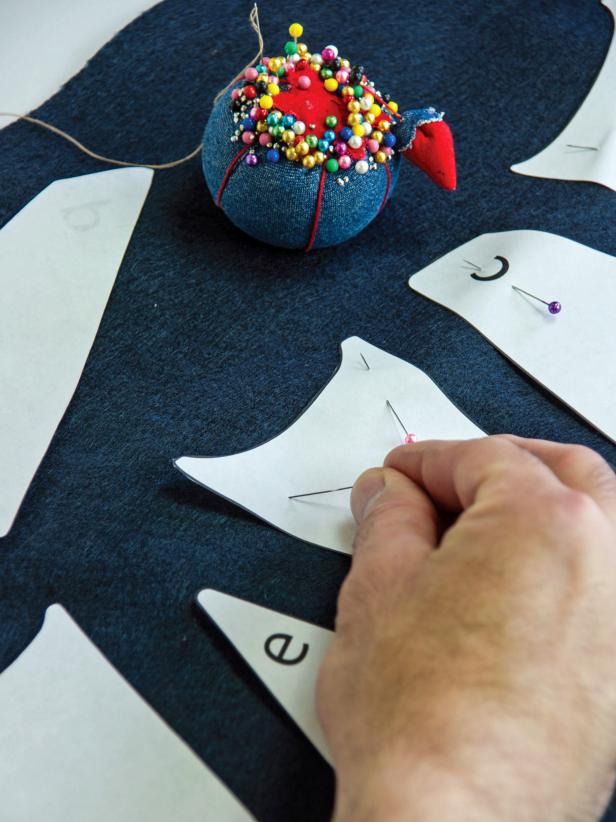
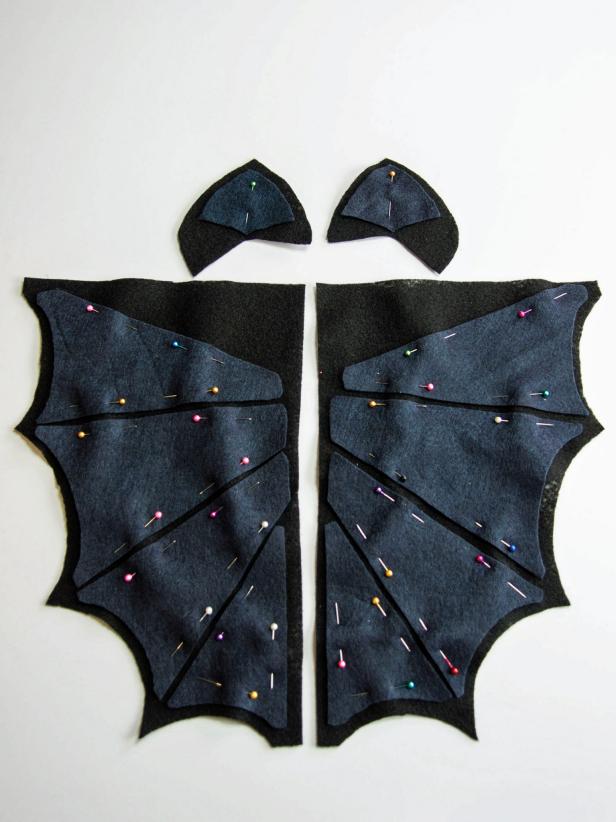
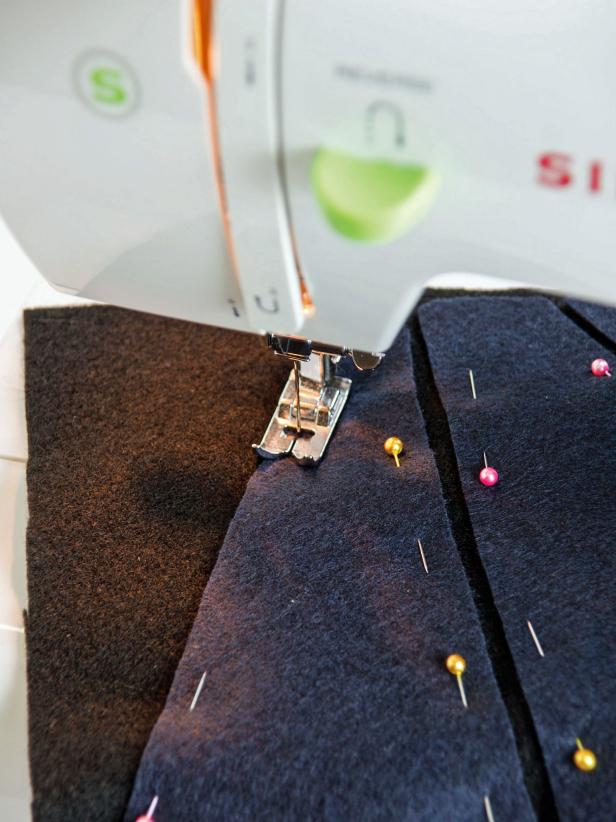
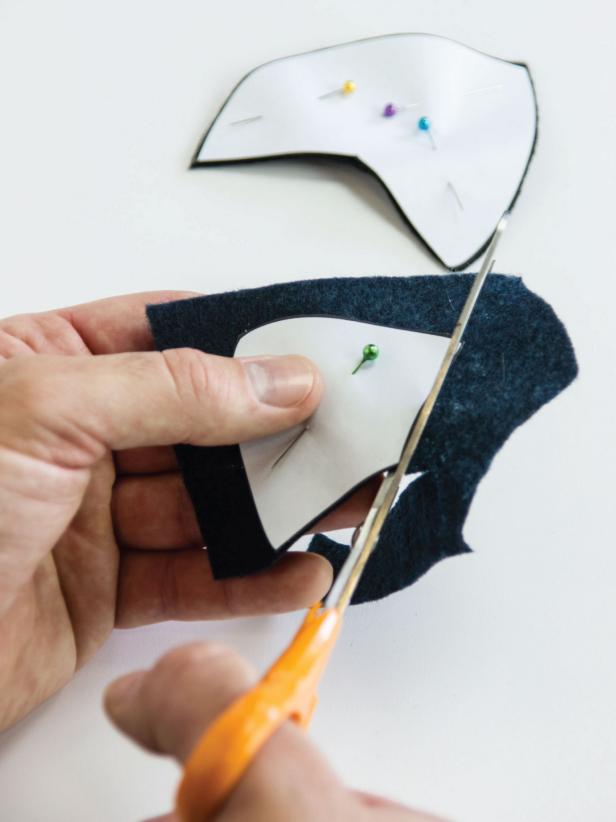
Cut Out the Gray Wing Segments
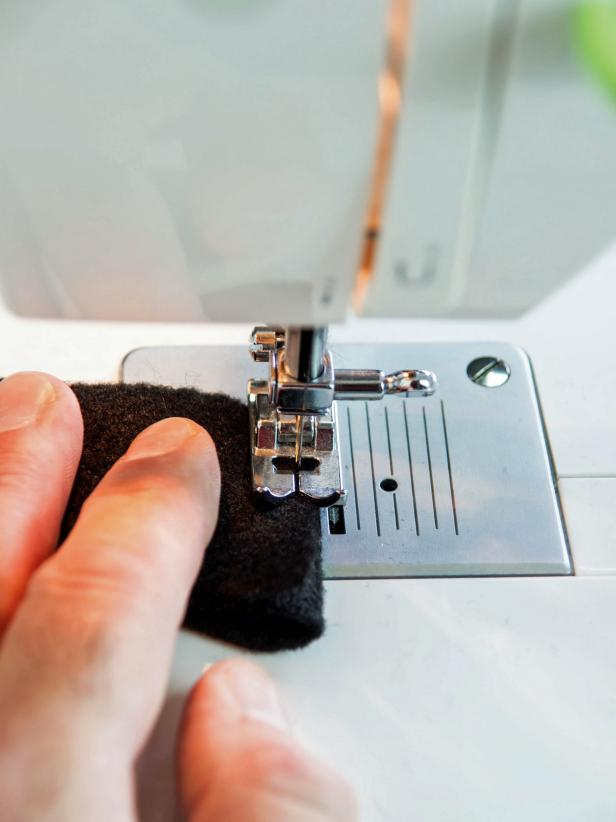
Pin the wing segment templates to the charcoal felt (Image 1). Flipping as necessary for non-felt fabric. Cut the segments out and set aside (Image 2). Remove the templates from all the fabric cutouts and pin the segments onto the full wing cut-outs (Image 3). Use a sewing machine to sew the wing segments to the wing itself with charcoal thread (Image 4).

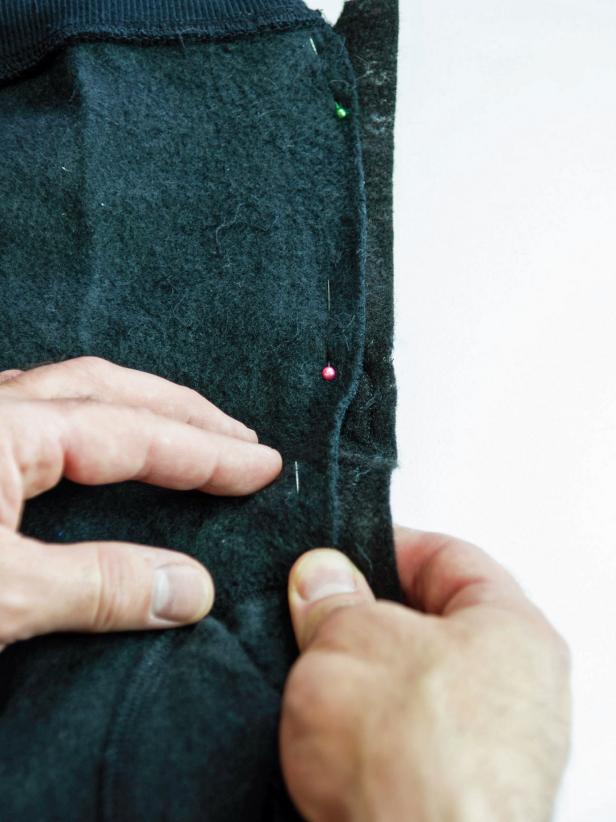
Attach Wings to Hoodie
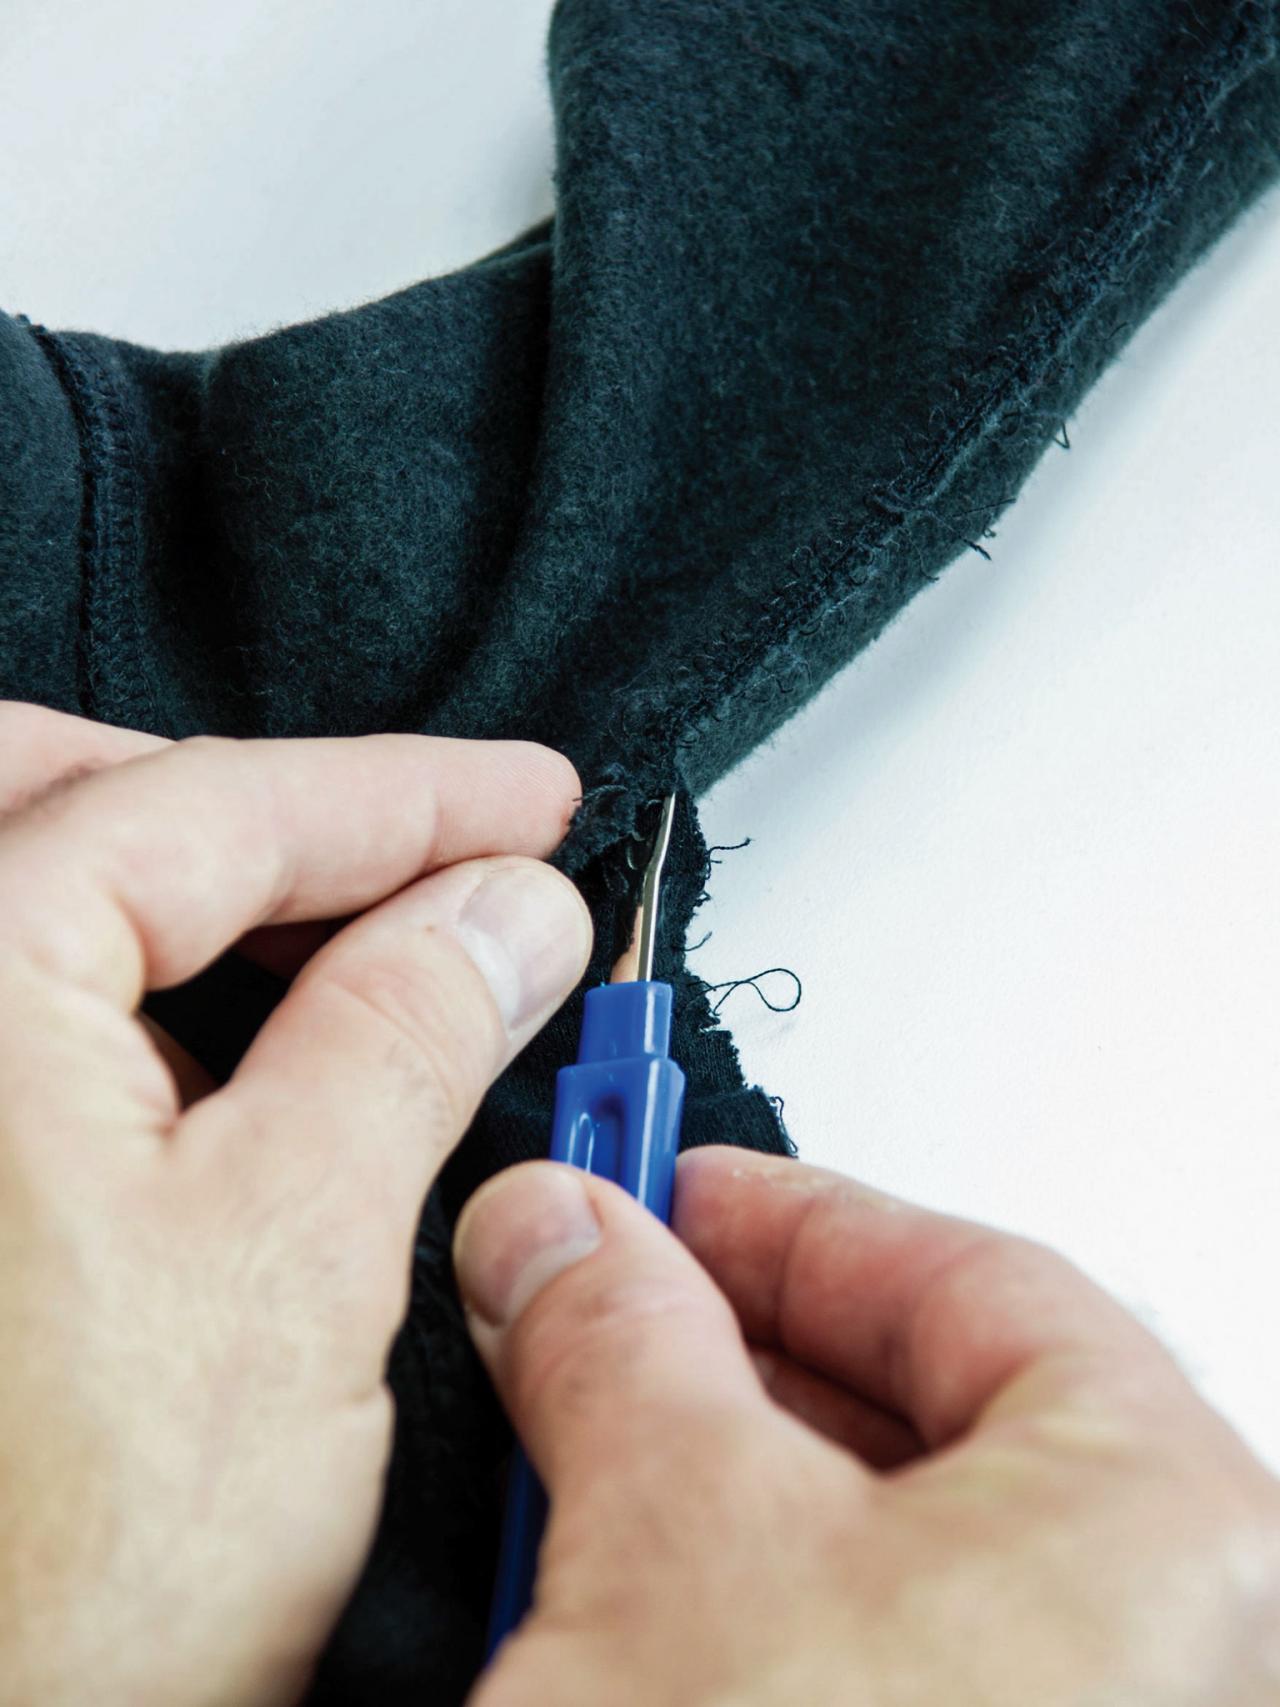
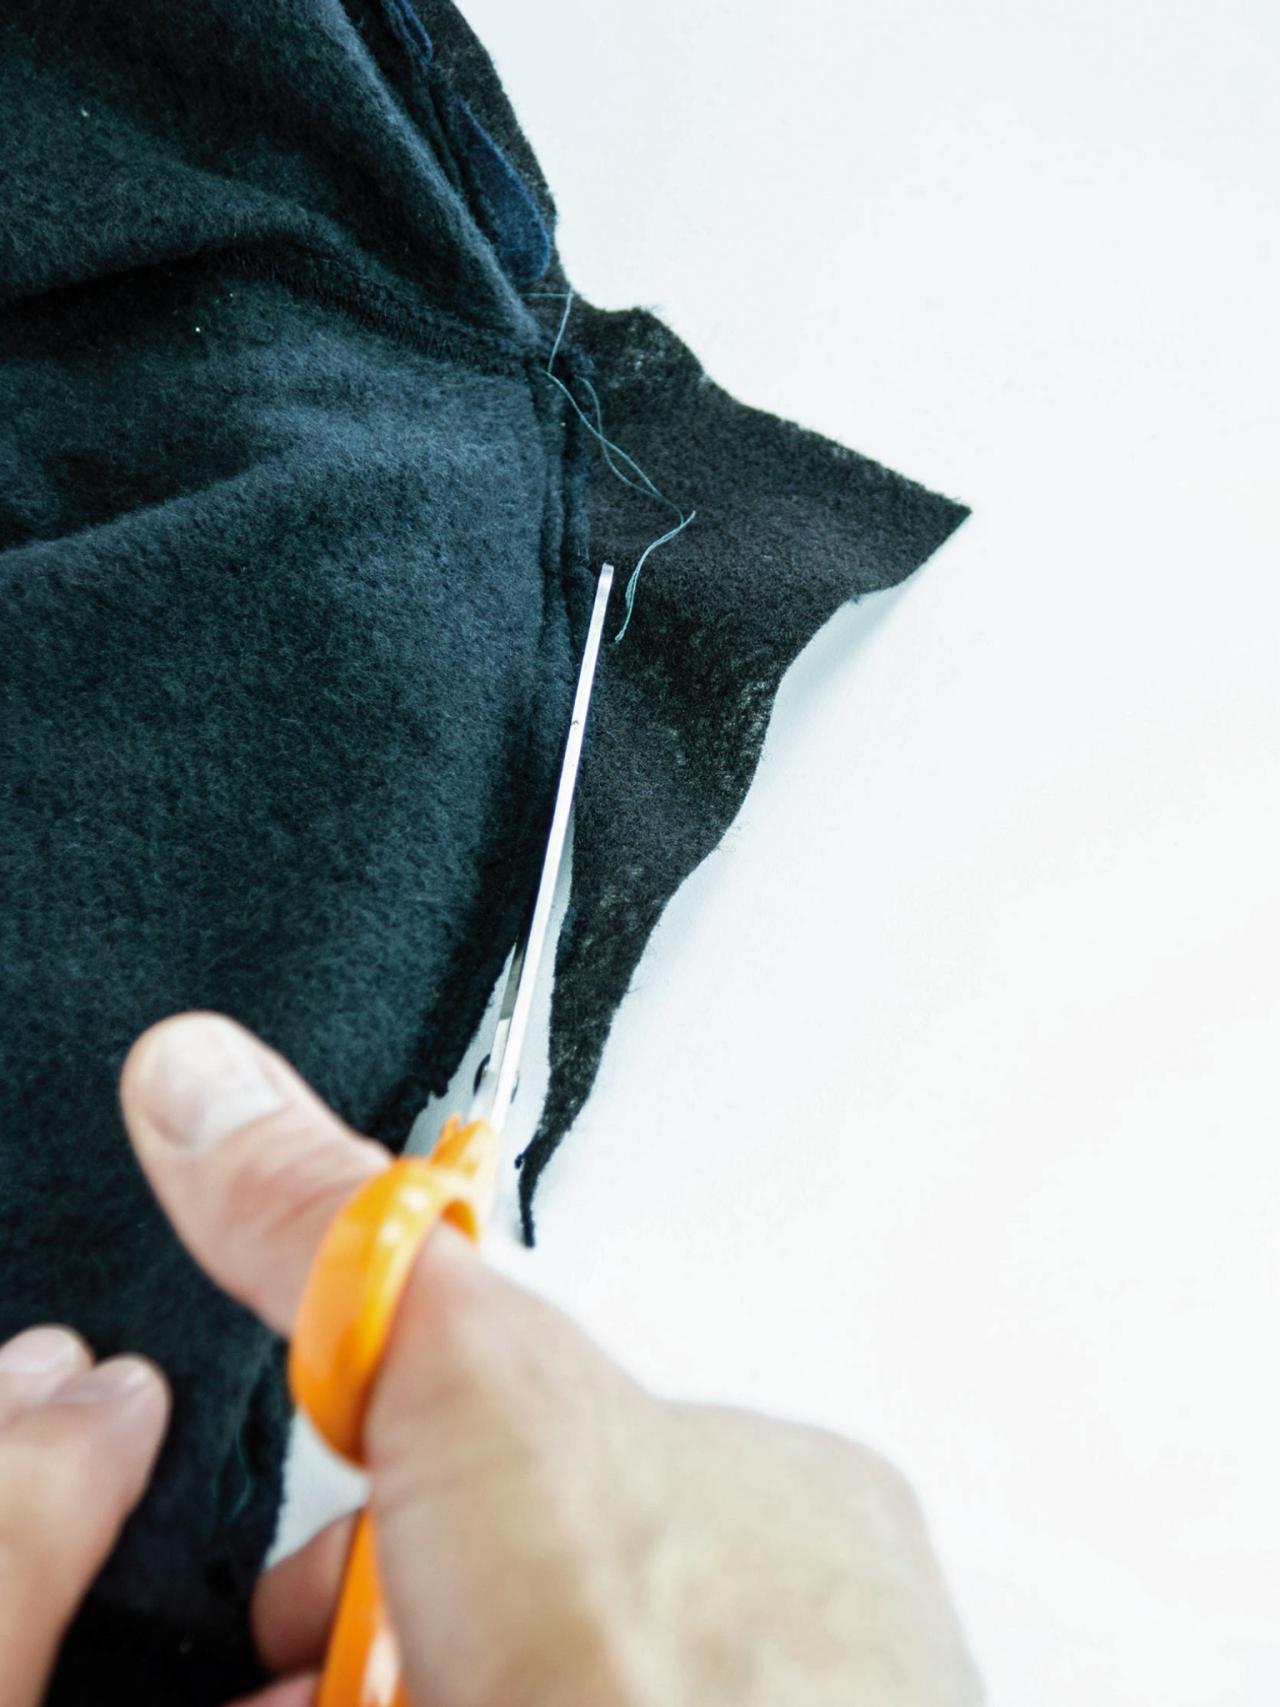
With a seam remover, carefully remove the hoodie seam along the side and arm, starting at the waistband and working toward the cuff (Image 1). Leaving the waistband and cuff intact, turn the garment inside-out, place the wing in the opening and pin it in place (Image 2). Use a sewing machine with black thread to re-seam the garment with the wing attached. Tip: Be sure to back stitch at the beginning and end. Repeat for the second wing then remove any excess fabric and stray threads from the inside (Image 3) before turning jacket back right-side-out.


Cut Out Ears
Cut out the ear templates (Image 1). Pin the outer ear template to the black felt and the inner ear template to the charcoal felt; cut out 2 of each (Image 2).
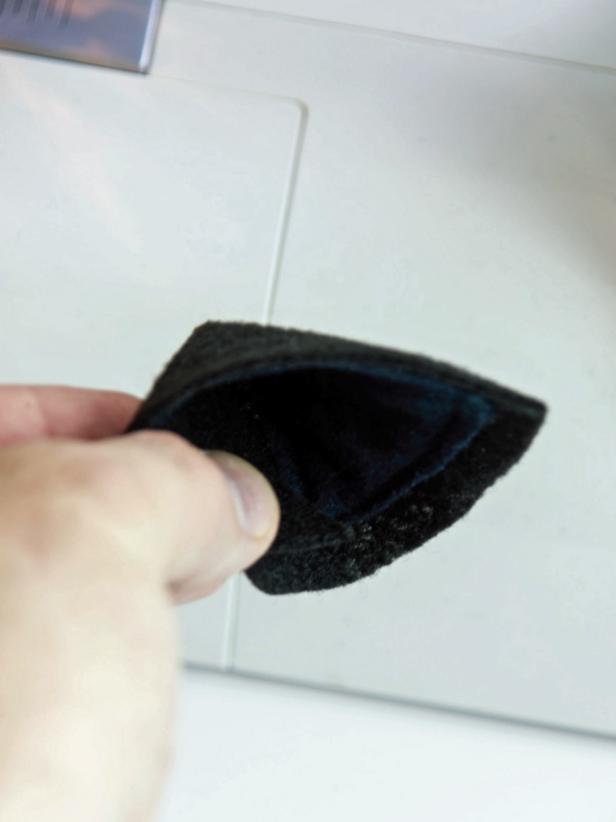
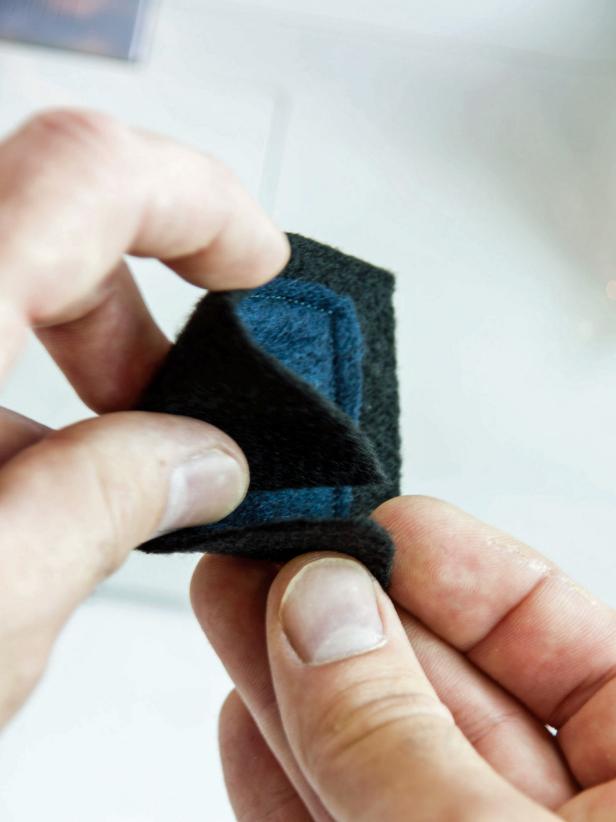
Create Ears
Remove the templates, pin the inner ear pieces to the outer ear pieces, then then sew them together (Image 1). To create a bat's peaked ear shape, overlap the bottom edges (Image 2). Pin and sew the overlapping pieces with the sewing machine (Image 3).
Attach Ears to Hoodie
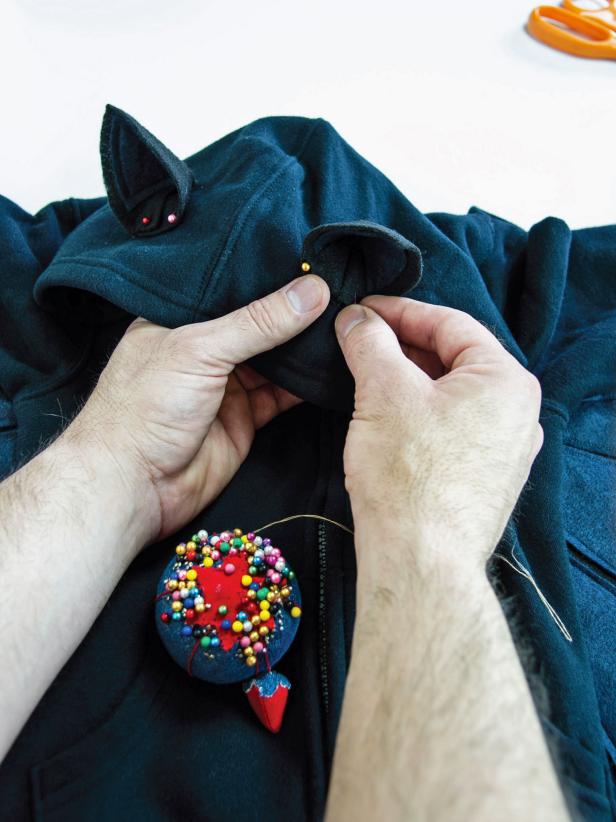
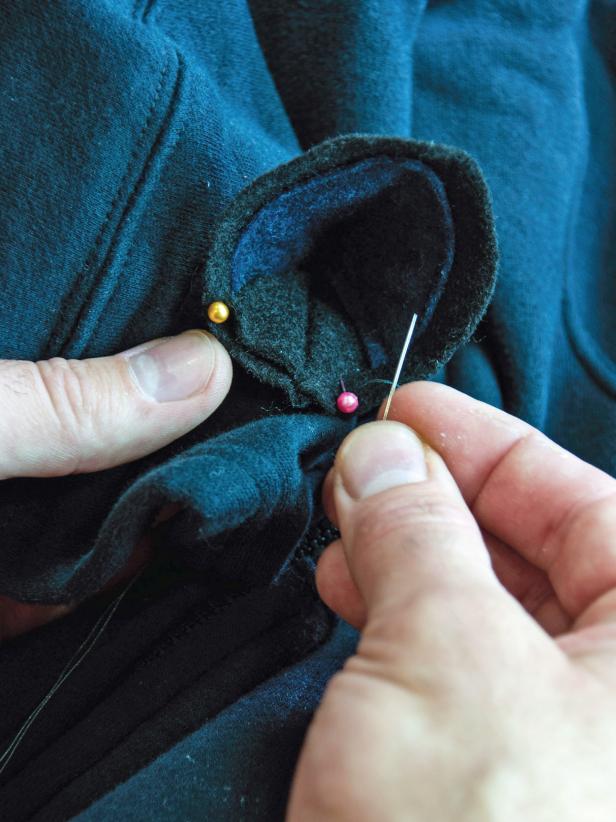
Cut off any stray threads and pin the ears to the hood (Image 1). Hand-sew ears in place using a needle and thread from the inside of the hood (Image 2). Attach both sides and the front of the ear making a sort of triangle.
Finishing Touches
Finally, iron out any wrinkles. Pair the bat-wing hoodie with black pants or leggings and your little one is ready for their first flight.

Bat Hoodie Costume: Beauty 1
Your little one will take flight with this bat costume made from an inexpensive hoodie and felt. Pair it up with some black leggings or pants for just the right amount of spooky.


