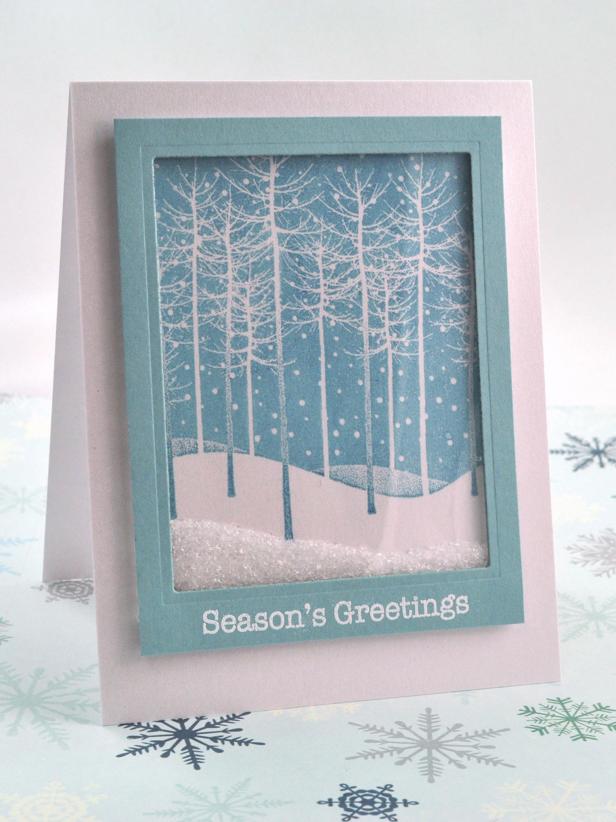
Falling Snow Holiday Shaker Card
Materials Needed:
- white card stock
- turquoise card stock
- clear transparency/acetate sheet
- foam tape
- high-tack, double-sided tape
- chunky glitter
- rubber stamps for the sentiment and focal image
- rectangular die (optional)
- turquoise ink
- watermark ink and white embossing powder OR white pigment ink
- heat tool (if you heat emboss rather than stamping in white ink)
Cut Card Base and Frame
Cut white card base to 4-1/4" x 11" and fold in half. Cut turquoise card stock to 3-1/2" x 4–5/8", and use rectangle die to cut out frame's center. Alternately, use a paper trimmer to cut both inside and outside of frame.
Add Sentiment to Frame
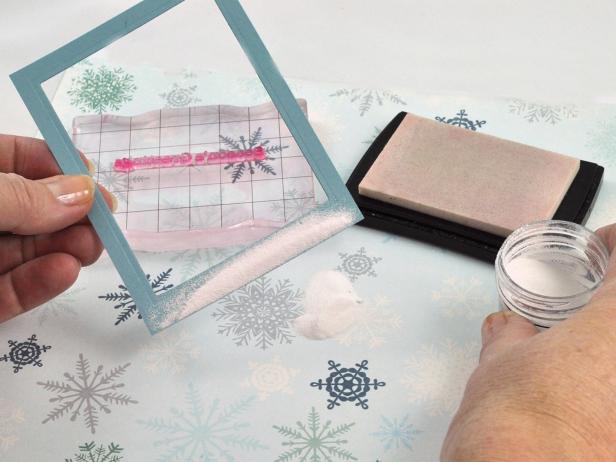
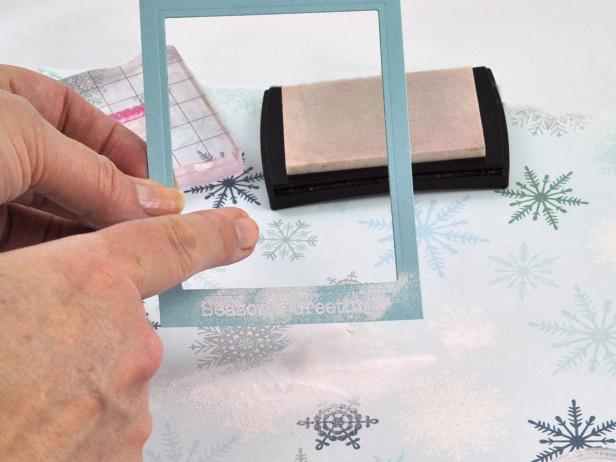
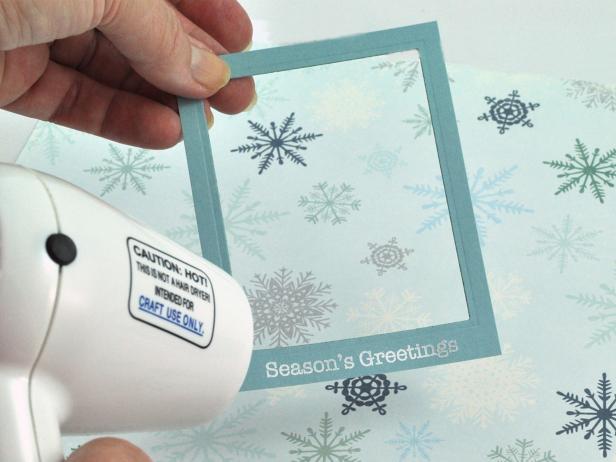
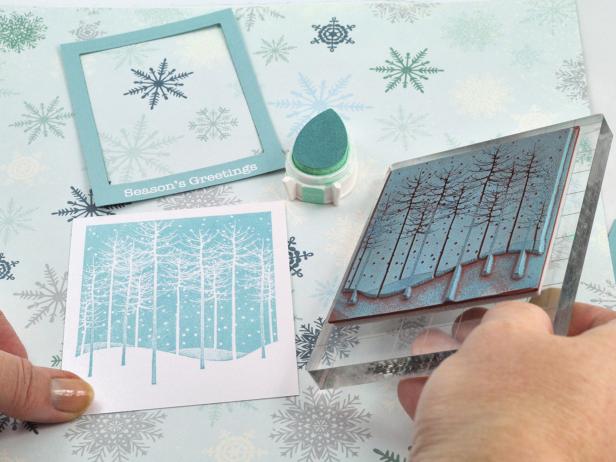
Using watermark ink, stamp sentiment onto bottom of frame then sprinkle white embossing powder onto watermark ink (Image 1). Tap off excess embossing powder (Image 2). Using heat tool, heat embossing powder until it melts (Image 3). Note: Alternately, stamp sentiment in white pigment ink.
Stamp Focal Image
Ink stamp thoroughly and stamp image onto white card stock.
Create Frame Window
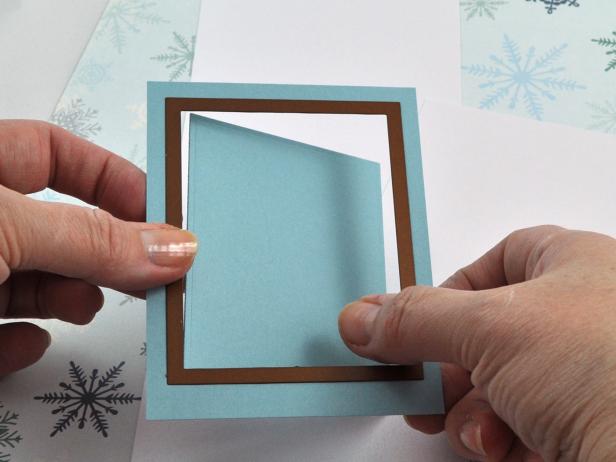
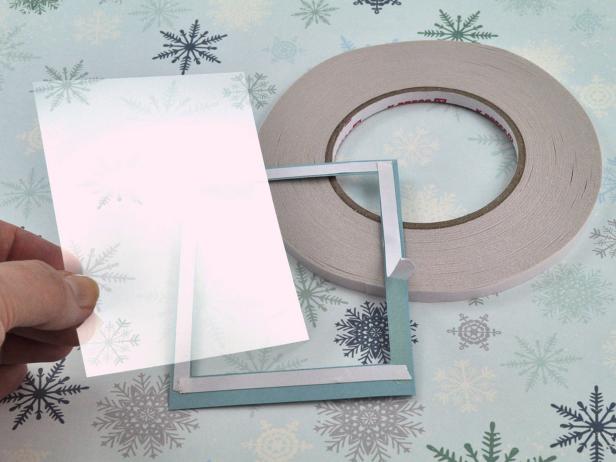
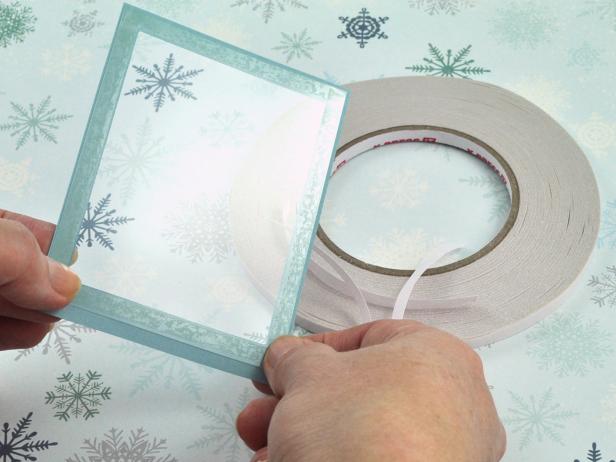
Cut window/acetate sheet slightly smaller than outside dimensions of frame. Line frame with high-tack, double-sided tape and peel release liner from tape (Image 1). Place window sheet onto back of frame and burnish well (Image 2).
Create Shaker
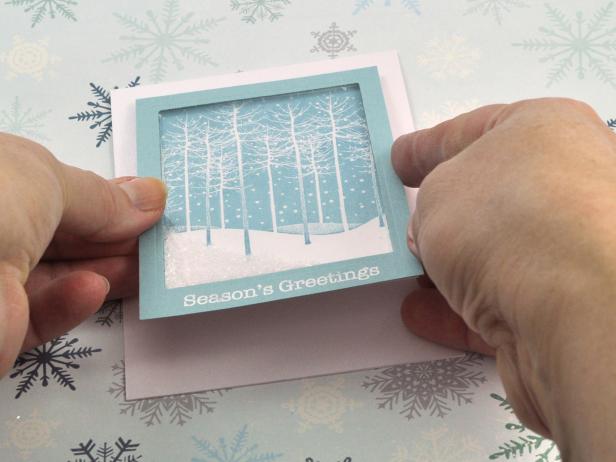
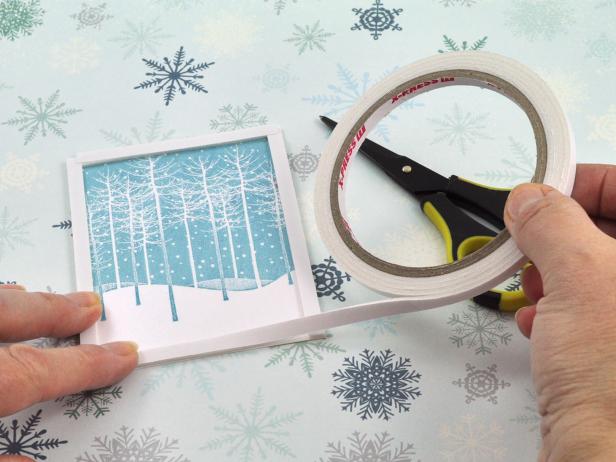
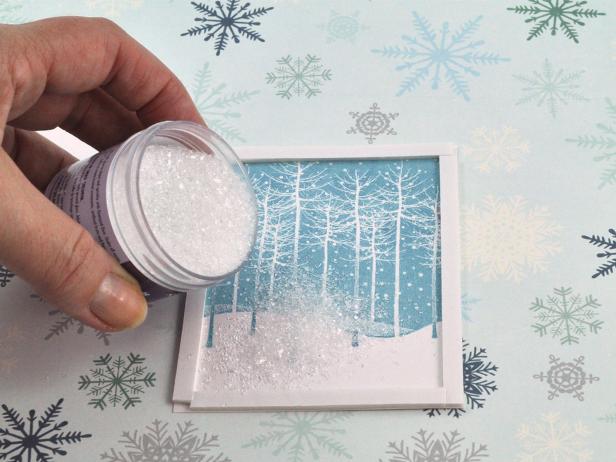
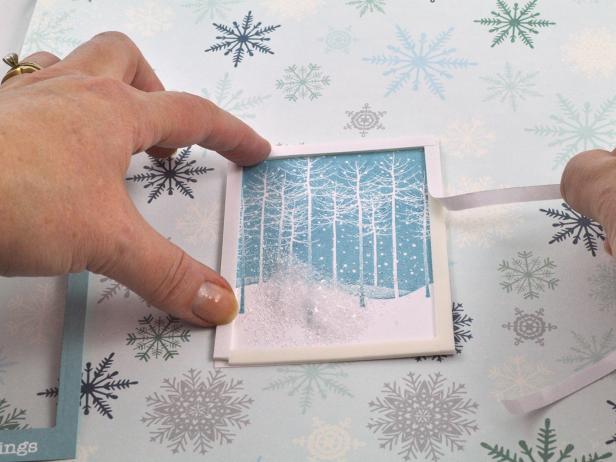
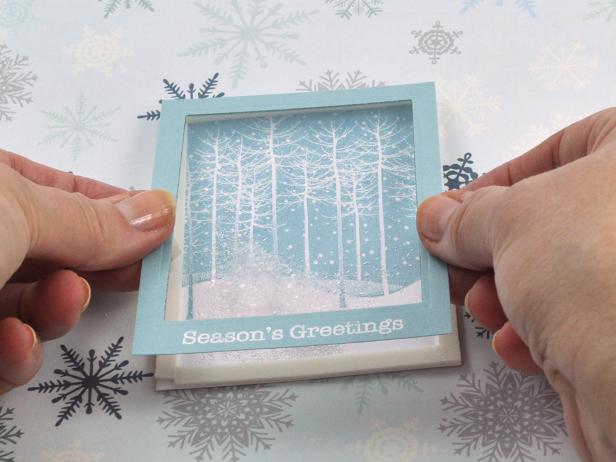
Line stamped focal image with foam tape, leaving no gaps in the corners (Image 1). Add about one teaspoon of chunky glitter to inside cavity of shaker before removing the tape liner (Image 2). Tip: If frame contains too much glitter, it will not shake well. Remove tape liner (Image 3). Carefully place window frame on top of the shaker base and burnish edges (Image 4).
Complete Card's Construction
Using foam tape, center then attach finished snow scene to the card base.
