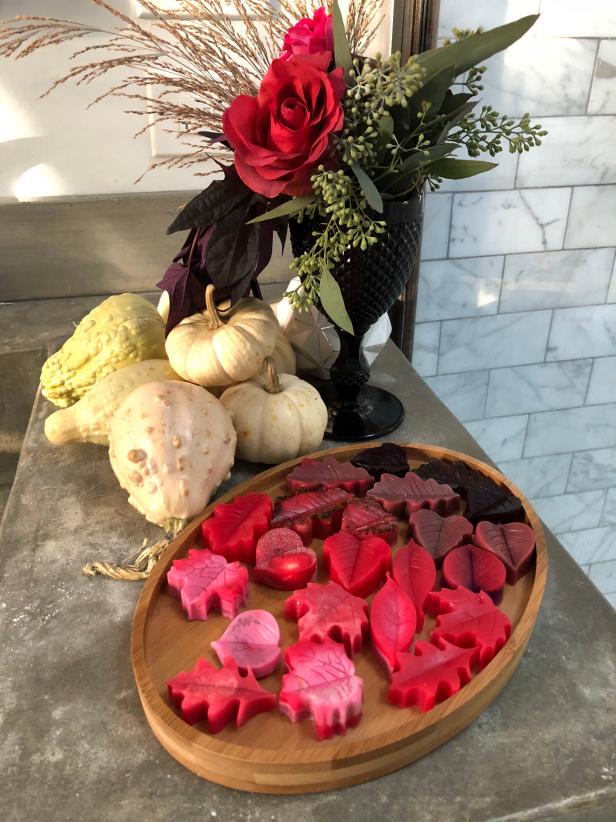
How to Make Scented Autumn Leaf Soaps
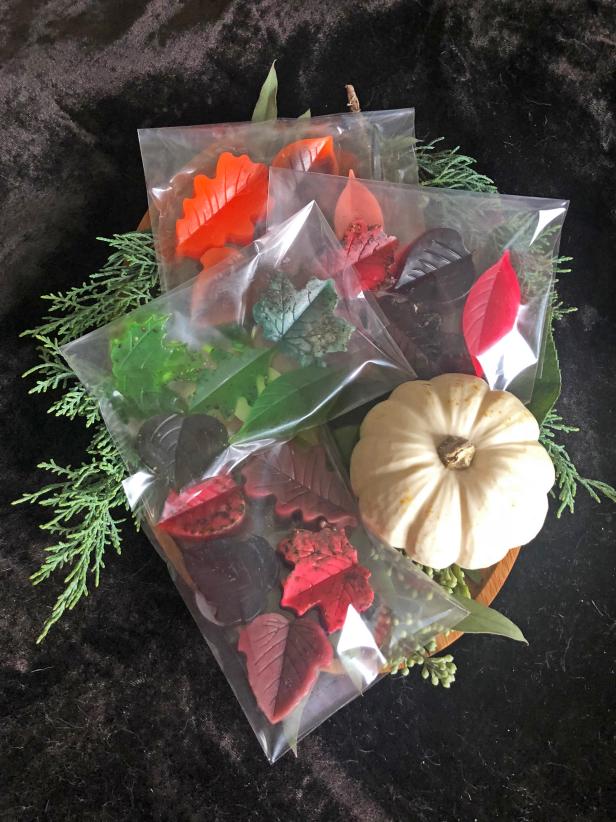
Bring fall foliage indoors and delight guests and hosts with these picture-perfect seasonal goodies.

Materials Needed
- large kitchen knife
- melt and pour soap base
- microwave
- pinch-and-pour measuring cups (or other microwave-safe cups with spouts)
- 2 wooden craft sticks (or other heat-safe stirring tools)
- liquid soap dye
- cosmetic grade essential oils
- silicone leaf-shaped candy mold
- optional: ground black pepper
- optional: glassine bags and stickers
Prepare Soap Base
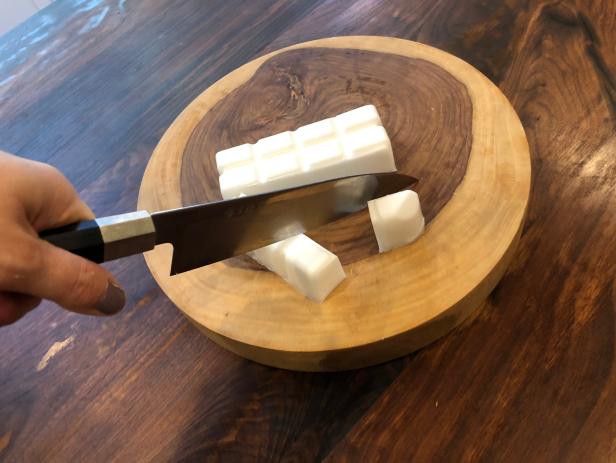
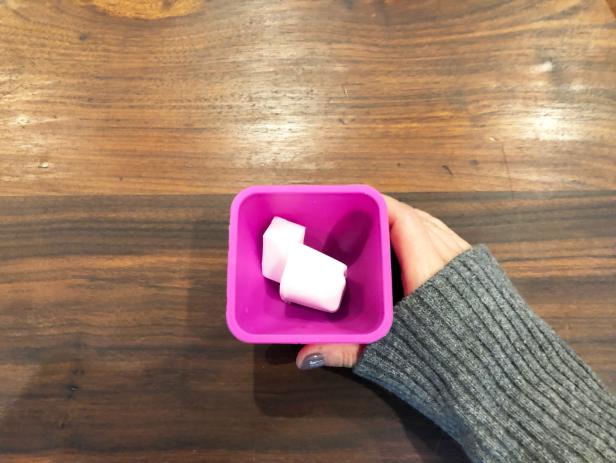
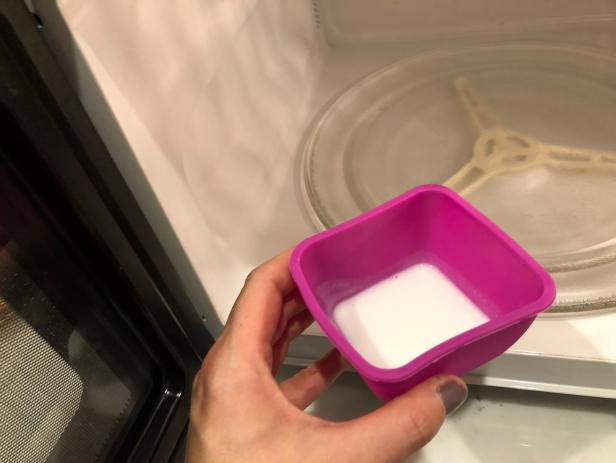
With a large kitchen knife, chop soap base into one-inch cubes (Image 1). Place 2-3 cubes of soap in a pinch-and-pour measuring cup (Image 2). Tip: For vibrant leaves, use a transparent glycerin soap base (we used olive oil); for more pastel shades, use an opaque base (we used goat’s milk here; both are available at craft stores). Heat the soap in your microwave at 15-second intervals until it is liquid (Image 3). Tip: You can also melt the soap in the top pot of a double boiler.
Add Dye and Scent
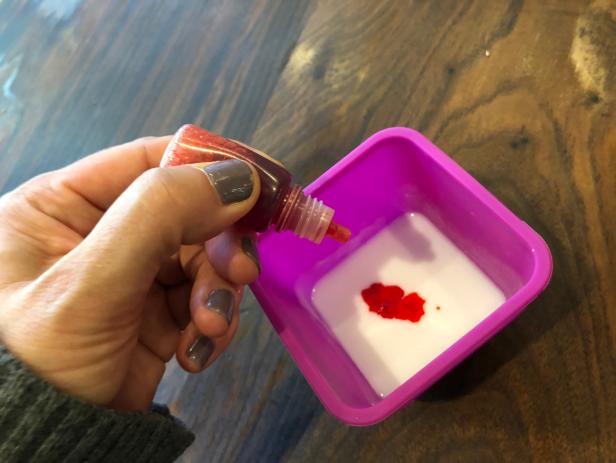
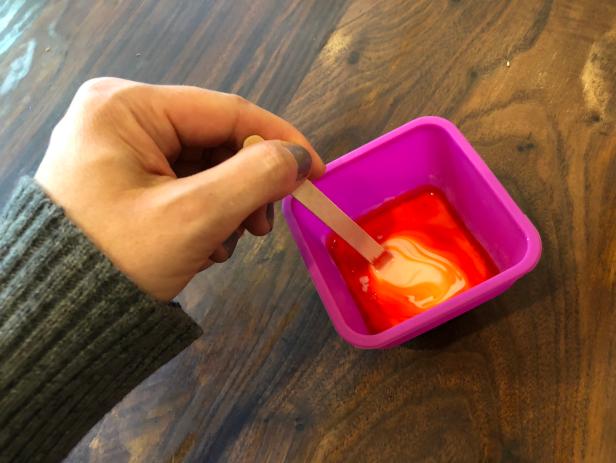
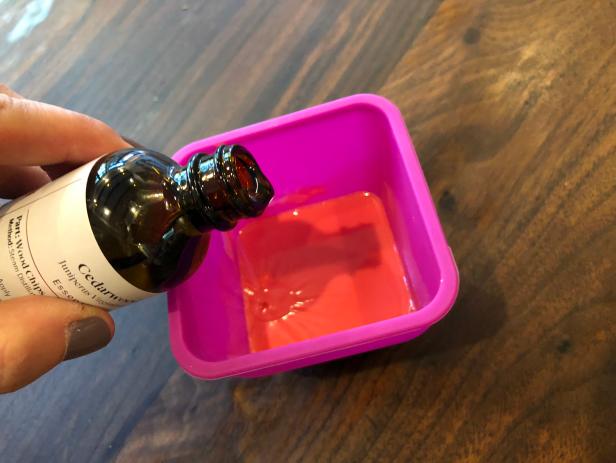
When the soap base is liquid (and hot — handle with caution!), add liquid soap dye a few drops at a time (Image 1) and stir with a craft stick until the mixture reaches your desired color (Image 2). Add a few drops of the essential oil of your choice (Image 3), then stir with the same craft stick. Tip: We used clove leaf, ginger, cedarwood and sandalwood oils for these soaps; be sure to choose scents that complement one another, which will allow you to combine scraps in future batches without creating a stink.
Fill Silicone Mold
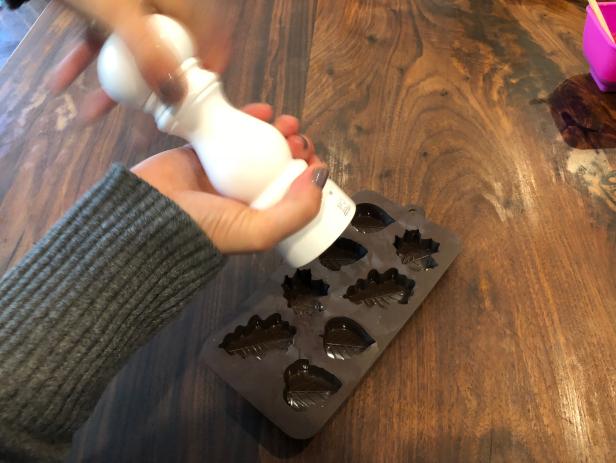
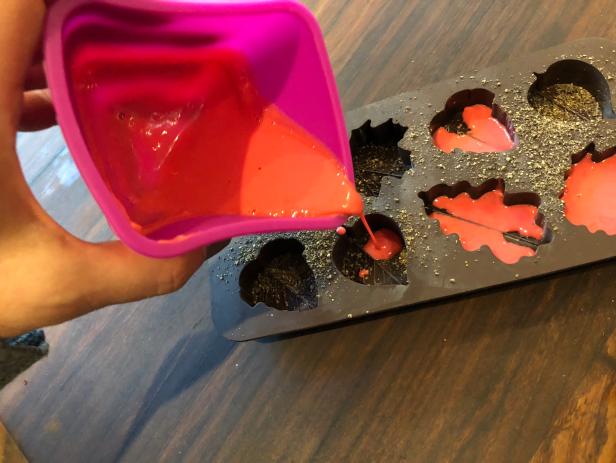
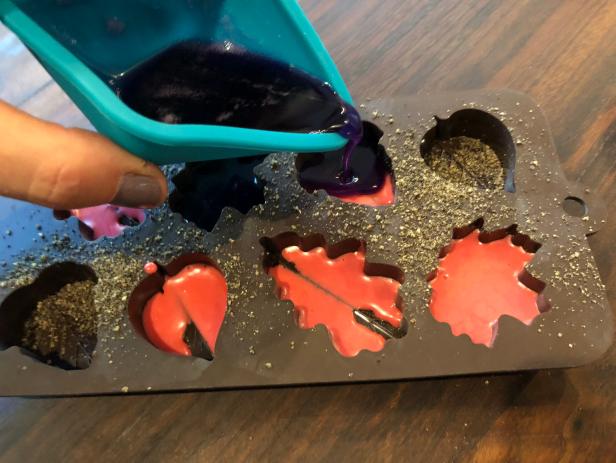
If you’d like to add a bit of “age” to your leaves, grate fresh black pepper over your mold before adding the liquid soap mixture (Image 1). Pour the mixture (Image 2) into your mold, leaving room for additional colors if you’d like your soaps to have a variegated look. Tip: For a “swirled” look, add additional color as soon as possible, before the soap begins to solidify (Image 3). Set tray aside for 40 minutes (Image 4).

Remove Soaps From Mold
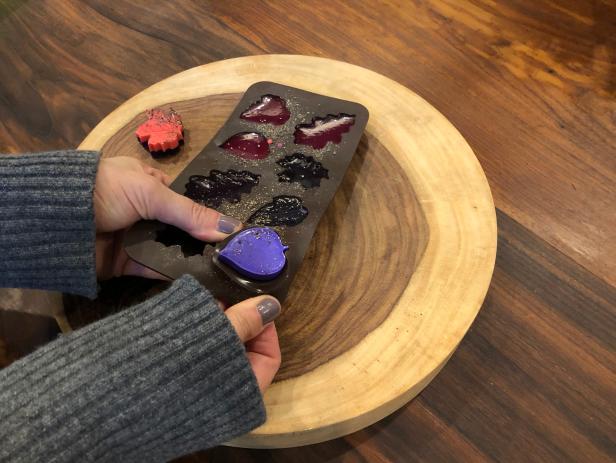
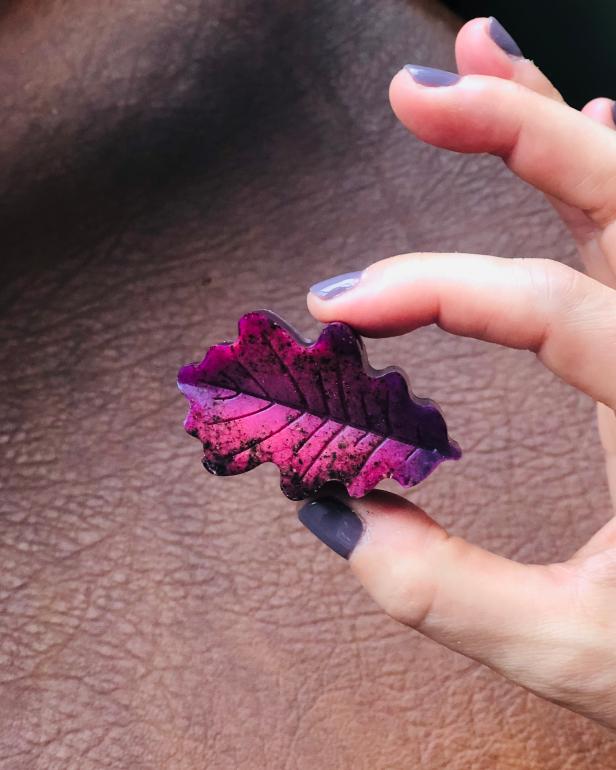
Place your thumbs on either side of each soap and bend the mold, pushing from below with your fingers, to pop the soap out (Image 1). If you’re pleased with the look of your final product, you’re done (Image 2)! If it’s not quite as lovely as you’d hoped, don’t be shy about melting and upcycling "rejects" — you can re-microwave melt-and-pour soap to your heart’s content. Tip: When re-melting soap you’ve already scented and colored, heat for just a few seconds at a time so that the pieces are semi-solid rather than liquid, which will swirl the colors rather than combining them completely.
Package Your Soaps
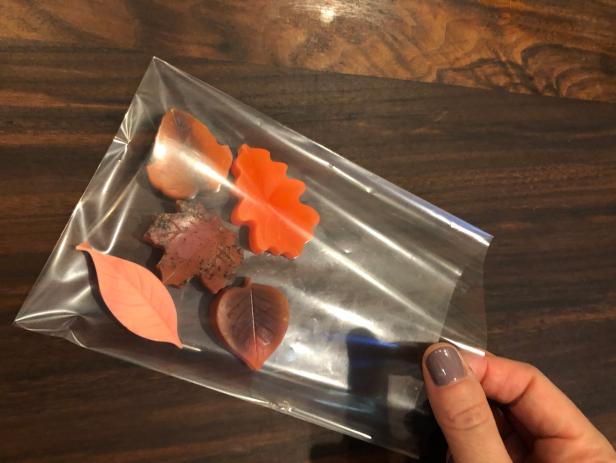
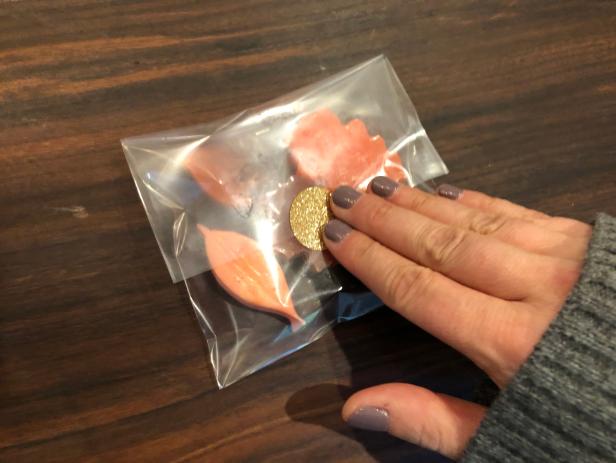
If you’d like to package your soaps as party favors or gifts, slide five complementary pieces into a glassine bag (Image 1), then flip it over, make a single fold and secure the edge with a sticker (Image 2).
