


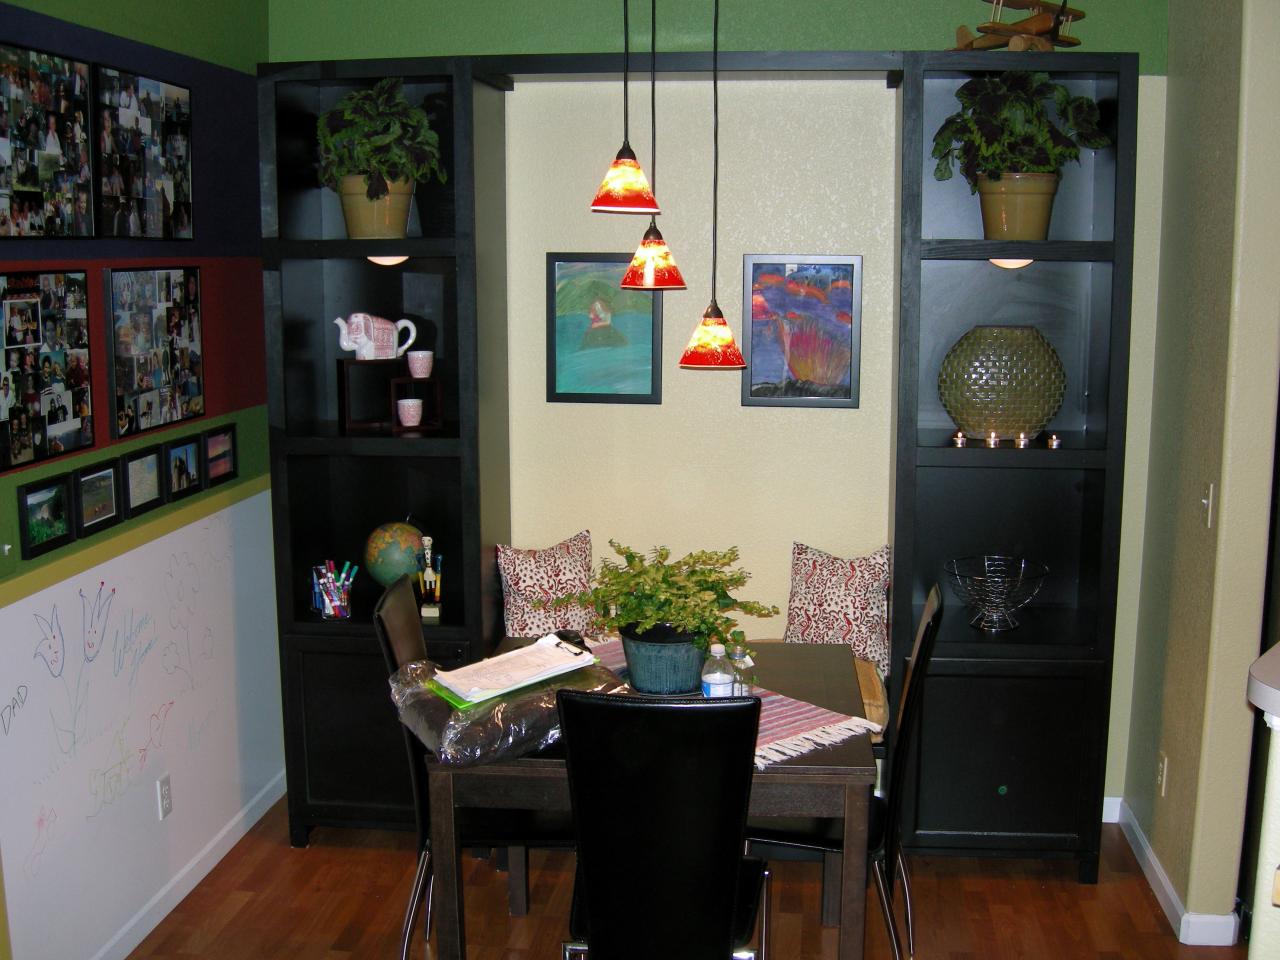
Build Tall Storage Shelves Step-By-Step

Using melamine for these shelves gives them a sleek and finished look. Melamine is an exceptionally strong plastic laminate that looks great and provides a scratchproof, moisture-resistant surface.
Materials and Tools:
four 3/4" black melamine bookshelf sides - 1' 5-1/4" x 7' 5-3/4"
ten 3/4" black melamine shelves - 1'10-3/4" x 1' 4-7/8"
four 3/4" pine boards for vertical facing - 7' 6"x2"
ten 3/4" pine boards for horizontal facing - 1' 8"x2"
two 3/8" black melamine shelf back - 7' 2-1/8"x1'10-3/4"
two prefabricated cabinet doors - 10"x10-1/4"
two cabinet knobs
four cabinet door hinges
one 1/4" black melamine – 3'11-1/2"x1' 5-1/4"
one 3/4" pine board for connector shelf facing - 3'11"x2"
black paint
measuring tape
router
3/4" and a 3/8" router bit
pencil
scrap wood to make a story pole
carpenter's glue
brad nailer
3/4" nails
drill
3/4" screws
paintbrush
rafter square
safety glasses
Steps:
1. To start the project you want to first build a story pole. A story pole is an easy way of transferring dimensions to various pieces that require the exact same measurements such as the sides of the shelves. The story pole should be the exact same thickness and length as the melamine siding.
2. Lay the pole next to the melamine and mark where you want to place your dado cuts. The dado cuts will be 3/4" wide. Place the first 3/4" measurement at the top of the story pole. Use your rafter square when transferring measurements onto the story pole to make sure they are straight.
3. The next measurement will be 1' 6-1/2" below your first dado measurement. Make sure that you mark the full 3/4" measurement for the dado cut, not just draw a line to symbolize where it should be made.
4. The next measurement will be 1' 9" below the last, then 1' 8-1/2" and then 1' 10-3/4". You should have 1-3/4" left at the bottom.
5. The last measurement you want to make is where to place your straight edge clamp for the router to guide along. On your router, measure how far your bit sits in from the flat side. In our case it is 2-1/4''. Add these marks down your story pole so you will know where to appropriately set your flat edge to make your dado cut.
6. Line your story pole up with melamine sides and lightly mark your measurements.
7. The very first cut you want to make is down the side of the melamine. This will allow room to place the backing of the shelf. Use a 3/8" router bit for this cut. Again, place the straight edge clamp 2-1/4'' from where you will be routing. Put the flat side of the router against the straight edge and run down the side.

8. Place the straight edge clamp to make the dado cuts where your shelves will be. Continue until you have made all the dado cuts.
9. Repeat this process with the second melamine side.
10. Now that you have your sides, it is time to make the five shelf pieces. Cut the 3/4" melamine pieces to 1' 10-3/4"x1' 4-7/8" size.

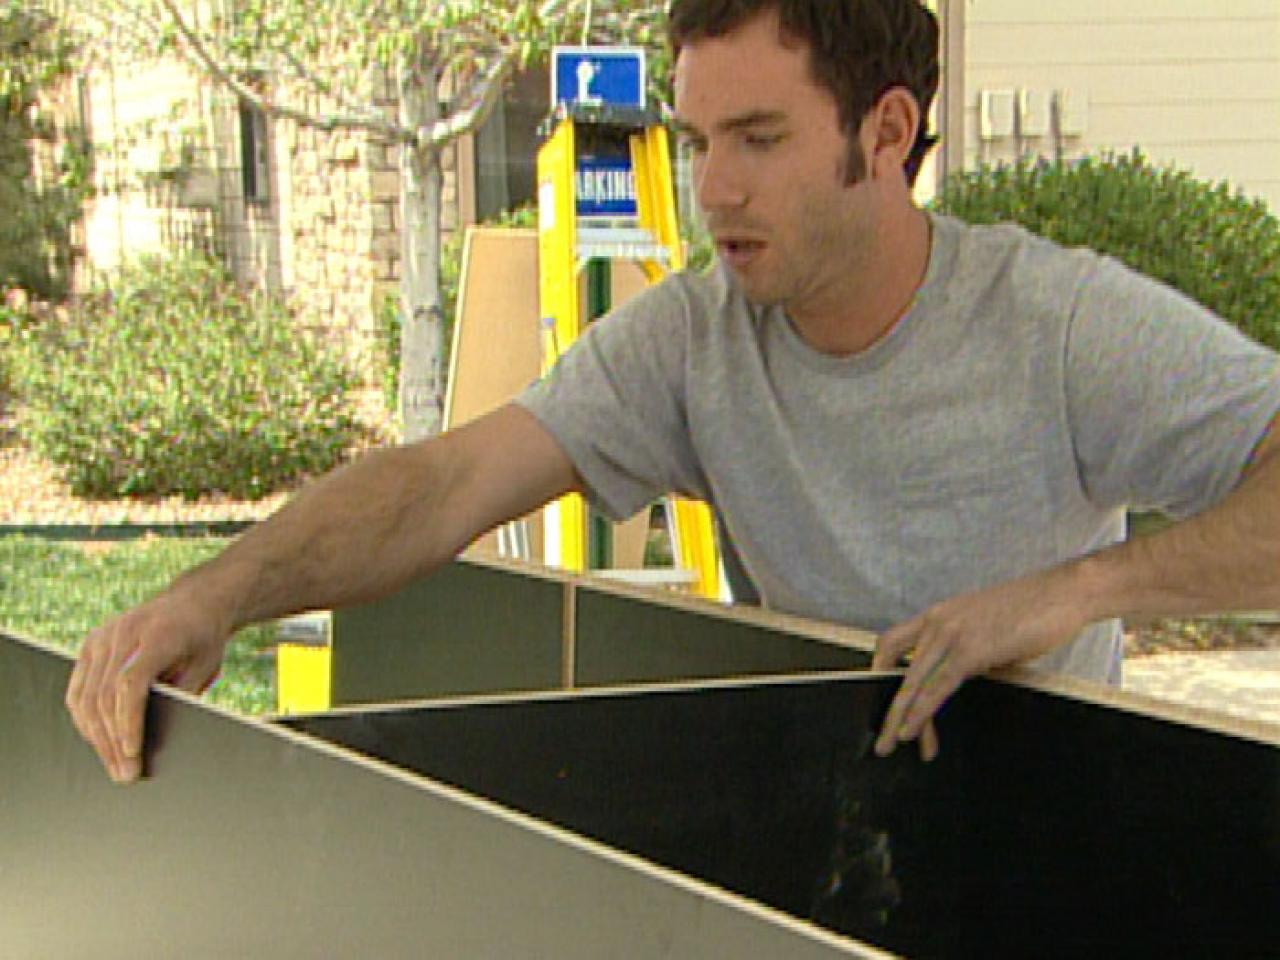
11. Begin attaching the shelves by gluing the dado cuts. Then place a shelf side into the cut so it fits nice and tight. Turn it over so that both ends of the shelf and side are facing down. Add glue to the second side piece and attach to the other side of the shelf. Use a clamp against the sides to hold in place.
12. Continue adding glue to the sides and slide in each shelf, clamping each section when it is in place.

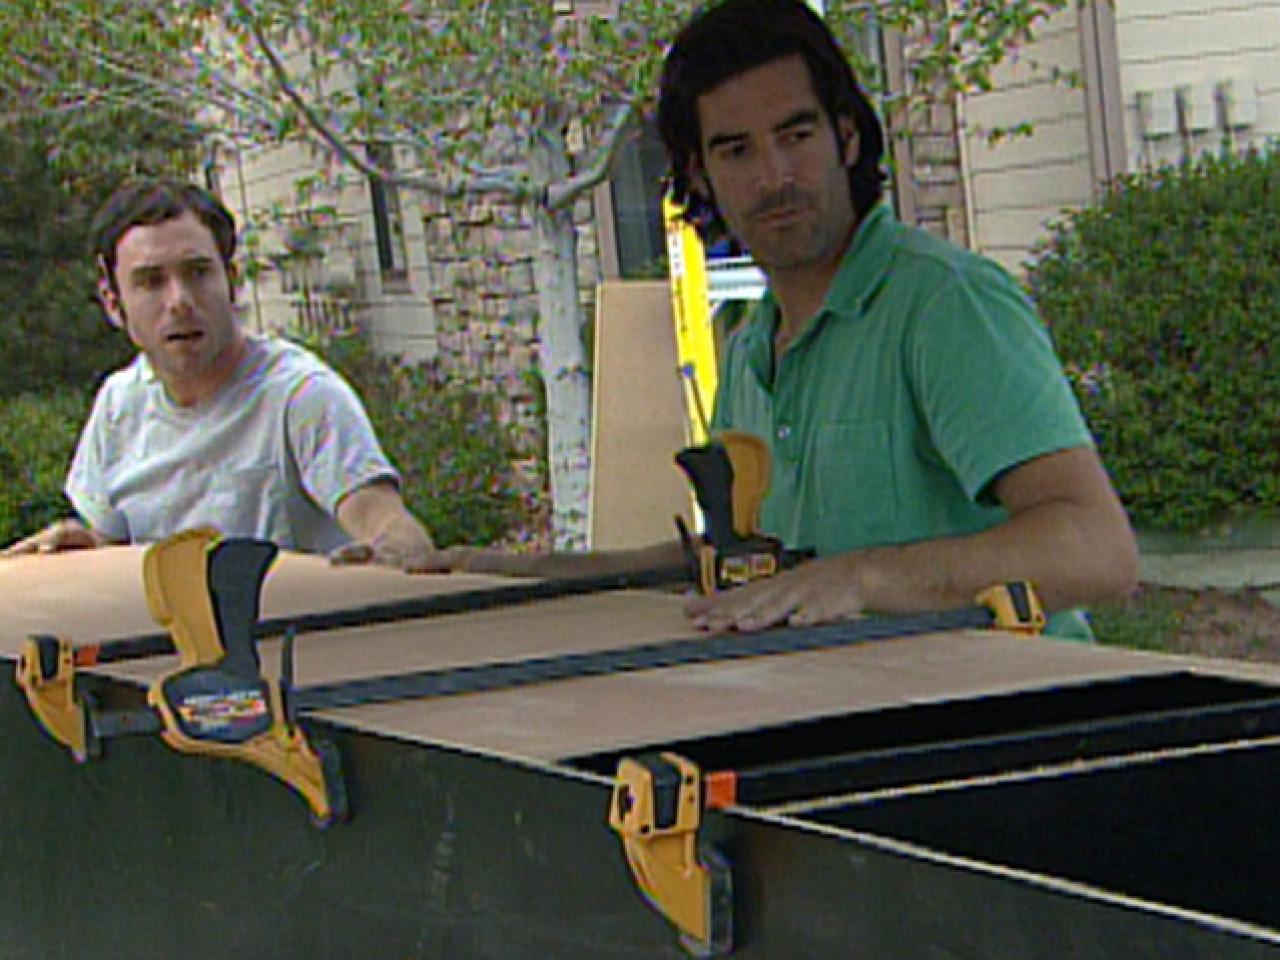
13. Once all the shelves are in place and clamped together, it is time to add the back. Glue the backside of the shelf unit. Carefully slide the back into place beneath the clamps that are still holding the unit together. With the brad nailer, attach the backing to the shelf unit, nailing all the way around.
14. To make the facing for the shelves, cut two 2"x3/4" pine boards to 7' 6" length for the vertical pieces. Next, cut five boards to 1' 8" length for the horizontal pieces. Glue the ends of one of these boards and place it in between the two large ones at the very top and nail into place. Using glue and a brad nailer, continue to fasten the pine facing to the front of each shelf working your way down.
15. Paint the facing of the towers black along with the 10"x10-1/4" prefabricated cabinet doors.
16. When dry, attach the door over the bottom shelf, using two cabinet hinges. Then attach cabinet knobs.
17. Follow the exact steps above to make your second shelving unit. When attaching the cabinet door, attach the hinges on the opposite side so that they mirror each other.

18. To join the two towers together you will need to make a center connector. Cut a piece of 3/4" melamine to 3' 11-1/2" x 1' 5-1/4" (depending on how far apart you want the towers to sit, you can decrease or extend the length of the center connector). Nail in 3/4" ledgers underneath the connector on the sides. Attach the center connector in between both shelves by screwing up from the ledgers into the sides of the bookcases.
19. Cut a pine board for the facing at 3' 11"x2". Paint it black and attach when dry by gluing the front side of the center connector and nail the facing on. The facing will be short 1/4 inch on both sides, compensating for edges of the bookshelf facing.


