


How to Hide a Flat Panel TV With Wall Paneling


Materials Needed:
- 8x4' sheets of 3/4" thick paint-grade plywood
- 10' long 2x4" lumber for flat panel TVs up to 3" in depth
- 10' long 2X6" lumber for flat panel TVs up to 5" in depth
- 10' strips of 1x2" primed MDF or pine
- wood glue
- two piano hinges (length determined by height of wall panels)
- measuring tape
- pencil
- hand saw
- table saw
- circular saw
- sanding block
- drill
- 3" wood screws
- pencil
- note pad
- low profile flat panel TV mounting bracket
- low profile flat panel TV (3" depth or less works best)
- stud finder
- nail gun
- screwdriver
- air compressor
- brads
- wood filler
- spackle
- spackle knife
- painter's plastic
- painter's tape
- HVLP paint sprayer
- paint roller handle
- paint roller sleeve
- paint pan
- paintbrush
- caulk
- caulk gun
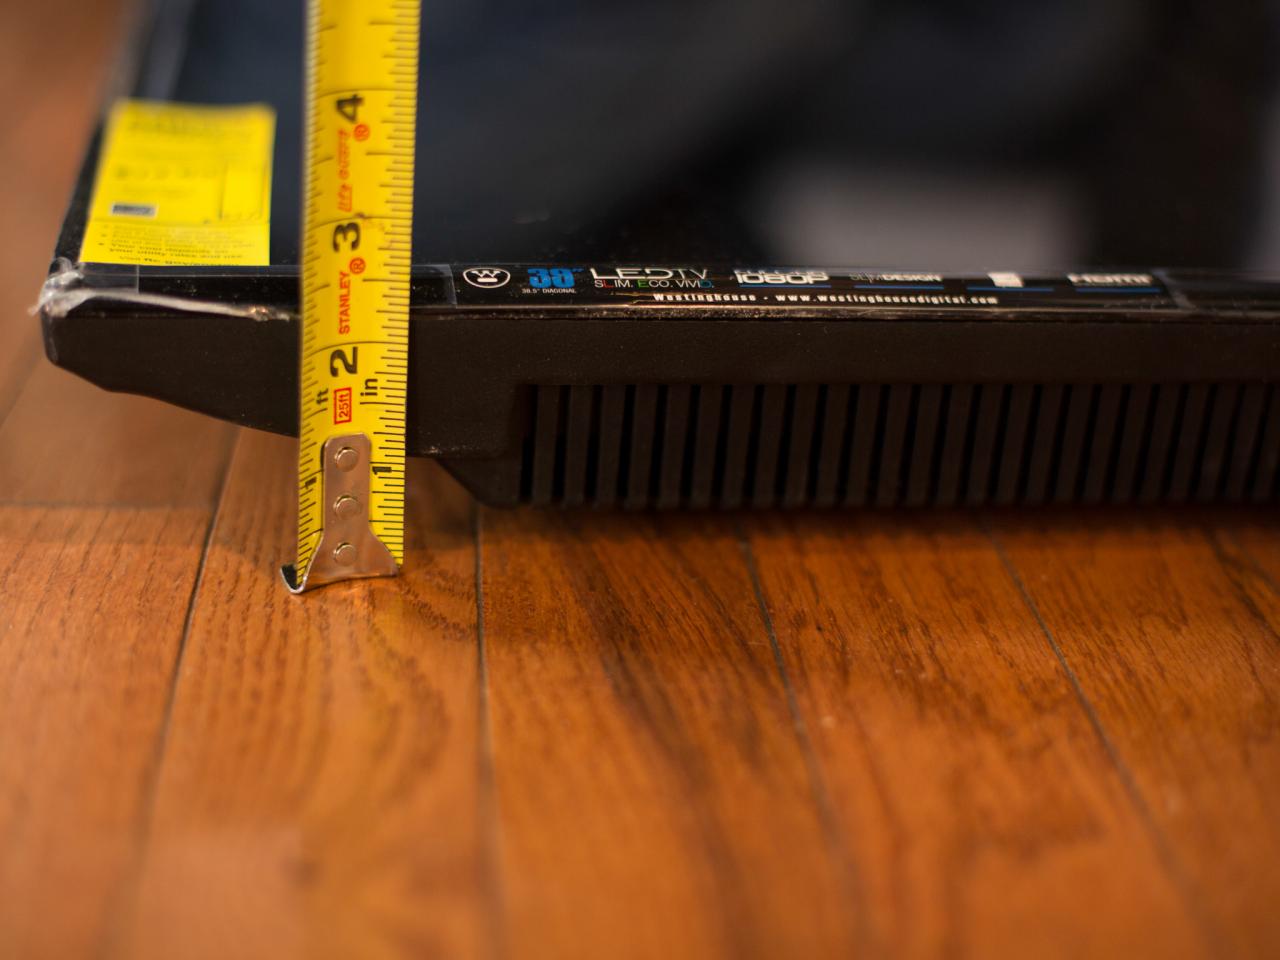
Measure Flat Panel TV
Before deciding on the proper configuration for decorative wooden panels, it's important to know the exact measurements of the flat panel TV. Use measuring tape to determine the height, width and depth of the TV, then jot down measurements with a pencil and note pad. A great rule of thumb for a successful height and width configuration is to create decorative wooden panels that are either (a) half the width of the TV, or (b) the full width of the TV. When creating panels the same width of the TV, keep in mind that the hinged TV-concealing panel will open into the room and may impede traffic flow around the wall. By creating panels half the width of the TV, two smaller hinged TV-concealing panels will be created, which can fold back flush to the wall when opened. Also, depth is key in ensuring enough space between the drywall, mounting bracket and the back of the TV-concealing panels.

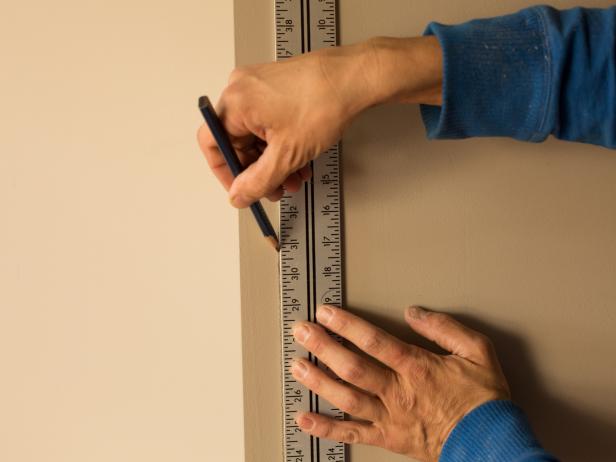
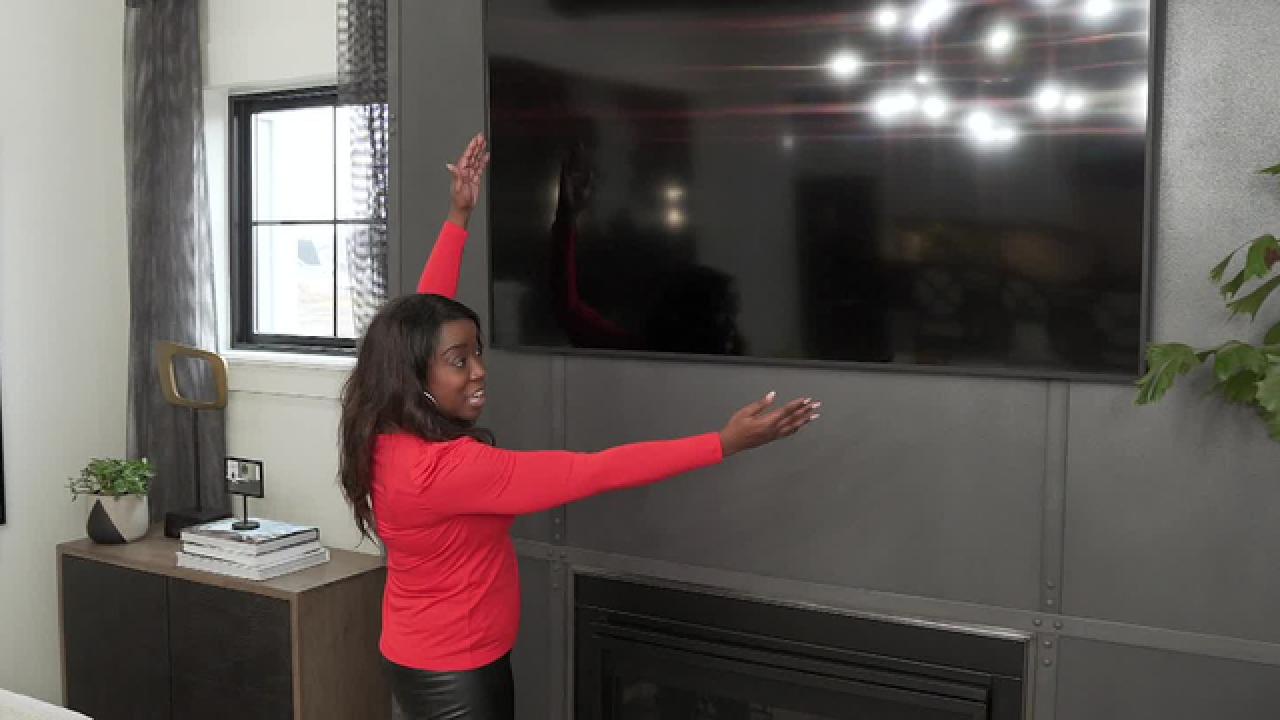
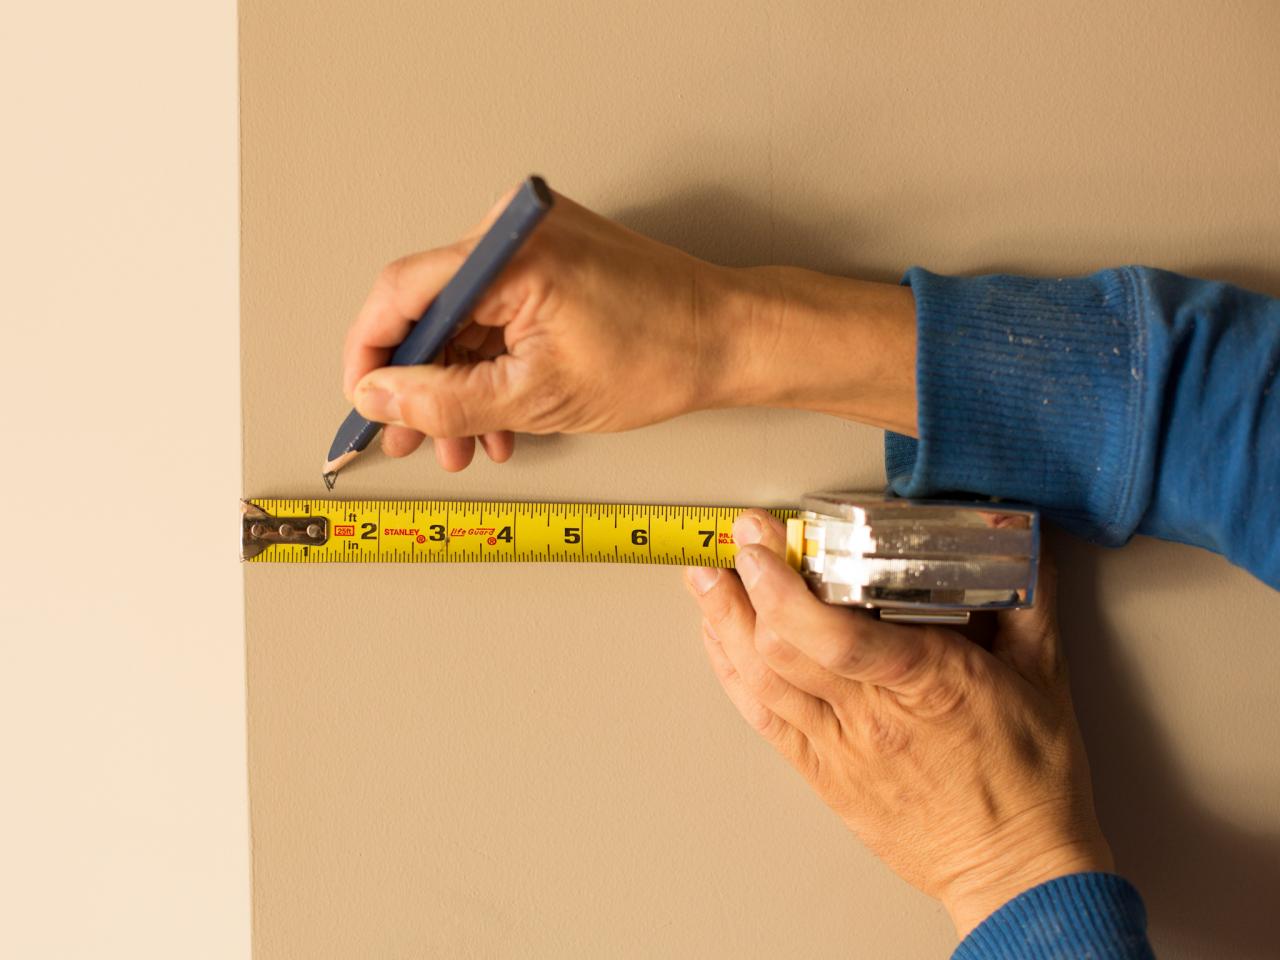
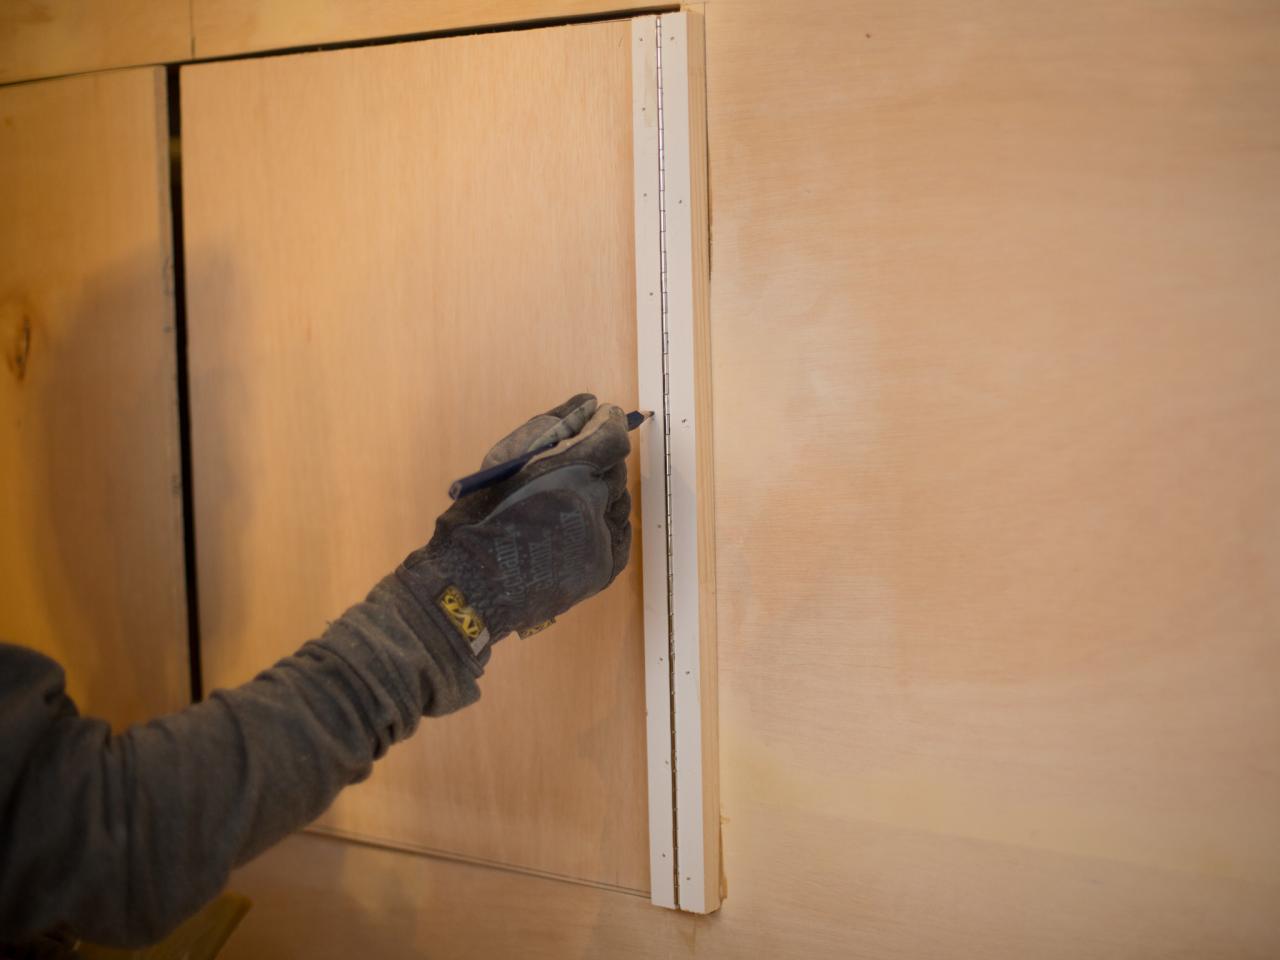
Measure & Mark Wall
While most new construction homes have cable and electrical outlets spaced properly for mounting flat panel TVs, older homes may require relocating outlets to proper height. This should be taken into consideration prior to measuring and marking the wall. Use measuring tape to determine height and width of the wall where the flat panel TV will be mounted (Image 1). Jot measurements down on a note pad using pencil. In order to create a focal wall along which the TV will be concealed, a full wall frame will need to be built from 2x4" or 2x6" lumber, depending on the depth of the flat panel TV. Once the frame is built, it will then be clad with 3/4" thick paint-grade plywood, which will have a raw edge and require decorative 1x2" primed MDF trim installed perpendicular along the edge of the wall for a more finished look. To account for the thickness of the 1x2" MDF trim and slight overhang of plywood, use a pencil to mark 1-1/2" inward from each edge of the wall (Image 2). Note: Flat panel TVs up to 3" in depth can be framed with 2x4" lumber whereas TVs 3" to 6" in depth will need to be framed with 2x6" lumber.

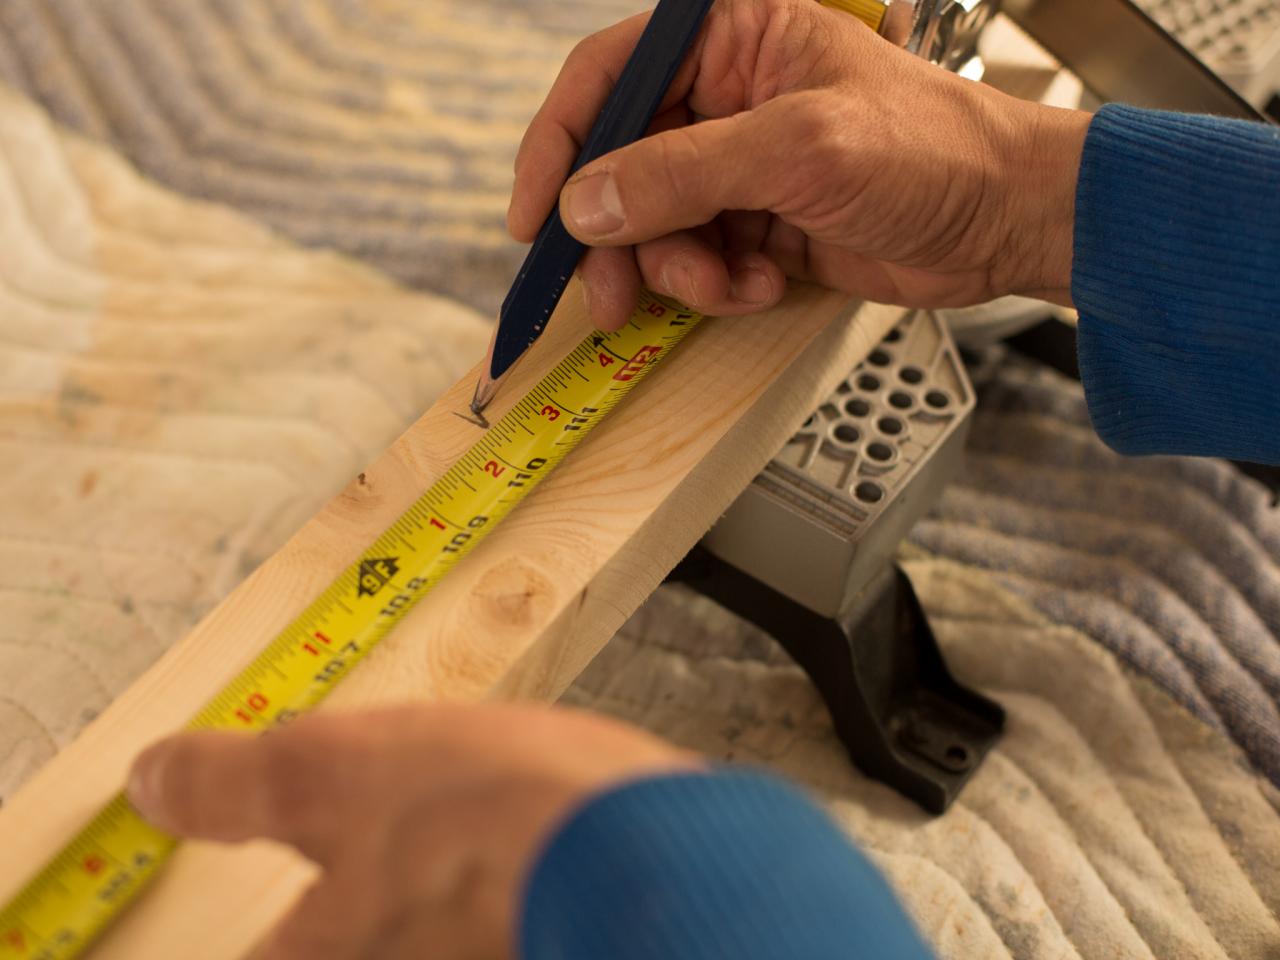
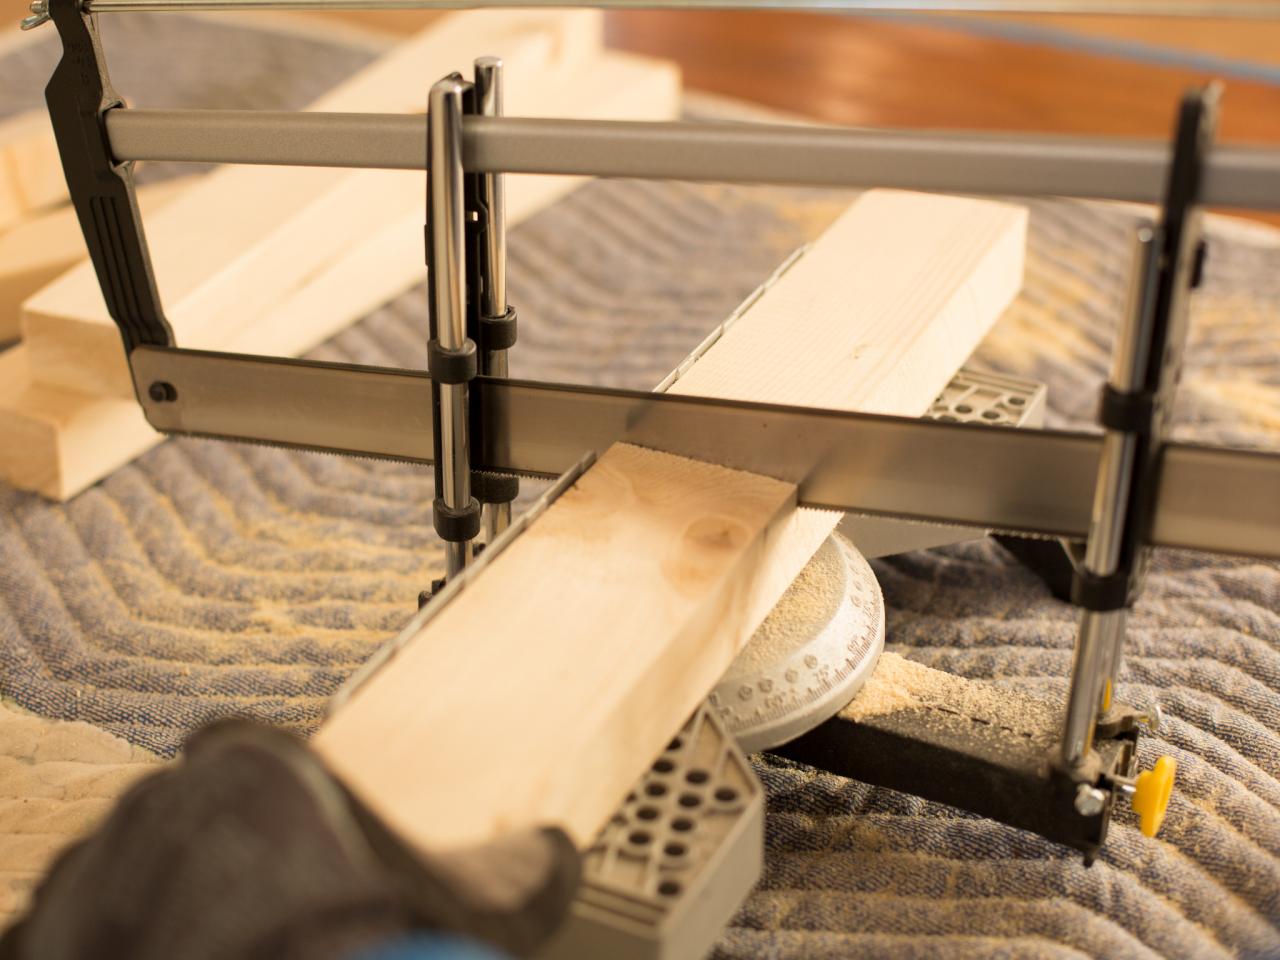
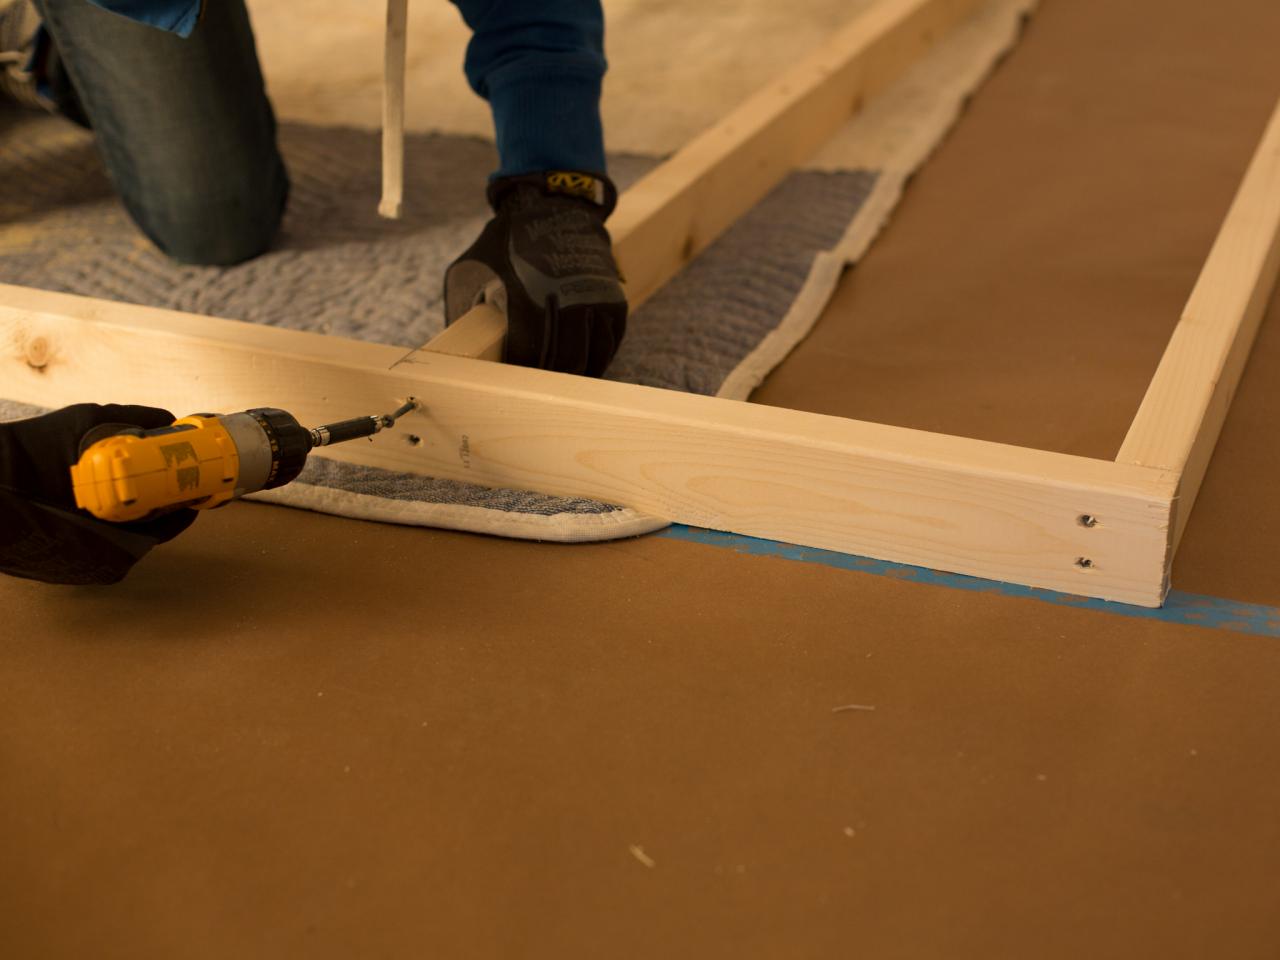
Cut & Assemble Four-Sided Frame
Based on measurements taken for the wall, and deducting 1-1/2" to account for finish trim to conceal the raw edges of plywood, a four-sided frame will need to be cut and assembled. First, use measuring tape and a pencil to mark 2x4" or 2x6" lumber to size (Image 1), then cut using a hand saw or chop saw (Image 2). Once all pieces are cut to size, fasten them to one another using a drill and 3" wood screws.


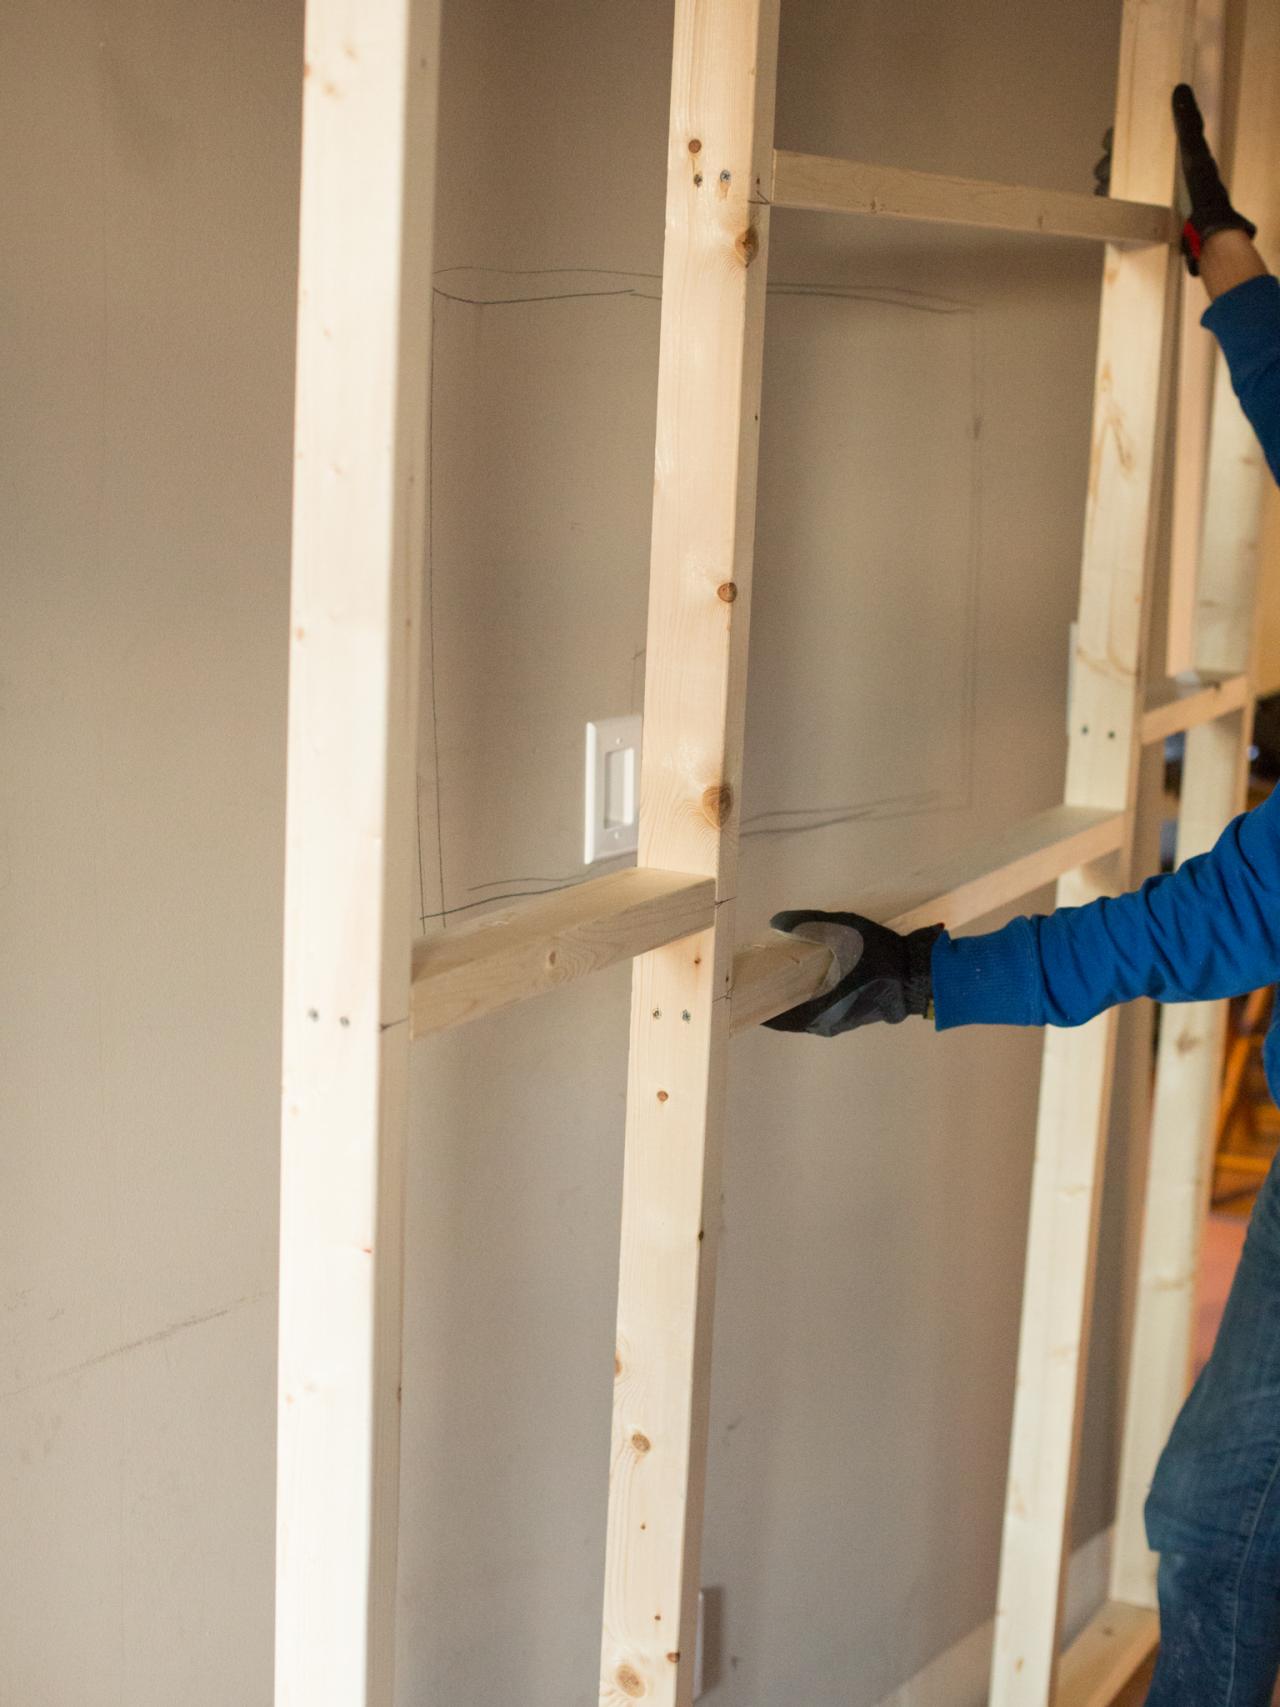
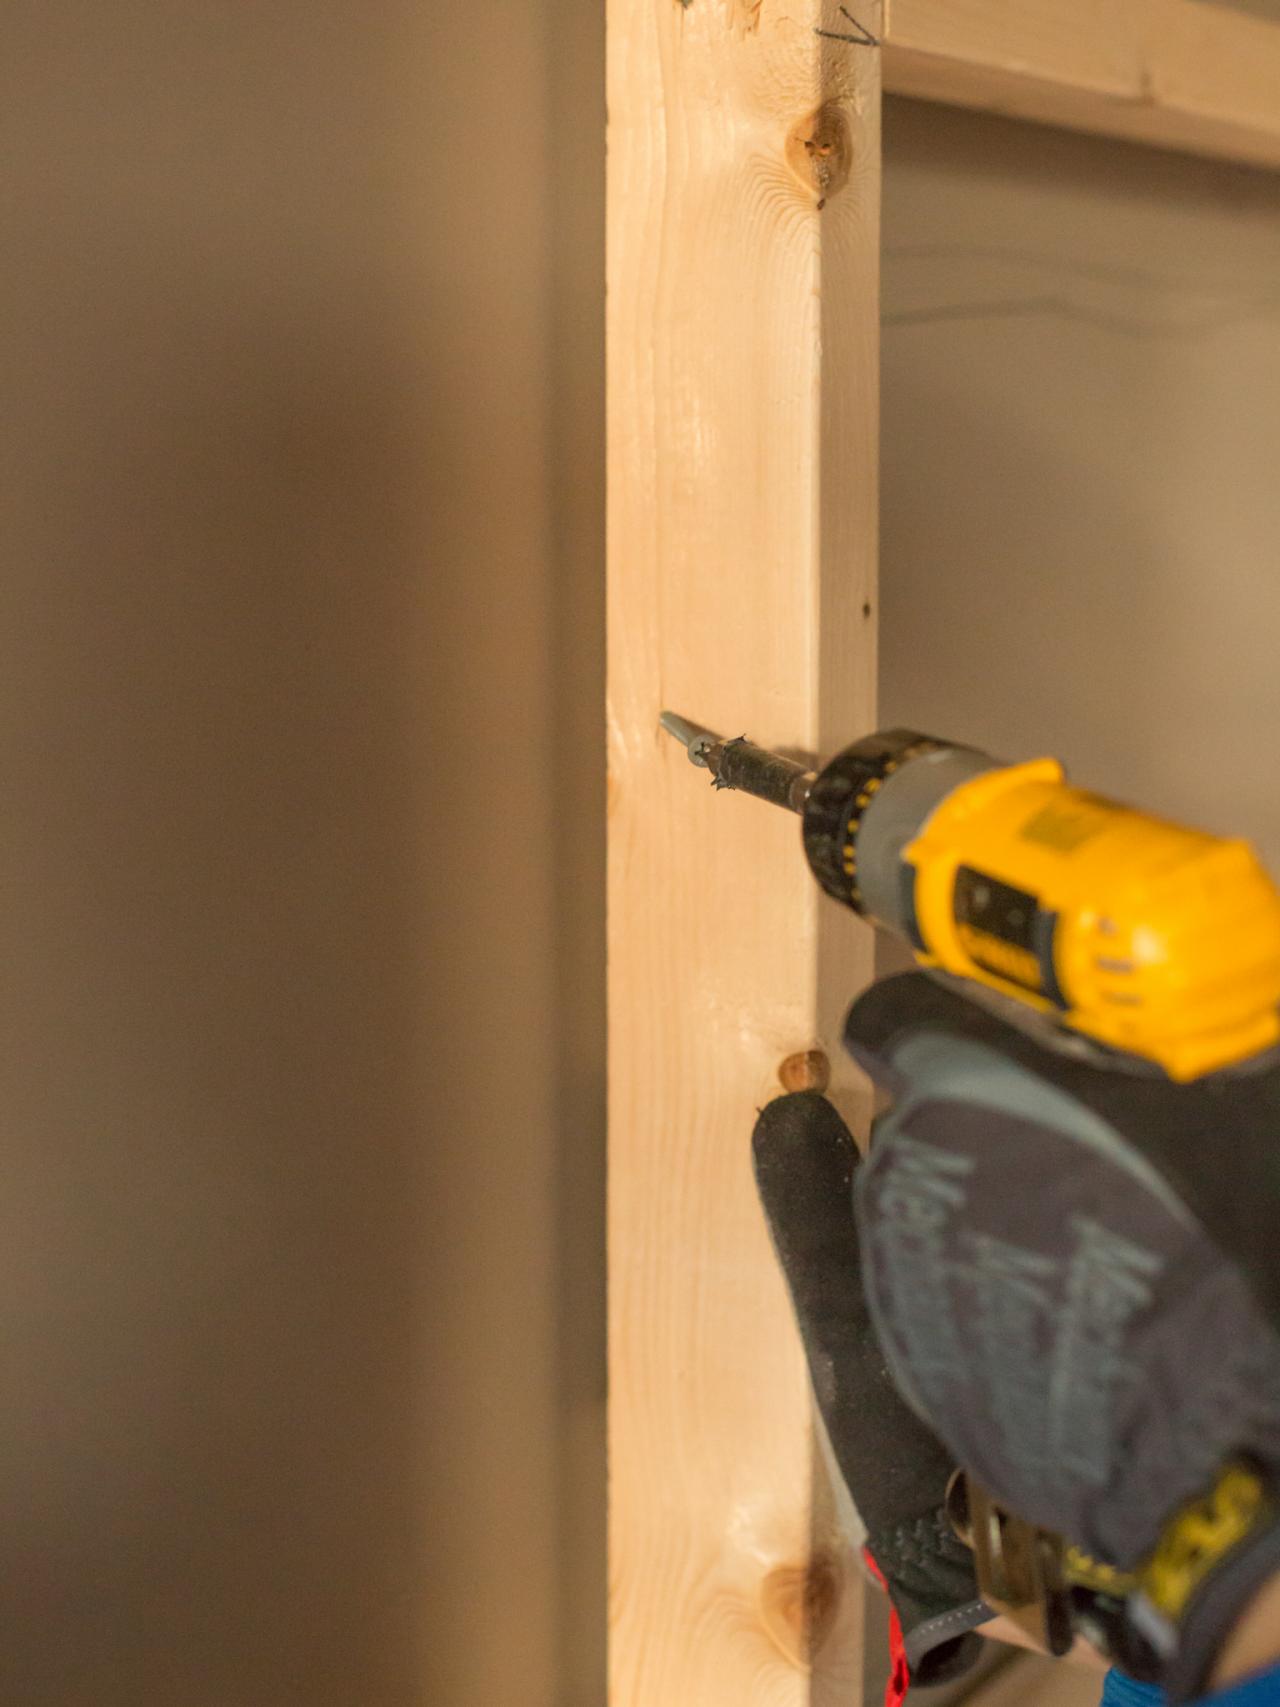
Cut & Install Inside Vertical Frame Pieces
While the four outside frame pieces will secure the overall frame to the wall, the inside frame pieces will serve as structures along which to nail the 3/4" thick paint-grade plywood and will also create a central frame for housing the flat panel TV. Based on the width of the TV plus an additional inch of width and height added for proper ventilation, measure, mark, cut and install two vertical inside frame pieces using a drill and 3" wood screws (Images 1 and 2).


Cut & Install Inside Horizontal Frame Pieces
Before framing out the central frame inside of which to mount the flat panel TV, decide on the proper mounting height. To do that, sit down in the spot from which TV will be viewed; with the help of a friend, use a measuring tape to determine the height of your (or homeowner's) eye line. This height is where the center of the TV should sit. Referring to eye line height, measure, mark and cut inside horizontal frame pieces, which will frame the TV. Next, secure them in place with a drill and 3" wood screws, spaced no more than 4 feet apart.

Install Frame to Studs
Use a stud finder to locate proper positioning of studs within wall, then mark with a pencil. With the help of a friend, place the frame against wall, lining it up with pencil marks. Next, secure frame to wall by drilling 3" wood screws through the outside edges of the frame, then through the studs.

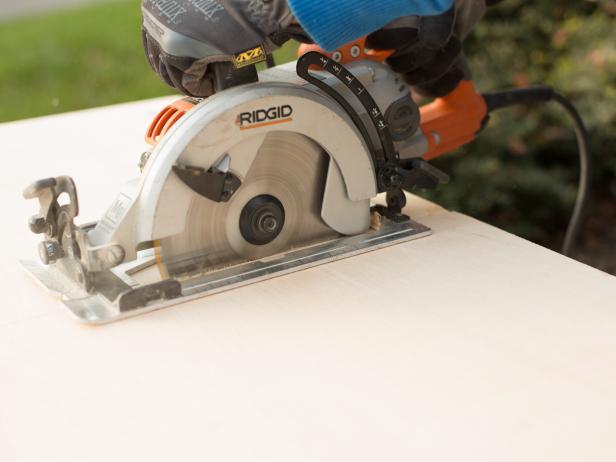
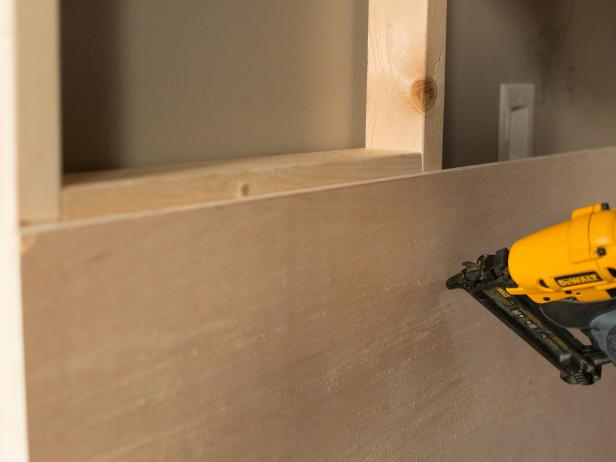
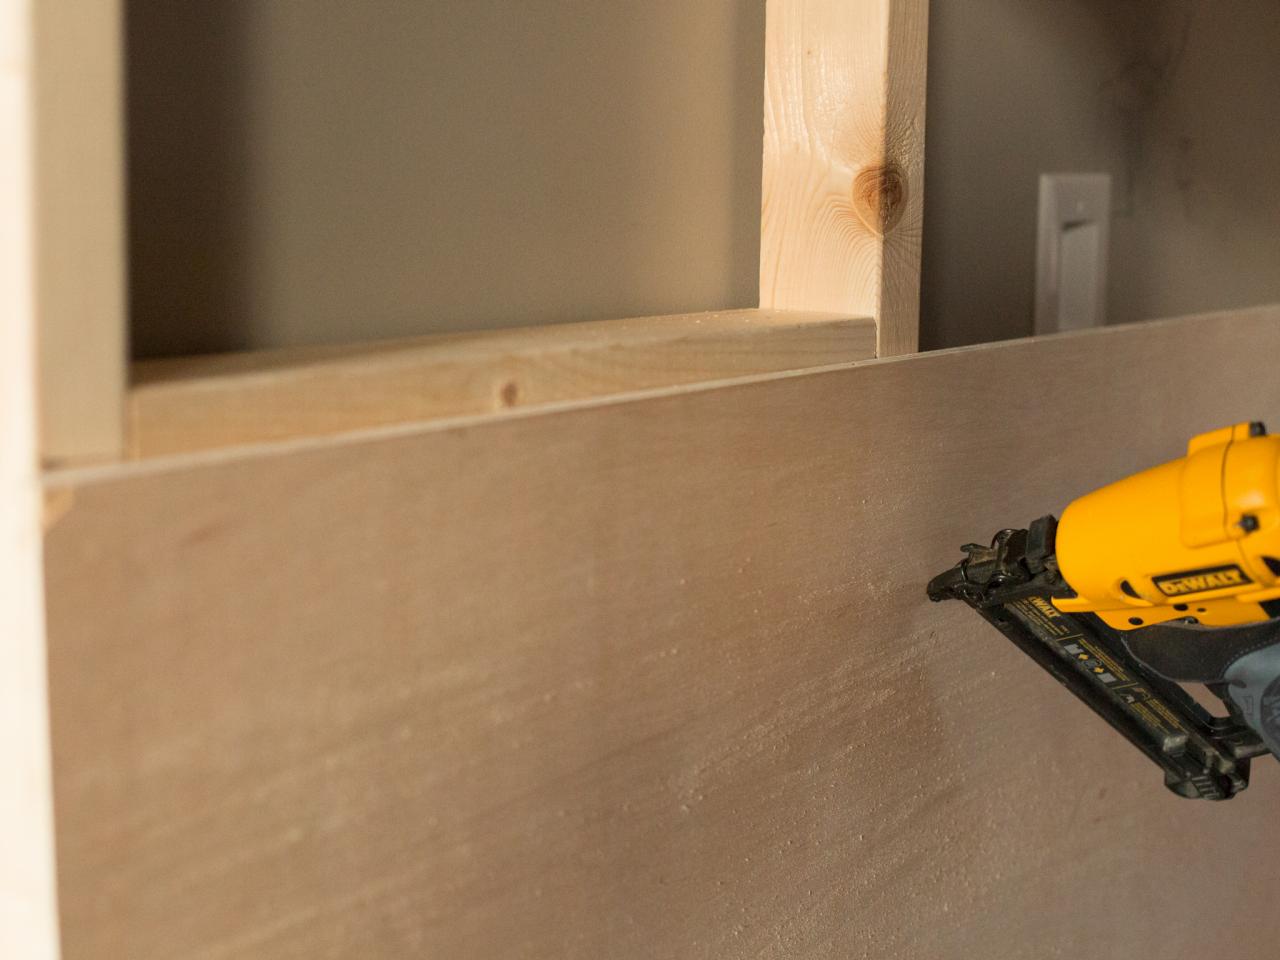
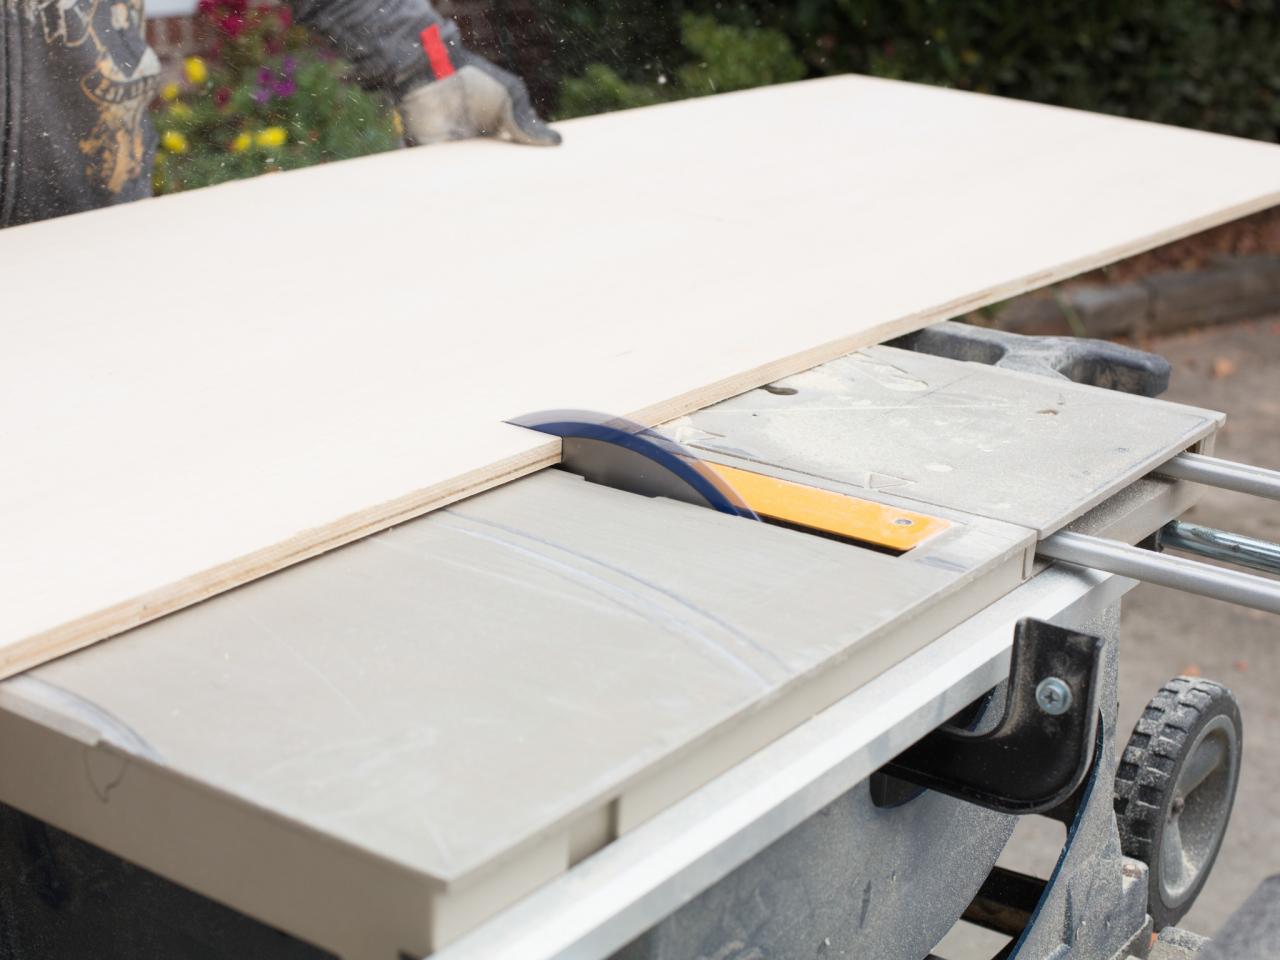
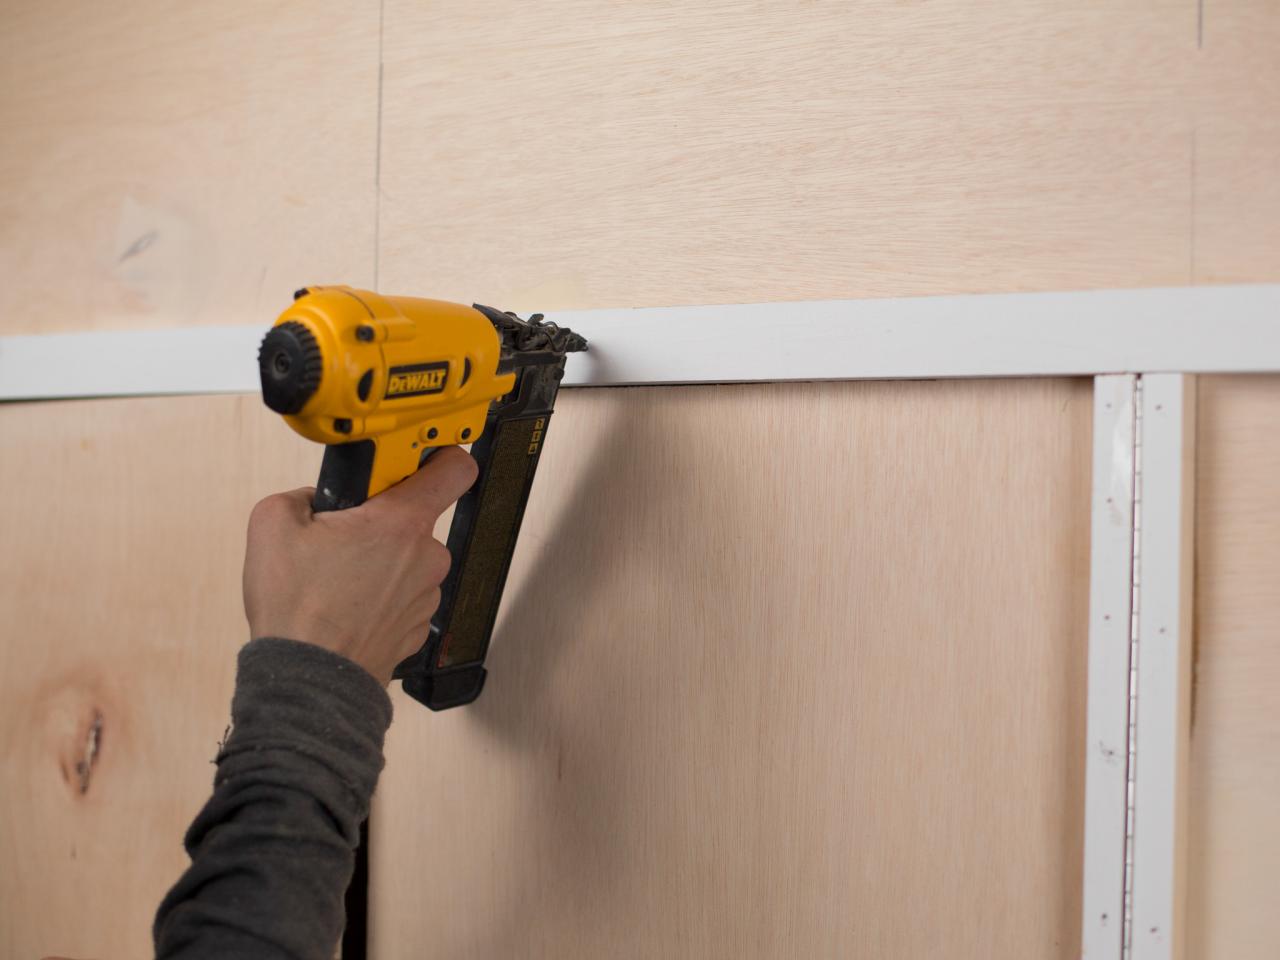
Cut & Install Plywood
The paneled look is created by 1/4" thick plywood cut to size and installed directly to the front of the frame with 1/2" primed MDF trim applied atop the plywood. To begin the paneled effect, measure, mark and cut plywood to size using a circular saw (Image 1), then attach directly to the frame using a nail gun (Image 2). Tip: Seams made from several sheets of plywood can be concealed with wood filler or horizontal strips of 1x2" primed MDF trim. Take seam placement into consideration when configuring height and width of each wooden panel.
Cut & Install Half-Cut Trim & Hinges
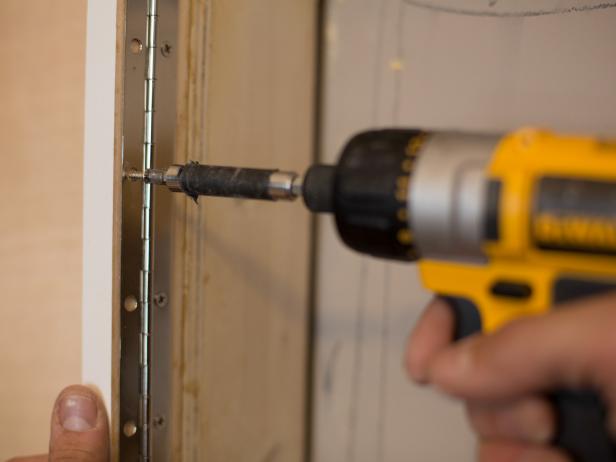
Based on the height of the central frame for the flat panel TV, measure, mark and cut three 1x2" pieces of primed MDF trim to size using a circular saw. Two of those pieces will flank the sides of the central frame, and the remaining piece will be attached to the leading edge of one of the panels, resulting in a seamless look down the center of the wall. Cut two of the 1x2" primed MDF trim pieces in half directly down the middle using a circular saw (Image 1). Next, transfix one half of the piece along the outside edge of the TV frame using a nail gun (Image 2). Once secure, attach piano hinge to the side of nailed MDF trim using screws supplied with piano hinge. Next, hold other half-cut piece of 1x2" MDF trim up to piano hinge; attach with screws into every other hole using a drill or screwdriver (Image 3). Note: The skipped holes of the piano hinge will be used to fasten the actual panel to the back of the piano hinge.

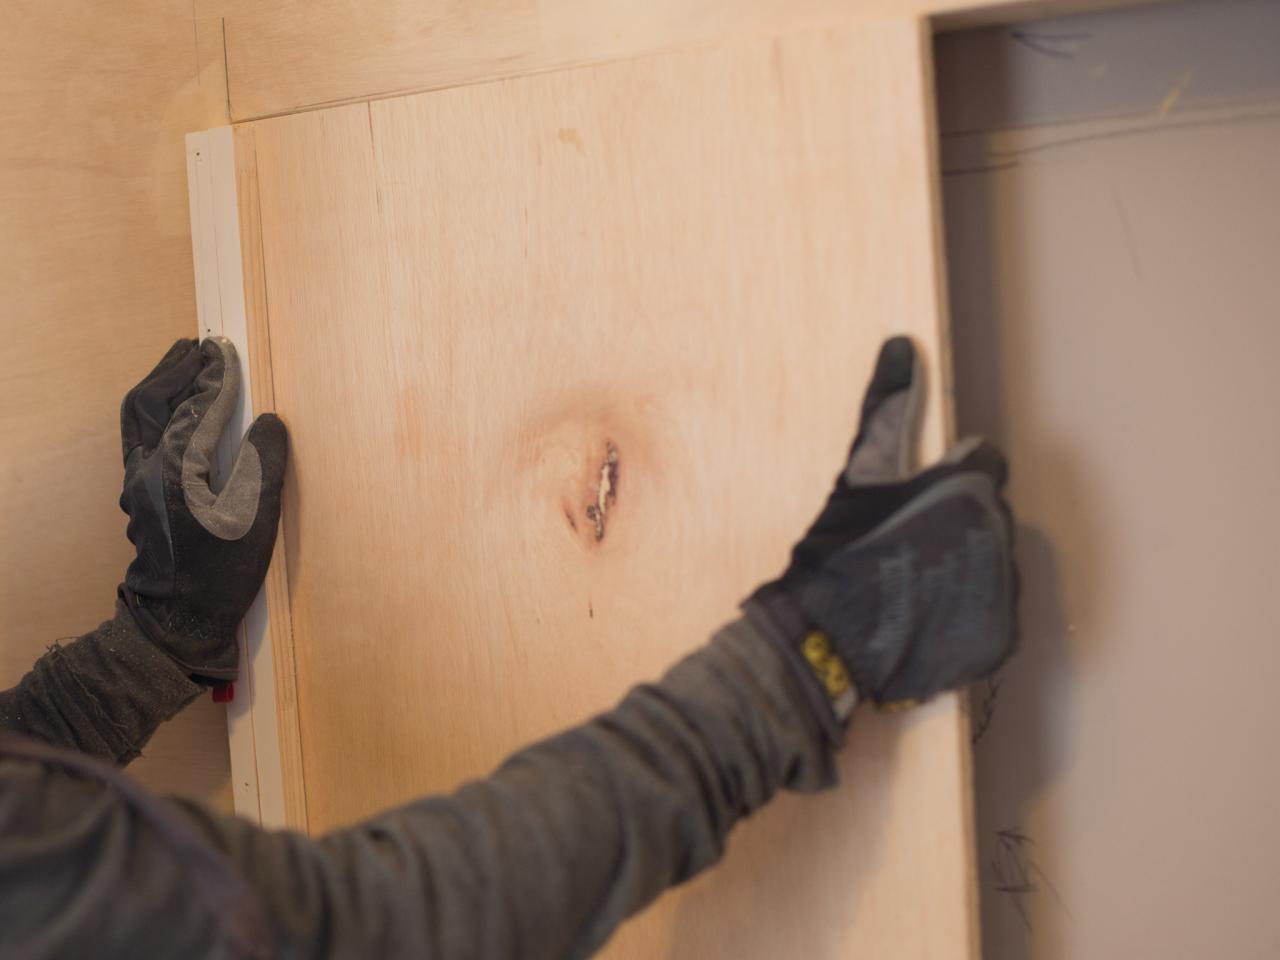
Cut & Install Hinged Panels
Based on the dimensions of the central frame for the flat panel TV, measure, mark and cut two panels to size using a circular saw (Image 1). Hold each of the panels up into place behind the hinged half-cut 1x2" MDF trim to ensure proper sizing (Image 2). Next, use a pencil to mark placement of hinge holes along the front of the half-cut 1x2" primed MDF trim (Image 3). Secure each hinged plywood panel to the hinged half-cut MDF trim piece using wood screws through the holes of the piano hinge, then through the trim. Lastly, use wood filler and a spackle knife to cover holes made with screws.


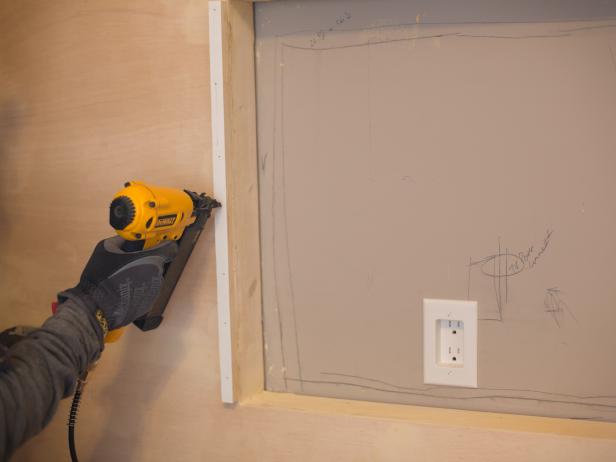
Cut & Install Primed MDF Trim
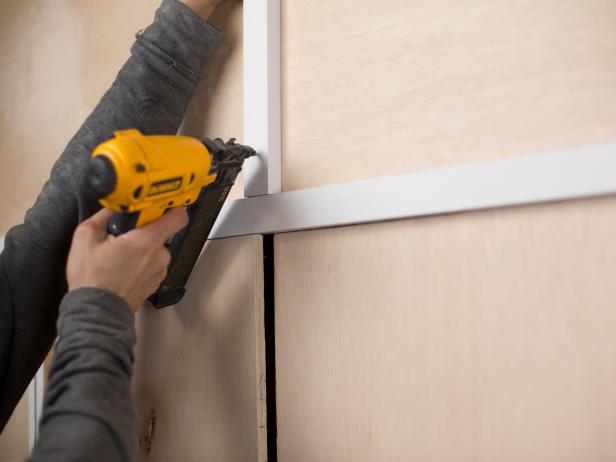
Once all plywood has been installed and hinged panels and 1x2" primed MDF trim are affixed to central frame for TV, add the 1/2" primed MDF trim directly to the front of the plywood to create the paneled effect. First, measure, mark, cut and install trim around the perimeter of the wall, mitering each corner and securing to plywood with a nail gun. Next, use the height and width of the flat panel TV to determine the proper size for the panels, keeping in mind that creating panels that are half the width of the TV work best for a seamless, symmetrical look. Once proper sizing is determined, measure, mark, cut and install horizontal 1x2" primed MDF trim pieces to the plywood with a nail gun, starting directly above and below the frame for the flat panel TV (this should conceal any seams between sheets of plywood). Once horizontal pieces of MDF trim are attached (Image 1), measure, mark, cut and install vertical 1x2" primed MDF trim pieces with a nail gun, starting directly above the center of the flat panel TV frame (Image 2). When all trim is attached, finish by adding the final piece of 1x2" primed MDF trim along the leading edge of either of the hinged panels, overlapping from one and onto the other using wood glue. Note: After all trim pieces along the front of plywood are installed, measure, mark and cut two strips of 1/2" primed MDF trim to the height of the wall; attach perpendicular to wall, capping off the raw edge of the plywood.

Spackle, Sand, Caulk & Spray
When all 1x2" primed MDF trim is attached in place, fill any holes made with nail gun and screws with wood filler or spackle using a spackle knife. Once dry, sand the wood filler or spackle with a sanding block until smooth, then fill all spaces between trim, plywood and wall with caulk. Next, protect all nearby and adjacent areas with painter's plastic and painter's tape, then paint all surfaces using HVLP paint sprayer or paint rollers and paintbrushes.

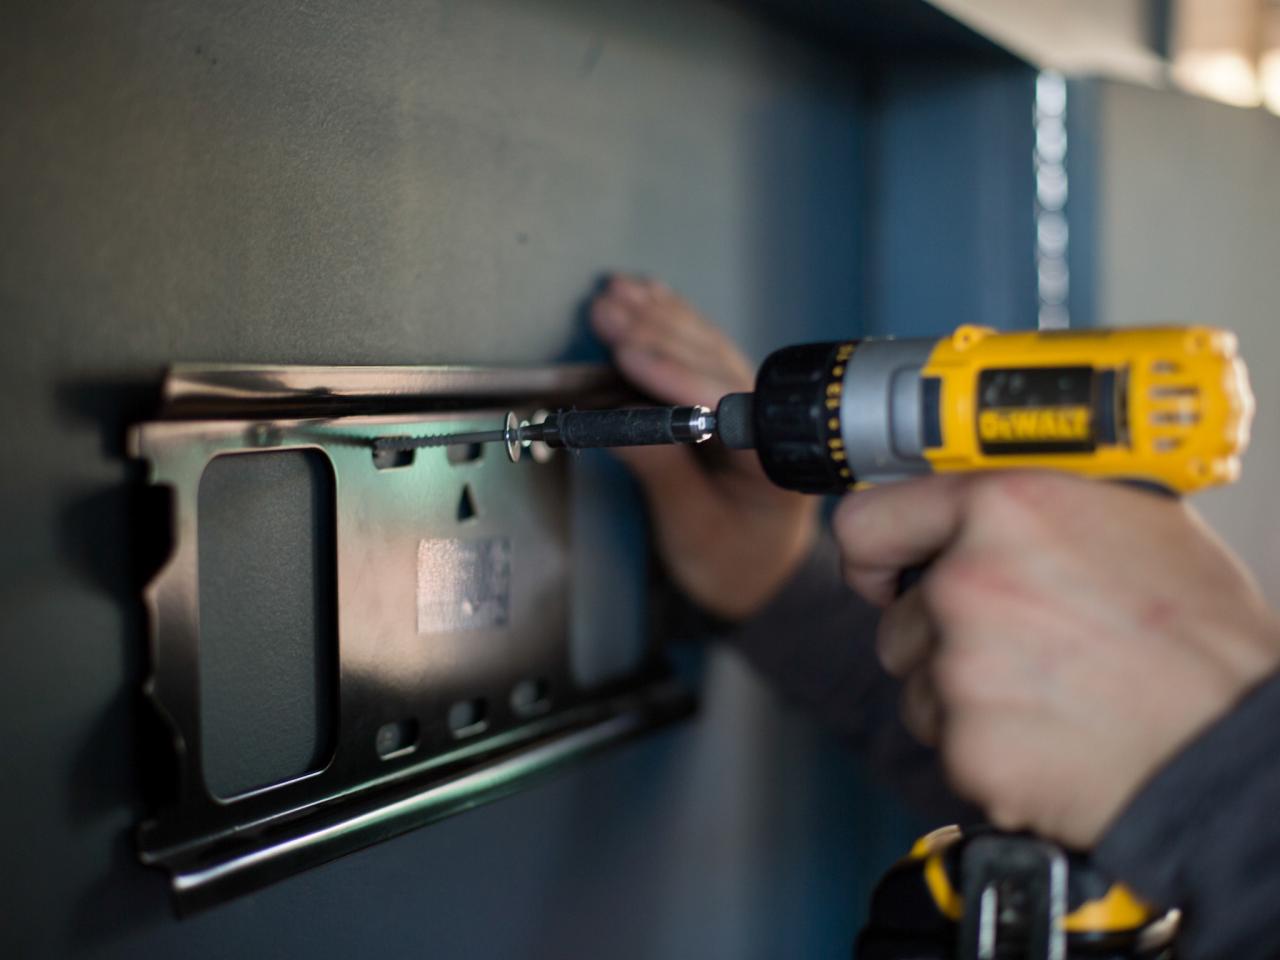
Install Mounting Bracket & Hang TV
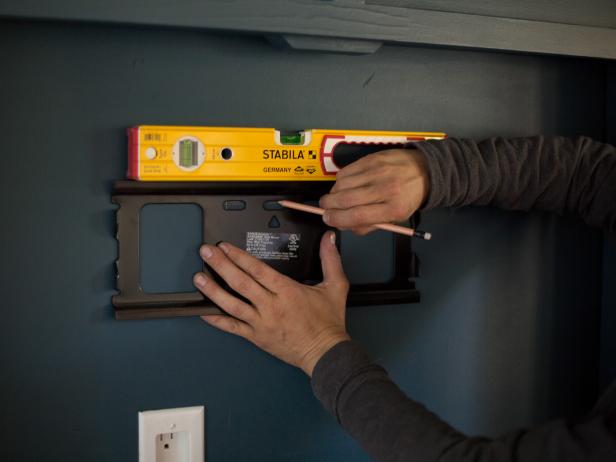
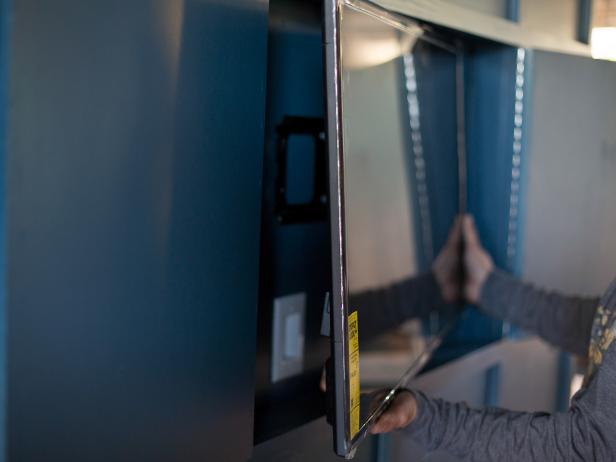
Use a stud finder to determine stud placement along wall inside of recessed flat panel TV cabinet in center of paneled wall. Next, measure and mark placement of integrated holes in TV mount (Images 1 and 2). Attach mount to wall with 3" drywall screws using a drill (Image 3). Once secure, hang flat panel TV on mount (Image 4).


Related: How to Place a TV


