


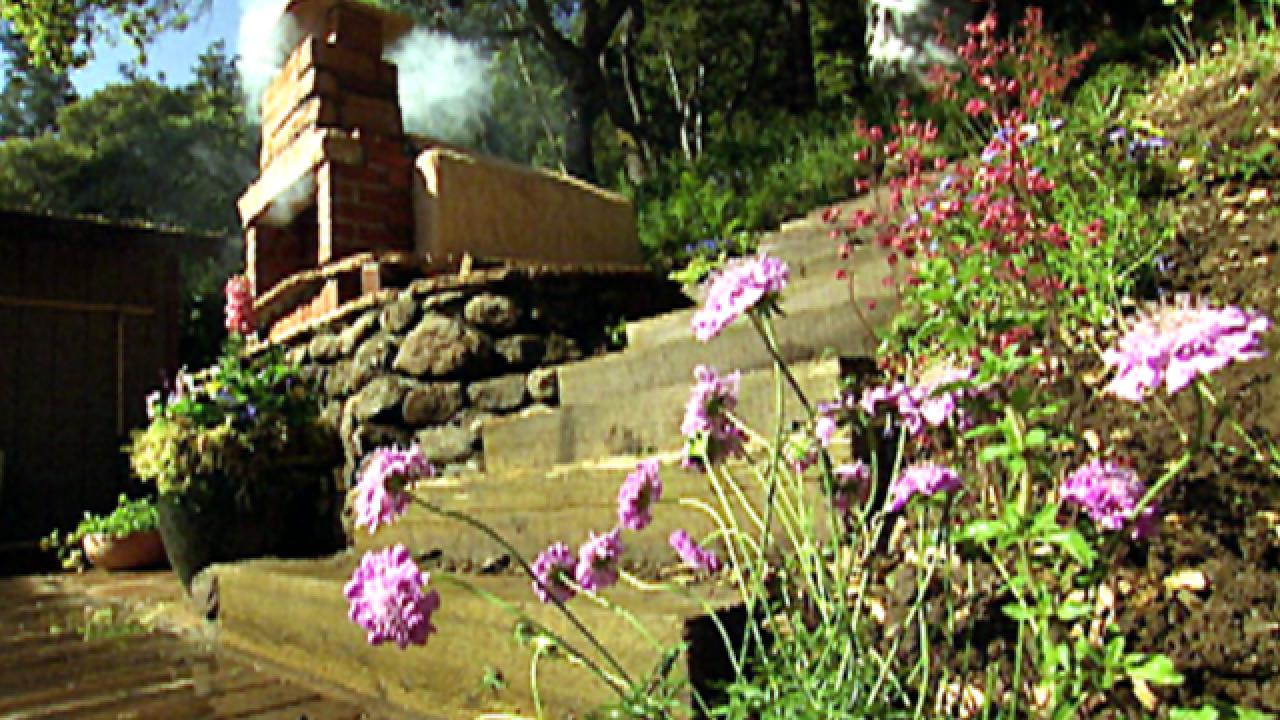
How to Build an Outdoor Pizza Oven

Materials Needed:
- concrete mix
- cement mixer or large tubs for mixing
- large and small cement trowels
- grout bag
- welder
- circular saw
- safety glasses and rubber work gloves
- shovel
- tape measure
- 8-inch cinderblocks
- exterior grade plywood
- angle iron
- rebar
- brick tile
- oven kit (ours included: 5 base elements, 2 dome elements, metal door with thermometer, flue manifold 6-inch interior diameter, arch, thermal insulating blanket, refractory mortar)
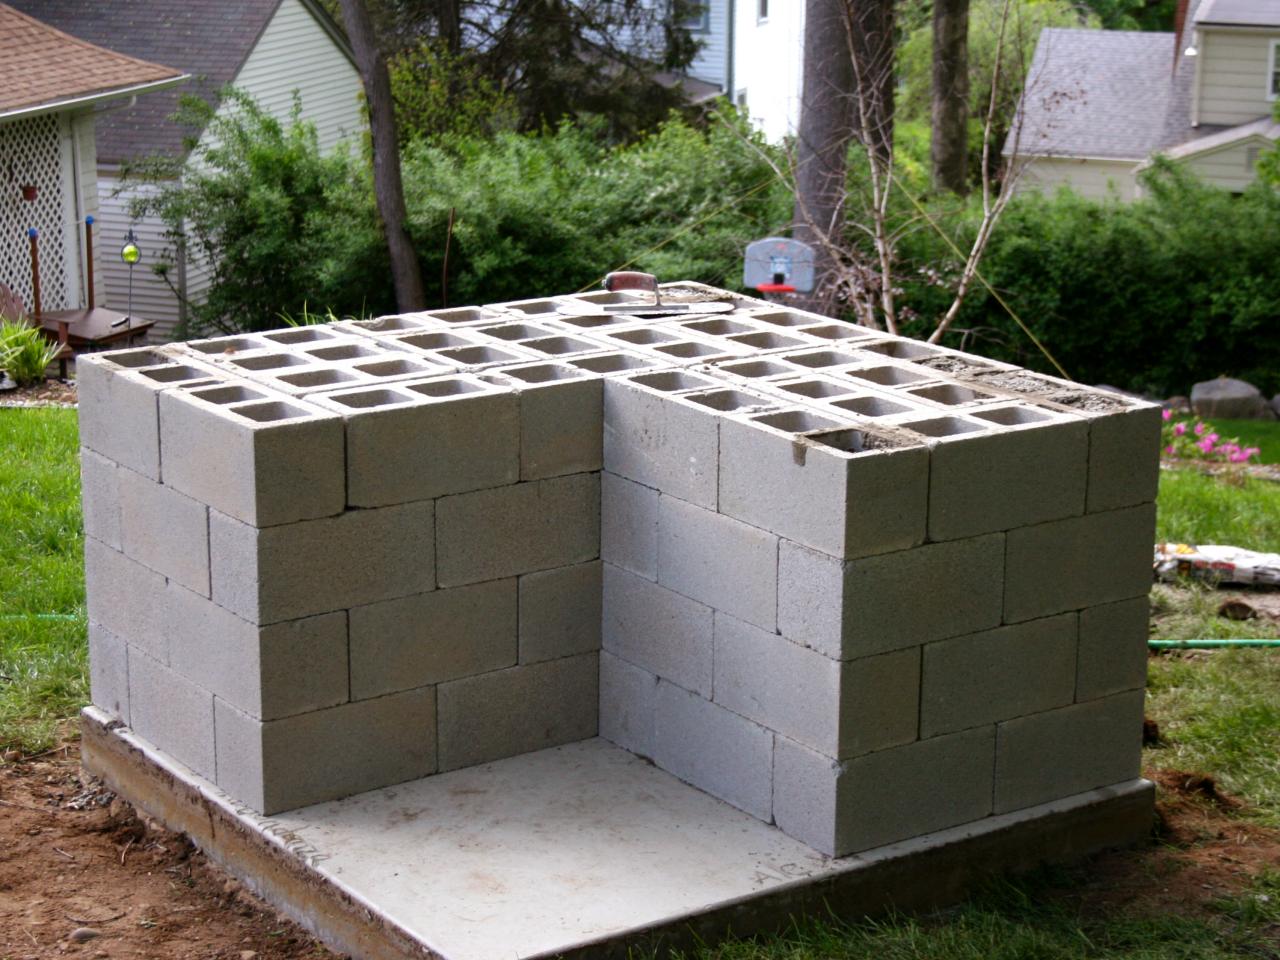
Build a Base
On top of a cement pad, we built a structure using cinder blocks and concrete. Using 8-inch cinderblocks or concrete blocks, build an L-shape structure that will fit the oven and provide counter space. We stacked four cinderblocks high to get the height we needed.Stagger the stacks of cinderblocks leaving the holes on the blocks exposed so that you can fill them with concrete. This will ensure the structure is solid and strong enough to hold the oven. Mix the concrete then pour it into the cinderblock holes along the perimeter of the structure. The inner cinderblocks do not need to be filled.

Cover the Base
There are many ways to make the base more appealing using different types of stones and brick. We used brick tiles because they provide a durable finish without having to lay bricks. Follow the manufacturer’s instructions as to how much brick tile you will need to cover the entire surface of the base. You will need a combination of flat brick and corner pieces. Mix mortar or cement (whatever the manufacturer recommends to adhere your material) then using a trowel, apply a good amount to the back of the brick tile and press onto the cinderblock base. Use spacers to make sure the bricks are evenly placed, we used 1/2” pieces of scrap wood. Let mortar dry completely. Use a small trowel or grout bag to fill all the spaces with more cement mixture.

Make the Countertop
Now that the base is built you need a sturdy countertop for the oven to sit on. We chose a basic concrete countertop. To enhance the look, we made an iron frame for the countertop edges. Exterior-grade lumber could also be used for the edging. Cut a piece of plywood to the size of the countertop. We welded a frame around the plywood. If you are used a wood edging, attach the exterior grade wood to the plywood from the underside using glue and galvanized nails. If doing a metal frame, smooth out corners with a metal grinder then use black-hammered spray paint to give it an even finish. Lay the plywood frame on top of the base and lay rebar on top of the wood in a crisscross pattern. Rebar will support the concrete and help to prevent cracking or separating. Attach the rebar with wire ties. Mix the concrete and pour it into the frame. Use large flat trowels or a wood board to even out the concrete and give it a smooth, flat finish. Let the concrete cure for at least a day and until all dark spots are gone, the dark spots mean that the concrete is still wet or humid and not fully cured.

Assemble the Pizza Oven
Refer to the manufacturer’s instructions for a complete and correct installation of the your oven. Our oven came in several pieces with all the materials needed to put it together. The following are installation instructions as per our oven’s manufacturer:
1. First do a dry installation of the unit, including the arch. Center the oven on the slab making an outline of the oven with pencil or chalk. Remove the oven elements.
2. Open the bucket of refractory grout. Save the water on top of it by pouring it into another container. Transfer the grout into a larger container for easy mixing (a trough or a 5-gallon bucket should do). Slowly add the liquid until the grout is the consistency of creamy peanut butter. There will be water left over, save it so that you can pour it back over the remaining grout before you store it.
3. All the bottom (floor) elements are installed with the smooth side up and should be level because this is your cooking surface. Start with the small rectangular floor element in front of the oven. Put three individual globs of grout on the underside of each tile, set and tap the piece level. If the tile is not level, then pull it up and add more grout, tapping the tile until level. Install the other tiles in the same manner. Let the tiles sit for an hour before continuing. This will allow the tiles firm up thus preventing any accidental shifting. Return the remaining grout to its bucket, adding the extra water that you saved on top, replace the lid and keep in a cool, dry place.
4. Put as much grout as you’re comfortable with in a pastry bag and grout the tile, grouting only the seams between the tiles. The grouted seams should be depressed enough so that when you will run a pizza peel or casserole across the oven floor it will not bump against the grout and possibly chip it.

5. The dome pieces interlock snugly and need only a minimal amount of grout. Grout only the female groove on the dome elements with about a 3/8-inch bead of grout. Do not grout the dome elements to the floor elements or to the refractory pad. Start by placing the male dome element (support it) then the female element with the slightly grouted groove. After the dome elements are set, look inside, you will notice a space all the way around where the floor meets the dome walls. Do not fill this space; this space is needed for the expansion of the floor tiles when heated.
6. Apply a strip of refractory grout across the outside seams of the dome. Don’t grout the seams inside the oven.
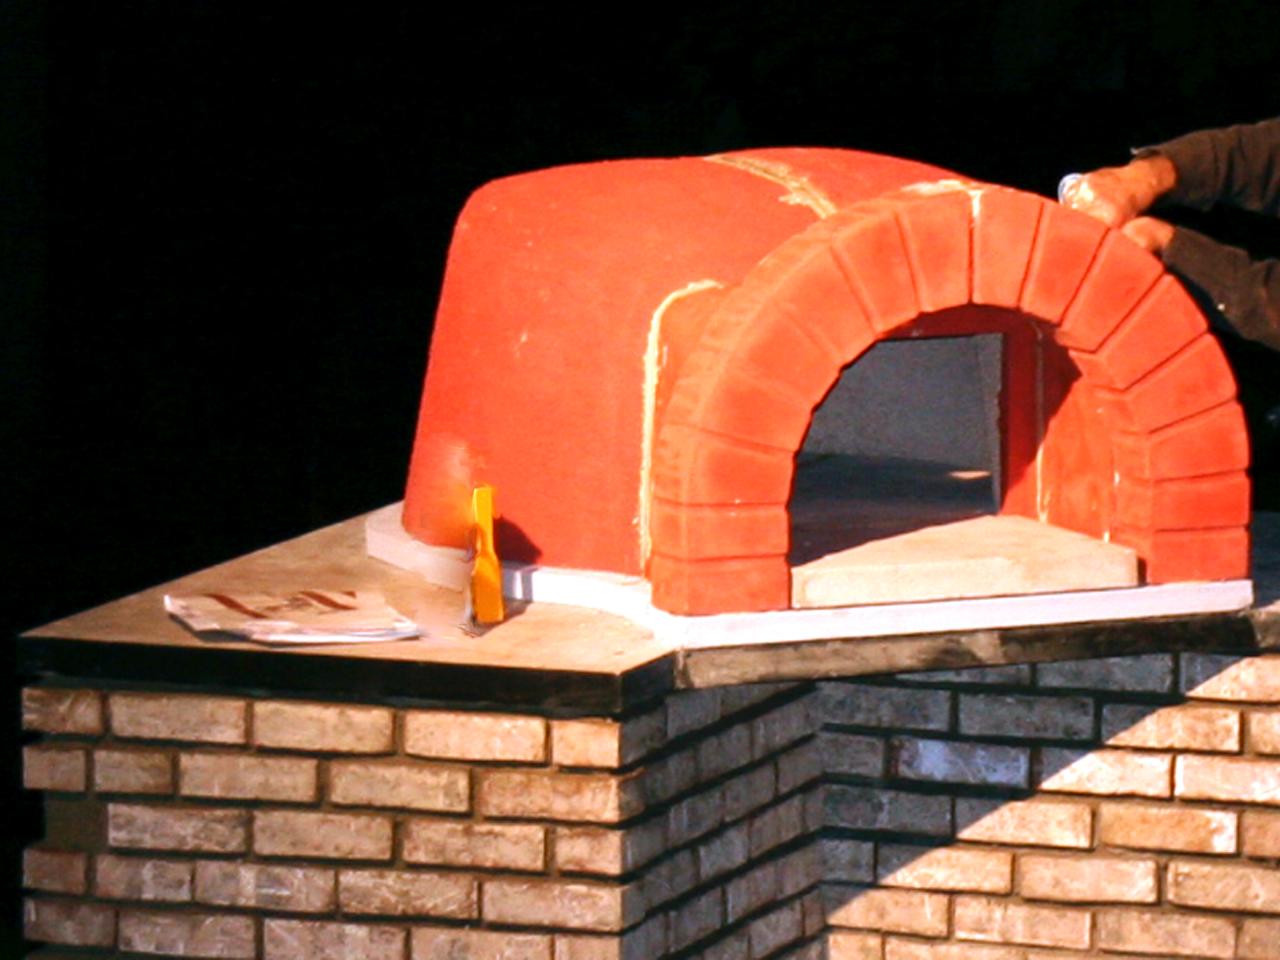
7. Put a little dab of grout on the bottom and generous amounts on the backside of the arch that touches the oven, set and hold in place. You can face the arch with another material such as stone, granite, tile or brick.

Install the Chimney Flue
The chimney flue consists of two parts: the flue and a smaller connector that is placed on top, smooth side up. This attachment holds the required 6-inch pipe. Put enough grout at the base of the chimney element and the connector to make them level in all directions.

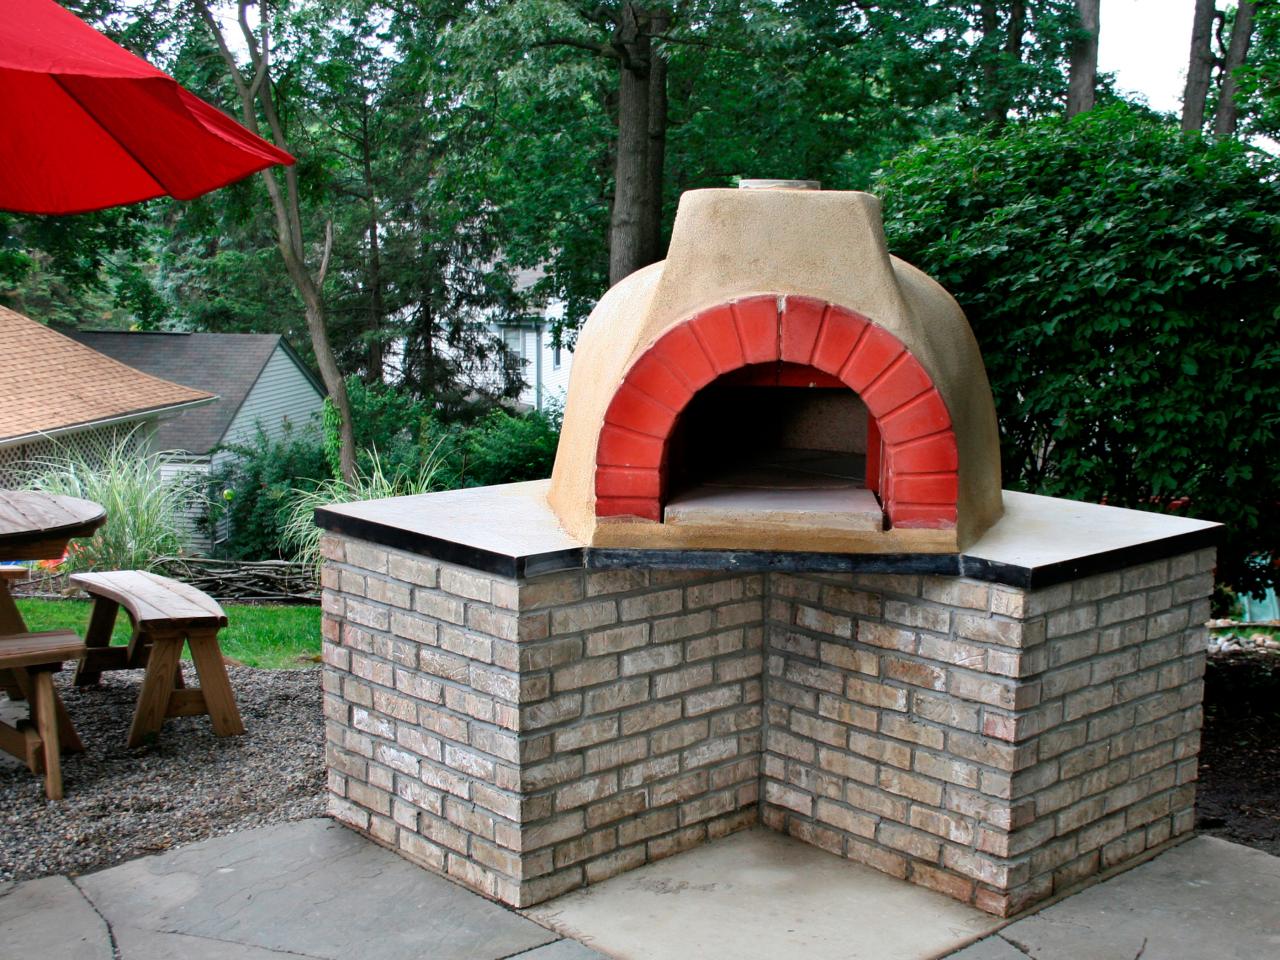
As a finishing touch, contact a mason to give your oven a nice stucco finish. Make sure you wait the recommended amount of time for your oven to completely cure before use, normally about 20 days.


